Enhancing PHNet: How I Fine-Tuned the #1 Image Harmonization Model to Make Human Skin Look Real
A deep dive into dataset engineering, composite image generation, and what it actually takes to make AI-blended portraits look believable.
Enhancing PHNet: How I Fine-Tuned the #1 Image Harmonization Model to Make Human Skin Look Real
A deep dive into dataset engineering, composite image generation, and what it actually takes to make AI-blended portraits look believable.
When you paste a person cut out from one photo onto a completely different background, the result almost always looks wrong. The lighting doesn’t match. The shadows fall in the wrong direction. And skin — skin is brutal — it turns reddish, sallow, or just uncannily plastic.
Image harmonization is the field trying to fix that. It’s what turns a composited image from “obviously edited” into “did this actually happen?”
This post is about the work I did at DressMe AI to fine-tune PHNet — currently the top-ranked model on the image harmonization benchmark on PapersWithCode — to specifically get better at the hardest part: realistic human skin tones under varied lighting.
Why PHNet, and Why Does It Still Struggle?
PHNet sits at the top of the leaderboard, outperforming notable variants like DucoNet, CDTNet, and PCT-Net. But top-of-benchmark doesn’t mean production-ready for every use case.
The core problem is the training data.
Most image harmonization models — PHNet included — are trained on the iHarmony dataset. It’s a widely used benchmark, but the majority of images in it are relatively low quality. Only the Adobe5K subset has the kind of high-resolution, carefully lit photography you’d see in a fashion or e-commerce context. The rest of the dataset quietly drags model performance down on real-world human images.
The symptoms show up in a specific and frustrating way: skin tones go wrong. Composite images of people come out with faces that are too red, too orange, or weirdly desaturated. In a virtual try-on or fashion context, that’s a dealbreaker.
PHNet actually has two versions:
- One trained on iHarmony (general purpose, broad dataset)
- One trained on FFHQH (Flickr Faces High Quality Harmonization — exclusively high-quality human portraits)
The FFHQH version performs noticeably better on human subjects. That told me something important about where to start.
The Second Problem: Lighting Direction
Beyond skin tone, there’s a more geometric problem with composite images.
When you cut a person from Photo A and place them on a background from Photo B, the light sources are almost never the same. The subject might be lit from the right, while the background scene has light coming from the left. Current models, including PHNet, struggle to reconcile this — they can adjust color, but they can’t re-light a scene.
The fine-tuning approach I designed was intended to directly address both of these failure modes simultaneously.
Building the Dataset: 50,000 Composites from Scratch
The existing datasets weren’t going to cut it, so I built a new one.
Source Images: Myntra + Pinterest + Adobe5K
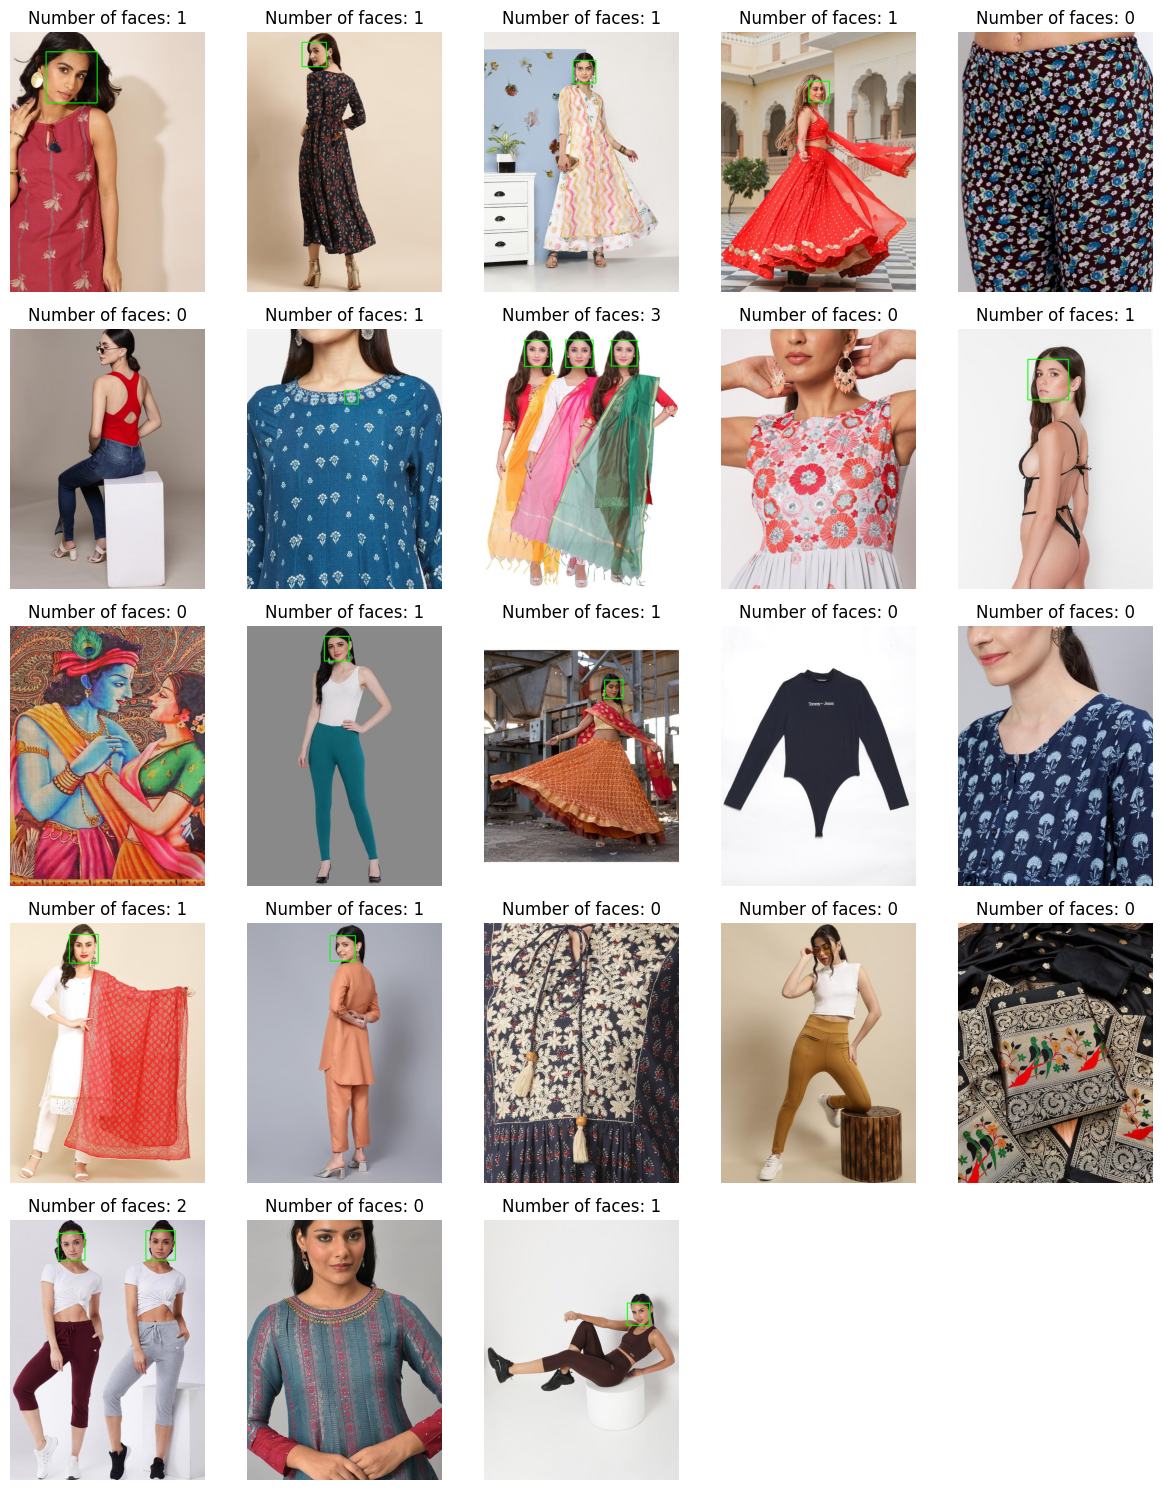
The primary scraping sources were Myntra (fashion e-commerce) and Pinterest, chosen specifically because they offer diverse human-centered images against a wide variety of backgrounds — indoor, outdoor, studio, and lifestyle contexts. Diversity of background is crucial; a model that only sees studio backgrounds will fail the moment someone puts a product photo against a beach.
The Adobe5K dataset was incorporated directly — it already provides processed images with composites and masks, so it slotted cleanly into the pipeline.
Isolating the Subject
For Myntra and Pinterest images, the first step was clean segmentation:
- Inspyrenet for background removal — fast, solid results at scale
- Segment Anything (SAM) + Grounding DINO to refine the person mask — this combination gave much tighter, more accurate boundaries, especially around hair and clothing edges
The precise mask is everything downstream. A sloppy mask means the model is learning from garbage boundaries.
Making the Composites: Color and Light
With clean masks, the next step was creating realistic composite images — not just dropping a person on a random background, but generating composites that simulate the kinds of mismatches a real harmonization model needs to fix.
Color jitter via torchvision.transforms: Each masked foreground was randomly hit with adjustments to saturation, contrast, and HSV values. The randomness was intentional — no two images went through identical transformations. This forces the model to generalise rather than memorise a narrow distribution of color shifts.
Lighting with Three.js: This was the more technically interesting part. I used Three.js (a 3D WebGL library) to project synthetic spot lights onto each image — varying colors, varying angles, simulating the directional light mismatch that causes the “cut and paste” look in real composites. For each source image, multiple composite versions were generated with different lighting configurations.
The result: from the scraped data alone, 30,000 composite training images. Add the Adobe5K set’s 20,000, and the final training dataset was 50,000 images.
Quality checks — both automated and manual — were run throughout. The main failure mode to guard against was the preprocessing making images too dark, too bright, or otherwise unusable. Any images that crossed those thresholds were filtered out.
Training Setup
Base model: PHNet fine-tuned from the FFHQH checkpoint (not iHarmony). Starting from the human-portrait-optimised version was a deliberate choice given the task.
Compute: AWS g5.12xlarge — 4× NVIDIA A10G GPUs (24 GB VRAM each), 48 vCPUs, Linux. The multi-GPU setup was necessary for handling 1024×1024 crops at reasonable throughput.
Key parameters:
- Batch size: 2 per GPU
- Workers: 8
- Crop size: 1024×1024 (matching the base model’s training resolution)
- Epochs: 40
- Train / val / test split: 50k / 5k / 2k
Checkpointing after every n epochs made it possible to track training curves and intervene early if something was diverging.
What the Metrics Are Actually Measuring
The evaluation suite covers different failure modes:
Metric What it catches fPSNR Feature-level signal-to-noise — did we preserve image detail? fMSE Feature-level pixel error — how wrong are we at a structural level? Loss FnMSE Normalised version of fMSE — accounts for scale differences across images Loss L1 Mean absolute pixel error — a direct measure of average deviation Loss L2 Mean squared error — heavily penalises large mistakes Loss PSNR Inverted PSNR used as a loss signal — lower = better quality
Using both feature-level and pixel-level metrics matters because a model can look reasonable pixel-by-pixel while still losing the structural integrity of the image (or vice versa).
Results: What Actually Improved
The comparison set was:
Real | Composite | CDT | PCT | DUCO | PHNet (ffhqh) | PHNet (iHarm) | Ours


Skin tone preservation
This was the primary goal, and the clearest win. Where competing models — including both standard PHNet variants — produced faces that read as too reddish or artificially processed, the fine-tuned model held the natural hue. Skin reads as skin, not as a colour-shifted artifact.
Lighting and shadow coherence
The fine-tuned model substantially improved the coherence of light direction across the composite. Where the unharmonized image had foreground and background lit from opposing sides, the output showed noticeably more consistent illumination — shadows fall in a direction that makes sense for the scene.
Where it falls short
Honest caveat: when the background’s dominant color is dramatically different from the subject — a person in warm tones placed against a very cool blue scene, for instance — the model occasionally struggles. The iHarmony-trained variant, being more broadly trained, sometimes handles extreme color transfer better in these edge cases.
This is a classic specialisation vs. versatility tradeoff. Training on high-quality human portrait data made the model exceptionally good at what we needed most (realistic skin under typical lighting), but it came at some cost in the most extreme scenarios.
The Bigger Lesson: Data Is the Model
The most important thing I took from this project isn’t about architecture choices or training tricks. It’s simpler: the quality of your training distribution sets a hard ceiling on your results.
The gap in performance between the iHarmony-trained and FFHQH-trained base models — before any fine-tuning — was the clearest evidence of this. Two runs of the same architecture, different data, meaningfully different outputs on human images.
Building a custom dataset that directly represents the failure modes you want to fix (bad skin tones, directional lighting mismatches) is, in hindsight, the highest-leverage thing we did. Not model selection. Not hyperparameter tuning. The dataset.
What’s Next
The work that remains is about pushing the model to handle the full range of real-world conditions without losing the precision it gained on human portraits. Concretely:
- Expanding the dataset to cover more extreme background-foreground color contrasts
- Exploring additional lighting simulation techniques to cover edge cases beyond what Three.js spotlights capture
- Investigating whether the versatility-vs-specialisation tradeoff can be softened — perhaps through multi-stage training that starts general and specialises, or through improved data augmentation that explicitly manufactures the hard cases
The goal is a model that delivers the realistic skin tone preservation we achieved here, across every kind of background and lighting condition a fashion image might encounter.
Tech Stack, at a Glance
PHNet · Segment Anything (SAM) · Grounding DINO · Inspyrenet · Three.js · torchvision · PyTorch · AWS g5.12xlarge · NVIDIA A10G
This work was done at DressMe AI as part of building a virtual try-on pipeline. The harmonization model sits downstream of background removal and upstream of final compositing — making its accuracy critical to whether the output looks real or looks edited.
Did you work on a similar image harmonization or compositing challenge? I’d love to hear what approaches you found effective — drop a comment below.
메타데이터
- post_id
- 28cde6a07b3d
- slug
- enhancing-phnet-how-i-fine-tuned-the-1-image-harmonization-model-to-make-human-skin-look-real-28cde6a07b3d
- url
- https://medium.com/@rohitpaul97/enhancing-phnet-how-i-fine-tuned-the-1-image-harmonization-model-to-make-human-skin-look-real-28cde6a07b3d
- canonical_url
- https://medium.com/@rohitpaul97/enhancing-phnet-how-i-fine-tuned-the-1-image-harmonization-model-to-make-human-skin-look-real-28cde6a07b3d
- author_url
- https://medium.com/@rohitpaul97
- status
- ok
- fetched_at
- 2026-09-15 09:09:13