I Stopped Manually Labeling Images. A Practical Guide to Zero-Shot Object Detection with YOLO-World
I Stopped Manually Labeling Images. A Practical Guide to Zero-Shot Object Detection with YOLO-World
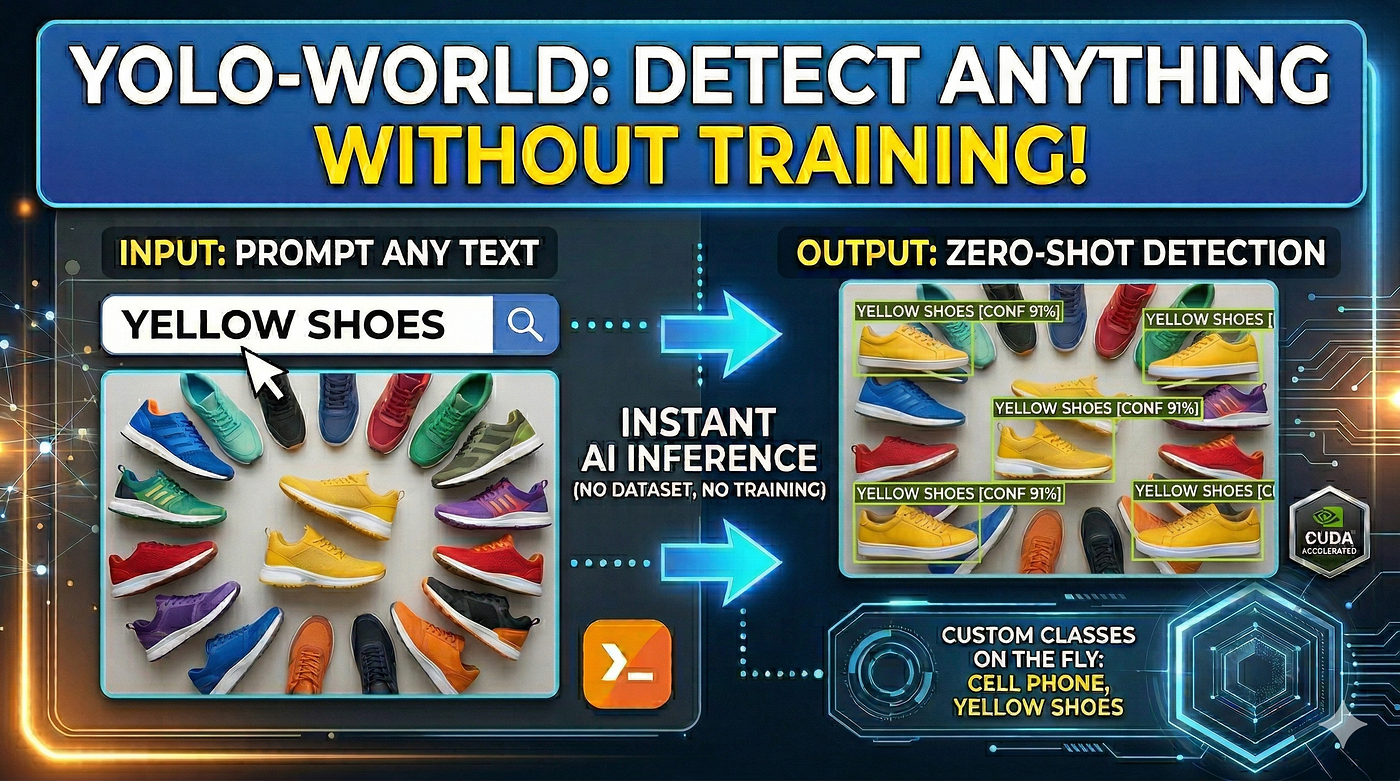
The End of Manual Labeling: A Practical Guide to Zero-Shot Object Detection with YOLO-World
In this YOLO-World tutorial, we are witnessing a fundamental shift in how machines perceive the world. We are moving away from the era of “Big Data” where every single object required thousands of manually drawn bounding boxes. Instead, we are entering the age of “Promptable Vision,” where your natural language — not a massive dataset — defines what the AI sees. This tutorial isn’t just about a new model; it’s about reclaiming the hundreds of hours typically lost to the drudgery of image annotation.
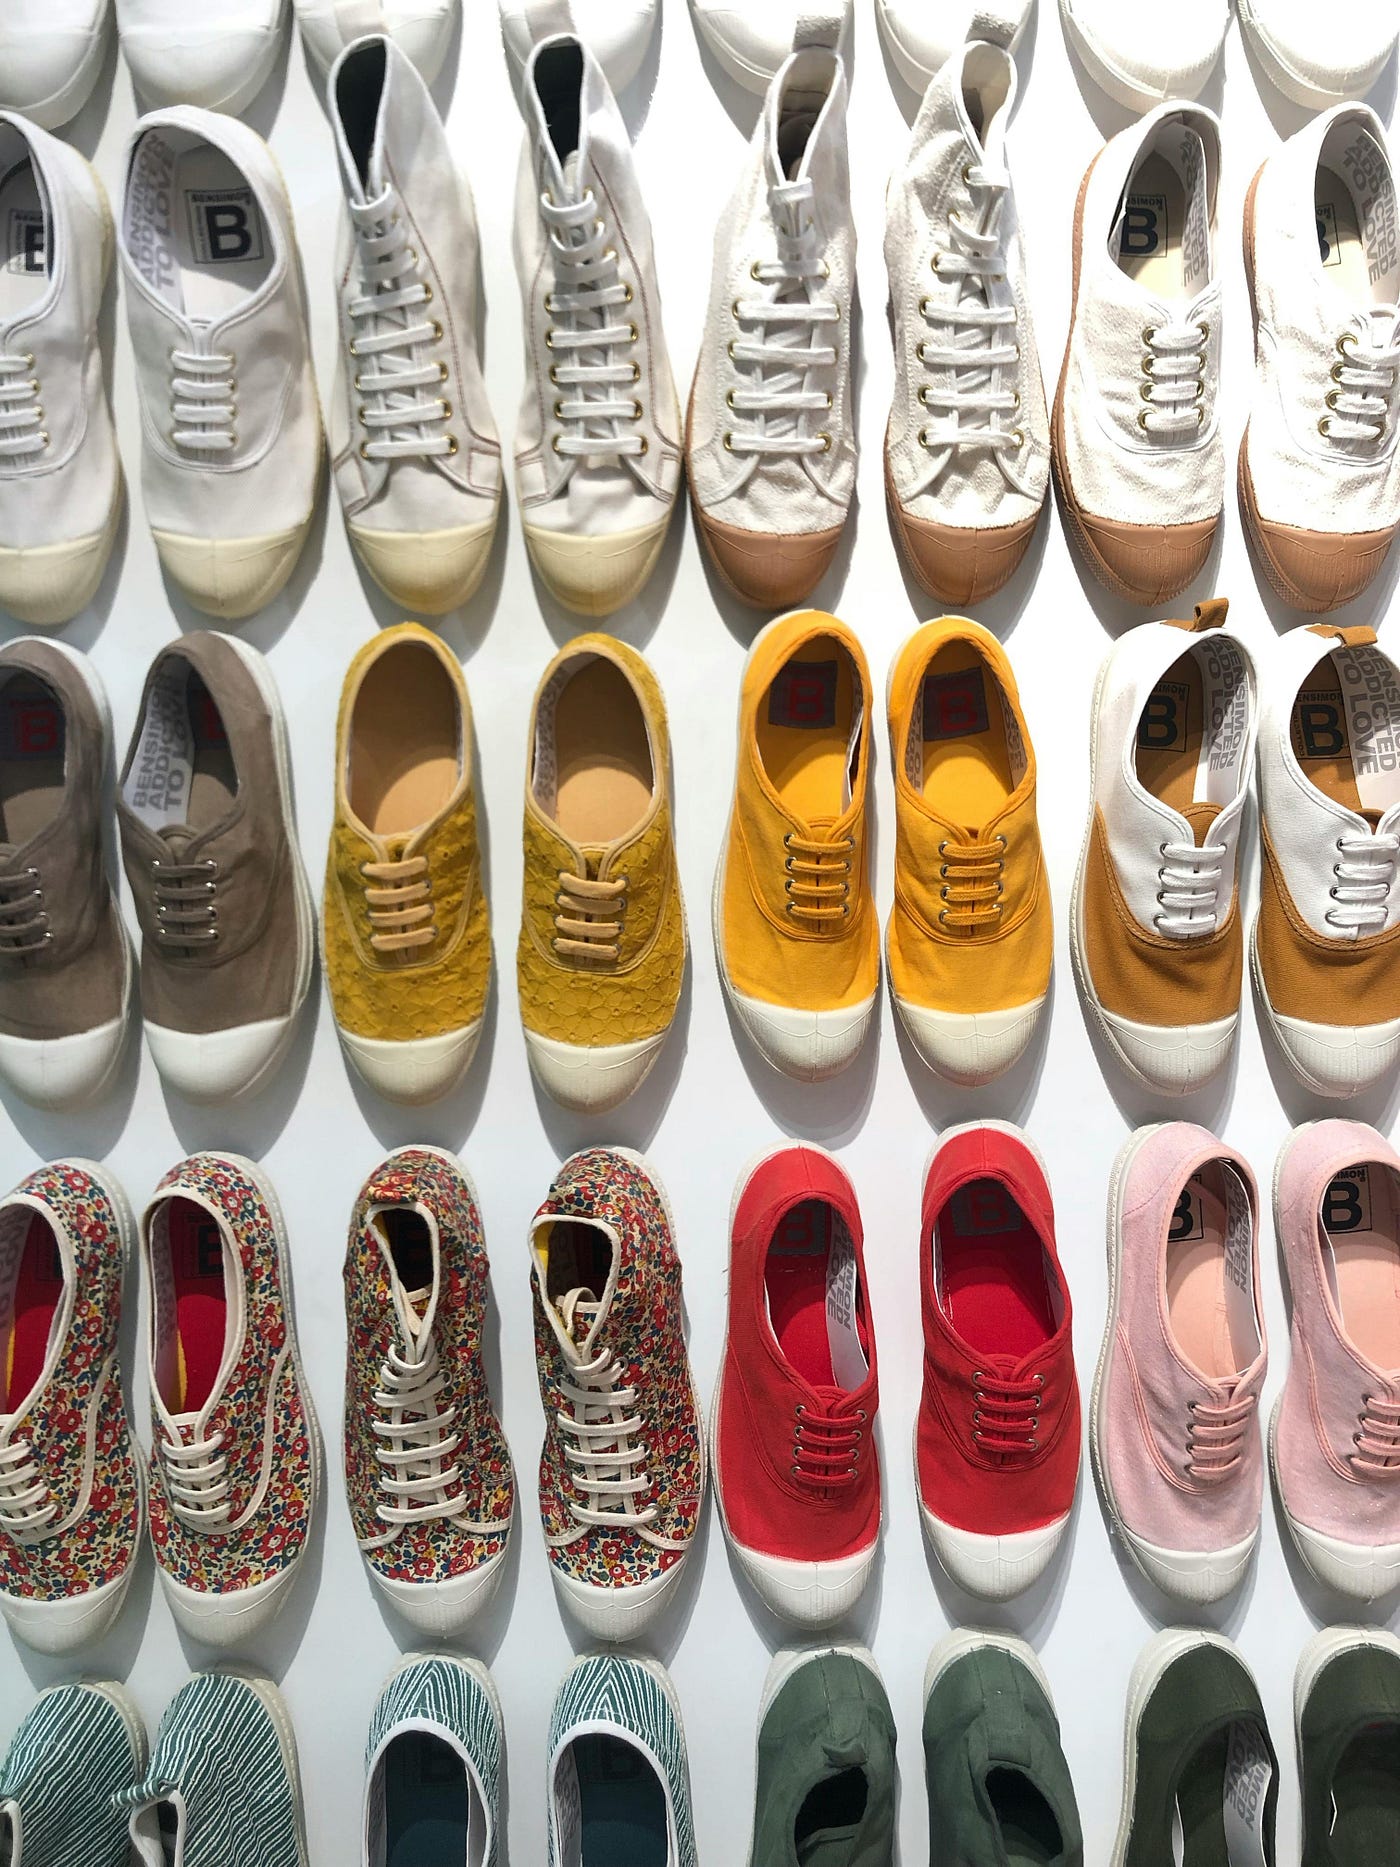
For developers and AI researchers, the ability to pivot instantly is the ultimate competitive advantage. By following the workflow below, you can transition from a broad detection task to a highly specialized one (like finding “Yellow shoes” in a crowd) in seconds. This flexibility allows for rapid prototyping and deployment, ensuring that your vision systems are responsive to real-world changes without the need for expensive and slow retraining cycles.
We will navigate through a complete technical implementation, starting with a precision-engineered environment running PyTorch 2.9.1 and CUDA 12.8. You will learn how to initialize the YOLO-World framework, inject custom linguistic prompts into the model’s “brain,” and ultimately export a production-ready model that performs zero-shot inference with high accuracy. This is the roadmap for building vision applications that are contextually aware and dynamically reconfigurable.
Whether you are an engineer looking to streamline your pipeline or a hobbyist exploring the latest in open-vocabulary research, mastering this labelless workflow is essential. It provides a scalable solution to the “cold start” problem in object detection, where you need to find something specific but don’t have the data to train for it. By the end of this post, you will have a fully functional system capable of identifying virtually anything you can describe in plain English.
Why this YOLO-World tutorial is the key to mastering open-vocabulary detection
YOLO-World represents a massive leap in “Open-Vocabulary” object detection. Unlike traditional models that are strictly limited to the specific categories they were trained on — such as the standard COCO or ImageNet classes — this architecture uses a vision-language model to understand the relationship between pixels and text. By feeding the model a list of names or descriptions, it dynamically reconfigures its detection capabilities to find those specific items, essentially making it a “universal” detector that can recognize objects it has never officially “seen” during a traditional training phase.
The primary target of this technology is the modern engineer who needs to detect niche, rare, or highly specific objects that do not have massive, pre-labeled datasets available. Instead of hunting for thousands of images to train a custom classifier for a specific “bag” or “cell phone” brand, you can simply describe the object in plain English. This makes the model incredibly versatile for edge cases where traditional supervised learning is too slow, too expensive, or simply impossible due to a lack of available data.
At a high level, the system works by mapping visual features and textual embeddings into a shared latent space. When you provide a custom prompt, the model searches for regions in the image that align most closely with the linguistic representation of that phrase. By following this approach, you are learning how to harness this alignment to build vision systems that are not just smart, but contextually aware of the specific environment they are deployed in. This allows for a “detect-anything” capability that was previously restricted to massive, slow-running research models, now optimized for real-time performance.
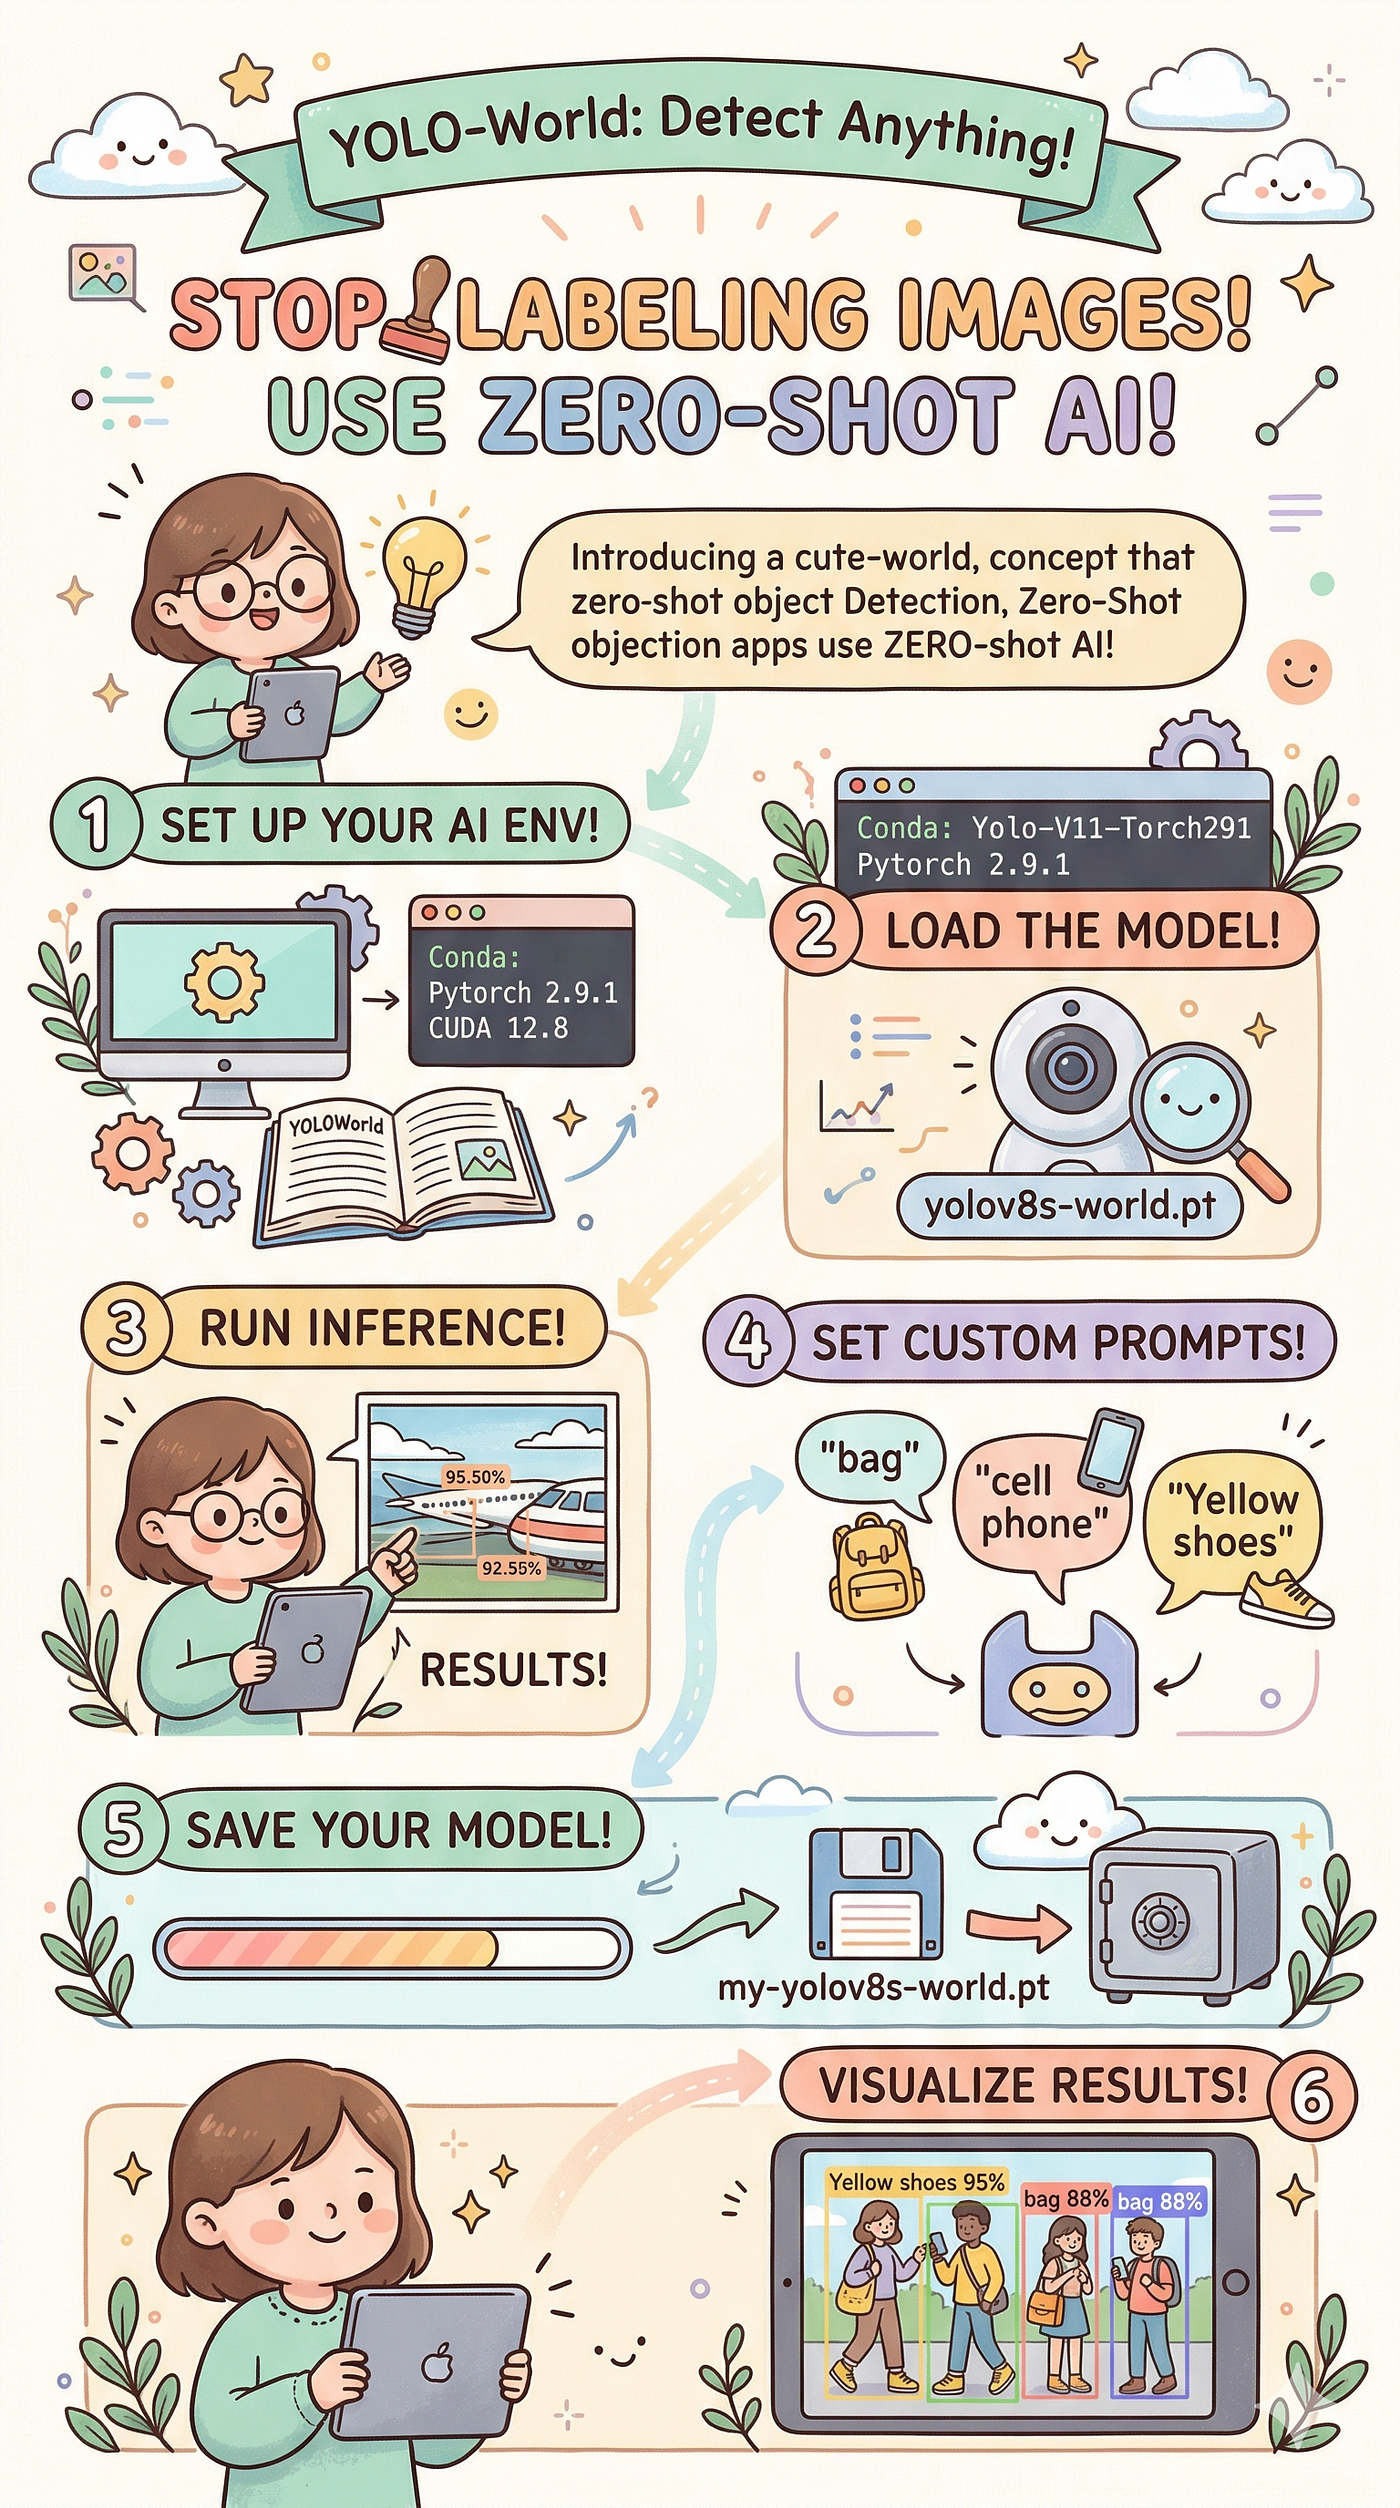
The code provided in this YOLO-World tutorial is designed to bridge the gap between complex research and production-ready automation. By focusing on a clean, scriptable workflow, the tutorial provides a blueprint for bypassing the most expensive part of AI development: manual data annotation. This programmatic approach ensures that you aren’t just running a demo, but building a foundation for a scalable vision system that can adapt to new objects with just a few lines of Python.
Let’s Break Down the Code: Setting Up Your Zero-Shot Vision Pipeline
Wait, how does this code actually detect objects without any training?
By utilizing open-vocabulary embeddings, the code converts your text prompts into mathematical vectors. The model then performs a real-time search across the image to find visual patterns that match those linguistic descriptions — essentially “searching” for pixels that look like your words.
The technical foundation of this setup relies on a highly optimized environment featuring PyTorch 2.9.1 and CUDA 12.8. In the world of computer vision, the “plumbing” of your environment is just as critical as the model itself. By pinning these specific versions in a dedicated Conda environment, we ensure that the GPU-accelerated kernels are running at peak efficiency. This setup is the “engine room” that allows the zero-shot model to process high-resolution frames with the low latency required for real-time applications.
Once the environment is primed, the code initializes the YOLOWorld class, which is the heart of our detection logic. Unlike standard YOLO models that come with a fixed set of "knowledge," this model acts as a blank slate ready to be molded by your specific requirements. The target of this section of the code is to load pre-trained open-vocabulary weights that understand the general relationship between objects and language, providing the intelligence needed to interpret your custom prompts later in the script.
The real magic happens when we reach the set_classes function. Here, the code redefines the model's classification head on the fly. By passing a list like "cell phone," "bag," or "Yellow shoes," you are essentially performing a "brain transplant" on the model, telling it to ignore everything else and focus exclusively on your items of interest. This capability is the primary target of the tutorial: giving you the power to create a custom-purpose detector in seconds that can be saved as a standard .pt file for future deployment.
Finally, the implementation focuses on making the raw data human-readable through the Supervision library. Raw detection arrays (coordinates and confidence scores) are difficult to interpret at a glance, so the code utilizes a BoxAnnotator and LabelAnnotator to draw professional, clear overlays. This final step is crucial for verification; it allows you to visually confirm that the "Yellow shoes" detected by the AI match the physical objects in your test image, providing a vital feedback loop for refining your prompts and confidence thresholds.
[embed]
Link to the tutorial here .
Download the code for the tutorial here or here .
Best AI Photo Tools (Backgrounds, Objects, Headshots)
✅ Phot-AI packs more than 30 AI‑powered tools into one place — covering background and object removal/replacement, image extension and a suite of creative generators for art, icons and logos.
follow the link and start creating : https://phot.ai?ref=eran33
✅ Create and remix stunning AI art and photos with community-driven creativity. tap the link and start creating today! : https://www.remixai.io/?ref=eran
✅ PhotoGPT AI acts as your personal photographer — just describe what you need and the platform generates high‑quality headshots or casual images within minutes.
Its built‑in photo editor lets you remove objects, replace backgrounds and make studio‑quality corrections with a single click.
You can even train your own AI model using a few selfies, receive context‑aware prompt suggestions and upscale images for print‑ready results.
Dive into this all‑in‑one AI photo studio : https://www.photogptai.com/?ref=eran
My Blog
You can follow my blog here .
Link to the full post and code here : https://eranfeit.net/how-to-use-yolo-world-for-zero-shot-object-detection/
Want to get started with Computer Vision or take your skills to the next level ?
Great Interactive Course : “Deep Learning for Images with PyTorch” here
If you’re just beginning, I recommend this step-by-step course designed to introduce you to the foundations of Computer Vision — Complete Computer Vision Bootcamp With PyTorch & TensorFlow
If you’re already experienced and looking for more advanced techniques, check out this deep-dive course — Modern Computer Vision GPT, PyTorch, Keras, OpenCV4
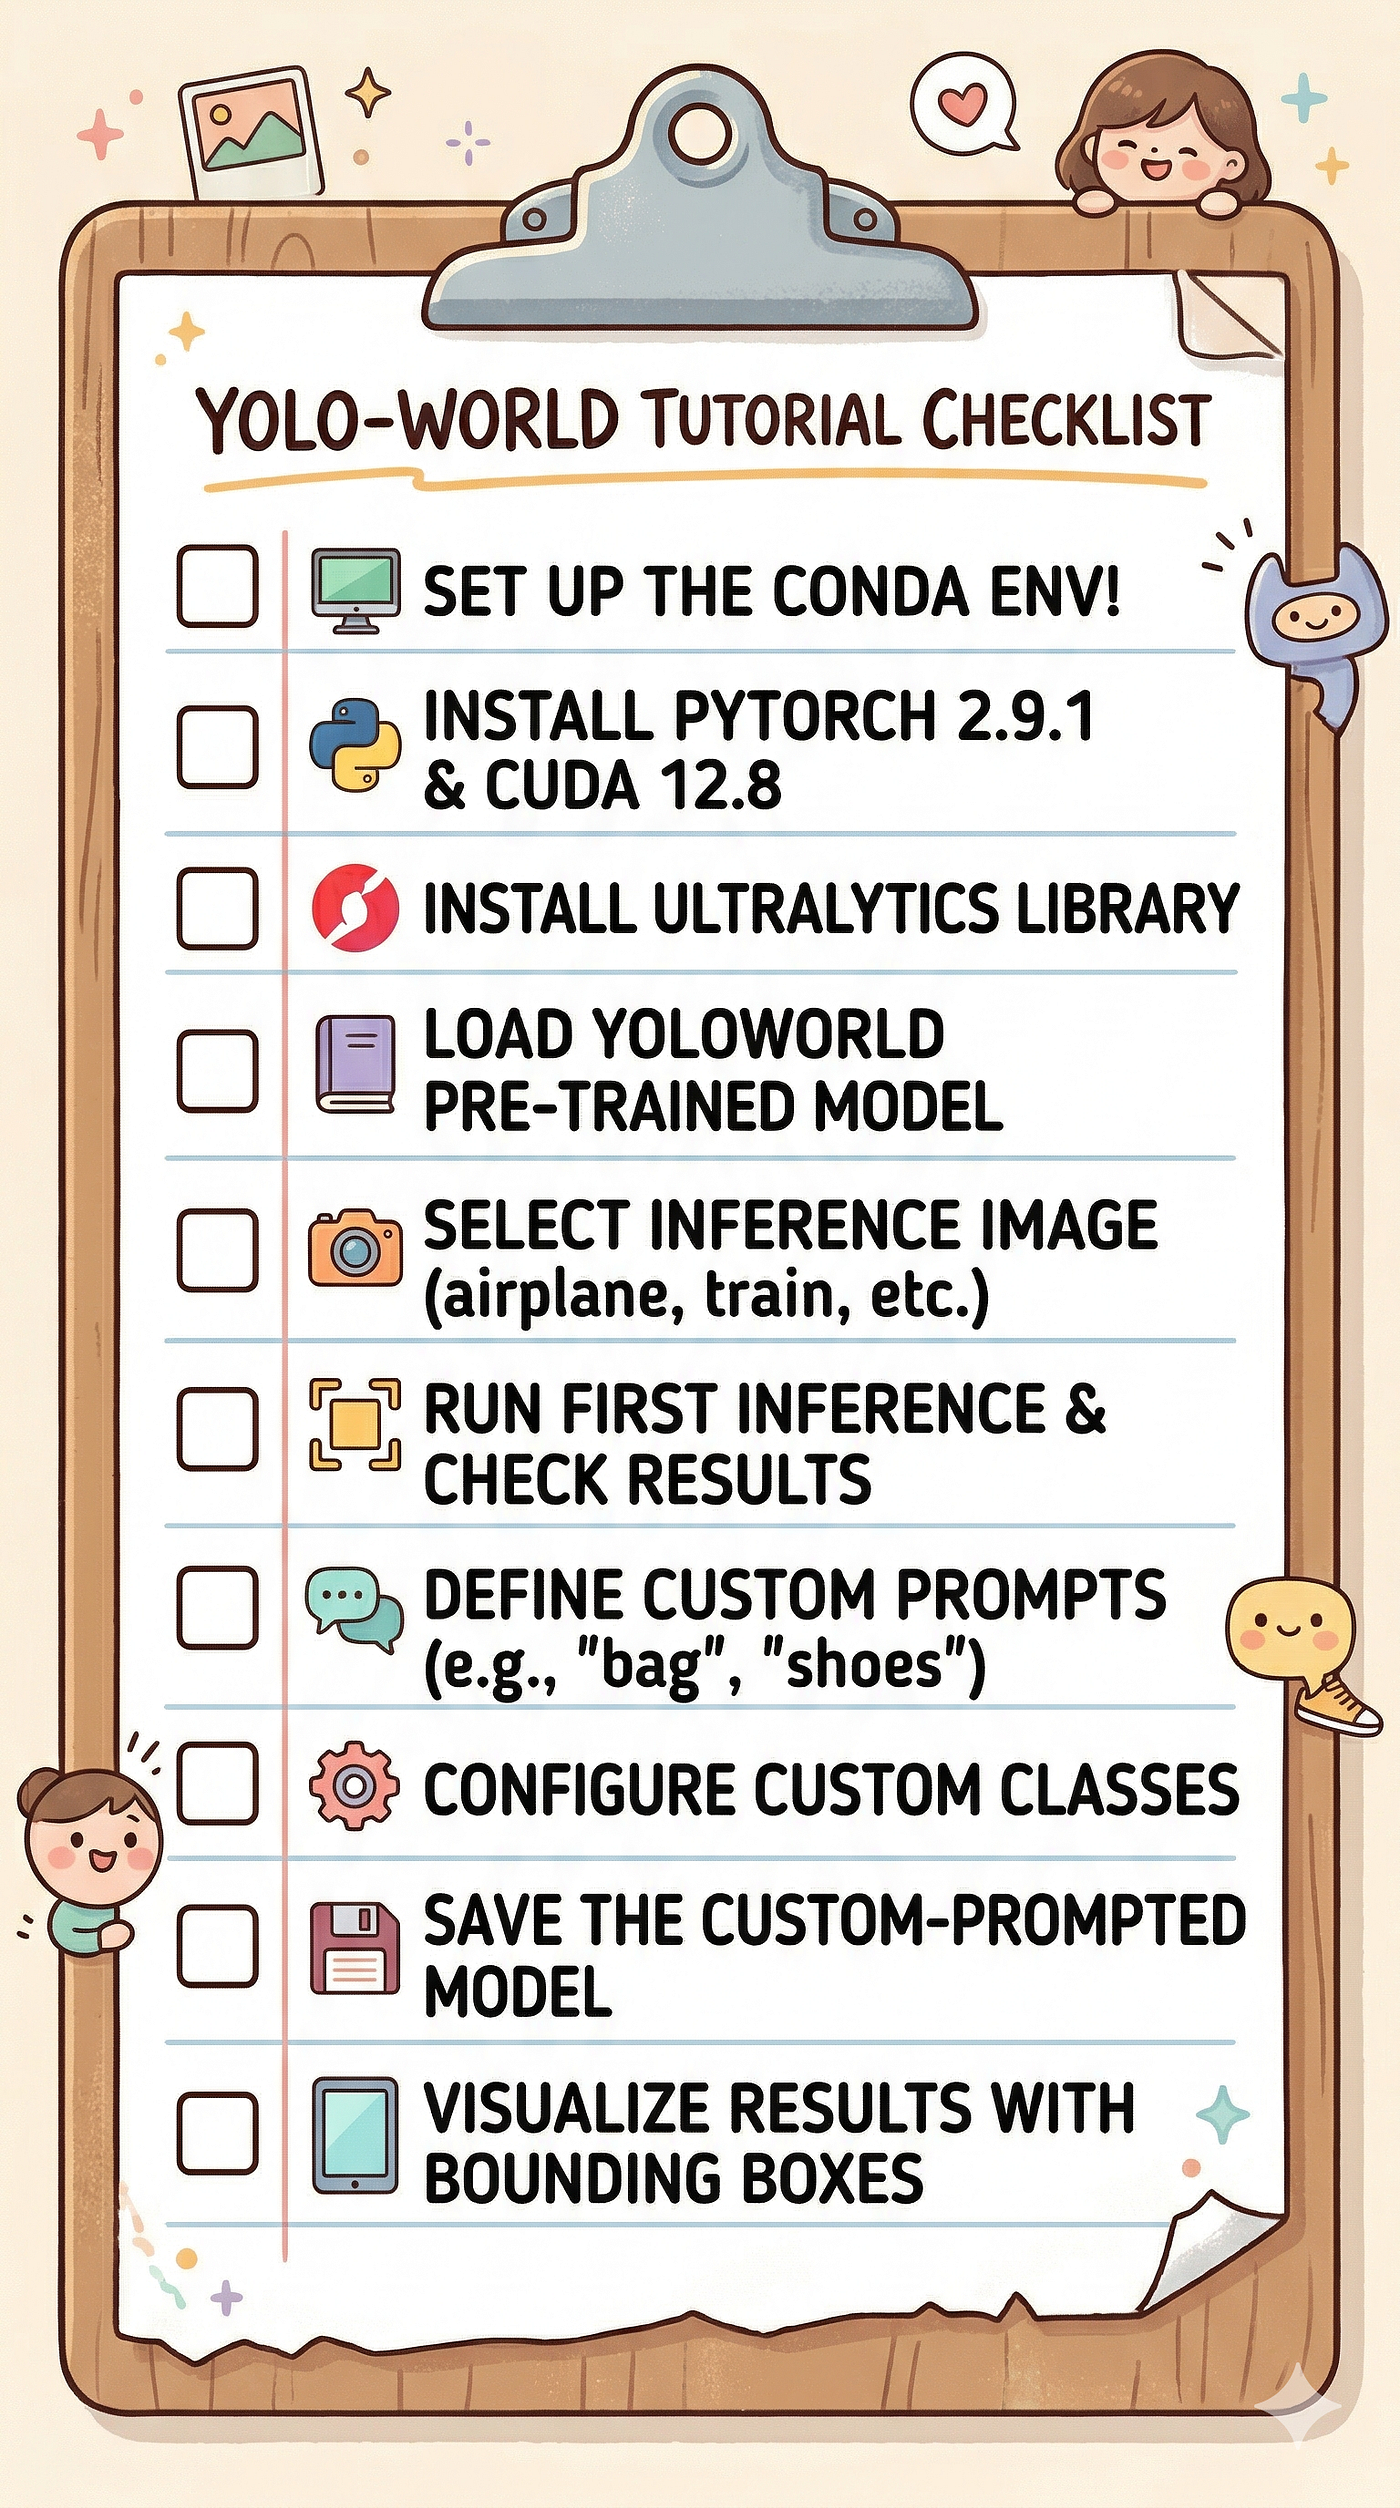
Laying the Foundation: Setting Up Your GPU-Accelerated Environment
A professional AI project is only as strong as its underlying infrastructure. By isolating your dependencies within a dedicated Conda environment, you create a “sandbox” that prevents version conflicts and ensures long-term reproducibility. In the fast-moving world of computer vision, having a stable, isolated environment is the difference between a project that works today and one that breaks tomorrow due to a random library update.
The performance of our zero-shot model relies heavily on the synergy between PyTorch 2.9.1 and CUDA 12.8. Because YOLO-World performs complex mathematical alignments between text embeddings and visual pixels, GPU acceleration is not just a luxury — it is a requirement for real-time performance. This specific version pairing represents the current “sweet spot” for stability and speed, allowing the underlying NVIDIA hardware to handle the heavy lifting of open-vocabulary inference.
Beyond the deep learning kernels, we integrate the Ultralytics framework for model management and the Supervision library for high-fidelity data handling. These libraries work in tandem to simplify the developer experience, turning complex tensor operations into manageable Python commands. Together, they provide a streamlined bridge between raw vision research and a practical, deployable application.
Why do I need to specify CUDA 12.8 for this tutorial?
Using the specific CUDA 12.8 index ensures that the PyTorch binaries are perfectly optimized for modern NVIDIA architecture, preventing common installation errors and unlocking the hardware acceleration necessary for zero-shot processing.
Get the Test Images
If you want me to send you the test images, send me an email with the name of this tutorial. Email: feitgemel@gmail.com
### Create a new Conda environment named YoloV11-Torch291 with Python version 3.11.
conda create --name YoloV11-Torch291 python=3.11

### Activate the newly created Conda environment to start installing packages.
conda activate YoloV11-Torch291

### Check the installed CUDA compiler version to ensure compatibility with PyTorch.
nvcc --version

### Install PyTorch 2.9.1 with specific CUDA 12.8 support via the official PyTorch wheel index.
pip install torch==2.9.1 torchvision==0.24.1 torchaudio==2.9.1 --index-url https://download.pytorch.org/whl/cu128

### Install version 8.4.33 of the Ultralytics framework for model management and inference.
pip install ultralytics==8.4.33

### Install OpenCV for handling image I/O and standard vision operations.
pip install opencv-python==4.10.0.84

### Install the Supervision library version 0.27.0.post2 for advanced result visualization.
pip install supervision==0.27.0.post2

### Install lapx for optimized linear assignment tracking in complex vision scenes.
pip install lapx==0.9.4

### Install the CLIP library for vision-language feature extraction.
pip install clip==0.2.0

### Install the latest version of the OpenAI CLIP library directly from its GitHub repository.
pip install git+https://github.com/openai/CLIP.git
Zero-Shot Magic: Performing Inference on Any Object Instantly
The true “wow” factor of YOLO-World is its ability to recognize objects it has never officially been trained on. By loading the yolov8s-world.pt weights, you are accessing a model that has "read" millions of image-text pairs. This pre-trained knowledge allows the model to generalize across a vast vocabulary, making it a universal detector that is ready for action the moment you initialize it.
In this phase, we feed a standard image into the model to verify its “out-of-the-box” intelligence. The script takes an image — like a high-resolution photo of a train or an airplane — and identifies the objects within it based on its general understanding of the world. This is our baseline, proving that the vision-language alignment is working and that the model can interpret pixels into recognizable categories.
Using the .show() function, we can immediately see the fruits of our labor. This visual confirmation is a vital part of the development process, allowing us to see exactly where the model is looking and how confident it is in its predictions. It’s the first step in moving from a theoretical model to a practical tool that can accurately segment and identify the environment around it.
How does the model recognize objects without a traditional class list?
YOLO-World uses a vision-language model (like CLIP) to map words and image regions into the same space; when you ask for an object, it finds the visual region that mathematically “matches” the meaning of your word.
### Import the specialized YOLOWorld class from the Ultralytics library.
from ultralytics import YOLOWorld

### Initialize the model with pre-trained small YOLO-World weights to enable zero-shot capabilities.
model = YOLOWorld('yolov8s-world.pt')

### Set the file path to the training image used for the initial inference test.
img_path = "Best-Object-Detection-models/YOLO-World/Method1-Build-custom-Object-detection-model/train.jpg"

### Execute the prediction on the image using GPU acceleration for fast processing.
results = model.predict(img_path, device='cuda')

### Iterate through the detection results and print the raw bounding box data to the console.
for result in results:
    print(result.boxes.data)

### Display the first result image with default detection overlays in a GUI window.
results[0].show()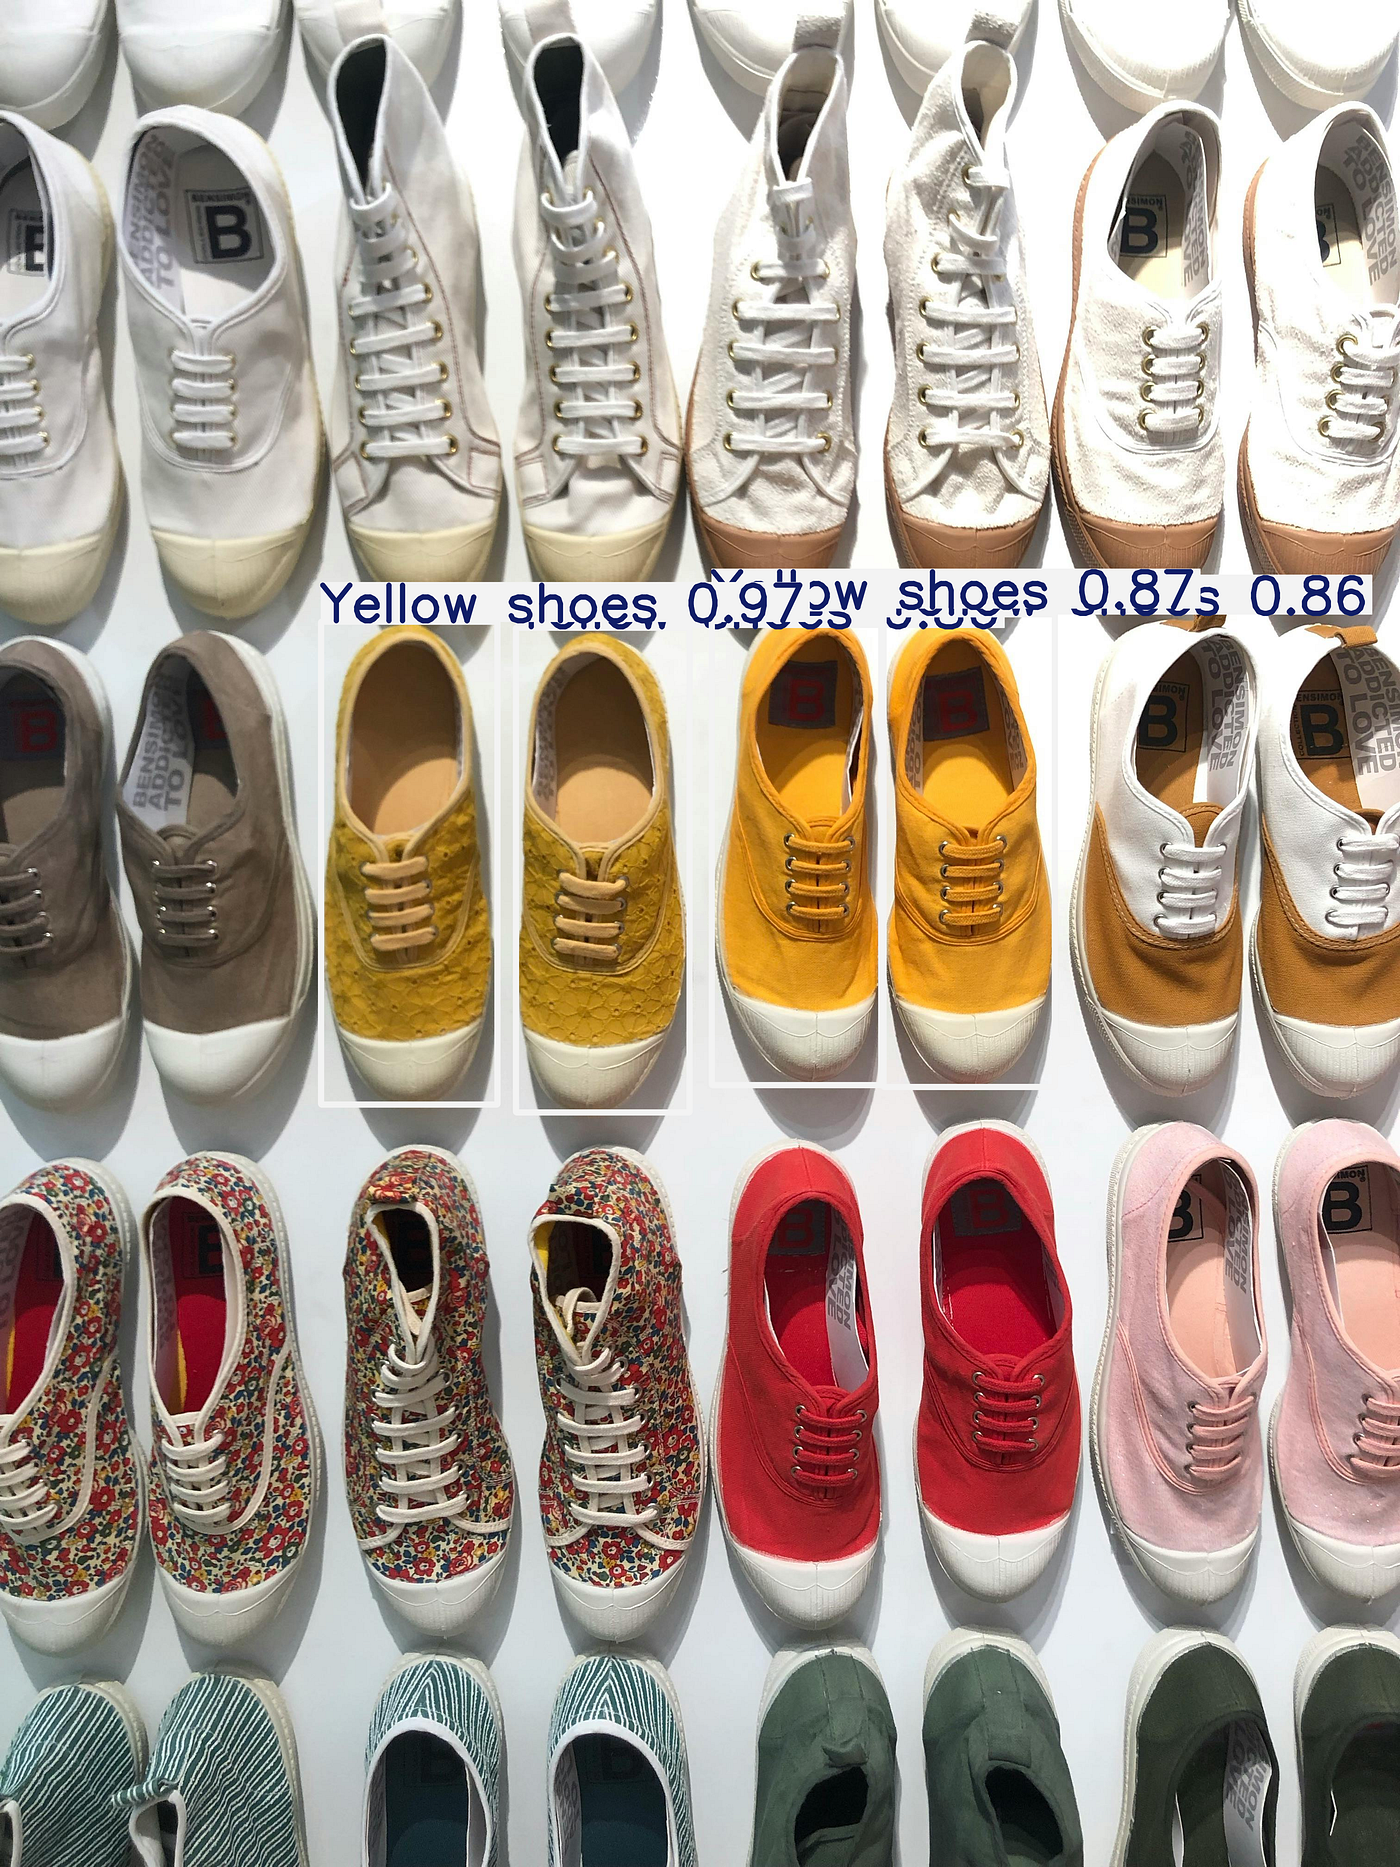
Dynamic Prompting: Customizing Your Model Without a Single Image Label
This is where the paradigm shift truly happens. Instead of going back to the drawing board to train a new model for a specific niche, we use the set_classes function to "re-program" the model's focus. By simply providing a list of strings—like "Yellow shoes" or "bag"—you are telling the model exactly what to care about. This allows for an incredible level of specificity that traditional models simply cannot match without months of data preparation.
This programmatic redefinition of the model’s vocabulary happens in milliseconds. It turns the AI into a bespoke detector tailored for your specific use case, whether that’s warehouse inventory or retail analytics. You aren’t just limited to generic categories; you can use descriptive language to find exactly what you’re looking for, making your AI far more useful in the messy, unpredictable real world.
After defining your custom prompts, the code allows you to save this “specialized” version of the model. By exporting a .pt file, you create a lightweight, portable version of your prompted intelligence. This means you don't need to keep the heavy language-processing components active during every run, allowing for a faster, more efficient production environment that remembers your custom objects forever.
Can I change my custom classes later without re-running the whole script?
Yes, the beauty of this workflow is that you can re-prompt the model at any time with new classes, or simply load your previously saved .pt file to use the specific vocabulary you’ve already defined.
### Create a separate model instance for defining custom, prompted object classes.
model2 = YOLOWorld('yolov8s-world.pt')

### Reprogram the model's vocabulary on the fly to detect bags, cell phones, and yellow shoes.
model2.set_classes(["cell phone", "bag", "Yellow shoes"])

### Run inference using the custom prompts with a high confidence threshold of 0.85.
results2 = model2.predict(img_path, device='cuda', conf=0.85)

### Save the custom-prompted weights to a permanent file for use in production environments.
model2.save("d:/temp/models/my-yolov8s-world.pt")

### Preview the detection results specifically for your new custom classes on screen.
results2[0].show()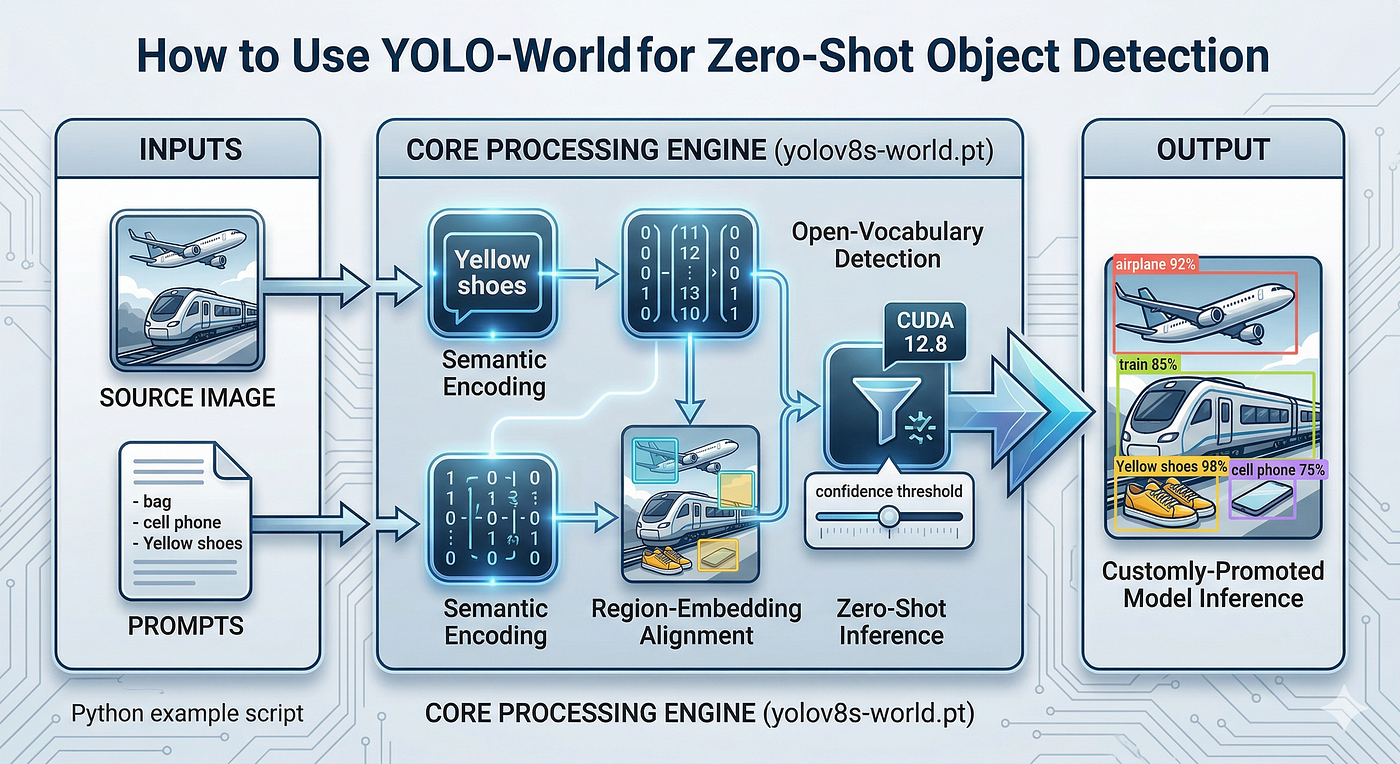
From Code to Clarity: Professional Visualizations and Model Deployment
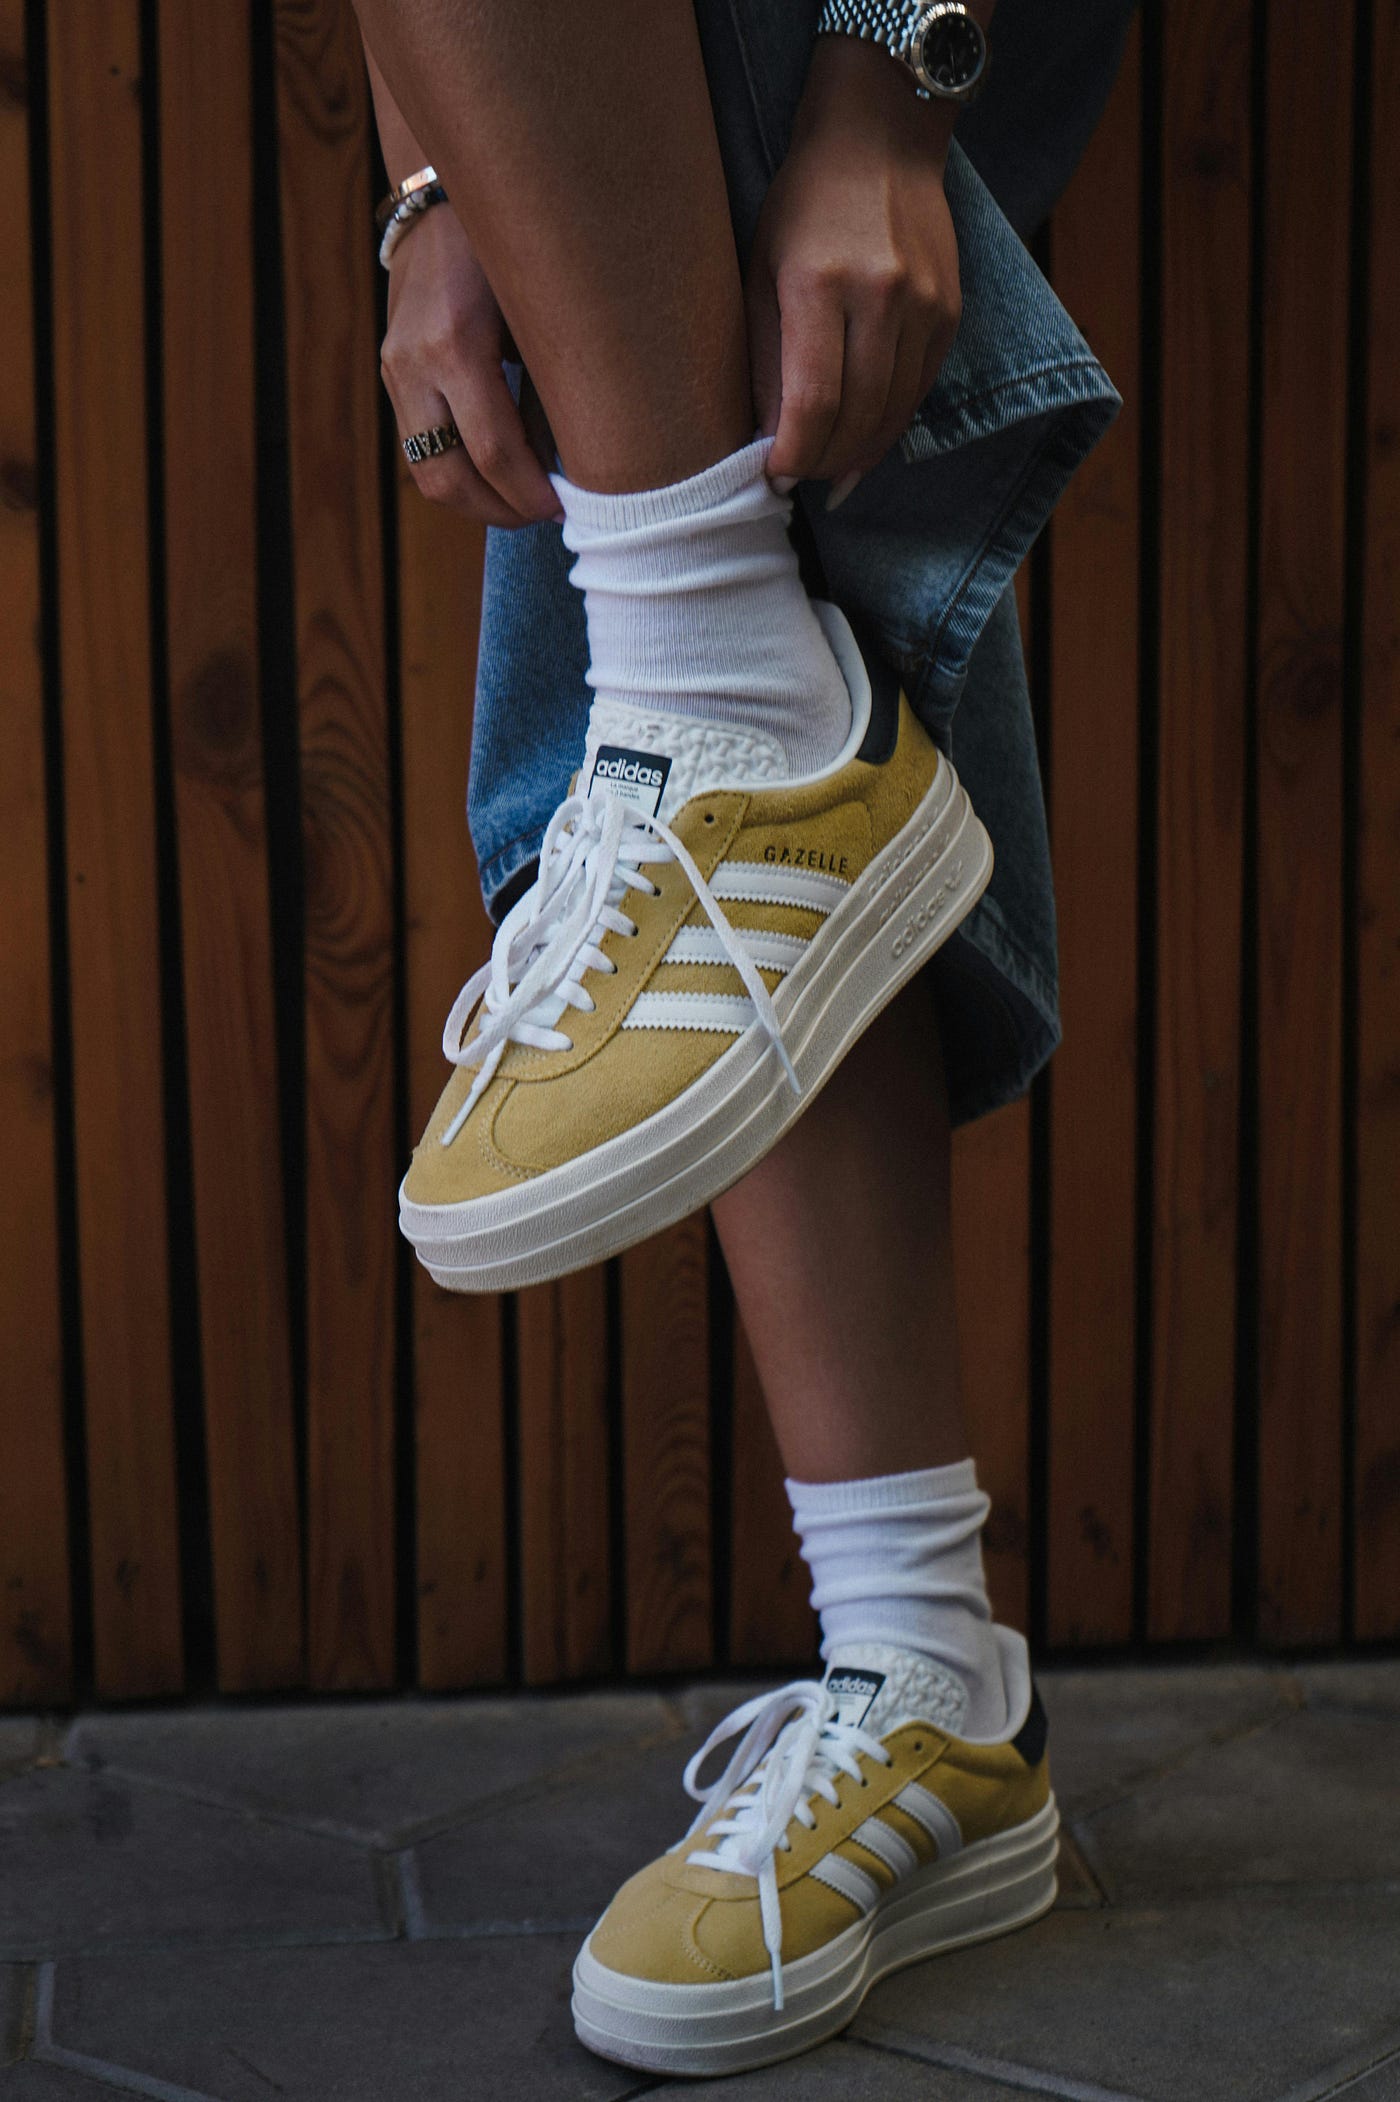
In the final stage of our pipeline, we focus on making the AI’s output intelligible for human decision-makers. We load our saved, custom-prompted model using the standard YOLO class, demonstrating that zero-shot models integrate perfectly with existing infrastructure. This ensures that your innovative, no-label approach doesn't require reinventing your entire software stack.
To create professional-grade visuals, we utilize the Supervision library to draw bounding boxes and labels. By manually extracting the coordinates and confidence scores from the model’s output, we can customize every aspect of the visualization — from the thickness of the lines to the color of the text. This isn’t just about aesthetics; it’s about creating a clear, readable output that clearly identifies objects like “Yellow shoes” for end-users or automated logging.
The culmination of this tutorial is a fully realized vision application. We take a raw test image and transform it into a piece of data-rich intelligence, complete with precise labels and high-confidence bounding boxes. This end-to-end process — from environment setup to professional visualization — empowers you to build AI tools that are not only powerful but also transparent and easy to integrate into larger systems.
Why is the confidence score so important in zero-shot detection?
In zero-shot scenarios, the model is making “educated guesses” based on language; the confidence score (like 0.85) helps you filter out noise and ensure that only the most certain detections are shown to the user.
### Import the standard YOLO class for loading saved custom model files.
from ultralytics import YOLO

### Import OpenCV for reading the final test image from the local disk.
import cv2

### Define the path to your previously saved custom-prompted YOLO-World model.
pathForSavedModel = "d:/temp/models/my-yolov8s-world.pt"

### Load your specialized model into memory using the standard Ultralytics YOLO interface.
model = YOLO(pathForSavedModel)

### Set the path for the final test image to verify your custom classes.
testImage = "Best-Object-Detection-models/YOLO-World/Method1-Build-custom-Object-detection-model/test_image.jpg"

### Execute inference on the test image with a confidence threshold of 0.6.
results = model.predict(testImage, device='cuda', conf=0.6)

### Show the raw inference output using the built-in Ultralytics viewer for quick checking.
results[0].show()

### Import the supervision library to create high-quality, professional annotations.
import supervision as sv

### Initialize a box annotator to draw standard rectangles around detected objects.
box_annotator = sv.BoxAnnotator()

### Initialize a label annotator with custom text size, thickness, and color styles.
label_annotator = sv.LabelAnnotator(text_scale=8,
                                    text_thickness=10,
                                    text_color=sv.Color.BLUE,
                                    color=sv.Color.YELLOW)

### Extract the bounding box coordinates from the first result and move them to CPU memory as a NumPy array.
xyxy = results[0].boxes.xyxy.cpu().numpy()

### Extract the confidence scores from the results and move them to a NumPy array.
confidence = results[0].boxes.conf.cpu().numpy()

### Extract the class identifiers and convert them to integers for labeling.
class_id = results[0].boxes.cls.cpu().numpy().astype(int)

### Construct a Supervision Detections object from the extracted boxes, confidence, and class IDs.
detections = sv.Detections(xyxy=xyxy, confidence=confidence, class_id=class_id)

### Read the test image using OpenCV to prepare it for drawing the annotations.
image = cv2.imread(testImage)

### Generate a list of text labels by mapping the class IDs to their names in the model.
labels = [model.model.names[class_id] for class_id in detections.class_id]

### Print the detected labels to the console for verification.
print(labels)

### Apply the box annotations to a copy of the original image scene.
finalImage1 = box_annotator.annotate(scene=image.copy(), detections=detections)

### Overlay the custom text labels onto the image with the defined annotator settings.
finalImage1 = label_annotator.annotate(scene=finalImage1, detections=detections, labels=labels)

### Use the Supervision plotting tool to display the final, fully annotated image.
sv.plot_image(finalImage1, (10,10))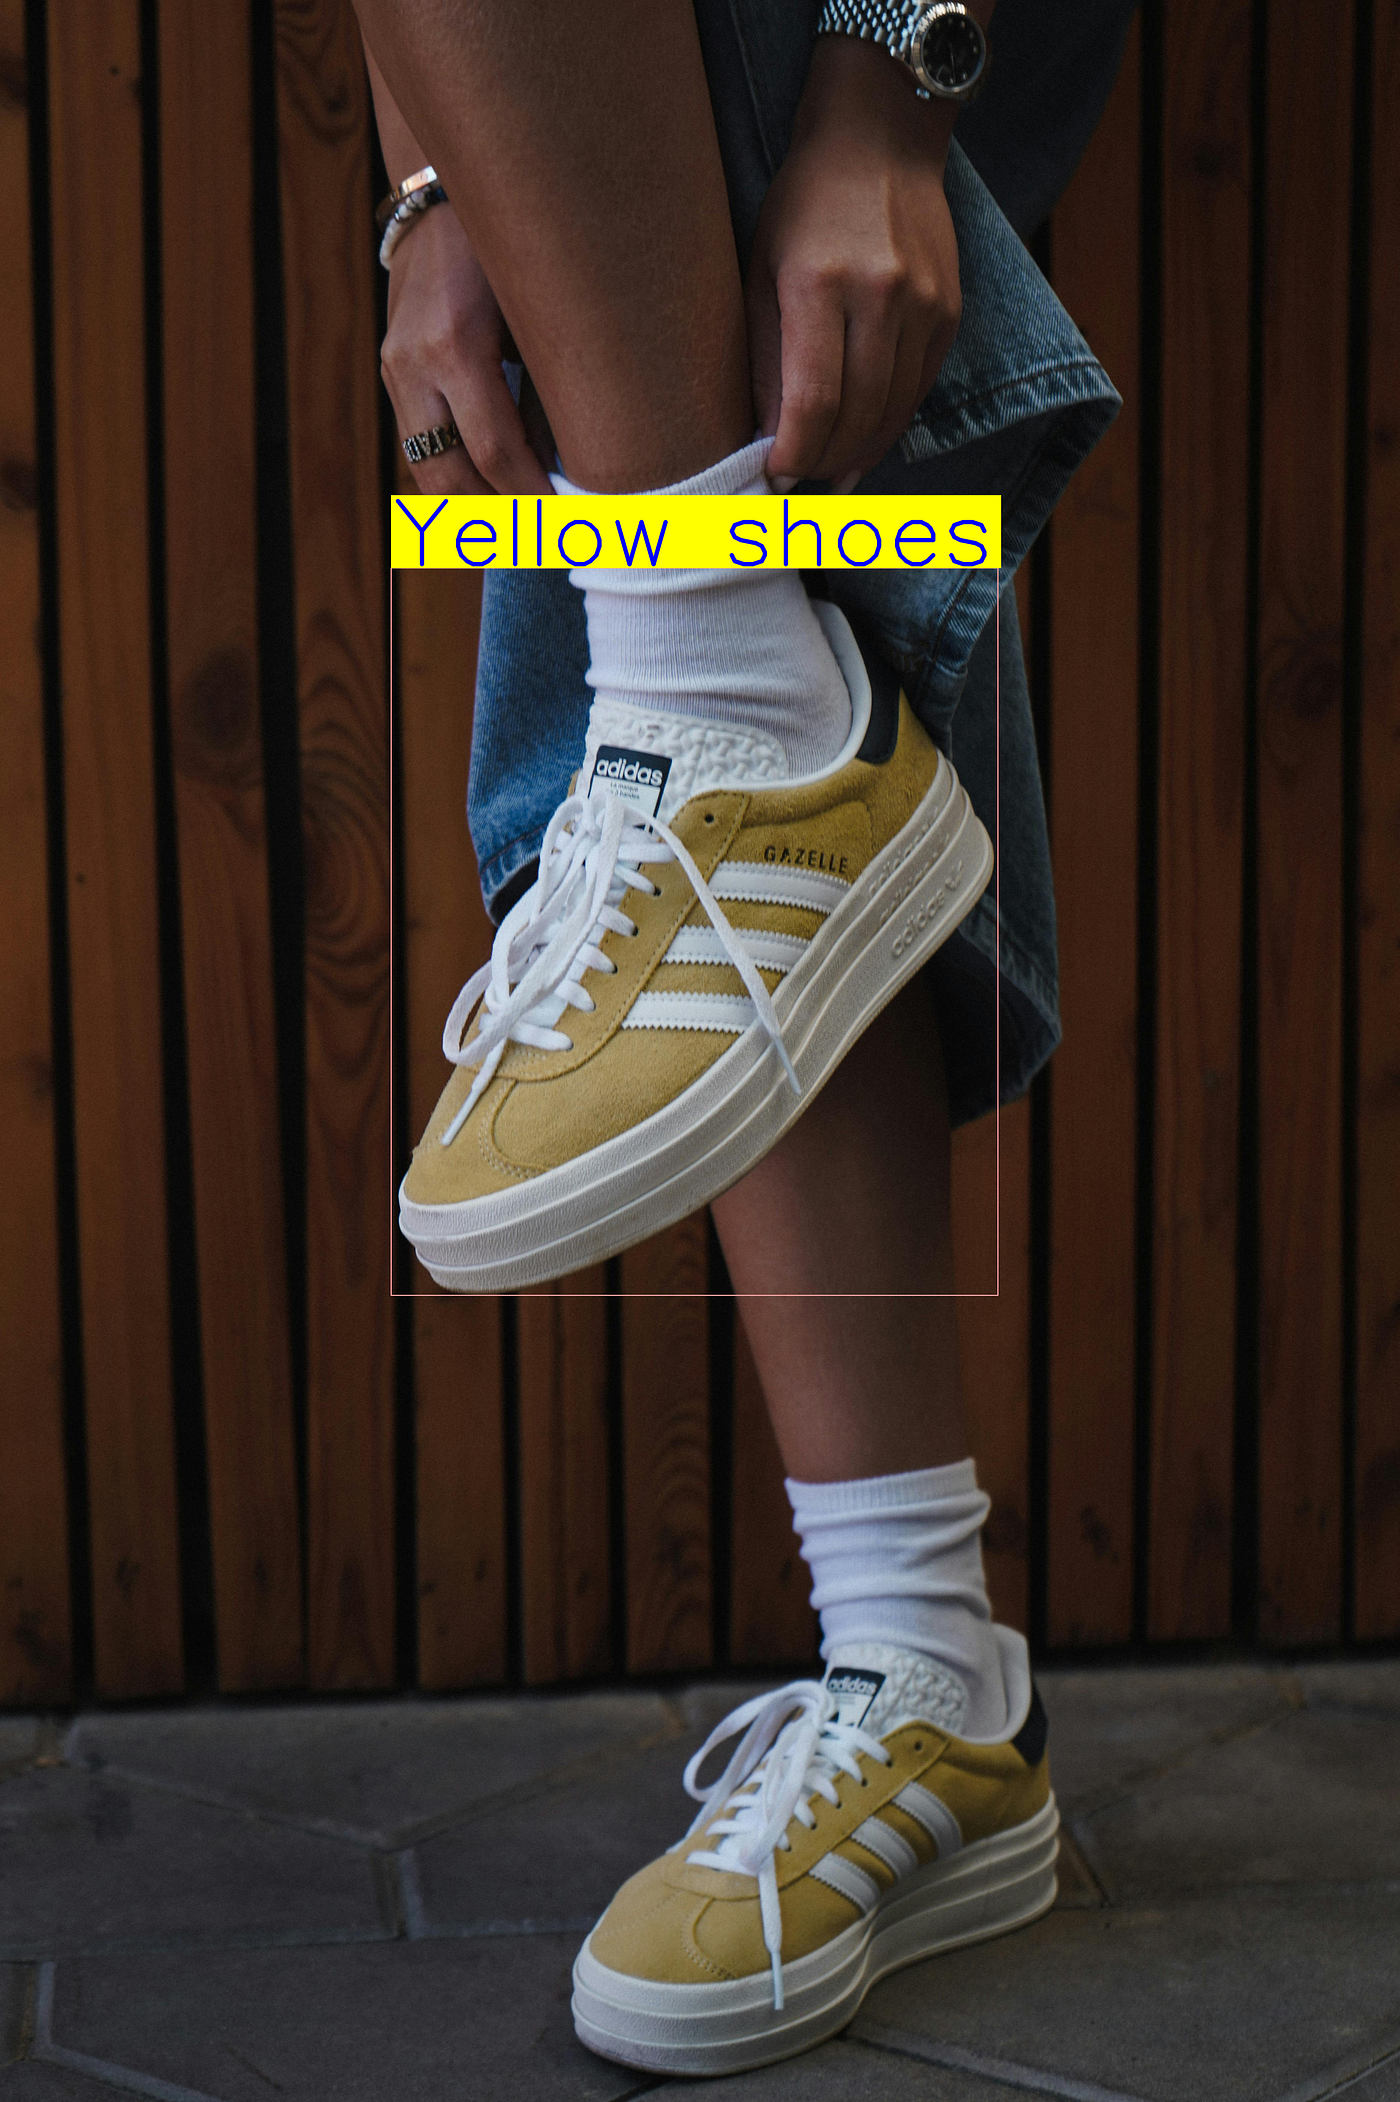
FAQ
Q: Can YOLO-World run on a CPU, or is a GPU required? A: While it can run on a CPU, a GPU with CUDA 12.8 is highly recommended. Zero-shot tasks involve heavy vision-language calculations that are significantly faster with NVIDIA acceleration.
Q: How many custom classes can I set at once? A: There is no strict limit, but adding hundreds of classes may increase inference time. For most real-time applications, keeping the list under 50 classes maintains high performance.
Q: Do I need to provide images of my custom classes to the model? A: No, that is the “Zero-Shot” advantage. You only provide the text names (e.g., “Yellow shoes”), and the model uses its pre-trained language understanding to find them.
Q: Is the saved .pt file a full YOLO model? A: Yes, once saved, it acts like a standard YOLOv8 weights file but with a customized classification head specifically for your prompts.
Q: Can YOLO-World detect abstract concepts like “broken window”? A: Yes, it can often detect attributes or states, though performance varies. It is best at identifying physical objects and their descriptive properties.
Q: What is the best confidence threshold to use? A: For zero-shot tasks, a threshold between 0.4 and 0.6 is a good starting point. You can adjust this based on the complexity of your specific classes.
Q: Does it work with video files? A: Absolutely. You can use the same model.predict() logic inside an OpenCV video loop or use the Supervision library's video processing utilities.
Q: How do I handle overlapping detections? A: You can use Non-Maximum Suppression (NMS), which is built into the predict function, or use Supervision's filtering tools to remove redundant boxes.
Q: Is YOLO-World better than YOLOv8? A: They serve different purposes. YOLOv8 is better for fixed, known categories with massive datasets, while YOLO-World is superior for new, rare, or changing categories.
Q: Can I use this for commercial projects? A: Yes, the Ultralytics framework and YOLO-World weights are generally available for commercial use, but always check the specific licensing for your version of the weights.
Conclusion: Embracing the Future of Prompt-Based Vision
This journey through the YOLO-World tutorial highlights a massive shift in the AI landscape. We are moving from a world where humans had to teach machines every single detail to a world where machines can understand our descriptions and act upon them immediately. By leveraging zero-shot detection, you are not just saving time; you are building a new class of vision systems that are adaptable, resilient, and incredibly easy to scale across different industries.
As we have seen, the combination of PyTorch 2.9.1, CUDA 12.8, and the Ultralytics framework creates a formidable toolset for any modern developer. The ability to re-program a model’s vocabulary on the fly is a game-changer for anyone dealing with niche or rapidly changing data. I hope this guide serves as a springboard for your own projects, allowing you to build intelligent applications that see the world exactly how you describe it.
Connect :
☕ Buy me a coffee — https://ko-fi.com/eranfeit
🖥️ Email : feitgemel@gmail.com
🤝 Fiverr : https://www.fiverr.com/s/mB3Pbb
Enjoy,
Eran
메타데이터
- post_id
- 85dcc011f40c
- slug
- i-stopped-manually-labeling-images-a-practical-guide-to-zero-shot-object-detection-with-yolo-world-85dcc011f40c
- url
- https://medium.com/object-detection-tutorials/i-stopped-manually-labeling-images-a-practical-guide-to-zero-shot-object-detection-with-yolo-world-85dcc011f40c
- canonical_url
- https://medium.com/object-detection-tutorials/i-stopped-manually-labeling-images-a-practical-guide-to-zero-shot-object-detection-with-yolo-world-85dcc011f40c
- author_url
- https://medium.com/@feitgemel
- status
- ok
- fetched_at
- 2026-06-15 20:49:13