Stop Uploading Your App Manually — Let Fastlane Do It For You
How I went from clicking through Play Console and App Store Connect every release, to a single terminal command that does it all.
Stop Uploading Your App Manually — Let Fastlane Do It For You
How I went from clicking through Play Console and App Store Connect every release, to a single terminal command that does it all.
I used to have a ritual every release day.
Open Play Console. Navigate to the app. Create a new release. Drag in the AAB. Wait for it to process. Write release notes. Submit for review. Then repeat the exact same thing on App Store Connect — but this time with Xcode archives, signing certificates, and a prayer that nothing breaks.
Every. Single. Release.
If you’re a mobile developer, you know exactly what I’m talking about. And if you’re doing white-label apps — where you’re shipping multiple variations of the same base app — multiply that frustration. It was eating hours of my week on pure mechanical work that added zero value.
So last year I finally got fed up and went looking for a better way.

The Search for a Solution

GitHub Actions, Bitrise, Codemagic — I looked at all of them. They’re powerful, no doubt. But I wanted something local, something I could run from my machine without setting up a cloud pipeline, something that felt like mine and not a black box running somewhere in the cloud.
That’s when I found Fastlane. And honestly, I fell in love with it.
What Is Fastlane?
Fastlane is an open-source automation tool built specifically for mobile developers. It handles building, signing, and releasing your app — for both Android and iOS — so you don’t have to touch the store dashboards manually.
Instead of this:
Build AAB → Open Play Console → Create release → Upload → Fill notes → Submit
You run this:
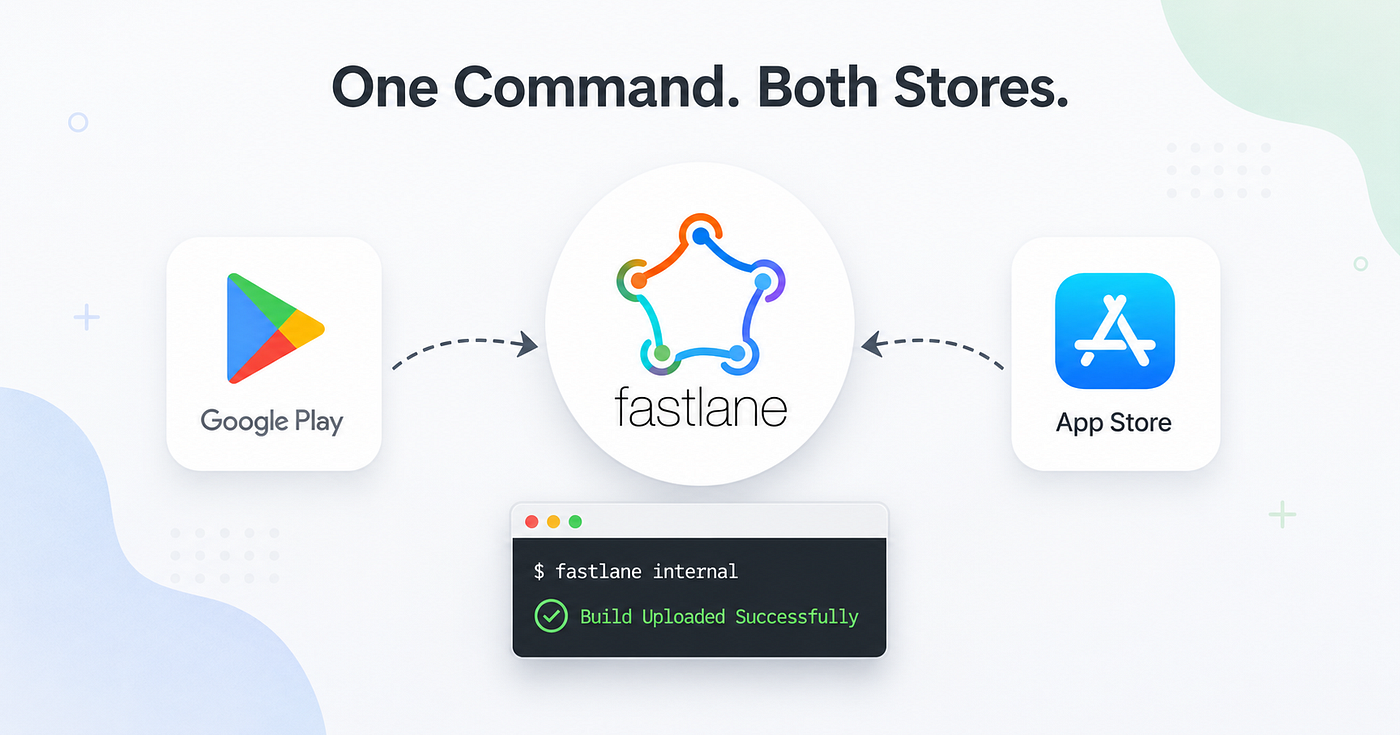
fastlane internalThat’s it. One command. Fastlane builds your Flutter app, signs it, and uploads it straight to the Play Store’s internal testing track.
Here’s a quick map of what it replaces:
Manual Step Fastlane Equivalent Build release AAB / IPA sh("flutter build ...") in your lane Upload to Play Store upload_to_play_store Upload to TestFlight upload_to_testflight Upload to App Store upload_to_app_store Promote internal → production track_promote_to parameter
Setting It Up
Before we dive in — one important note. Your app needs to already exist on Play Store / App Store Connect. Fastlane can manage releases but it can’t create the app listing from scratch. Do your first upload manually, then hand the wheel to Fastlane forever after.
Installation
macOS
Fastlane runs on Ruby, which comes pre-installed on macOS. Install it via Homebrew:
brew install fastlane
fastlane --version
Windows
Windows doesn’t support Fastlane natively — but you can run it through the Windows Subsystem for Linux (WSL). First enable WSL and install Ubuntu from the Microsoft Store, then inside your WSL terminal:
sudo apt update
sudo apt install ruby-full
gem install fastlane
fastlane --version
⚠️ iOS builds are macOS only. If you’re on Windows, you can still automate Android releases with Fastlane via WSL — but iOS requires macOS with Xcode installed. There’s no way around that one, unfortunately.
A Note on Build Commands
In this article I’m using Flutter as the example, but Fastlane itself is completely framework-agnostic. The sh(...) call inside a lane just runs any shell command — so you can swap in whatever build command your stack uses:
# Flutter (used in this article)
flutter build appbundle --release          # Android
flutter build ipa --release ...            # iOS
# React Native
npx react-native build-android --mode=release
cd ios && xcodebuild -workspace YourApp.xcworkspace -scheme YourApp -configuration Release archive # iOS# Native Android
./gradlew bundleRelease# Native iOS
xcodebuild -workspace YourApp.xcworkspace -scheme YourApp archiveOne important thing to keep in mind: the output path of your build artifact will differ depending on your framework. The aab: or ipa: path you set in the Fastfile must match where your build tool actually drops the file. If the path is wrong, Fastlane will fail at the upload step with a "file not found" error — so double-check it once after your first build.
Android Setup
Initialize Fastlane
Navigate into your Flutter project’s android/ folder and run:
cd android
fastlane init
This creates a fastlane/ folder with two files — Appfile (your app's identity) and Fastfile (where your automation lives).
The Service Account JSON
Fastlane needs permission to talk to Google Play on your behalf. You do this through a service account.
- Go to Google Play Console → your app → Setup → API access
- Link it to a Google Cloud project
- Create a new service account, grant it the Release Manager role
- Download the
.jsonkey file and place it atandroid/play-store-credentials.json
⚠️ Add this file to
.gitignoreimmediately. This JSON is basically a password to your Play Console. Never commit it to any repository.
One gotcha I hit early on: always use the absolute path to this JSON file, not a relative one. Fastlane sometimes struggles to resolve relative paths and you’ll get cryptic auth errors.
The Fastfile
This is where the magic happens. Here’s a clean setup with four lanes — covering internal testing, production, and promoting builds without rebuilding:
default_platform(:android)

platform :android do

  desc "Build and upload to Internal Testing"
  lane :internal do
    sh("flutter build appbundle --release", chdir: "../../")
    upload_to_play_store(
      track: "internal",
      aab: "../build/app/outputs/bundle/release/app-release.aab",
      json_key: "play-store-credentials.json",
      skip_upload_apk: true
    )
  end

  desc "Build and upload to Production"
  lane :production do
    sh("flutter build appbundle --release", chdir: "../../")
    upload_to_play_store(
      track: "production",
      aab: "../build/app/outputs/bundle/release/app-release.aab",
      json_key: "play-store-credentials.json",
      skip_upload_apk: true
    )
  end

  desc "Promote Internal → Production (no rebuild)"
  lane :promote do
    upload_to_play_store(
      track: "internal",
      track_promote_to: "production",
      json_key: "play-store-credentials.json",
      skip_upload_apk: true,
      skip_upload_aab: true
    )
  end

enddefault_platform(:android)
platform :android do

  desc "Build and upload to Internal Testing"
  lane :internal do
    sh("flutter build appbundle --release", chdir: "../../")
    upload_to_play_store(
      track: "internal",
      aab: "../build/app/outputs/bundle/release/app-release.aab",
      json_key: "play-store-credentials.json",
      skip_upload_apk: true
    )
  end
The promote lane is one of my favourites — once a build is tested internally and ready to go, I don't rebuild it. I just promote it. Saves time and guarantees you're shipping the exact binary that was tested.
iOS Setup
iOS setup follows the same idea but with Apple’s own authentication system.
Initialize Fastlane
cd ios
fastlane init
The .p8 API Key
Instead of a JSON file, iOS uses a .p8 API key from App Store Connect.
- Go to App Store Connect → Users and Access → Keys
- Create a new key with App Manager access
- Download the
.p8file — you can only download it once
Place it in your ios/ folder and — you guessed it — add it to .gitignore immediately.
ios/*.p8Create ExportOptions.plist
Before Fastlane can build and export your IPA, iOS needs to know how to sign it. You define this in an ExportOptions.plist file. Create it at ios/ExportOptions.plist:
<?xml version="1.0" encoding="UTF-8"?>
<!DOCTYPE plist PUBLIC "-//Apple//DTD PLIST 1.0//EN" "http://www.apple.com/DTDs/PropertyList-1.0.dtd">
<plist version="1.0">
<dict>
    <key>method</key>
    <string>app-store</string>
    <key>teamID</key>
    <string>YOUR_TEAM_ID</string>
    <key>uploadBitcode</key>
    <false/>
    <key>uploadSymbols</key>
    <true/>
    <key>signingStyle</key>
    <string>automatic</string>
</dict>
</plist>
Replace YOUR_TEAM_ID with your Apple Developer Team ID — you can find it at developer.apple.com/account under Membership Details. The signingStyle: automatic lets Xcode handle provisioning profiles for you, which keeps things simple for local builds.
The Fastfile
default_platform(:ios)

platform :ios do

  def api_key
    app_store_connect_api_key(
      key_id: "YOUR_KEY_ID",
      issuer_id: "YOUR_ISSUER_ID",
      key_filepath: "./AuthKey_XXXXXXXXXX.p8",
      duration: 1200,
      in_house: false
    )
  end

  desc "Build and upload to TestFlight"
  lane :beta do
    key = api_key()
    sh("flutter build ipa --release --export-options-plist=ios/ExportOptions.plist", chdir: "../../")
    upload_to_testflight(
      api_key: key,
      ipa: "../build/ios/ipa/YOUR_APP_NAME.ipa",
      skip_waiting_for_build_processing: true
    )
  end

  desc "Build and upload to App Store"
  lane :production do
    key = api_key()
    sh("flutter build ipa --release --export-options-plist=ios/ExportOptions.plist", chdir: "../../")
    upload_to_app_store(
      api_key: key,
      ipa: "../build/ios/ipa/YOUR_APP_NAME.ipa",
      skip_metadata: true,
      skip_screenshots: true,
      submit_for_review: false,
      force: true
    )
  end

  desc "Promote TestFlight → App Store (no rebuild)"
  lane :promote do
    key = api_key()
    upload_to_app_store(
      api_key: key,
      skip_binary_upload: true,
      skip_metadata: true,
      skip_screenshots: true,
      submit_for_review: true,
      force: true
    )
  end
end
Pro tip for iOS: Always run
bundle exec fastlaneinstead of justfastlane. Plainfastlaneuses your system Ruby, which can conflict with CocoaPods. Usingbundle execkeeps everything in the same Ruby environment and saves you a lot of painful debugging.
The Workflow in Practice
My actual release flow now looks like this:
Android:
cd android
fastlane internal    # build + upload to internal testing
# test it, approve it
fastlane promote     # push to production, no rebuild
iOS:
cd ios
bundle exec fastlane beta      # build + upload to TestFlight
# test it, approve it
bundle exec fastlane promote   # submit to App Store, no rebuild
That’s the whole thing. What used to take 30–40 minutes of clicking, waiting, and hoping now takes a few seconds of my attention.
Where It Really Shines — White Label Apps
The place Fastlane saved me the most time was in a project where I had to manage multiple apps from a single source — white-label apps.
The idea is simple: one base React native app, multiple clients, each getting their own version with a different app name, colors, and base URL — but the same underlying codebase. Using product flavors on Android and multiple targets on iOS, everything lives in one project.
Without Fastlane, releasing multiple white-label variants meant doing that entire manual Play Console + App Store Connect dance multiple times over. With Fastlane, I extended the lanes to loop through each flavor and fire off each upload in sequence — same effort as releasing one app.
I’ll write a dedicated article on the multi-flavor + multi-target setup, it’s a topic that deserves its own deep dive.
A Few Things to Keep in Mind
- First upload must always be manual. Fastlane can’t create a new app listing from scratch — it can only manage existing ones.
- Keep your credentials out of Git. The
play-store-credentials.jsonand.p8file are secrets. Treat them like passwords. - Version codes must always increment on Android. If you forget to bump it, the upload will fail.
- Fastlane is best for solo developers or small teams working locally. If your team is larger or distributed, a cloud CI/CD setup (GitHub Actions, Codemagic) will serve you better since local Fastlane doesn’t share state across machines.
Wrapping Up
If you’re still manually uploading builds to the stores, do yourself a favour and spend an hour setting up Fastlane. It’s one of those tools that pays back the setup time on the very first release.
One command. Build done. Upload done. Go drink your coffee while it runs.

References
- Fastlane Official Docs
- Fastlane for Android — upload_to_play_store
- Fastlane for iOS — upload_to_testflight
- App Store Connect API Keys
- Google Play Service Account Setup
If this helped you, share it with a fellow mobile dev who’s still doing it the hard way. 🚀
메타데이터
- post_id
- 00f8f49e9bf1
- slug
- stop-uploading-your-app-manually-let-fastlane-do-it-for-you-00f8f49e9bf1
- url
- https://medium.com/@smitp7502/stop-uploading-your-app-manually-let-fastlane-do-it-for-you-00f8f49e9bf1
- canonical_url
- https://medium.com/@smitp7502/stop-uploading-your-app-manually-let-fastlane-do-it-for-you-00f8f49e9bf1
- author_url
- https://medium.com/@smitp7502
- status
- ok
- fetched_at
- 2026-06-23 03:48:11



