Deep Dive: MCP Servers with Streamable HTTP Transport
Have you ever wanted to extend the capabilities of Large Language Models (LLMs) by giving them access to your own custom tools and data…
Deep Dive: MCP Servers with Streamable HTTP Transport
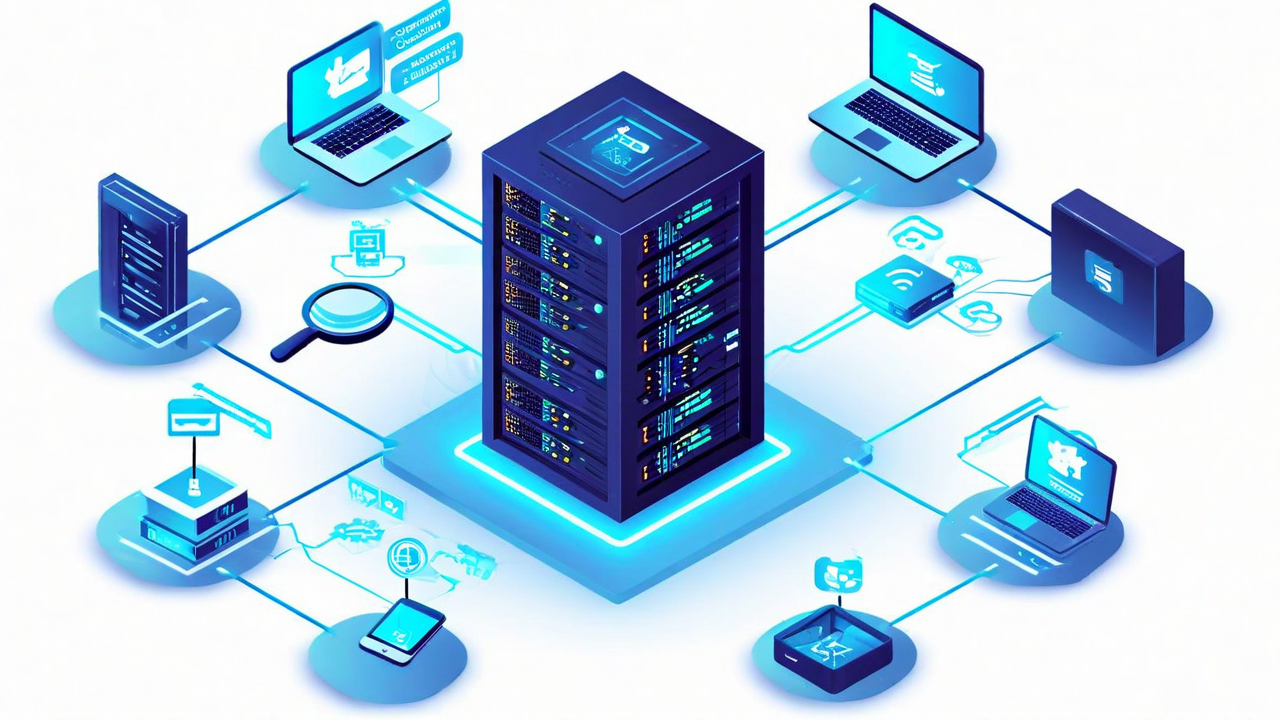
Caption image generated with the help of Amazon Nova Canvas model
Have you ever wanted to extend the capabilities of Large Language Models (LLMs) by giving them access to your own custom tools and data? The Model Context Protocol (MCP) makes this possible, and in this guide, I’ll show you how to create your very own MCP server using the new Streamable HTTP transport mechanism.
🤔What is MCP and Why Should You Care?
When you use an AI assistant like Claude or ChatGPT, you might notice they sometimes need access to external tools or data to help you better. For example, reading your mails and updating your calendar. MCP is the technology that makes this possible in a standardized way.
MCP is an open protocol that standardizes how applications provide context to LLMs. To extend the capabilities of these models beyond answering questions, we will need a mechanism to provide them hooks so that they can use these hooks to read your data or perform any actions in your environment. Tool use was the original answer to this problem and later MCP was built on top of this idea. Think of your MCP server as a hook that you build once for a model but reuse it across different models at different instances and environments. MCP provides a standardized way to connect AI models to different data sources and tools.
It allows:
- LLMs to access your custom tools and data sources
- Flexibility to switch between different LLM providers
- Secure access to your data within your infrastructure
These MCP servers can either run locally, which is the most common usage pattern as of writing this. MCP Server developers publish them and you download them and run them locally as plugins to MCP hosts such as Claude Desktop, Cline, and Amazon Q Developer.
Another usage pattern is to run the MCP servers in a remote location. This way, you run your MCP server in a single place and have different AI applications invoke them. This pattern is more relevant in an enterprise scenario especially where you want to turn some of your microservice APIs into tools and reuse them across multiple applications. For example, you can have a single MCP server that updates a JIRA board and expose it to multiple agentic applications including an AI based development that writes code for a given specification, an AI assisted code review agent that reviews the changes committed and so on.
Streamable HTTP is a transport mechanism proposed in MCP specification in March 2025 for enabling such remote MCP invocations. We are going to explore the under-the-hood workings of this mechanism in detail in the coming sections with an example in ‘tutorial’ style.
📝What We’ll Build Today
In this tutorial, we’ll create a simple ‘remote’ MCP server that exposes a “square” function — a tool that takes a number and returns its square. While this is a simple example, the same principles apply to creating more complex tools like file system access, database / knowledge base queries, or API integrations.
We’ll cover:
- Setting up a FastAPI backend with MCP support
- Creating a custom tool
- Testing our MCP server using the Streamable HTTP transport
Let’s get started!
📋Prerequisites
- Git
- Node >= 22 (Recommend using something like NVM to manage your node versions)
# Verify node version
node --version# Verify pnpm version
pnpm - version# Skip the below steps if you have Python already installed
# Install python 3.12 using uv
uv python install 3.12.0
# Verify python installation
uv python list --only-installed- curl to make calls to our MCP server
🏗️Setting Up Our Project
First, we’ll create a new project using the AWS Nx Plugin, which provides a platform for rapidly developing our MCP server. It also enables you to later deploy this MCP server as a serverless function using AWS Lambda. We will not be deploying it to the cloud in our tutorial and will be validating it by running locally.
# Create an Nx workspace with the required scaffolding
npx create-nx-workspace streamable-http-mcp --pm=pnpm --preset=@aws/nx-plugin --ci=skip --formatter=prettier

# Navigate to the newly minted application's root directory
cd streamable-http-mcp/
Next, we’ll scaffold a Python FastAPI project within our workspace:
The
— auth Cognitois useful when you would eventually want to deploy this MCP server as a Lambda function. But we will not be testing this functionality in this tutorial.
pnpm nx g @aws/nx-plugin:py#fast-api --name=mcp-api --moduleName mcp_api --auth CognitoLet’s verify our FastAPI application works by starting it:
pnpm nx run streamable_http_mcp.mcp_api:serveYou should see output indicating that the server started at http://127.0.0.1:8000 with documentation available at http://127.0.0.1:8000/docs.
Let’s test the default echo endpoint to make sure everything is working:
curl "http://localhost:8000/echo?message=Testing%20FastAPI%20Application"You should see
{"message":"Testing FastAPI Application"}So far, we have created our API backend and confirmed that it is up and running. ✅
🔄Adding MCP Support to Our FastAPI Application
Now, let’s add FastMCP as a dependency to enable our FastAPI application to serve as an MCP server:
pnpm nx run streamable_http_mcp.mcp_api:add --name fastmcpNext, we need to modify our scaffold application to expose MCP endpoints. Let’s update the packages/mcp_api/mcp_api/init.py file:
# packages/mcp_api/mcp_api/init.py
from fastapi import FastAPI
from fastapi.middleware.cors import CORSMiddleware
from fastapi.openapi.utils import get_openapi
from fastapi.responses import JSONResponse
from fastapi.routing import APIRoute
+from fastmcp import FastMCP  # Add this import
from mangum import Mangum
from pydantic import BaseModel
from starlette.middleware.exceptions import ExceptionMiddleware

from aws_lambda_powertools import Tracer

tracer: Tracer = Tracer()

class InternalServerErrorDetails(BaseModel):
    detail: str

+# Create the FastMCP server first
+mcp = FastMCP("StreamableHttpMcpServer")
+
+# Create the MCP ASGI app
+mcp_app = mcp.http_app(path="/mcp")

app = FastAPI(
    title="McpApi",
    responses={
        500: {"model": InternalServerErrorDetails}
-    }
+    },
+    lifespan=mcp_app.lifespan  # Add this parameter
)
+
+# Mount the MCP server to the FastAPI app
+app.mount("/mcp-server", mcp_app)
+
lambda_handler = Mangum(app)

# Add tracing
Now, let’s create a custom tool by updating the packages/mcp_api/mcp_api/main.py file:
# packages/mcp_api/mcp_api/main.py
from pydantic import BaseModel
-from .init import app, lambda_handler, tracer
+from .init import app, lambda_handler, mcp, tracer  # Add mcp to imports

handler = lambda_handler

class EchoOutput(BaseModel):
    message: str

@app.get("/echo")
@tracer.capture_method
def echo(message: str) -> EchoOutput:
    return EchoOutput(message=f"{message}")
+
+@mcp.tool  # Register this function as an MCP tool
+@tracer.capture_method
+def square(input: int) -> int:
+    """
+    Squares the given number.
+
+    Args:
+        input: The number to square
+
+    Returns:
+        The squared number
+    """
+    return input * input
Now let’s re-start our FastMCP server to see the updates:
pnpm nx run streamable_http_mcp.mcp_api:serveNow, we have made the FastAPI backend into an MCP server with a custom tool. 🏆
🧠Understanding the Streamable HTTP Transport
Before we test our MCP server, let’s understand what the Streamable HTTP transport is and how it works.
The Streamable HTTP transport is a communication mechanism that allows MCP clients to interact with MCP servers over HTTP. It supports:
- Session management for maintaining state between requests
- Server-Sent Events (SSE) for streaming responses
- Bidirectional communication between client and server
This transport is particularly useful for applications and services that need to interact with MCP servers over HTTP. You can review the specifications to understand it in detail. Let us now proceed to testing our new MCP server.
🧪Testing Our MCP Server
Now is the time for the deep dive! Our MCP server is running, let’s test it using the Streamable HTTP transport. If you are using a standard MCP host, you can simply configure it to talk to our new MCP server using streamable-http as the transport and you don’t need to do anything else.
However, we are going to go one level below and understand how the host communicates with our server per the specification. We’ll do that by following a specific sequence of steps that any MCP client would take using JSON-RPC. The exact sequence is already documented in the specification. So, I recommend you take a look at the picture in the specification to get an idea about the message sequences that we will be reviewing in the following sections.
If you are wondering where JSON-RPC came into the picture, it is the object serialization mechanism that MCP uses. More details here — https://modelcontextprotocol.io/specification/2025-03-26#key-details
Step 1: Initialize a Session
First, the MCP client will create a session with the MCP server. This establishes a connection and negotiates capabilities.
To simulate that, create a file named init_request.json with the following payload content:
{
  "jsonrpc": "2.0",
  "id": 1,
  "method": "initialize",
  "params": {
    "protocolVersion": "2025-03-26",
    "capabilities": {
      "roots": {
        "listChanged": true
      },
      "sampling": {}
    },
    "clientInfo": {
      "name": "curl-client",
      "version": "1.0.0"
    }
  }
}
Now, let’s send this request to our server:
curl -X POST http://localhost:8000/mcp-server/mcp/ \
  -H "Content-Type: application/json" \
  -H "Accept: application/json, text/event-stream" \
  -d @init_request.json \
  -v
You should receive a response with:
- HTTP 200 OK status
- A session ID in the
Mcp-Session-Idheader - A JSON-RPC response with server capabilities
Make note of the session ID — you’ll need it for every subsequent request from now on.
Step 2: Send Initialized Notification
After initialization, we need to tell the server we’re ready to begin normal operations.
Create a file named initialized.json:
{
  "jsonrpc": "2.0",
  "method": "notifications/initialized"
}
Send the notification. Remember to update the session id noted down from the previous step:
curl -X POST http://localhost:8000/mcp-server/mcp/ \
  -H "Content-Type: application/json" \
  -H "Accept: application/json, text/event-stream" \
  -H "Mcp-Session-Id: <your-session-id>" \
  -d @initialized.json
You should receive an HTTP 202 Accepted response with no body. We are ready to proceed!
Step 3: List Available Tools
Now, let’s check what tools our server offers.
Create a file named list_tools.json:
{
  "jsonrpc": "2.0",
  "id": 3,
  "method": "tools/list"
}
Send the request:
curl -X POST http://localhost:8000/mcp-server/mcp/ \
  -H "Content-Type: application/json" \
  -H "Accept: application/json, text/event-stream" \
  -H "Mcp-Session-Id: <your-session-id>" \
  -d @list_tools.json
You should receive a response listing our square tool, including its description, input schema, and output schema.
Step 4: Call the Tool
Finally, let’s use our tool to square the number 5.
Create a file named tool_request.json:
{
  "jsonrpc": "2.0",
  "id": 2,
  "method": "tools/call",
  "params": {
    "name": "square",
    "arguments": {
      "input": 5
    }
  }
}
Send the request:
curl -X POST http://localhost:8000/mcp-server/mcp/ \
  -H "Content-Type: application/json" \
  -H "Accept: application/json, text/event-stream" \
  -H "Mcp-Session-Id: <your-session-id>" \
  -d @tool_request.json
You should receive a response with the result 25:
{
  "jsonrpc": "2.0",
  "id": 2,
  "result": {
    "content": [
      {
        "type": "text",
        "text": "25"
      }
    ],
    "structuredContent": {
      "result": 25
    },
    "isError": false
  }
}
Step 5: Terminate the Session (Optional)
When you’re done, you can explicitly terminate the session:
curl -X DELETE http://localhost:8000/mcp-server/mcp/ \
  -H "Mcp-Session-Id: <your-session-id>" \
  -v
You should receive an HTTP 200 OK response.
🤿How the Streamable HTTP Transport Works
Let’s break down what’s happening behind the scenes:
-
Session Initialization: The client sends an
initializerequest to establish a session. The server responds with a session ID and its capabilities. -
Session Management: After initialization, all subsequent requests include the session ID in the
Mcp-Session-Idheader. This allows the server to maintain state between requests. -
JSON-RPC Communication: All messages follow the JSON-RPC 2.0 protocol, with methods like
tools/listandtools/call. -
Content Negotiation: The client indicates it can accept both JSON and Server-Sent Events (SSE) using the
Acceptheader. -
Tool Discovery and Invocation: The client can discover available tools and invoke them with parameters.
🔍Common Issues and Troubleshooting
When working with MCP servers and the Streamable HTTP transport, you might encounter these common issues:
-
Missing Session ID: If you forget to include the
Mcp-Session-Idheader in your requests after initialization, you’ll get a “Bad Request: Missing session ID” error. -
Invalid Request Parameters: Make sure your JSON-RPC requests follow the correct format and include all required fields.
-
Tool Not Found: Verify that the tool name in your request matches exactly what was registered.
-
Invalid Arguments: Check that you’re providing all required arguments with the correct types.
-
Session Expired: If your session expires, you’ll get an HTTP 404 Not Found response. Start a new session by sending a new
initializerequest.
🚀Taking It Further
Now that you’ve built a basic MCP server with a simple tool, here are some ideas to expand your project:
-
Create More Complex Tools: Add tools that access databases, APIs, or file systems.
-
Add Authentication: Implement proper authentication to secure your MCP server.
-
Support Streaming Responses: Modify your tools to return streaming responses for long-running operations.
-
Deploy to the Cloud: Deploy your MCP server to AWS as a Lambda function and expose it via Amazon API Gateway.
🏁Conclusion
Congratulations! 🏅 You’ve successfully built and tested an MCP server using the Streamable HTTP transport. This opens up a world of possibilities for extending LLMs with your own custom tools and data sources. Support for streamable-http based MCP servers among MCP hosts is still at a nascent stage as of this writing. However, the specification itself opens up new ways for MCP adoption in enterprises.
The Model Context Protocol provides a standardized way for AI models to interact with external tools and data, and the Streamable HTTP transport makes it easy to expose these capabilities over HTTP.
As LLMs continue to evolve, the ability to extend them with custom tools will become increasingly important. By mastering MCP and understanding the lower level details of the protocol, you are now at a better place to troubleshoot lower level communication problems.
References
Happy coding! 🙌
Disclaimer: The views, opinions, and content presented in this document are solely those of the author and do not necessarily represent the views or positions of my employer. This document was created in a personal capacity, and all information, examples, and recommendations are provided as-is without any warranties or guarantees.
This blog post was drafted with the assistance of a large language model, with all technical content reviewed and validated by the author.
메타데이터
- post_id
- 0232f4bb225e
- slug
- deep-dive-mcp-servers-with-streamable-http-transport-0232f4bb225e
- url
- https://medium.com/@shsrams/deep-dive-mcp-servers-with-streamable-http-transport-0232f4bb225e
- canonical_url
- https://medium.com/@shsrams/deep-dive-mcp-servers-with-streamable-http-transport-0232f4bb225e
- author_url
- https://medium.com/@shsrams
- status
- ok
- fetched_at
- 2026-07-09 05:26:43



