How to Compile and Run VoxCPM.cpp on Linux
Complete beginner-friendly guide — April 2026
How to Compile and Run VoxCPM.cpp on Linux
Complete beginner-friendly guide — April 2026
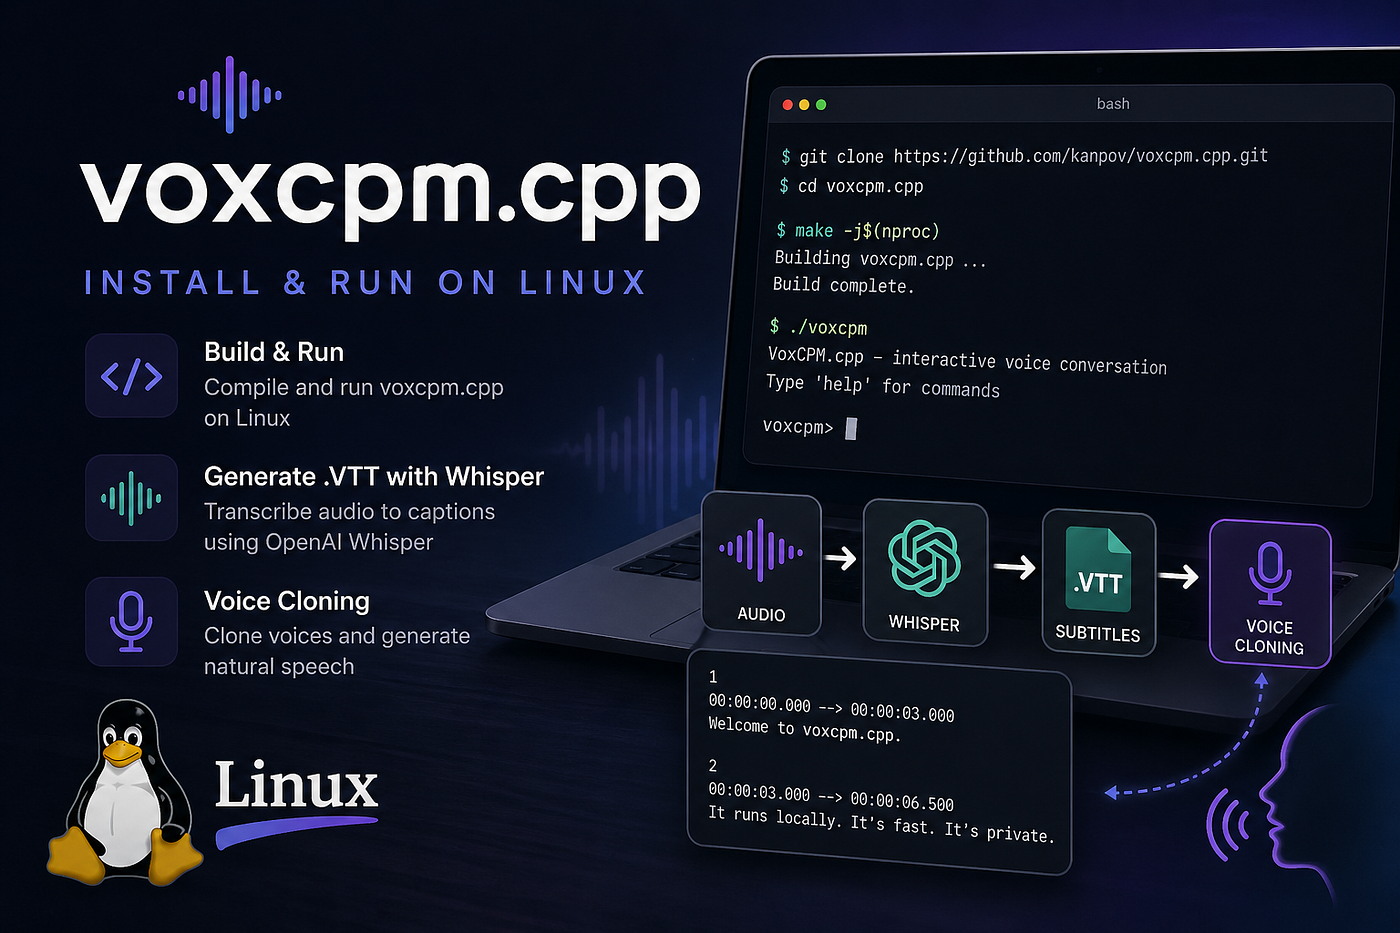
VoxCPM.cpp is a standalone C++ inference engine for the VoxCPM family of tokenizer-free diffusion TTS models. It can run locally on Linux using CPU, CUDA, or Vulkan backends, and it supports high-quality text-to-speech and zero-shot voice cloning from a short reference audio clip.
This guide focuses specifically on VoxCPM.cpp, the C++/GGUF runtime. At the time of writing, VoxCPM.cpp supports VoxCPM 1.0 and VoxCPM 1.5 GGUF models. VoxCPM2 exists in the upstream Python ecosystem, but it is not currently the recommended model target for VoxCPM.cpp.
By the end, you will have a local TTS pipeline that can:
- build and run VoxCPM.cpp on Linux
- generate speech from text
- clone a voice from a short MP3 or WAV reference
- generate
.vttsubtitles using Whisper - optionally run an OpenAI-compatible local TTS server
1. Prerequisites
Recommended setup:
- Linux distribution: Ubuntu 22.04 or 24.04
- RAM: 16 GB minimum, 32 GB+ recommended
- Disk space: 10–30 GB free
- GPU: Optional, but useful for CUDA or Vulkan acceleration
You will also need:
- Git
- CMake 3.18 or newer
- C++ build tools
- FFmpeg
- Vulkan tools and drivers, if using Vulkan
- CUDA toolkit and NVIDIA drivers, if using CUDA
2. Install System Dependencies
For a basic CPU or Vulkan-capable setup on Ubuntu:
sudo apt update

sudo apt install -y \
  build-essential \
  cmake \
  git \
  curl \
  wget \
  ffmpeg \
  nlohmann-json3-dev
For Vulkan support:
sudo apt install -y \
  libvulkan-dev \
  vulkan-tools \
  mesa-vulkan-drivers
To verify Vulkan is available:
vulkaninfo --summaryIf you are using NVIDIA, make sure your NVIDIA driver is already installed and working before expecting CUDA or Vulkan acceleration.
3. Clone VoxCPM.cpp
git clone https://github.com/bluryar/VoxCPM.cpp.git
cd VoxCPM.cpp
4. Build VoxCPM.cpp
CPU / Vulkan / Auto Backend Build
For the default build:
rm -rf build

cmake -B build \
  -DCMAKE_BUILD_TYPE=Release \
  -DVOXCPM_BUILD_TESTS=OFF \
  -DVOXCPM_BUILD_BENCHMARK=OFF

cmake --build build -j$(nproc)
This creates the example binaries under:
./build/examples/You should see binaries such as:
./build/examples/voxcpm_tts
./build/examples/voxcpm-server
5. Optional: CUDA Build for NVIDIA GPUs
If you want to build with CUDA support, use a separate build directory:
rm -rf build-cuda

cmake -B build-cuda \
  -DCMAKE_BUILD_TYPE=Release \
  -DVOXCPM_CUDA=ON \
  -DVOXCPM_BUILD_TESTS=OFF \
  -DVOXCPM_BUILD_BENCHMARK=OFF

cmake --build build-cuda -j$(nproc)
When using this build, run the CUDA binary from:
./build-cuda/examples/voxcpm_ttsAnd use:
--backend cuda6. Download a VoxCPM.cpp-Compatible GGUF Model
Create a local model directory:
mkdir -p ~/models/voxcpm
cd ~/models/voxcpm
Download a VoxCPM 1.5 GGUF model:
wget https://huggingface.co/bluryar/VoxCPM-GGUF/resolve/main/voxcpm1.5-q8_0-audiovae-f16.ggufYour model path will be:
~/models/voxcpm/voxcpm1.5-q8_0-audiovae-f16.gguf7. Basic Text-to-Speech
Return to the VoxCPM.cpp repository:
cd ~/VoxCPM.cppRun a basic TTS generation:
./build/examples/voxcpm_tts \
  --model-path ~/models/voxcpm/voxcpm1.5-q8_0-audiovae-f16.gguf \
  --text "Hello, this is a test of VoxCPM.cpp running locally." \
  --output output.wav \
  --backend auto \
  --threads 8 \
  --inference-timesteps 10 \
  --cfg-value 2.0
After it finishes, verify the output:
ls -lh output.wav
ffprobe output.wav
Play it with:
ffplay output.wav8. Voice Cloning with MP3 or WAV Reference Audio
VoxCPM.cpp supports zero-shot voice cloning from a short reference audio clip.
A good reference clip should be:
- 5–12 seconds long
- single speaker only
- clean background
- no music
- no overlapping voices
- accurately transcribed
Example command:
./build/examples/voxcpm_tts \
  --model-path ~/models/voxcpm/voxcpm1.5-q8_0-audiovae-f16.gguf \
  --prompt-audio /path/to/your-voice-reference.mp3 \
  --prompt-text "Exact transcript of what is said in the reference audio." \
  --text "This is the new text spoken in the cloned voice." \
  --output cloned_output.wav \
  --backend auto \
  --threads 8 \
  --inference-timesteps 10 \
  --cfg-value 2.0
For CUDA:
./build-cuda/examples/voxcpm_tts \
  --model-path ~/models/voxcpm/voxcpm1.5-q8_0-audiovae-f16.gguf \
  --prompt-audio /path/to/your-voice-reference.mp3 \
  --prompt-text "Exact transcript of what is said in the reference audio." \
  --text "This is the new text spoken in the cloned voice." \
  --output cloned_output.wav \
  --backend cuda \
  --threads 8 \
  --inference-timesteps 10 \
  --cfg-value 2.0
Tips:
- Use a clean reference clip.
- Keep the transcript exact.
- Avoid background music or noise.
- Use higher timesteps for better quality, at the cost of slower generation.
- Start with cfg-value around 2.0 and adjust only if needed.
9. Generating Subtitles with Whisper
VoxCPM.cpp generates audio, but it does not generate subtitle timestamps natively. Unlike Edge TTS, it will not automatically produce .vtt files during synthesis.
A reliable workflow is:
- Generate narration with VoxCPM.cpp
- Run Whisper on the generated audio
- Export the result as .vtt or .srt
10. Generate .vttSubtitles with Faster Whisper
Install Faster Whisper:
python3 -m pip install -U faster-whisperCreate a script called generate_vtt.py:
cat > generate_vtt.py <<'EOF'
from faster_whisper import WhisperModel
import sys
def ts(seconds: float) -> str:
    h = int(seconds // 3600)
    m = int((seconds % 3600) // 60)
    s = seconds % 60
    return f"{h:02d}:{m:02d}:{s:06.3f}"
if len(sys.argv) != 2:
    print("Usage: python generate_vtt.py input.wav > output.vtt", file=sys.stderr)
    sys.exit(1)
audio_file = sys.argv[1]
model = WhisperModel("large-v3", device="cpu", compute_type="int8")
segments, info = model.transcribe(
    audio_file,
    word_timestamps=True,
    language="en"
)
print("WEBVTT\n")
cue = 1
for segment in segments:
    for word in segment.words or []:
        text = word.word.strip()
        if not text:
            continue
        print(cue)
        print(f"{ts(word.start)} --> {ts(word.end)}")
        print(f"{text}\n")
        cue += 1
EOF
Generate a .vtt file:
python3 generate_vtt.py output.wav > output.vttFor cloned voice output:
python3 generate_vtt.py cloned_output.wav > cloned_output.vttThe output will look like:
WEBVTT
1
00:00:00.000 --> 00:00:00.420
Hello
2
00:00:00.420 --> 00:00:00.850
this
3
00:00:00.850 --> 00:00:01.210
is
This creates word-level captions. For YouTube Shorts or social videos, this is useful if you want precise animated captions.
11. Generate Sentence-Level .vttSubtitles
Word-level captions are useful for animated subtitles, but sentence-level captions are usually easier to read.
Create generate_sentence_vtt.py:
cat > generate_sentence_vtt.py <<'EOF'
from faster_whisper import WhisperModel
import sys
def ts(seconds: float) -> str:
    h = int(seconds // 3600)
    m = int((seconds % 3600) // 60)
    s = seconds % 60
    return f"{h:02d}:{m:02d}:{s:06.3f}"
if len(sys.argv) != 2:
    print("Usage: python generate_sentence_vtt.py input.wav > output.vtt", file=sys.stderr)
    sys.exit(1)
audio_file = sys.argv[1]
model = WhisperModel("large-v3", device="cpu", compute_type="int8")
segments, info = model.transcribe(
    audio_file,
    language="en"
)
print("WEBVTT\n")
for index, segment in enumerate(segments, start=1):
    text = segment.text.strip()
    if not text:
        continue
    print(index)
    print(f"{ts(segment.start)} --> {ts(segment.end)}")
    print(f"{text}\n")
EOF
Run it:
python3 generate_sentence_vtt.py output.wav > output_sentence.vtt12. Alternative: Official OpenAI Whisper CLI
You can also use the official Whisper CLI:
python3 -m pip install -U openai-whisperGenerate subtitles:
whisper output.wav \
  --model large-v3 \
  --language en \
  --word_timestamps True \
  --output_format vtt
This will create a .vtt file beside the audio file.
For a faster model, use:
whisper output.wav \
  --model medium \
  --language en \
  --output_format vtt
13. OpenAI-Compatible VoxCPM.cpp TTS Server
For repeated use, it is more convenient to run VoxCPM.cpp as a local server.
Start the server:
./build/examples/voxcpm-server \
  --model-path ~/models/voxcpm/voxcpm1.5-q8_0-audiovae-f16.gguf \
  --model-name voxcpm1.5 \
  --backend auto \
  --threads 8 \
  --voice-dir ./voices \
  --port 8080 \
  --disable-auth
Check that it is running:
curl http://127.0.0.1:8080/healthzExpected response:
{
  "status": "ok"
}
14. Register a Persistent Voice
Create a directory for voice references if needed:
mkdir -p ./voicesRegister a voice:
curl -X POST http://127.0.0.1:8080/v1/voices \
  -F "id=my_custom_voice" \
  -F "text=Exact transcript of the reference audio." \
  -F "audio=@/path/to/your-voice-reference.mp3"
List or inspect registered voices depending on the server API:
curl http://127.0.0.1:8080/v1/voices/my_custom_voice15. Generate Speech Through the Local API
Generate MP3 speech:
curl -X POST http://127.0.0.1:8080/v1/audio/speech \
  -H "Content-Type: application/json" \
  -d '{
    "model": "voxcpm1.5",
    "input": "Your new text here.",
    "voice": "my_custom_voice",
    "response_format": "mp3"
  }' \
  --output output.mp3
Generate WAV instead:
curl -X POST http://127.0.0.1:8080/v1/audio/speech \
  -H "Content-Type: application/json" \
  -d '{
    "model": "voxcpm1.5",
    "input": "Your new text here.",
    "voice": "my_custom_voice",
    "response_format": "wav"
  }' \
  --output output.wav
Then generate subtitles from the API output:
python3 generate_sentence_vtt.py output.wav > output.vtt16. Updating VoxCPM.cpp
Because VoxCPM.cpp is evolving quickly, update the project regularly:
cd ~/VoxCPM.cpp
git pull
rm -rf build
cmake -B build \
  -DCMAKE_BUILD_TYPE=Release \
  -DVOXCPM_BUILD_TESTS=OFF \
  -DVOXCPM_BUILD_BENCHMARK=OFF
cmake --build build -j$(nproc)
For CUDA builds:
cd ~/VoxCPM.cpp
git pull
rm -rf build-cuda
cmake -B build-cuda \
  -DCMAKE_BUILD_TYPE=Release \
  -DVOXCPM_CUDA=ON \
  -DVOXCPM_BUILD_TESTS=OFF \
  -DVOXCPM_BUILD_BENCHMARK=OFF
cmake --build build-cuda -j$(nproc)
17. Common Issues
vulkaninfo: command not found
Install Vulkan tools:
sudo apt install vulkan-toolsVulkan backend does not detect my GPU
Check Vulkan availability:
vulkaninfo --summaryIf you are on NVIDIA, verify the driver:
nvidia-smiIf Vulkan is unstable, try CPU first:
--backend cpuCUDA build fails
Make sure CUDA is installed:
nvcc --versionAnd verify the NVIDIA driver:
nvidia-smiThen rebuild with:
-DVOXCPM_CUDA=ONThe cloned voice does not sound close enough
Try:
- Use a cleaner reference clip.
- Use a more accurate prompt transcript.
- Use 8–12 seconds of reference audio.
- Increase inference timesteps.
- Avoid noisy, emotional, or musical samples.
Whisper is slow on CPU
Use a smaller model:
model = WhisperModel("medium", device="cpu", compute_type="int8")Or:
model = WhisperModel("small", device="cpu", compute_type="int8")For many local video workflows, medium or small is often enough for subtitle generation.
Conclusion
VoxCPM.cpp gives you a practical local text-to-speech stack on Linux. With a compatible GGUF model, you can generate speech, clone voices from short reference clips, and expose the engine through a reusable local API. By adding Whisper after the audio generation step, you can also produce .vtt or .srt subtitles for videos, tutorials, Shorts, podcasts, and automated content pipelines.
The full workflow is:
Text script → VoxCPM.cpp speech generation → WAV or MP3 output → Whisper transcription → .vtt or .srt subtitles → final video or audio project
- WAV or MP3 output → Whisper transcription → .vtt or .srt subtitles → final video or audio project
This gives you a complete local narration pipeline without depending on a hosted TTS service.
메타데이터
- post_id
- 0484e29d65aa
- slug
- how-to-compile-and-run-voxcpm-cpp-on-linux-0484e29d65aa
- url
- https://medium.com/@rafaelzanetti/how-to-compile-and-run-voxcpm-cpp-on-linux-0484e29d65aa
- canonical_url
- https://medium.com/@rafaelzanetti/how-to-compile-and-run-voxcpm-cpp-on-linux-0484e29d65aa
- author_url
- https://medium.com/@rafaelzanetti
- status
- ok
- fetched_at
- 2026-06-09 15:37:30