For Absolute beginner, Getting Started with Flutter: Understanding Stateless and Stateful Widgets
Introduction
For Absolute beginner, Getting Started with Flutter: Understanding Stateless and Stateful Widgets
Introduction
- What is Flutter? (UI toolkit from Google)
- Everything is a widget.
- Why understanding stateless vs stateful matters.
- Brief mention of state management.
What is Flutter?
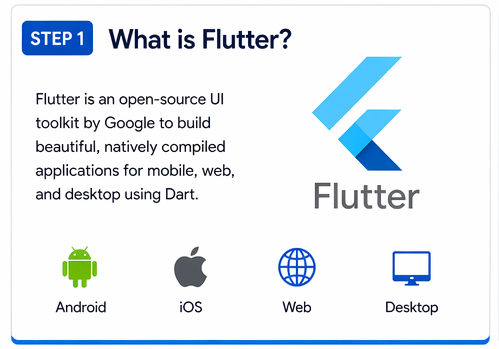
Flutter is an open-source UI toolkit by Google that allows you to build natively compiled applications for mobile, web, and desktop — all from a single codebase using Dart.
Why developers love Flutter:
- Fast development with hot reload
- Beautiful, customizable UI
- Strong community and support

Everything is a Widget
In Flutter, every element on the screen — text, buttons, layout, padding — is a widget. Widgets describe how your app looks and behaves.
There are two main types:
- Stateless Widgets
- Stateful Widgets
Let’s understand both.

Stateless Widgets
A Stateless Widget is immutable, meaning its data cannot change once it’s created.
Key Characteristics:
- Static content
- No internal state
- Rebuilds only when parent updates
When to Use:
Use stateless widgets when your UI does not depend on dynamic data.
Example:
import 'package:flutter/material.dart';

 class MyStatelessWidget extends StatelessWidget {

    @override
    Widget build(BuildContext context)
   {
     return
          Text('Hello, Flutter!');
                                       }
    }
Here, the text will never change unless the widget is rebuilt externally.

Stateful Widgets
A Stateful Widget can change its state during runtime. This means the UI can update dynamically based on user interaction or data changes.
Key Characteristics:
- Mutable state
- Can rebuild UI dynamically
- Uses
setState()to update
When to Use:
Use stateful widgets when your UI needs to react to:
- User input
- API data
- *Animations*
Example:
import 'package:flutter/material.dart';

class CounterWidget extends StatefulWidget {

@override
      _CounterWidgetState

         createState() => _CounterWidgetState(); }

 class _CounterWidgetState extends State<CounterWidget>

 {
      int count = 0; void increment()
                 {
                    setState(() { count++; });
                                                 }

@override

Widget build(BuildContext context)
{
      return Column( children: [

                   Text('Count: $count'),

           ElevatedButton( onPressed: increment,  child: Text('Increase'),
                ),
             ],
          );
        }
      }
Each button press updates the UI because the state changes.


Stateless vs Stateful: Quick Comparison :

Feature                   Stateless Widget                Stateful Widget

Mutability                   Immutable                        Mutable

State Management                No                              Yes

Use Case                      Static UI                      Dynamic UI

Performance                  Lightweight                  Slightly heavier


Best Practices
- Prefer Stateless Widgets when possible (better performance & simplicity)
- Use Stateful Widgets only when needed
- Keep widgets small and reusable
- Separate UI and logic for cleaner code
Final Thoughts
Understanding Stateless and Stateful widgets is the foundation of Flutter development. Once you grasp this concept, building dynamic apps becomes much easier.
Start small: try converting a stateless widget into a stateful one and observe the difference.
FeatureStateless WidgetStateful WidgetMutabilityImmutableMutableState ManagementNoYesUse CaseStatic UIDynamic UIPerformanceLightweightSlightly heavier
메타데이터
- post_id
- 067089da413a
- slug
- for-absolute-beginner-getting-started-with-flutter-understanding-stateless-and-stateful-widgets-067089da413a
- url
- https://medium.com/@devwithsubham007/for-absolute-beginner-getting-started-with-flutter-understanding-stateless-and-stateful-widgets-067089da413a
- canonical_url
- https://medium.com/@devwithsubham007/for-absolute-beginner-getting-started-with-flutter-understanding-stateless-and-stateful-widgets-067089da413a
- author_url
- https://medium.com/@devwithsubham007
- status
- ok
- fetched_at
- 2026-08-21 22:58:37