Celebrating 10 Years with the Raspberry Pi: The finale
This is the finale of my series where I celebrate 10 years with the Raspberry Pi. I will be placing the previous parts in a library so you…
Celebrating 10 Years with the Raspberry Pi: The finale
This is the finale of my series where I celebrate 10 years with the Raspberry Pi. I will be placing the previous parts in a library so you can read them in order. So let’s do a recap before we proceed to the finale.
- In 2016 I bought my first Raspberry Pi while I was in treatment and learned how to use it for the first time. In 2017 I migrated to watching videos on the Pi to learn more about them.
- In 2018 I built my first robot and then learned how to control it for the first time. In 2019 I added a camera and learned how to use the camera for the first time.
- In 2020 I learned about AI for the first time and applied it to my own projects. However the year ended with tragedy as my dad passed away.
- In 2021 I learned to deal with tragedy while publishing my first article and delving into Cloud native computing. In 2022 I was approached to write my first book and I started my book writing journey.
- In 2023 and 2024 I started my book writing journey and learned a lot from that journey.
Now we will focus on 2025 and 2026 where I got into BLE and built my very first PCB.
2025: The year of BLE
After becoming an author and continuing to promote my books I decided to venture out and find a new project to try out. Suddenly I discovered a live stream by Kevin McAleer where he shows how to communicate between a Raspberry Pi and Pico W with BLE. I had used Bluetooth in the past with the Pico but it mostly involved connecting the Pico to apps on my phone or tablet. This was my time to finally use BLE as I’ve never used it on any project in the past. Check out his live stream below.
[embed]
This inspired me to create a multi-part series where I use BLE to communicate between a Pi and Pico W. From the basics all the way to robot control. You can watch the entire playlist below. It took a lot of trial and error to get the code running but eventually I got it to run.
[embed]
I also go in touch with Sara from Random Nerd Tutorials and wrote my first article with them. Here it is posted below.
After that I decided to return to writing for Medium. I only had one article posted there and it was based on the first part of the series that I have abandoned. I decided my next series would be on Raspberry Pi and ESP32 BLE communication. Rather than post the article here is the series in full shown below.
Around this time I got a comment from Emily who works at PCBWay who asked me to build my first PCB. And boy did I learn so much.
2025: My first PCBs
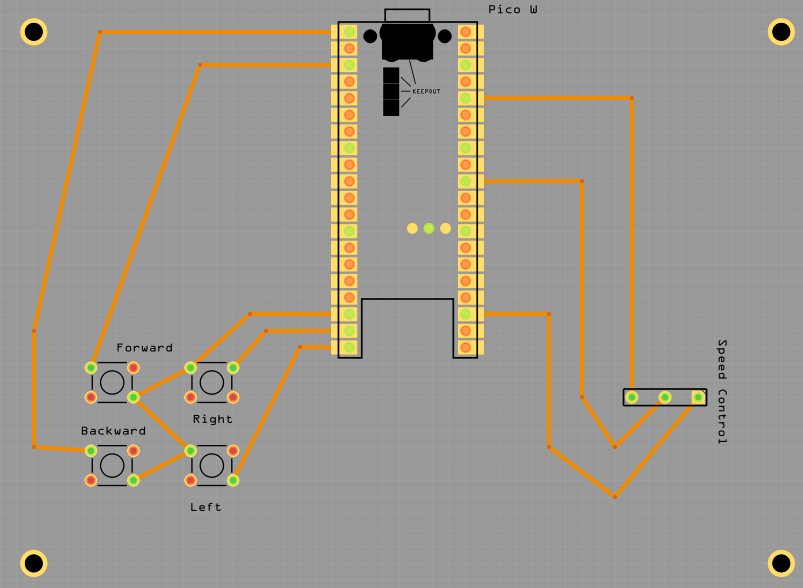
I decided to contact Emily via email and after a bit of back and forth I got to work on my PCBs. The platform I used is Fritzing as I use that for my breadboard designs. First I made sure to use the correct ESP32 module since the one I was using was incorrect. Next, I had to learn about using the correct components on the PCB. For example I realized I was using the wrong buttons and instead used the ones that were meant for PCB mounting. Next up was picking the right potentiometer. I made sure to pick the one that had the spacing just like the ones I use. Next I had to make sure to mount the Pico and ESP32 in an area where I could easily mount them. I decided on placing the traces on the second layer of the boards. Then I decided to add copper fill to add redundancy as well as adding copper blockers to ensure I could easily solder to the PCB. After finishing the boards I sent them off to PCBWay for manufacturing and after a few days they arrived from China.
If you want a glimpse into my journey check this GitHub repository. The files to build the PCB are in the repository.
I received them and decided to do an unboxing video shown below.
[embed]
Before I could even start soldering I needed to buy some female headers so I could mount the Pico and ESP32 to their boards including extra buttons as I was running out. After they arrived it was time to start soldering. I decided to first solder the Pico PCB. After that I decided to run some tests. However I ran into some issues as I had incorrectly placed the traces in the wrong GPIO pins and accidentally double grounded one button. If you want a more in depth look into my story check out these Medium articles.
While I had some success it was clear I messed up and I decided I would have to revisit this board in the future. But little did I know I would be able to do that in a few months. If you want to see the tests I did with the PCB here is the playlist.
[embed]
2026: Learning from Mistakes and a second chance
I decided to move on to the ESP32 PCB and I learned my lessons there. First I made sure to clean off excess solder as I hadn’t done that with the potentiometer. Also I made sure to add the correct amount of solder to prevent the potentiometer from causing random issues. After that I mounted the ESP32 and ran some basic tests. This time all the buttons worked and the potentiometer did not crash. So I had a successful first PCB which you can see below.
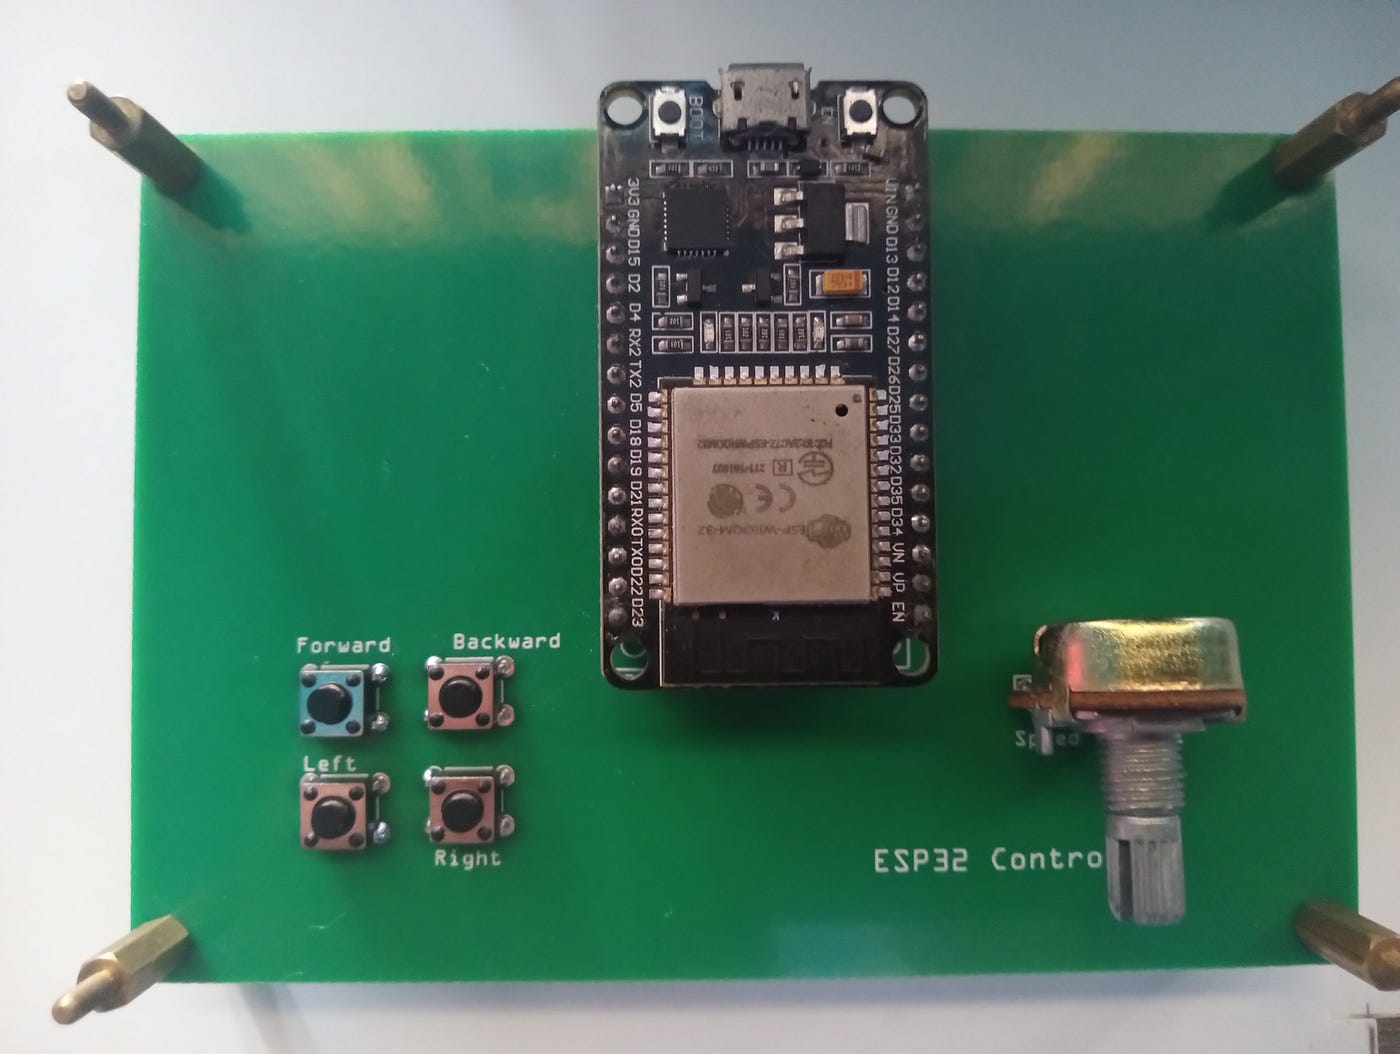
ESP32 PCB
The GitHub repository below details my journey with the PCB and the files are available for you to download.
I also have this project available on the PCBWay website if you want to try it out yourself.
Since it worked I didn’t have to do many tests and I was able to control my robot Linus with the PCB. Playlist shown below if you want more context.
[embed]
If you want a more in depth look into my ESP32 PCB Journey check out this article I wrote earlier in January.
While I was happy with the results, I got contacted by Liam from PCBWay to collaborate on another board and I decided it would be best to build the Phase 2 PCB for the Pico. This time I made sure to use the correct GPIO pins and not double ground the button. After redesigning the board, I sent it off to PCBWay and after getting the board I did a quick unboxing.
[embed]
I ran more tests on the PCB and this time the board worked perfectly. The playlist below shows the tests I ran including robot control.
[embed]
And for fun here is the Phase 1 and Phase 2 PCB side by side.
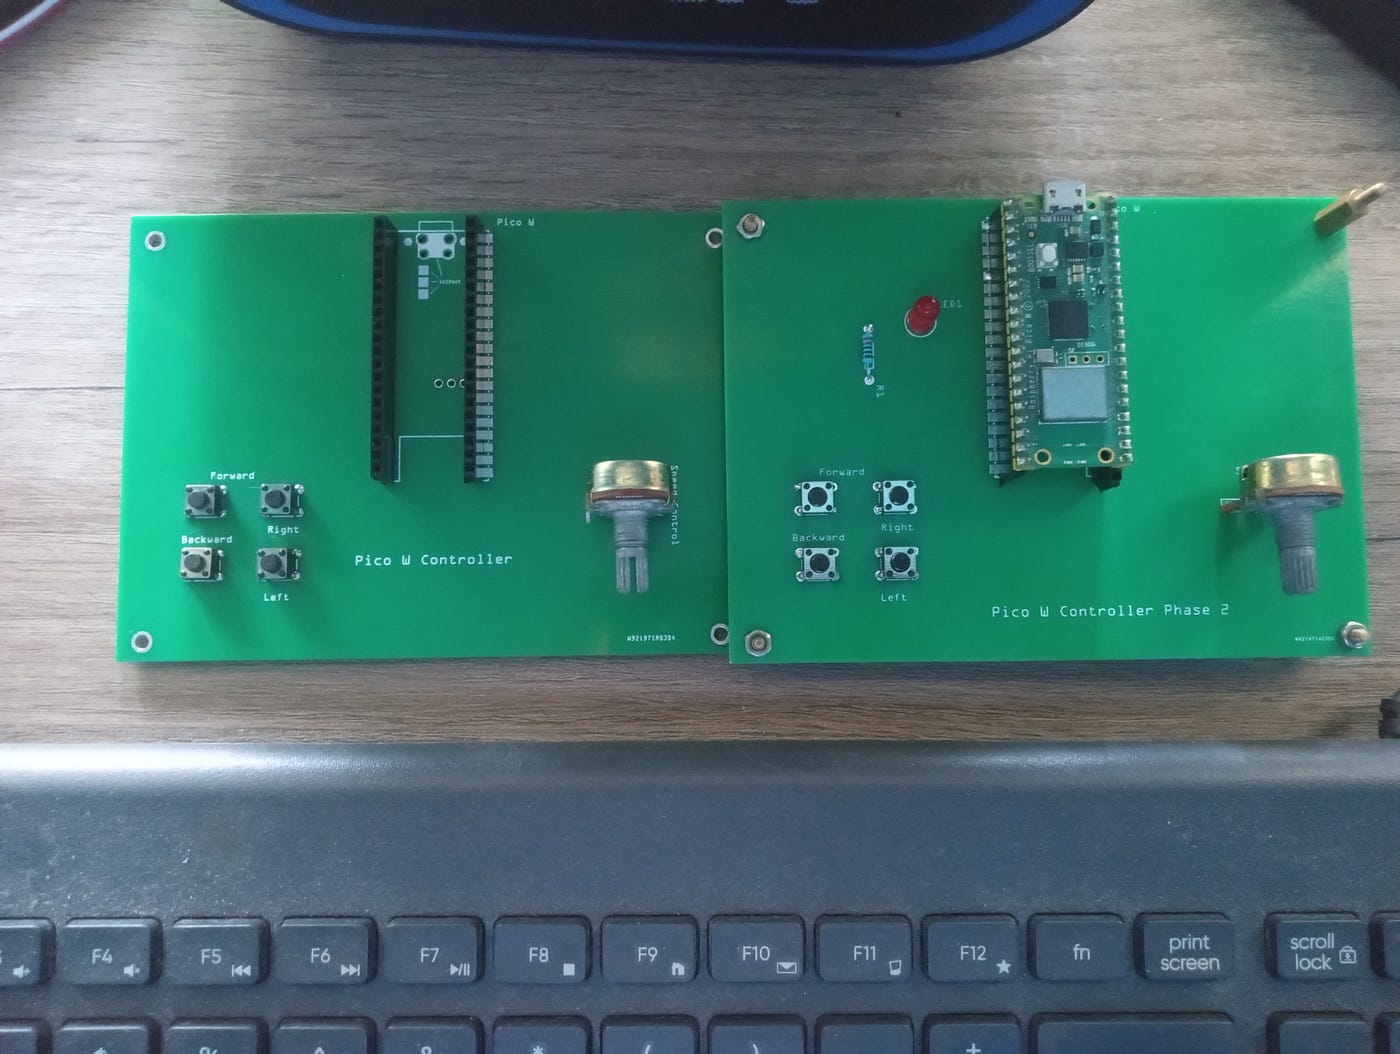
Phase 1 and Phase 2 PCBs
Check this article if you want a more in depth look into how I successfully tested my Pico W PCB.
[embed]Pico W Controller Finally Works! Success & Lessons Learned Table of Contentsmedium.com
And thus I have successfully built not one but two PCBs and note I’m not even an engineer.
2026: Looking toward the future
And here it is folks. Ten years ago I bought a Raspberry Pi 3 thinking I would just have some neat gadget and just put it away. As time went by it became more than just a gadget. It became part of my life. As the years went on I went from blinking my first LED, to building my first robot, to integrating cloud native computing to my projects, to integrating AI and finally building my first PCBs. Never did I think that a simple purchase would lead to where I am now. The Raspberry Pi gave me a reason to love programming, robotics and life once again. It’s the reason I’m still even alive. However, while this is the last part of my celebration, it’s just the beginning for my new initiative I’m starting. I will provide more details on that in a separate article but it will be something I never planned but I believe needs to happen. Thanks to the Raspberry Pi Threads account for following me, thanks to the Raspberry Pi foundation for making all this possible, and most importantly thanks to all of you for reading this long journey. I will add this article to my new library where you can read every part of the series as much as you want. Thank you once again.
메타데이터
- post_id
- 06c8d85cf24e
- slug
- celebrating-10-years-with-the-raspberry-pi-the-finale-06c8d85cf24e
- url
- https://medium.com/@ed2point0/celebrating-10-years-with-the-raspberry-pi-the-finale-06c8d85cf24e
- canonical_url
- https://medium.com/@ed2point0/celebrating-10-years-with-the-raspberry-pi-the-finale-06c8d85cf24e
- author_url
- https://medium.com/@ed2point0
- status
- ok
- fetched_at
- 2026-07-13 06:23:13