Building a Real Smart Contract Web3 Marketplace on Ethereum Sepolia
From Frontend UI to Real On-Chain Payment Splitting with MetaMask
Building a Real Smart Contract Web3 Marketplace on Ethereum Sepolia
From Frontend UI to Real On-Chain Payment Splitting with MetaMask
🌍 Introduction
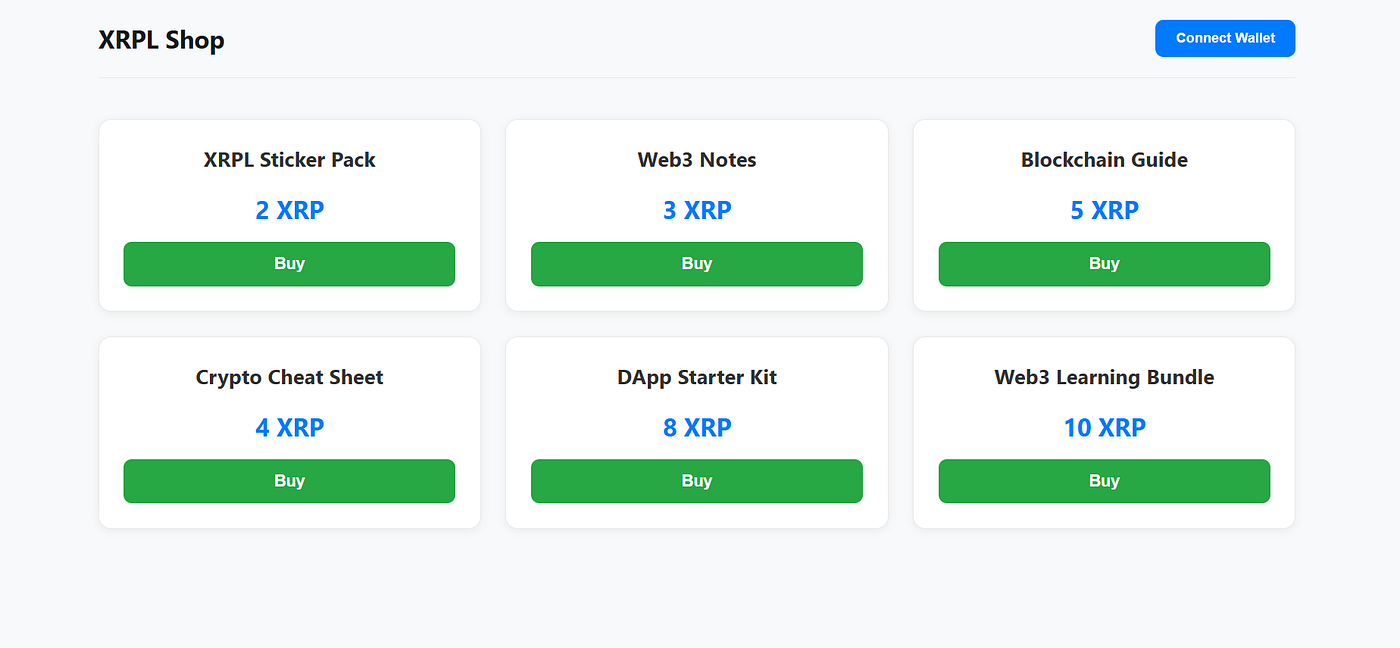
In my previous Web3 blogs, I explored blockchain payment architectures using XRP Ledger and Xaman Wallet. That project helped me understand wallet-based authentication, transaction verification, and backend-controlled blockchain payments.
But this time
I wanted to understand:
- How smart contracts actually work
- How wallet interacts with decentralized applications
- How on-chain payment splitting works
- How blockchain stores contract state
- The difference between traditional backend logic and smart contract logic
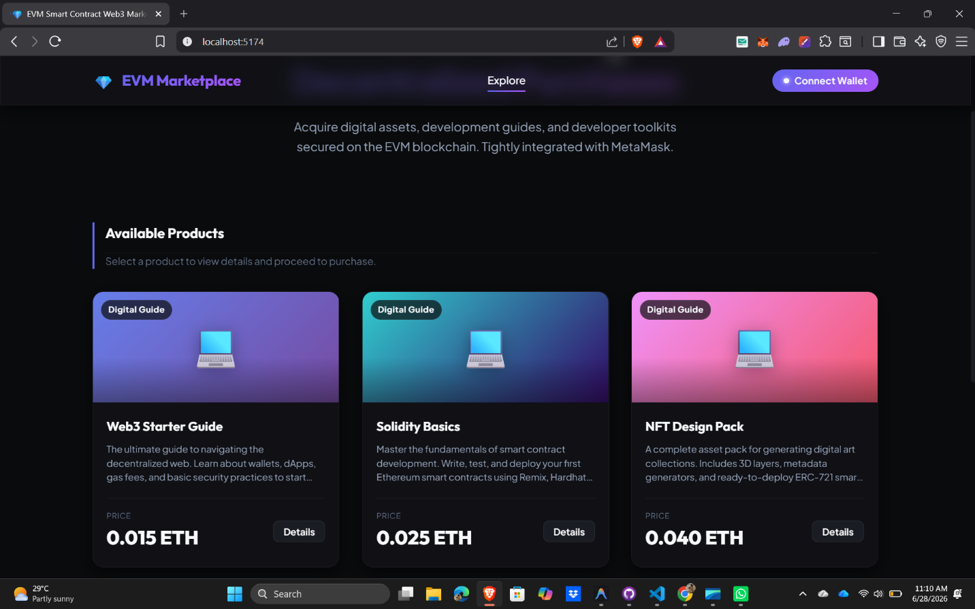
So I built a complete Ethereum Sepolia Smart Contract Marketplace using:
🔹 Solidity
Solidity is the programming language used to write Ethereum smart contracts. It defines the blockchain logic such as payment handling, fund splitting, ownership rules, and transaction validation.
🔹 Hardhat
Hardhat is a smart contract development environment used to:
compile Solidity contracts , test contracts , deploy contracts to blockchain networks , run local blockchain development.
It helped manage the entire smart contract workflow during development.
🔹 React + Vite
React was used to build the marketplace frontend UI. Vite was used as the frontend build tool.
🔹 ethers.js
ethers.js is a JavaScript library used to interact with Ethereum blockchain networks.
It allows the frontend to connect to MetaMask , call smart contract functions , send ETH transactions,read blockchain data.
🔹 MetaMask
MetaMask is a wallet used for wallet authentication , transaction , signing , blockchain interaction.
you can install metamask extension on your browser
🔹 Sepolia Testnet
Sepolia is Ethereum’s public testing blockchain.
It works similarly to Ethereum mainnet but uses test ETH instead of real money. This allows developers to safely test smart contracts and transactions during development.
🔹 Alchemy RPC
Alchemy provides RPC (Remote Procedure Call) services that allow applications to communicate with blockchain nodes.
It acts as a gateway between the application and Ethereum network, enabling:
transaction broadcasting , blockchain data reading , smart contract interaction.
🔹 Smart Contracts
Smart contracts are programs deployed on blockchain networks that execute automatically when conditions are met.
In this project, the smart contract handles payment verification , automatic payment splitting , admin fee calculation , sales tracking without needing a centralized backend server.
And this time…
💥 The payment logic itself lives on the blockchain.
The Main Goal of This Project
This project was built to understand how decentralized applications (dApps) work in practice.
The marketplace allows users to:
✅ Connect MetaMask ✅ Browse products ✅ Purchase products using ETH ✅ Trigger smart contract transactions ✅ Automatically split payments on-chain ✅ Track blockchain transaction confirmations
Unlike traditional systems, the payment distribution is not controlled by a backend server.
Instead:
🔥 The blockchain itself controls the payment logic.
Why I Chose Ethereum + Smart Contracts
Ethereum provides Smart contract support , MetaMask integration , Public transaction verification
For testing purposes, I used: Sepolia Testnet
Sepolia is Ethereum’s public testing blockchain where developers can safely test smart contracts using test ETH instead of real money.
Understanding MetaMask Authentication
Web3 applications use wallet ownership
In this project:
- User clicks Connect Wallet
- MetaMask popup appears
- User approves connection
- Wallet address becomes the user’s identity
🔥 The wallet itself becomes authentication.
Smart Contract Payment Logic
The most exciting part of this project was implementing:
On-Chain Payment Splitting
When a user purchases a product:
- 80% goes to the seller
- 20% goes to the platform admin
And this happens:Automatically , Transparently , On-chain , Without backend intervention.
How the Smart Contract Works
The Solidity smart contract handles:
- ETH payment validation
- Payment splitting
- Admin fee tracking
- Sales tracking
- Blockchain transaction recording
Example logic:
sellerAmount = (msg.value * 80) / 100;
platformFee = (msg.value * 20) / 100;
This means the blockchain itself calculates and distributes the funds.
Currently, product details are stored inside the frontend: src/data
This includes Product names , Prices , Images , Descriptions
The blockchain only handles: Payments , Smart contract logic , Transaction records , Fee distribution
This architecture is commonly called:
🟣 Hybrid Web3 Architecture
Where:
- frontend handles product UI
- blockchain handles trust and payments
🔥 One of the Most Interesting Things I Learned
At first, I thought:
“Everything in Web3 must exist on-chain.”
But during this project, I realized:
❌ Not everything belongs on the blockchain.
Storing large amounts of data on-chain is expensive because blockchain storage costs gas fees.
So many real-world dApps use a hybrid approach:
- frontend/database for content
- blockchain for verification and payments
That was a huge learning moment for me.
Gas Fees & Blockchain Transactions.
Every blockchain transaction requires: Gas Fees
Gas is the computational cost required to execute operations on Ethereum.
Even though I used Sepolia test ETH, the transaction process is identical to Ethereum mainnet.
The difference is: Network , Money Type
For testing purposes you can get coins for your wallet by sites.
🌍 Where Does the Smart Contract Actually Exist?
One of the most fascinating concepts I learned was:
The smart contract is not stored on my PC.
It exists across:
Thousands of blockchain nodes worldwide
Every node stores: contract code , transaction history , blockchain state , balances
This creates decentralized trust.
🚀 Project Repository
GitHub Repository — https://github.com/sewmini12/smart-contract-payment-demo.git
How to Run the Project
1️⃣ Clone Repository
2️⃣ Navigate Into Project
Install Dependencies — npm install
Required Tools
Before running the project
Configure MetaMask
- Install MetaMask extension
- Create wallet
- Switch network to: Ethereum Sepolia Testnet
- Get Sepolia ETH from a faucet
Example: Alchemy Faucet , QuickNode Faucet
Configure Environment Variables
Create: .env
Example:
SEPOLIA_RPC_URL=YOUR_ALCHEMY_RPC
PRIVATE_KEY=YOUR_METAMASK_PRIVATE_KEY
Compile Smart Contract
npx hardhat compile
Deploy Smart Contract
npx hardhat run scripts/deploy.js — network sepolia
After deployment:
Contract deployed to: 0x….

Run Frontend — npm run dev
Frontend runs at: http://localhost:5173

🔥 XRPL vs Ethereum — A Huge Learning Experience
Building both projects gave me a much deeper understanding of how different blockchain ecosystems solve similar problems in completely different ways.
Final Thoughts
This project started as a simple experiment.
And honestly…
Watching a real MetaMask transaction trigger my smart contract for the first time felt incredibly exciting.
메타데이터
- post_id
- 07b572a0f8a4
- slug
- building-a-real-smart-contract-web3-marketplace-on-ethereum-sepolia-07b572a0f8a4
- url
- https://coinsbench.com/building-a-real-smart-contract-web3-marketplace-on-ethereum-sepolia-07b572a0f8a4
- canonical_url
- https://coinsbench.com/building-a-real-smart-contract-web3-marketplace-on-ethereum-sepolia-07b572a0f8a4
- author_url
- https://medium.com/@rpsewminikavindya
- status
- ok
- fetched_at
- 2026-07-13 06:23:13