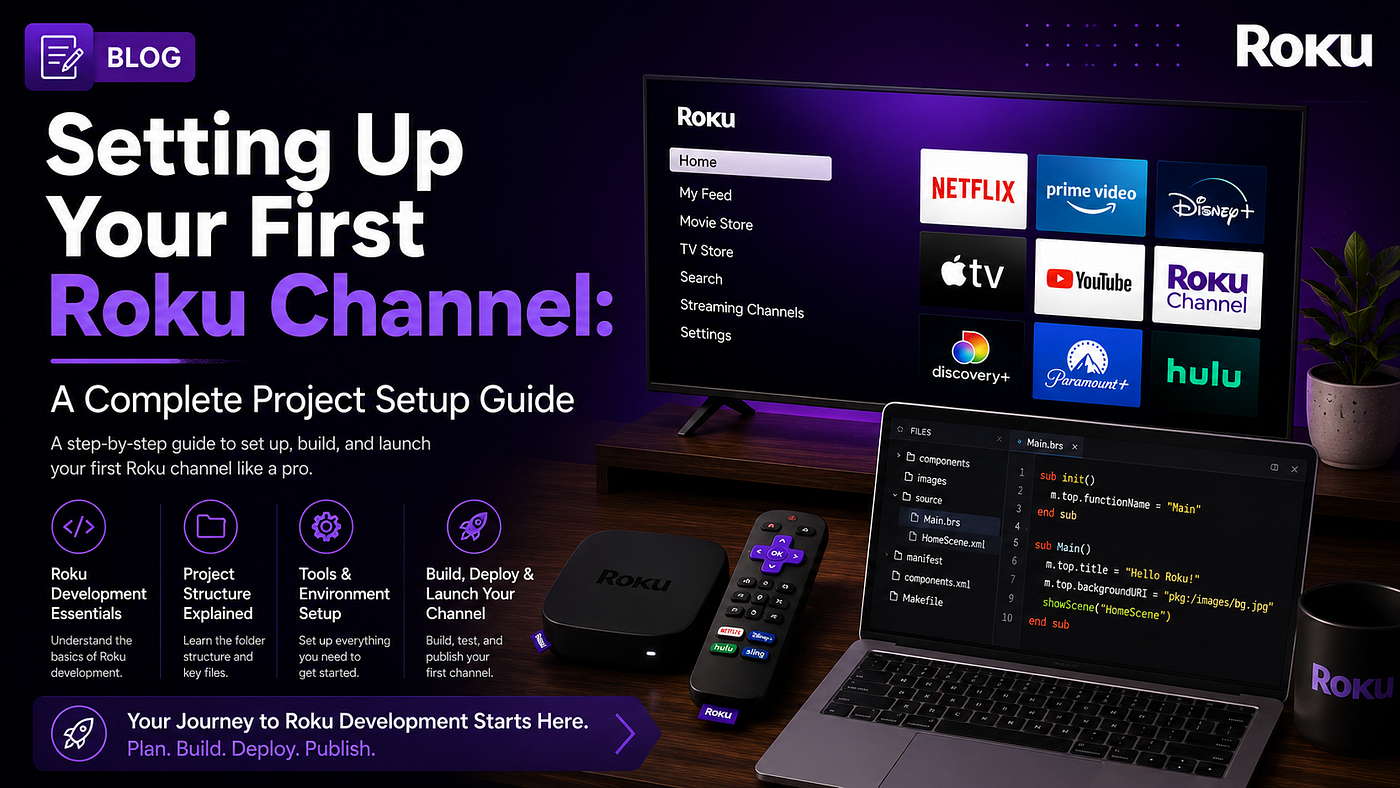
Setting Up Your First Roku Channel: A Complete Project Setup Guide
Whether you’re a seasoned developer venturing into the streaming world or a hobbyist who wants to build a custom Roku channel, setting up…
Setting Up Your First Roku Channel: A Complete Project Setup Guide
Whether you’re a seasoned developer venturing into the streaming world or a hobbyist who wants to build a custom Roku channel, setting up your first Roku project can feel overwhelming. This guide walks you through everything — from installing the SDK to deploying your first working channel.
What Is a Roku Channel?
A Roku channel is an application that runs on Roku streaming devices. Channels are built using BrightScript (Roku’s proprietary scripting language) and SceneGraph XML (a declarative UI framework). Together, they form the backbone of every Roku app — from Netflix to your personal video library.
Prerequisites
Before diving in, make sure you have the following:
- A Roku device (any model running Roku OS 9.1 or higher recommended)
- A Roku developer account — sign up at developer.roku.com
- A code editor — Visual Studio Code with the BrightScript Language extension is highly recommended
- Node.js (optional, but useful for tooling and automation)
- Basic knowledge of XML and a scripting language
Step 1: Enable Developer Mode on Your Roku Device
Your Roku device must be in Developer Mode before you can sideload and test channels.
- Press the Home button 3 times on your Roku remote.
- Then press Up, Up, Right, Left, Right, Left, Right.
- A developer menu will appear — select Enable Installer and set a password.
- Note your Roku device’s IP address (Settings → Network → About).
⚠️ Keep your developer password safe — you’ll use it every time you deploy. usename will always be rokudev.
Step 2: Understand the Project Structure
A Roku channel follows a strict folder structure. Here’s the standard layout:
my-roku-channel/
├── manifest
├── source/
│   └── main.brs
├── components/
│   ├── MainScene.xml
│   └── MainScene.brs
├── images/
│   ├── splash_screen_fhd.jpg
│   └── channel_logo.png
└── fonts/  (optional)
Key Files Explained
File/Folder Purpose manifest Channel metadata (name, version, splash screen, icons) source/main.brs Entry point of the application components/ SceneGraph XML components and their BrightScript logic images/ Channel art, splash screens, and icons
Step 3: Create the Manifest File
The manifest file is not an XML or JSON file — it's a plain key-value text file. Create it at the root of your project with no file extension:
title=My First Roku Channel
major_version=1
minor_version=0
build_version=00001
mm_icon_focus_hd=pkg:/images/channel_logo.png
mm_icon_side_hd=pkg:/images/channel_logo.pngsplash_screen_fhd=pkg:/images/splash_screen_fhd.jpg
splash_color=#000000
splash_min_time=1500ui_resolutions=fhdImportant manifest fields:
title— The name displayed on the Roku home screenmajor_version/minor_version/build_version— Versioning for your channelmm_icon_focus_hd— Channel icon displayed when focused (336×210 px for FHD)splash_screen_fhd— Fullscreen image shown on launch (1920×1080 px)ui_resolutions— Target display resolution (fhd= 1080p,hd= 720p)
Step 4: Write the Entry Point (main.brs)
The main.brs file inside /source is the first code that runs. It initializes the SceneGraph framework and launches your main scene:
' source/main.brssub Main(args as Dynamic)
screen = CreateObject("roSGScreen")
m.port = CreateObject("roMessagePort")
screen.setMessagePort(m.port) scene = screen.CreateScene("MainScene")
screen.show() while true
msg = wait(0, m.port)
msgType = type(msg) if msgType = "roSGScreenEvent"
if msg.isScreenClosed() then return
end if
end while
end subThis is the standard boilerplate for virtually every Roku channel. It creates a screen, attaches your main scene, and enters an event loop.
Step 5: Create Your Main Scene
Inside the /components folder, create two files: the XML layout and its BrightScript controller.
**components/MainScene.xml**
<?xml version="1.0" encoding="utf-8" ?>
<component name="MainScene" extends="Scene">
  <script type="text/brightscript" uri="pkg:/components/MainScene.brs" />
<children>
<Label
id="helloLabel"
text="Hello, Roku World!"
font="font:LargeBoldSystemFont"
color="#FFFFFF"
horizAlign="center"
vertAlign="center"
width="1920"
height="1080"
/>
</children>
</component>**components/MainScene.brs**
' components/MainScene.brssub init()
m.top.backgroundColor = "#1A1A2E"
m.top.backgroundURI = ""
end subStep 6: Add Required Images
Roku requires specific image sizes. At minimum, prepare:
Image Dimensions Location Channel Icon (focused) 336 × 210 px images/channel_logo.png Splash Screen (FHD) 1920 × 1080 px images/splash_screen_fhd.jpg
You can use placeholder images during development — just make sure the filenames match what you declared in the manifest.
Step 7: Package and Sideload Your Channel
Option A: Manual ZIP + Web Installer
- Zip your project — Select all files inside your project root (not the folder itself) and create a
.ziparchive. - Open your browser and navigate to
http://<YOUR_ROKU_IP>(e.g.,[http://192.168.1.42).](http://192.168.1.42).) - Log in with username
rokudevand the password you set in Step 1. - Go to Installer → Upload Channel and select your
.zipfile. - Click Install — your channel will appear in the Dev Channel slot on the home screen.
Option B: Using the Roku VS Code Extension
The BrightScript VS Code extension streamlines deployment:
- Open your project in VS Code.
- In
.vscode/launch.json, configure your Roku IP and password. - Press F5 or run “BrightScript: Launch” to build and deploy in one step.
Step 8: Debugging with the Telnet Console
Roku has a built-in debug console accessible via Telnet on port 8085:
telnet <YOUR_ROKU_IP> 8085Or using nc (netcat):
nc <YOUR_ROKU_IP> 8085This gives you real-time log output from print statements and runtime errors. It's indispensable during development.
💡 Use
Step 9: Common Gotchas
1. Case sensitivity BrightScript is case-insensitive for variable names, but file paths in XML attributes (pkg:/images/logo.png) are case-sensitive on the device. Always match cases exactly.
2. The pkg:/ prefix All local file references use pkg:/ — never a relative path. For example: pkg:/images/logo.png, not ./images/logo.png.
3. SceneGraph threading The main SceneGraph render thread is separate from task threads. Don’t do network calls or heavy computation on the render thread — use a Task node instead.
4. Memory management Roku devices have limited RAM. Avoid loading large images unnecessarily and invalidate nodes you’re no longer using.
Project Checklist
Before your first deploy, verify:
- [ ]
manifestfile exists at root with no extension - [ ]
source/main.brscontains theMain()sub - [ ] Main scene XML and BRS files are in
/components - [ ] All image paths in the manifest match actual files
- [ ] Developer mode is enabled on your Roku device
- [ ] Your project is zipped from the root level (not a wrapper folder)
What’s Next?
Now that your “Hello, Roku World!” channel is running, here’s what to explore next:
- ContentNode & RowList — Build a proper video browsing UI
- Video node — Integrate HLS/MP4 video playback
- Task nodes — Fetch data from REST APIs asynchronously
- Deep linking — Handle launch arguments for content-specific navigation
- Roku Pay — Integrate in-channel purchases
Resources
- Roku Developer Documentation
- SceneGraph API Reference
- BrightScript Language Reference
- Roku Community Forums
- RokuCommunity GitHub
Happy building — may your buffers be short and your streams be endless. 📺
메타데이터
- post_id
- 0858fb9f2b8f
- slug
- setting-up-your-first-roku-channel-a-complete-project-setup-guide-0858fb9f2b8f
- url
- https://medium.com/@saurabhchhonkar012/setting-up-your-first-roku-channel-a-complete-project-setup-guide-0858fb9f2b8f
- canonical_url
- https://medium.com/@saurabhchhonkar012/setting-up-your-first-roku-channel-a-complete-project-setup-guide-0858fb9f2b8f
- author_url
- https://medium.com/@saurabhchhonkar012
- status
- ok
- fetched_at
- 2026-06-21 07:44:09




