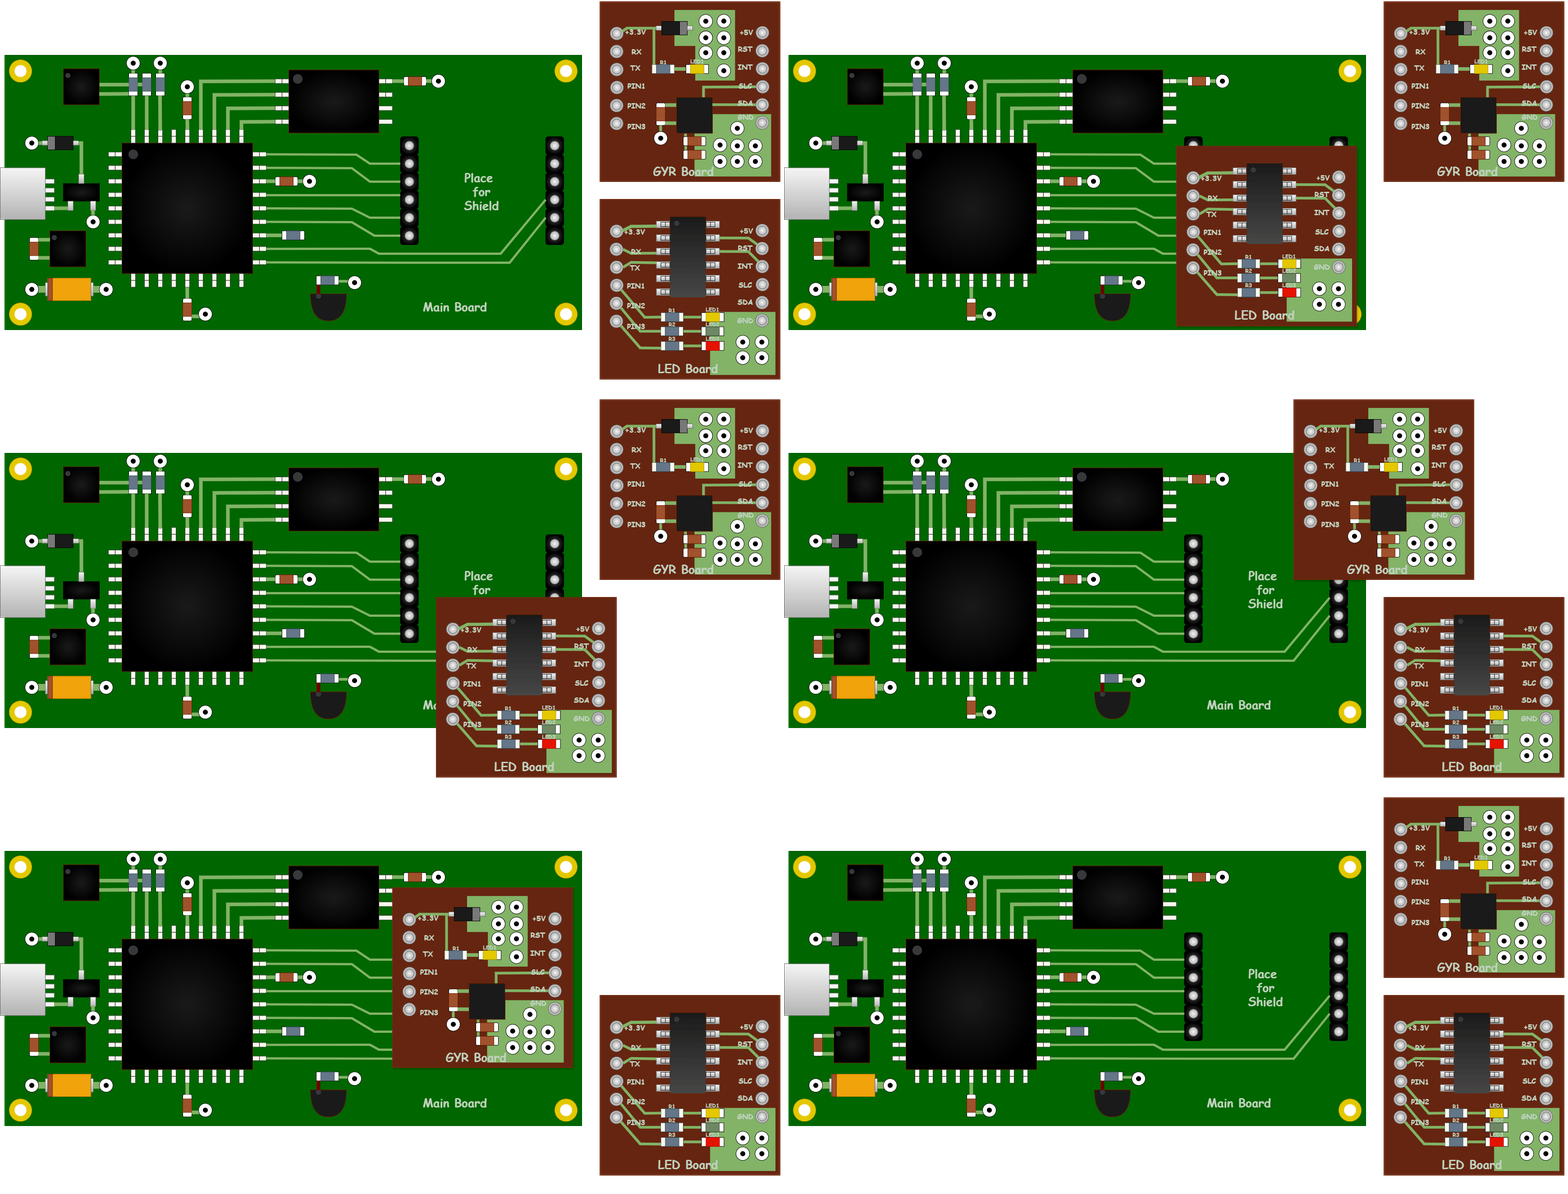
Hardware Abstraction in Zephyr: Part 2 - Zephyr Shields
Zephyr Shields is a mechanism in Zephyr RTOS that allows you to describe external hardware modules (typically expansion boards) separately…
Hardware Abstraction in Zephyr: Part 2 - Zephyr Shields
Zephyr Shields is a mechanism in Zephyr RTOS that allows you to describe external hardware modules (typically expansion boards) separately from the main board and integrate them into the project at build time. In essence, it provides an abstraction for additional hardware connected to a base board.
A shield is not just a devicetree overlay, but a set of files located in a board directory:
boards/shields/<shield_name>/
├── shield.yml
├── <shield_name>.overlay
├── Kconfig.shield
└── Kconfig.defconfigshield.yml: Contains metadata about the shield.<shield>.overlay: Describes the hardware part of the shield in devicetree format. It is applied on top of the selected board’s devicetree during the build.Kconfig.shield: Defines Kconfig symbols associated with the shield.Kconfig.defconfig: Provides default configuration values when the shield is used.
NOTE:
You can find a detailed description of all files and their formats in the next Zephyr Project Documentations:
Let’s take a look at what these files might roughly look like for the LED Board.
NOTE:
These LED Board Shield files are deliberately kept in a very primitive form. You would not want to use them as-is in a real project, but they are useful here because they make it easier to see how each additional mechanism improves the overall level of abstraction.
led_shield.yml:
name: led_shield
full_name: LED Board Shield
vendor: my_companyled_shield.overlay:
/ {
    led_board: led-board {
        compatible = "my,led-board";
        status = "okay";

        rst-gpios = <&gpio0 20 GPIO_ACTIVE_HIGH>;
        pin1-gpios = <&gpio0 7 GPIO_ACTIVE_LOW>;
        pin2-gpios = <&gpio0 23 GPIO_ACTIVE_LOW>;
        pin3-gpios = <&gpio0 8 GPIO_ACTIVE_LOW>;
    };
};

&uart0 {
    status = "okay";
    current-speed = <115200>;
};Kconfig.shield:
config SHIELD_LED_SHIELD
bool "LED Shield"Kconfig.defconfig:
if SHIELD_LED_SHIELD

config UART_CONSOLE
    y

endif
You can attach one or more shields during the build using the --shield argument:
west build -b <your_board> --shield <shield_name> <your_app>Example:
west build -b my_board --shield led_shield super_firmwareBut this command format works when building without sysbuild. When using sysbuild, shields must be specified via CMake arguments list:
west build -b <your_board> -- \
  -D<target_name>_SHIELD="<shield_1_name> <shield_2_name>"
In multi-image builds (for example, when building both application and network cores), each shield will be applied to all images by default, which may lead to build errors. To avoid this, explicitly specify the shields for each target and use an empty shield for those targets to which it should not apply:
west build -b <your_board> -- \
 -Dapplication_SHIELD="led_shield", -Dnetwork_SHIELD="" <your_app>
As an alternative, this parameter can be set by default in the project’s CMakeLists.txt file:
set(SHIELD <shield_name>)Zephyr Shields provide a standardized way within the Zephyr ecosystem to describe expansion boards. By following this approach, you can create your own shields that can be reused by other developers, as well as easily integrate third-party shields into your own board design.
However, even though Zephyr Shields significantly improves the architecture and organization of a project, one important limitation remains. In the .overlay file, there is still a direct dependency on specific hardware resources of the main board. In practice, this means that the design is tied not to the connector, but to the actual microcontroller pins:
rst-gpios = <&gpio0 20 GPIO_ACTIVE_HIGH>;
pin1-gpios = <&gpio0 7 GPIO_ACTIVE_LOW>;
pin2-gpios = <&gpio0 23 GPIO_ACTIVE_LOW>;
pin3-gpios = <&gpio0 7 GPIO_ACTIVE_LOW>;
While this approach introduces better structure and enables reuse of shields, it still looks as if the shield is connected to the main board, not through a connector, but directly wired to the microcontroller pins.

To address this limitation, we need another Devicetree mechanism — Nexus Nodes, which we will explore in detail in the next article.
Links
- Shields — Zephyr Project Documentation
- Supported Boards and Shields — Zephyr Project Documentation
- Abstract hardware interfaces in Zephyr — The Golioth Developer Blog
- Sysbuild (System build) — Zephyr Project Documentation
Prev: Hardware Abstraction in Zephyr: Naive Approaches
Next: Hardware Abstraction in Zephyr: Part 3 -Device Tree Nexus

Thanks for the support — https://www.buymeacoffee.com/zamuhrishka
메타데이터
- post_id
- 0a0ea8875cb9
- slug
- hardware-abstraction-in-zephyr-zephyr-shields-separating-boards-and-modules-0a0ea8875cb9
- url
- https://medium.com/@aliaksandr.kavalchuk/hardware-abstraction-in-zephyr-zephyr-shields-separating-boards-and-modules-0a0ea8875cb9
- canonical_url
- https://medium.com/@aliaksandr.kavalchuk/hardware-abstraction-in-zephyr-zephyr-shields-separating-boards-and-modules-0a0ea8875cb9
- author_url
- https://medium.com/@aliaksandr.kavalchuk
- status
- ok
- fetched_at
- 2026-07-16 00:55:23