How to Polish Jewelry Photos in Photoshop: A Step-by-Step Guide
When it comes to e-commerce and promotional photography, high-quality jewelry images are essential to showcase your pieces. But sometimes…
How to Polish Jewelry Photos in Photoshop: A Step-by-Step Guide
When it comes to e-commerce and promotional photography, high-quality jewelry images are essential to showcase your pieces. But sometimes, even the best camera needs a little editing magic. In this guide, we’ll show you how to polish jewelry in Photoshop, giving your images that professional and realistic shine.
Understanding Jewelry Editing in Photoshop
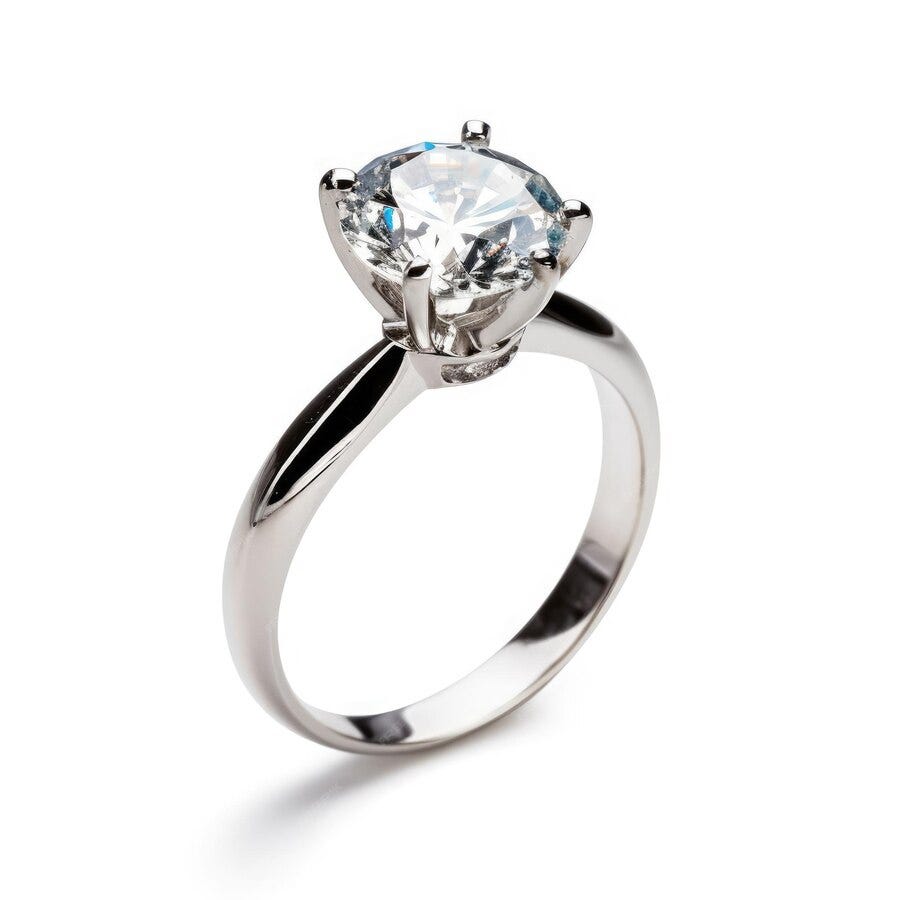
Jewelry photography editing is all about enhancing the piece’s beauty while preserving the integrity of its design. From removing imperfections to refining reflections, Photoshop offers the tools you need to highlight the true sparkle of your jewelry.
Essential Photoshop Tools for Jewelry Polishing
- Spot Healing Brush Tool: Remove blemishes and imperfections.
- Dodge and Burn Tools: Lighten highlights and deepen shadows.
- Smudge and Blur Tools: Smooth edges and refine textures.
- Sharpening Tools: Enhance the crispness and clarity of details.
- Adjustment Layers: Adjust brightness, contrast, and saturation.
Preparing Your Image for Editing
Before jumping into Photoshop, ensure your jewelry image is high-quality. Proper lighting and a high-resolution image (at least 300 DPI) will make the retouching process much easier and deliver better results.
- Lighting: Make sure the jewelry is well-lit with minimal shadows.
- Resolution: Use high-resolution images for clear and detailed results.
Step-by-Step Jewelry Polishing in Photoshop
1. Remove Imperfections
Start by cleaning up the image with the Spot Healing Brush Tool. This tool removes dust, scratches, or any unwanted marks, giving you a clean base to work with.
- Select the Spot Healing Brush Tool (J) and adjust the brush size.
- Click on imperfections to blend them into the surrounding areas.
2. Brighten the Jewelry
Enhance the brightness and contrast to make the jewelry shine more.
- Open the Adjustment Layers panel and select Brightness/Contrast.
- Increase the brightness to enhance the shine, and adjust the contrast to make the details pop.
3. Enhance Highlights and Shadows
Use the Dodge Tool to lighten the highlights and the Burn Tool to darken the shadows for added depth.
- Select the Dodge Tool (O) to brighten highlights (set exposure around 10–15%).
- Use the Burn Tool to darken shadows and emphasize depth.
4. Smooth the Surface
Polishing also involves smoothing rough edges and surfaces.
- Select the Smudge Tool (R) and adjust the strength to about 10%.
- Gently drag along the edges to soften sharp lines and use the Blur Tool (R) to smooth rough textures.
5. Refine Reflections and Details
Jewelry often features reflective surfaces that require careful refinement.
- Zoom in on reflective areas and use the Clone Stamp Tool (S) to clean up reflections.
- Ensure reflections are subtle and don’t overpower the jewelry itself.
6. Sharpen the Image
Enhance the jewelry’s crispness with subtle sharpening.
- Go to Filter > Sharpen > Unsharp Mask and adjust sliders to bring out fine details without overdoing it.
7. Final Color Corrections
Adjust the colors for a more vibrant and realistic appearance.
- Use the Hue/Saturation adjustment layer to fine-tune colors.
- Increase saturation for gemstones or metals, and use Selective Color for precise adjustments.
Tips for Realistic Jewelry Polishing
- Don’t overdo it: Keep edits subtle for a natural look.
- Work in layers: Use adjustment layers for flexibility.
- Maintain texture: Avoid smoothing out textures; they add realism.
Common Mistakes to Avoid
- Over-smoothing: Don’t remove all the texture — natural details are important.
- Excessive brightness: Over-brightening can flatten the jewelry’s depth.
How to Save and Export Your Image
Once you’re satisfied with the polished image, save the file as a PSD to retain layers for future edits. For web use, export the image as a JPEG or PNG, adjusting the resolution for optimal quality.
Conclusion
Polishing jewelry images in Photoshop can transform your photos into professional, polished masterpieces. By following these steps — removing imperfections, adjusting brightness, refining reflections, and enhancing details — you can create jewelry images that truly shine. Learn more
메타데이터
- post_id
- 0a67ddaead00
- slug
- how-to-polish-jewelry-photos-in-photoshop-a-step-by-step-guide-0a67ddaead00
- url
- https://medium.com/@rabeya2601/how-to-polish-jewelry-photos-in-photoshop-a-step-by-step-guide-0a67ddaead00
- canonical_url
- https://medium.com/@rabeya2601/how-to-polish-jewelry-photos-in-photoshop-a-step-by-step-guide-0a67ddaead00
- author_url
- https://medium.com/@rabeya2601
- status
- ok
- fetched_at
- 2026-07-20 05:44:29