The Architecture Nobody Talks About — Why Backtests don’t match reality
Part 2 of “The Logical Path to Automated Trading” — a real-world case study using my production SuperTrend strategy
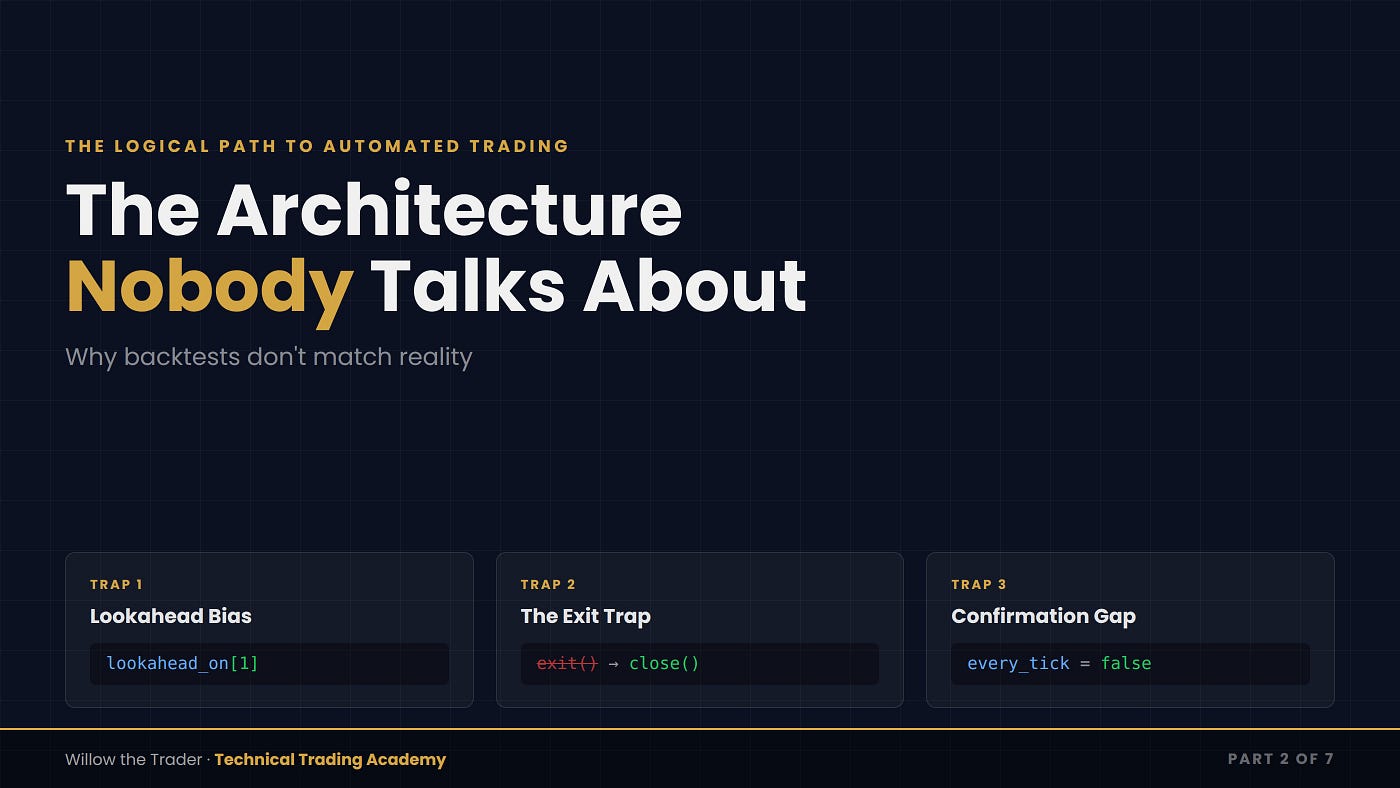
The Architecture Nobody Talks About — Why Backtests don’t match reality
Part 2 of “The Logical Path to Automated Trading” — a real-world case study using my production SuperTrend strategy
I told you the idea generation was the hardest part. The architecture is where your precious idea dies.
In Part 1, I walked you through how I spend hours watching charts, layering indicators, asking questions that eventually become strategy hypotheses. That process is genuinely difficult. But here’s what I didn’t say: most of those ideas survive the chart-watching phase. They look promising. They feel right. You get excited.
Then you code them. You run a backtest. The equity curve looks beautiful — smooth, upward, everything you hoped for. You think you’ve found something real.
You haven’t. Not yet.
Because between “this idea looks promising on a chart” and “this strategy makes money in live trading,” there’s an architectural minefield that kills most strategies before they ever touch real capital. Not because the idea was wrong — but because the code that implements it is lying to you.
I’m going to show you the specific architectural decisions in my V3.3 SuperTrend strategy that make the difference between a backtest I can trust and one that’s fiction. This isn’t theory. This is my production Pine Script — the same code executing live trades on ES futures right now. Three specific traps, the exact lines that fix them, and the architecture that ties everything together.
Trap #1: The Lookahead Bias That Creates Perfect Strategies
This is the single most dangerous line of code in Pine Script:
ema_daily = request.security(syminfo.tickerid, "D", ta.ema(close, 21), lookahead=barmerge.lookahead_on)That lookahead=barmerge.lookahead_on parameter looks innocent. What it does is catastrophic.
When you request data from a higher timeframe — say, a daily EMA while running a 3-minute strategy — TradingView needs to decide which daily value to show on each 3-minute bar. Without lookahead, it shows yesterday’s completed value throughout today, then updates to today’s value only after the daily bar closes. That’s what happens in live trading — you can’t see today’s daily close until the day is over.
With lookahead_on, TradingView shows you today's completed daily value on every 3-minute bar throughout the day. Your 9:30 AM bar already knows what the daily EMA will be at 4:00 PM close. Your strategy trades on information that doesn't exist yet.
The backtest result? A strategy that seems to predict the future. Smooth equity curve, improbable win rate, the kind of numbers that make you think you’ve cracked the market.
In live trading? The daily value changes throughout the day. Your 9:30 AM signal might flip by noon. The strategy you backtested isn’t the strategy you’re running.
The fix is one additional character:
ema_daily = request.security(syminfo.tickerid, "D", ta.ema(close, 21), lookahead=barmerge.lookahead_on)[1]That [1] at the end shifts everything back one bar. Now instead of using today's "future" daily value, you're using yesterday's confirmed value. The lookahead_on resolves the data alignment issue that TradingView has with higher timeframe data, and the [1] ensures you only see what was already known at the time of each bar.
This is the single line of code that can turn a fabricated 69% win rate strategy into whatever it actually is. I’ve seen strategies lose their entire edge when this fix is applied. That’s not a bug being fixed — that’s a fantasy being exposed.
In any strategy where I use request.security(), this lookahead_on + [1] pattern is non-negotiable. No exceptions.
Trap #2: The Exit That Executes at Prices That Don’t Exist
Here’s the second trap, and it’s subtler.
Pine Script has two main ways to exit a position: strategy.exit() and strategy.close(). Most tutorials teach strategy.exit() because it supports take-profit levels, stop-loss levels, and trailing stops all in one function call. It's convenient.
It’s also dangerous — specifically when your strategy uses process_orders_on_close=true.
Here’s why. When you set process_orders_on_close=true in your strategy declaration, you're telling TradingView: "Evaluate everything at bar close. Don't make decisions based on intrabar price movement." This is critical for honest backtesting, because TradingView only knows four prices per bar (Open, High, Low, Close) and has to guess what happened intrabar.
But strategy.exit() doesn't obey this setting. It evaluates its stop and take-profit levels intrabar, even when the rest of your strategy waits for bar close. This means your exit can trigger at a price that your bar-close strategy logic would never have seen.
Imagine your stop is at 5100.00 on a 3-minute bar where the Low is 5099.75 but the Close is 5102.50. With strategy.exit(), the stop triggers at 5100.00 during the bar. With strategy.close(), the bar closes at 5102.50 and the stop doesn't trigger because the position recovered before bar close.
Different behaviors. Different trade outcomes. Different backtest results.
In my V3.3, the core risk gate — the maximum loss stop — uses strategy.close() instead. I calculate the loss myself and close the position only if it exceeds my threshold at bar close:
// Maximum Loss — bar-close evaluation
if strategy.position_size > 0
    loss_points = strategy.position_avg_price - close
    if loss_points >= max_loss_points
        strategy.close("BUY", comment="Max Loss per Trade")
This is a deliberate choice. The max loss is the strategy’s primary risk control — the line that determines whether a trade stays open or gets killed. That decision must be evaluated on confirmed bar-close data, not intrabar noise. Yes, this means a flash crash intrabar could exceed my 5-point max loss before the bar closes. That’s a real risk I accept — because the alternative is a backtest that shows phantom stops at phantom prices.
(V3.3 does use strategy.exit() in one place: the trailing profit lock mechanisms, where intrabar execution is intentional — once you've secured profit, you want the protective floor to trigger immediately if price touches it. The distinction matters: loss limits should evaluate at bar close to avoid noise. Profit floors should execute immediately to avoid giving back gains. More on this in Part 3.)
Trap #3: The Confirmation Gap
The third trap completes the set.
Pine Script strategies, by default, can execute code on every tick that comes in during a bar’s formation. On a 3-minute chart, that means your entry conditions might evaluate dozens of times before the bar closes — each time with a different close value (which is actually the current price, not the final close).
This matters because indicator values change intrabar. The SuperTrend line moves. EMAs shift. An entry condition might be true at 10:31:15 and false by 10:33:00 when the bar actually closes.
If your strategy enters at 10:31:15 based on a SuperTrend flip that reverses by 10:33:00, your backtest records a trade that would never have been entered on a closed-bar basis. In live trading — if you’re using alerts that fire on bar close — that signal never triggers.
The fix has two parts. First, in the strategy declaration:
strategy("V3.3 SuperTrend Discrete Trade", overlay=true,
     calc_on_every_tick = false,
     process_orders_on_close = true)
calc_on_every_tick = false tells TradingView to only run the strategy logic once per bar, at bar close. No intrabar evaluation.
Second, even with that setting, I gate every entry with a confirmation check:
buySignal = (trend == 1 and trend[1] == -1)This detects a completed transition — the trend was bearish on the previous closed bar and has flipped bullish on the current closed bar. It’s not just checking the current value; it’s confirming that a state change actually occurred between two confirmed bars.
Together, calc_on_every_tick = false + process_orders_on_close = true confirmed-bar signal detection form what I call the refresh-proof trifecta. Remove any one of them, and your backtest can diverge from live execution.
These Three Traps Are Not Independent
Here’s what most articles on backtesting get wrong: they present these issues as a checklist. “Make sure you avoid lookahead bias. Make sure you use bar-close evaluation. Make sure signals are confirmed.”
In practice, these traps interact. A strategy might correctly avoid lookahead bias but use strategy.exit() for stops, creating a different kind of backtest-live divergence. Or it might use process_orders_on_close but still evaluate indicators on unconfirmed bars, producing entry signals that disappear on refresh.
The refresh test is the simplest way to catch these issues: reload your chart and see if your backtest results change. If the entry signals or core exits shift, something in your code is using unconfirmed data. For the bar-close evaluated components — entries, signal detection, max loss — the results should be identical every time, regardless of when you load the chart.
My V3.3 passes this test. Same results whether I load the chart at 9:30 AM or 3:45 PM, whether I’ve been watching it all day or just opened it. That consistency isn’t a nice-to-have — it’s the minimum requirement for trusting anything the backtest tells you.
The Architecture That Ties It All Together
With those three traps solved, let’s look at how V3.3 actually works as a system.
The strategy follows a strict lifecycle for every trade:
Flat → Signal → Filter Gate → Enter → Manage → Exit → Flat
Every trade starts from a flat position and returns to flat when it ends. There are no position flips, no reversals where closing one direction simultaneously opens the other. Each trade is independent.
I covered why this matters in an earlier article — path-dependency in flip-mode strategies made my analytics unreliable. But what I didn’t show was the actual code architecture that enforces this independence.
The entry logic in V3.3 has a single gate that makes the entire system work:
if use_discrete_mode
    if (longCondition and not longCondition[1]) and strategy.position_size == 0
        strategy.entry("BUY", strategy.long, qty=thisQty)
That strategy.position_size == 0 check is the architectural keystone. No entry can execute unless the strategy is completely flat. It doesn't matter how strong the signal is, how many filters align, how perfect the setup looks — if there's an open position, the entry is blocked.
This means every trade is born from silence. No inherited momentum from the previous position. No dependency on how the last trade ended. The strategy goes flat, waits for a fresh signal during an active hour, evaluates all filters from scratch, and only then enters.
Close on Opposing Signal: The 24/7 Safety Valve
There’s a design decision in V3.3 that took me longer to get right than I’d like to admit.
When SuperTrend flips against your position — you’re long and it turns bearish, or you’re short and it turns bullish — what should happen? In the old flip-mode architecture (V3.1), this was simple: the flip itself closes the old position and opens the new one in a single action.
In discrete mode, you can’t do that. The whole point is that each trade is independent. But you still need a way to get out when the underlying signal reverses.
That’s what “Close on Opposing Signal” does:
if close_on_opposing
    if strategy.position_size > 0 and sellSignal
        strategy.close("BUY", comment="Opposing Flip")
Two critical design choices here.
First, this fires 24/7 — regardless of the hour filter. If you entered a long trade during hour 8 (active) and SuperTrend flips bearish during hour 14 (inactive), the position still closes. The hour filter controls entries, not exits. The trade thesis has been invalidated; keeping the position open because “it’s not trading hours” would be absurd.
Second — and this is the part I got wrong in V3.2 — this toggle must operate independently of discrete mode. In V3.2, the close-on-opposing logic was nested inside the discrete mode check:
// V3.2 bug — close-on-opposing only fires when discrete mode is ON
if use_discrete_mode and close_on_opposing
    if strategy.position_size > 0 and sellSignal
        strategy.close("BUY", comment="Opposing Flip")
That use_discrete_mode and close_on_opposing meant that when discrete mode was off, close-on-opposing silently did nothing — even when the toggle was enabled. The strategy would ignore SuperTrend flips against your position and only exit via max loss. Two supposedly different configurations produced identical results, and it took a careful four-combination toggle test to catch it.
V3.3 fixed this by separating the two checks entirely. Close on opposing signal now fires regardless of whether discrete mode is on or off. The full story of how I found this bug — and where it accidentally led — is Part 6.
The Filter Stack: How Conditions Compose
Before an entry reaches that position_size == 0 gate, it passes through a stack of filters. This is where V3.3's architecture gets specific.
The SuperTrend flip produces a raw signal: bullish or bearish. That signal then passes through each filter in sequence:
// ATR Compression: is volatility coiled?
longCondition := use_atr_compression ? (longCondition and is_compressed) : longCondition

// Market Movement: is there enough range?
longCondition := use_movement_filter ? (longCondition and market_is_moving) : longCondition

// Time Filter: is this an active hour?
longCondition := use_time_filter ? (longCondition and in_trading_time) : longCondition
Each filter is a toggle. When enabled, it must be true for the signal to pass. When disabled, the signal passes through unchanged. This means you can enable or disable any combination of filters and get a valid strategy configuration — useful for A/B testing, which becomes the subject of Part 5.
One detail that’s easy to miss: the ATR compression calculation uses previous-bar confirmed values:
atr_fast = ta.atr(atr_comp_fast)[1]
atr_slow = ta.atr(atr_comp_slow)[1]
is_compressed = atr_fast < atr_slow
That [1] again. The ATR values are calculated on the completed previous bar, not the still-forming current bar. This is the same principle as the lookahead fix — don't make decisions on data that isn't confirmed yet. Without it, the compression filter could be true on tick 15 of a bar and false at bar close, creating another refresh inconsistency.
Why This Architecture Is Worth the Tradeoff
I’ll be transparent about the cost.
V3.3 with discrete mode produces lower total profit than the old V3.1 flip mode over the same backtest period. That’s real money left on the table.
What did that cost buy?
Trustworthy analytics. The ability to know, with confidence, which hours actually make money. The ability to run a Rolling Window Analysis and trust the results. The ability to look at my strategy’s equity curve and know that it represents what would actually happen in live trading.
That’s a trade I’d make every time.
Because the alternative — the V3.1 flip mode with its higher raw profit — produced analytics I couldn’t trust. In flip mode, every trade depends on the one before it. Close a long and you’re immediately short. Remove one hour from your analysis, and the entire downstream chain of trades changes — different entries, different exits, different P&L. When I tested my “best” hour configuration from the flip-mode analytics in an actual TradingView backtest analyzer, the results were off by a staggering margin. The analytics were analyzing a version of the strategy that couldn’t exist in practice.
V3.3’s discrete architecture largely solves that problem. There are no position flips, no reversal chains — so filtering by hour gives you far more reliable numbers than flip mode ever could. And a strategy you can actually understand is a strategy you won’t abandon the first time it draws down.
What’s Next
In Part 3, I’ll open up the risk management toolkit I built into V3.3 — six different mechanisms, from a simple 5-point max loss to an ATR-based trailing profit lock that only arms during off-hours. I tested every one of them. Most of them made the strategy worse. Understanding which ones survived and why changed how I think about risk.
Willow the Trader is a systematic trading educator with 25+ years of hedge fund management in Japan and the U.S., followed by 9+ years as a full-time systematic trader. He runs Technical Trading Academy, where he teaches rule-based, automated trading strategies focused on ES/MES futures.
Follow on X: @TechTradingUSA · Medium: @techacademies
If this article saved you from a bad backtest, follow for the rest of the series. Part 3 is next.
메타데이터
- post_id
- 0ad3256bdbcb
- slug
- the-architecture-nobody-talks-about-why-backtests-dont-match-reality-0ad3256bdbcb
- url
- https://medium.com/@techacademies/the-architecture-nobody-talks-about-why-backtests-dont-match-reality-0ad3256bdbcb
- canonical_url
- https://medium.com/@techacademies/the-architecture-nobody-talks-about-why-backtests-dont-match-reality-0ad3256bdbcb
- author_url
- https://medium.com/@techacademies
- status
- ok
- fetched_at
- 2026-06-09 15:37:30





