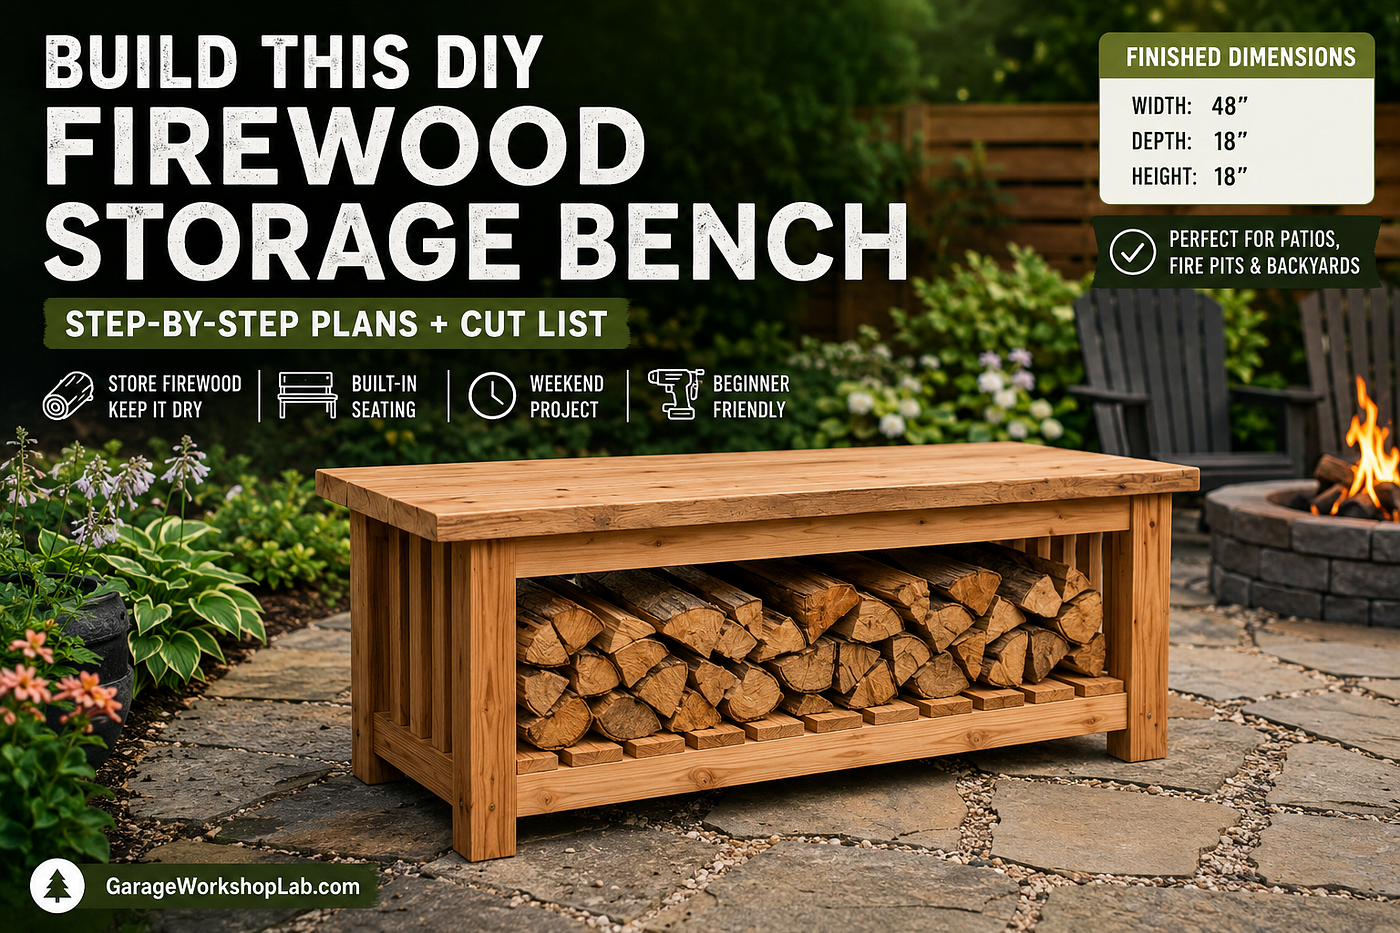
Build a Weather-Protected Outdoor Firewood Storage Rack (Step-by-Step DIY Guide)
Introduction
Build a Weather-Protected Outdoor Firewood Storage Rack (Step-by-Step DIY Guide)
Introduction
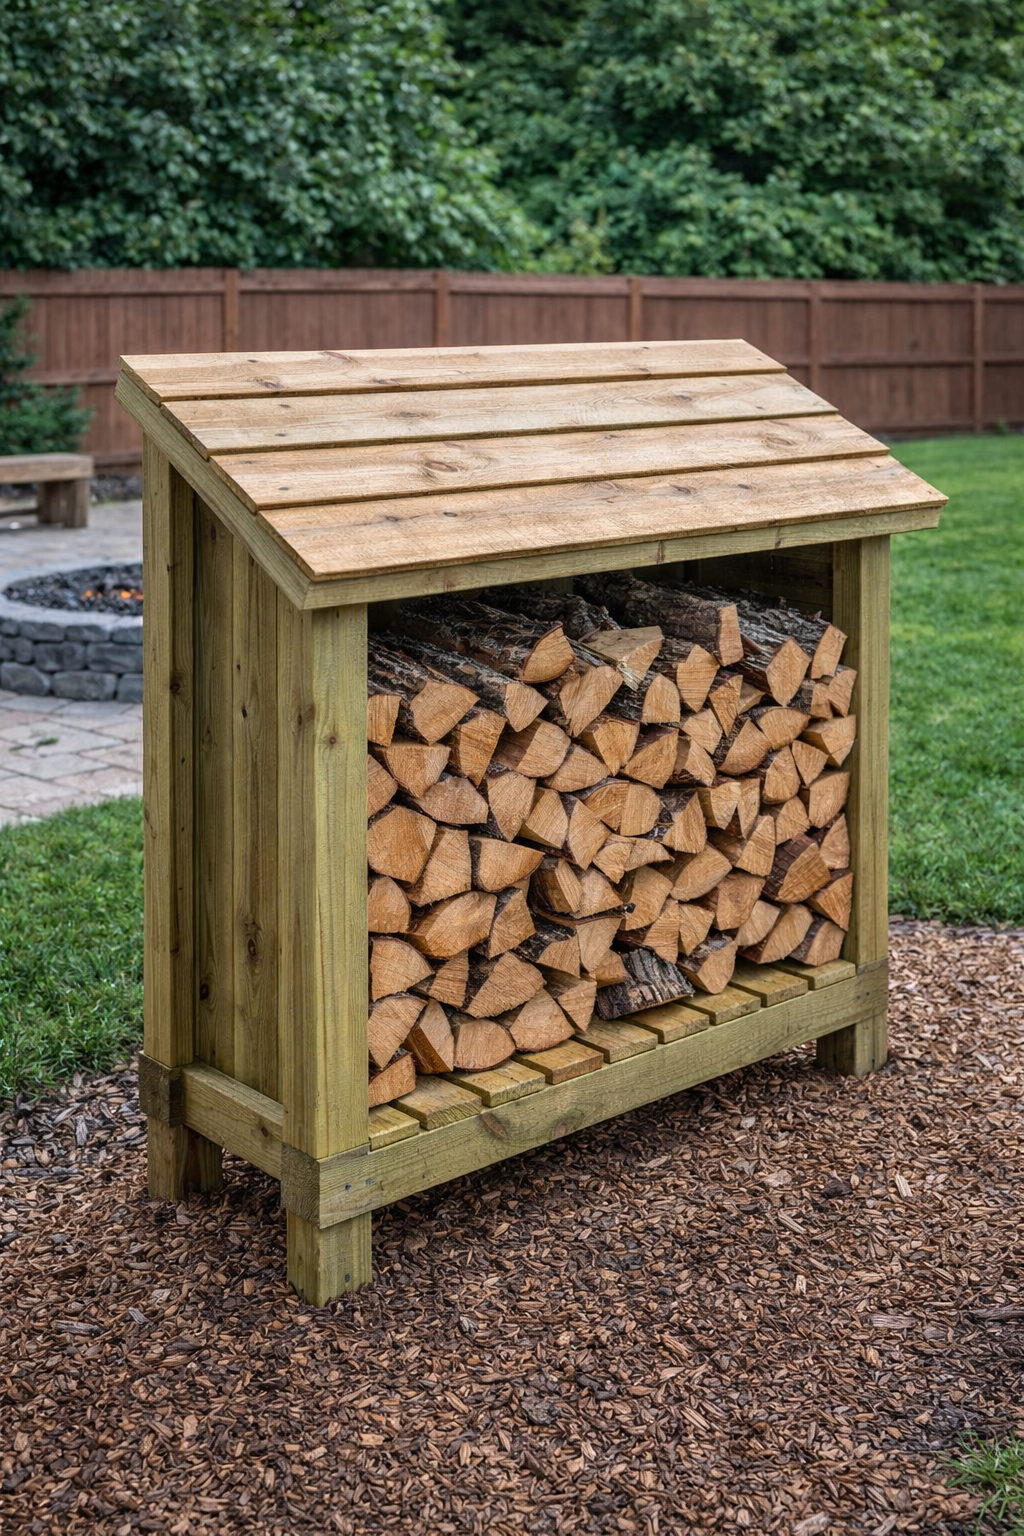
If you use a fire pit or outdoor fireplace, keeping your firewood dry and organized is essential. Stacking wood directly on the ground traps moisture, slows drying, and can lead to rot or insect damage.
A raised firewood storage rack with a sloped roof keeps wood off the ground, improves airflow, and protects it from rain and snow.
In this guide, you’ll learn how to build a durable outdoor firewood rack using basic lumber and simple tools. This beginner-friendly project is perfect for backyard fire pits and outdoor seating areas.
(Disclosure: This article may contain affiliate links. If you purchase through these links, I may earn a small commission at no extra cost to you.)
📐 Project Overview
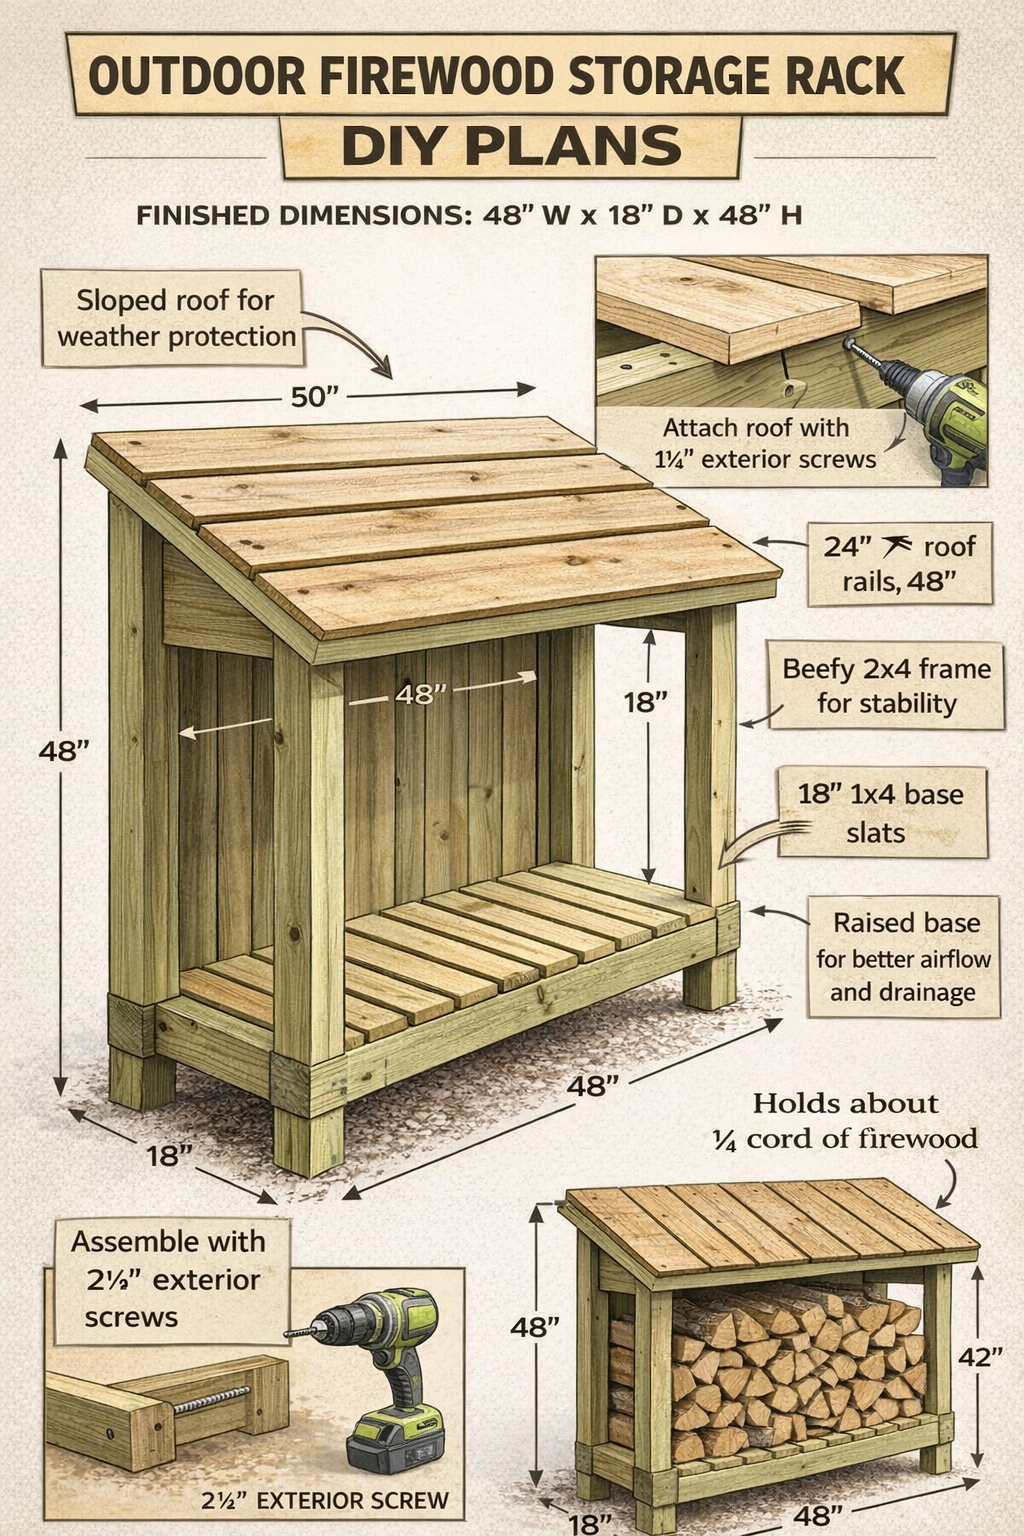
Finished Dimensions
- Width: 48 inches
- Depth: 18 inches
- Height (rear): 48 inches
- Height (front): 42 inches
Key Features
- Raised platform for airflow
- Sloped roof to shed rain and snow
- Compact footprint for patios and yards
- Holds approximately ¼ cord of firewood
🪵 Materials List
Pressure-treated lumber is recommended for outdoor durability.
Lumber
- (6) 2×4 × 8' boards — frame construction
- (4) 1×6 boards — roof slats
- (5) 1×4 boards — base slats
Hardware
- 2½" exterior wood screws
- 1¼" exterior screws (roof boards)
- Exterior wood glue (optional)
Optional
- Outdoor stain or wood sealer
- Corrugated metal roofing panel
🛠 Tools Required
- Circular saw, or miter saw
- Cordless drill/driver
- Tape measure
- Speed square
- Clamps
- Pencil
- Safety glasses
📏 Cut List
Legs
- (2) Rear legs — 2×4 × 48"
- (2) Front legs — 2×4 × 42"
Base Frame
- (2) Front & back rails — 48"
- (2) Side rails — 18"
Top Frame
- (2) Top rails — 48"
- (2) Side supports — 18"
Roof Frame
- (2) Roof rails — 48"
- (2) Roof sides — 20"
Base Slats
- (5) 1×4 boards — 18"
Roof Slats
- (4) 1×6 boards — 50"
🔨 Step-By-Step Build
1️⃣ Build the Base Frame
Assemble a rectangular frame using the 48" and 18" boards. Secure with 2½" exterior screws.
This base elevates the firewood off the ground and provides structural support.
2️⃣ Install the Base Slats
Attach the 1×4 slats across the base frame.
Leave about ¾ inch spacing between each board to allow airflow and drainage. Proper airflow helps firewood dry faster and prevents mould buildup.
3️⃣ Attach the Vertical Supports
Install the four legs at each corner of the base.
- Rear legs: 48 inches
- Front legs: 42 inches
This height difference creates a forward slope so rainwater runs off the roof.
4️⃣ Build the Top Frame
Attach the top rails between the vertical supports to form a rigid upper structure.
Make sure everything is square before tightening all screws.
5️⃣ Install the Roof Frame
Attach the 48" roof rails and 20" side supports to create the roof structure.
Ensure the frame follows the slope created by the leg height difference.
6️⃣ Install the Roof Boards
Attach the 1×6 boards across the roof frame.
Slightly overlap the boards or leave minimal gaps so water sheds off efficiently.
For better weather protection, install a corrugated metal roofing panel.
🧠 Design Benefits
Raised Base
Keeps firewood off the ground, improving airflow and preventing moisture buildup.
Sloped Roof
Allows rain and snow to slide off easily, keeping firewood dry.
Compact Size
Stores enough wood for regular backyard fires without taking up too much space.
💰 Estimated Cost
- Pressure-treated lumber: $40–70
- Exterior screws: $10–15
- Optional roofing: $15–25
Estimated total project cost: 👉 $50 — $90
(Prices may vary depending on location.)
🛒 Recommended Tools & Materials
- Circular saw DEWALT Circular Saw, 7–1/4 inch,
- Cordless drill DEWALT 20V Max Cordless Drill Driver Set, 2 Speed
- Tape measure DEWALT Atomic Compact Series 30 ft
- Speed square SWANSON Tool Co., Inc SW1201K Value Pack 7-inch Speed Square and Big 12 Speed Square
- Clamps WORKPRO 6-Inch Steel Bar Clamps Set, 2-pack Quick-Release Clutch Style Bar Clamps
- Safety glasses NoCry Clear Safety Glasses for Men and Women with Anti-Fog
🔗 Related Builds
If you’re improving your outdoor space, you may also like:
👉 DIY Outdoor Fire Pit Seating Ring 👉 DIY Outdoor Dining Table Set 👉 Build a Backyard Swing Set for Kids
Conclusion
A firewood storage rack is one of the simplest outdoor projects you can build, yet it makes a big difference in keeping your backyard organized.
By elevating firewood and protecting it from rain, this rack helps maintain dry, ready-to-burn wood for your fire pit or outdoor fireplace.
This project can be completed in a few hours and will last for years when built with proper outdoor materials.
메타데이터
- post_id
- 1104dcd8a68f
- slug
- build-a-weather-protected-outdoor-firewood-storage-rack-step-by-step-diy-guide-1104dcd8a68f
- url
- https://medium.com/@GarageBuildLab/build-a-weather-protected-outdoor-firewood-storage-rack-step-by-step-diy-guide-1104dcd8a68f
- canonical_url
- https://medium.com/@GarageBuildLab/build-a-weather-protected-outdoor-firewood-storage-rack-step-by-step-diy-guide-1104dcd8a68f
- author_url
- https://medium.com/@GarageBuildLab
- status
- ok
- fetched_at
- 2026-06-22 12:55:45