Creating and using cameras in Cavalry — Part Two
More tips and tricks for using cameras in your compositions
Creating and using cameras in Cavalry — Part Two
More tips and tricks for using cameras in your compositions
In our previous tutorial on cameras (here), we introduced the basics of creating and controlling cameras in Cavalry. Today, we’ll look at extending some of that knowledge.
The Cube
For this example, we’re going to construct a simple “cube” by first defining each of its six sides in 3D space. Although this might seem a bit laborious, I believe it will help you fully understand each step if we construct our scene using basic shapes. For future compositions, of course, you may opt for importing a more complex or completed object and applying what you learn about cameras directly to that instead.
Part one — the basic cube
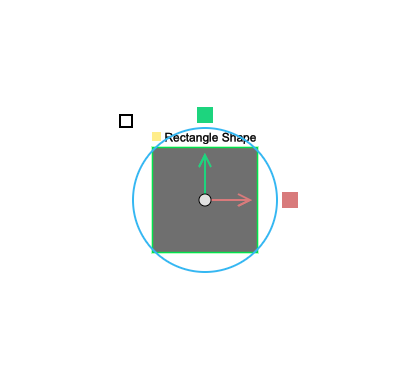
(i) In a new composition, alt-click on the rectangle shape tool and create a square. Duplicate that 5 times, so that you have six square shapes in total. Ensure you enable the 2.5D icon for each layer:
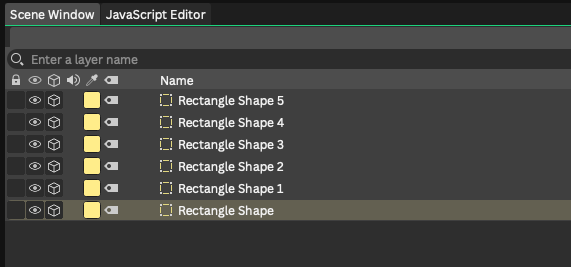
(ii) For each of these layers, set the following attributes:
Rectangle Shape: Position Z = +100
Rectangle Shape 1: Position Z = -100
Rectangle Shape 2: Position Y = +100, Rotation X = +90
Rectangle Shape 3: Position Y = -100, Rotation X = -90
Rectangle Shape 4: Position X = +100, Rotation Y = +90
Rectangle Shape 5: Position X = -100, Rotation Y= -90
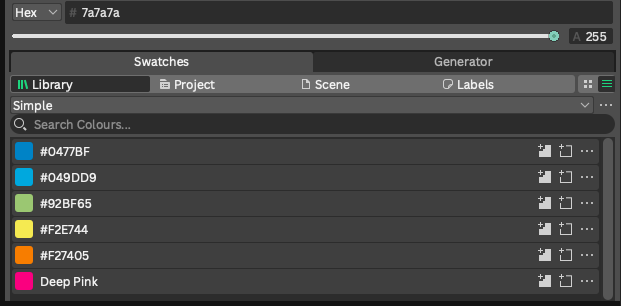
To save time, you can also add fill colours to your cube faces as you input the attributes to each layer. Alternatively, you can do this afterwards by selecting each layer in turn and assigning from the swatches palette, if required. I just added a different colour to each face:
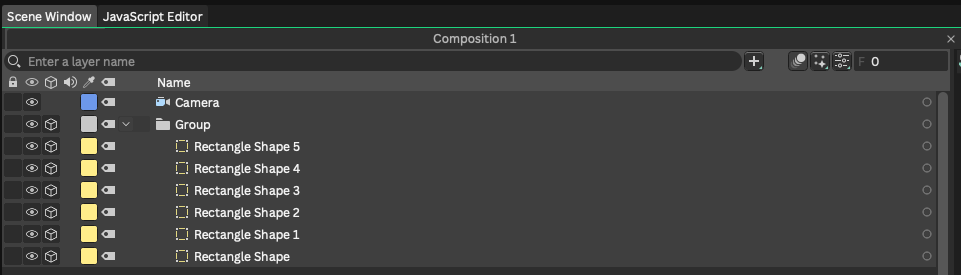
- When you are done, select all shape layers in the scene window and group them (Cmd-G). Don’t forget to enable the 2.5D icon for the Group.
- Then add a camera (Alt-click on the Camera icon in the toolbar, or add it from the ‘+’ menu, or from the Shelf).
- Ensuring that the camera icon is active in the left viewport toolbar (see screenshot below), you’ll be able to use the camera controls (we discussed in the previous tutorial) to adjust the camera angle, position or orbit around your cube to check that all sides are correctly placed:
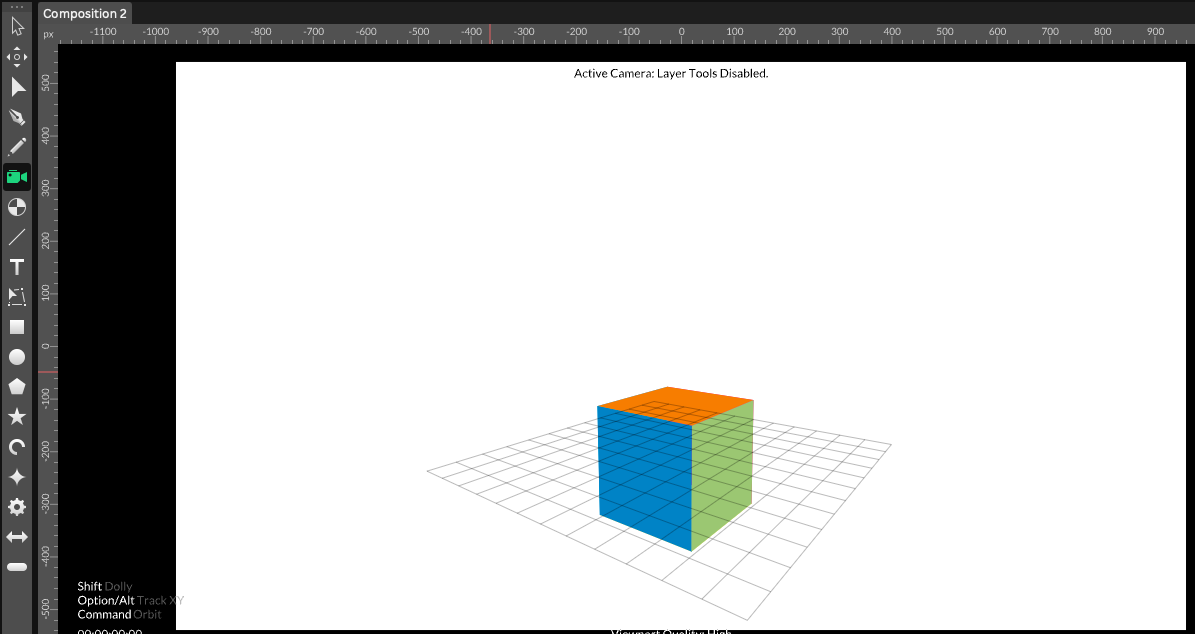
Once this is done, we are ready to move on to the next step.
Animating with noise
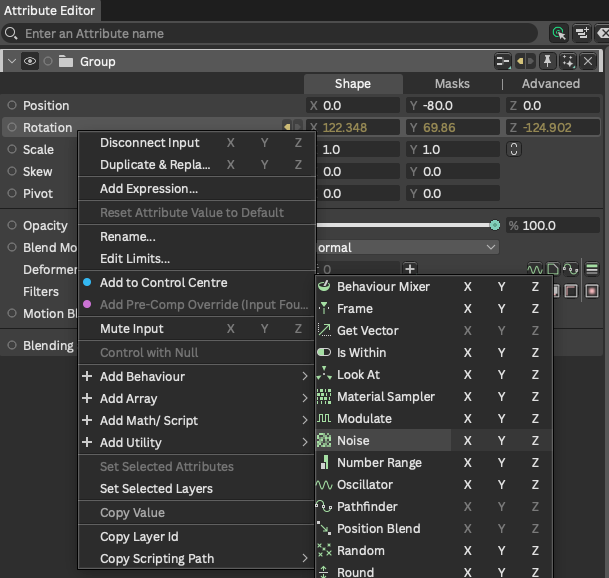
Choose your Group layer (containing all of the sides of the cube) and view its attributes in the editor. Right-click on the Rotation attribute and add behaviour: Noise
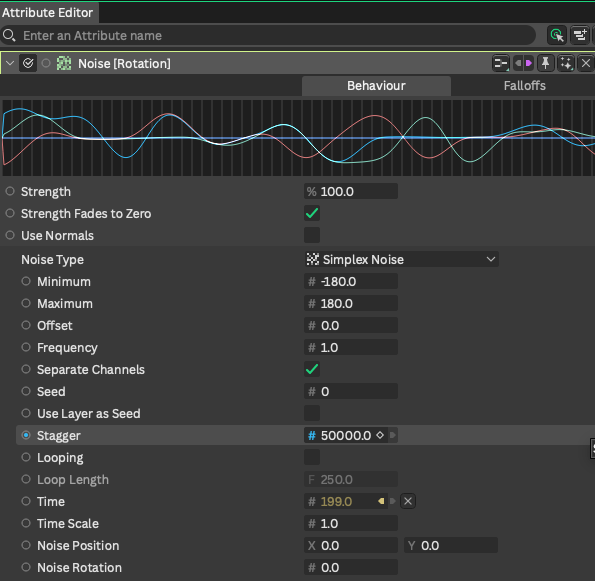
Then, select the noise layer in your scene window, and, in the attributes editor, change the Noise Type Minimum to -180 and the Maximum to +180:
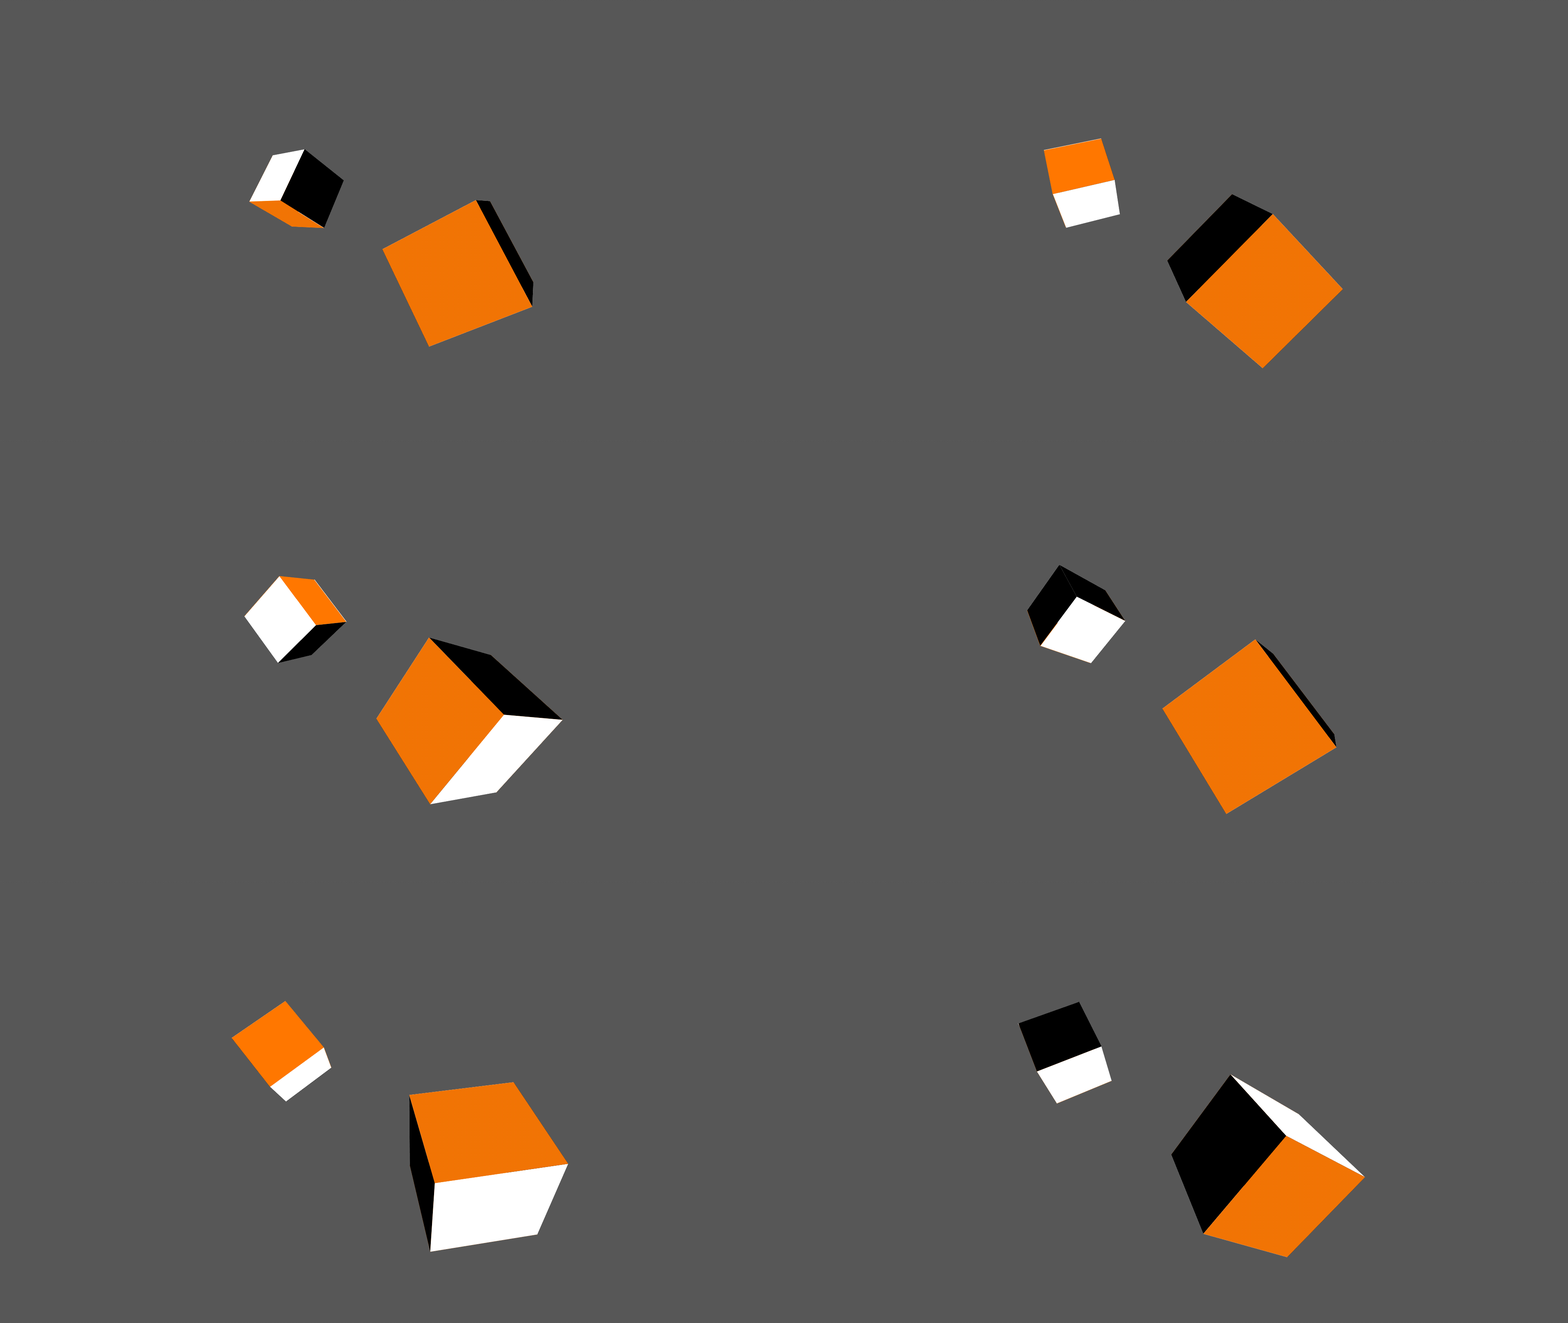
When we play back our animation, it will look something like this:
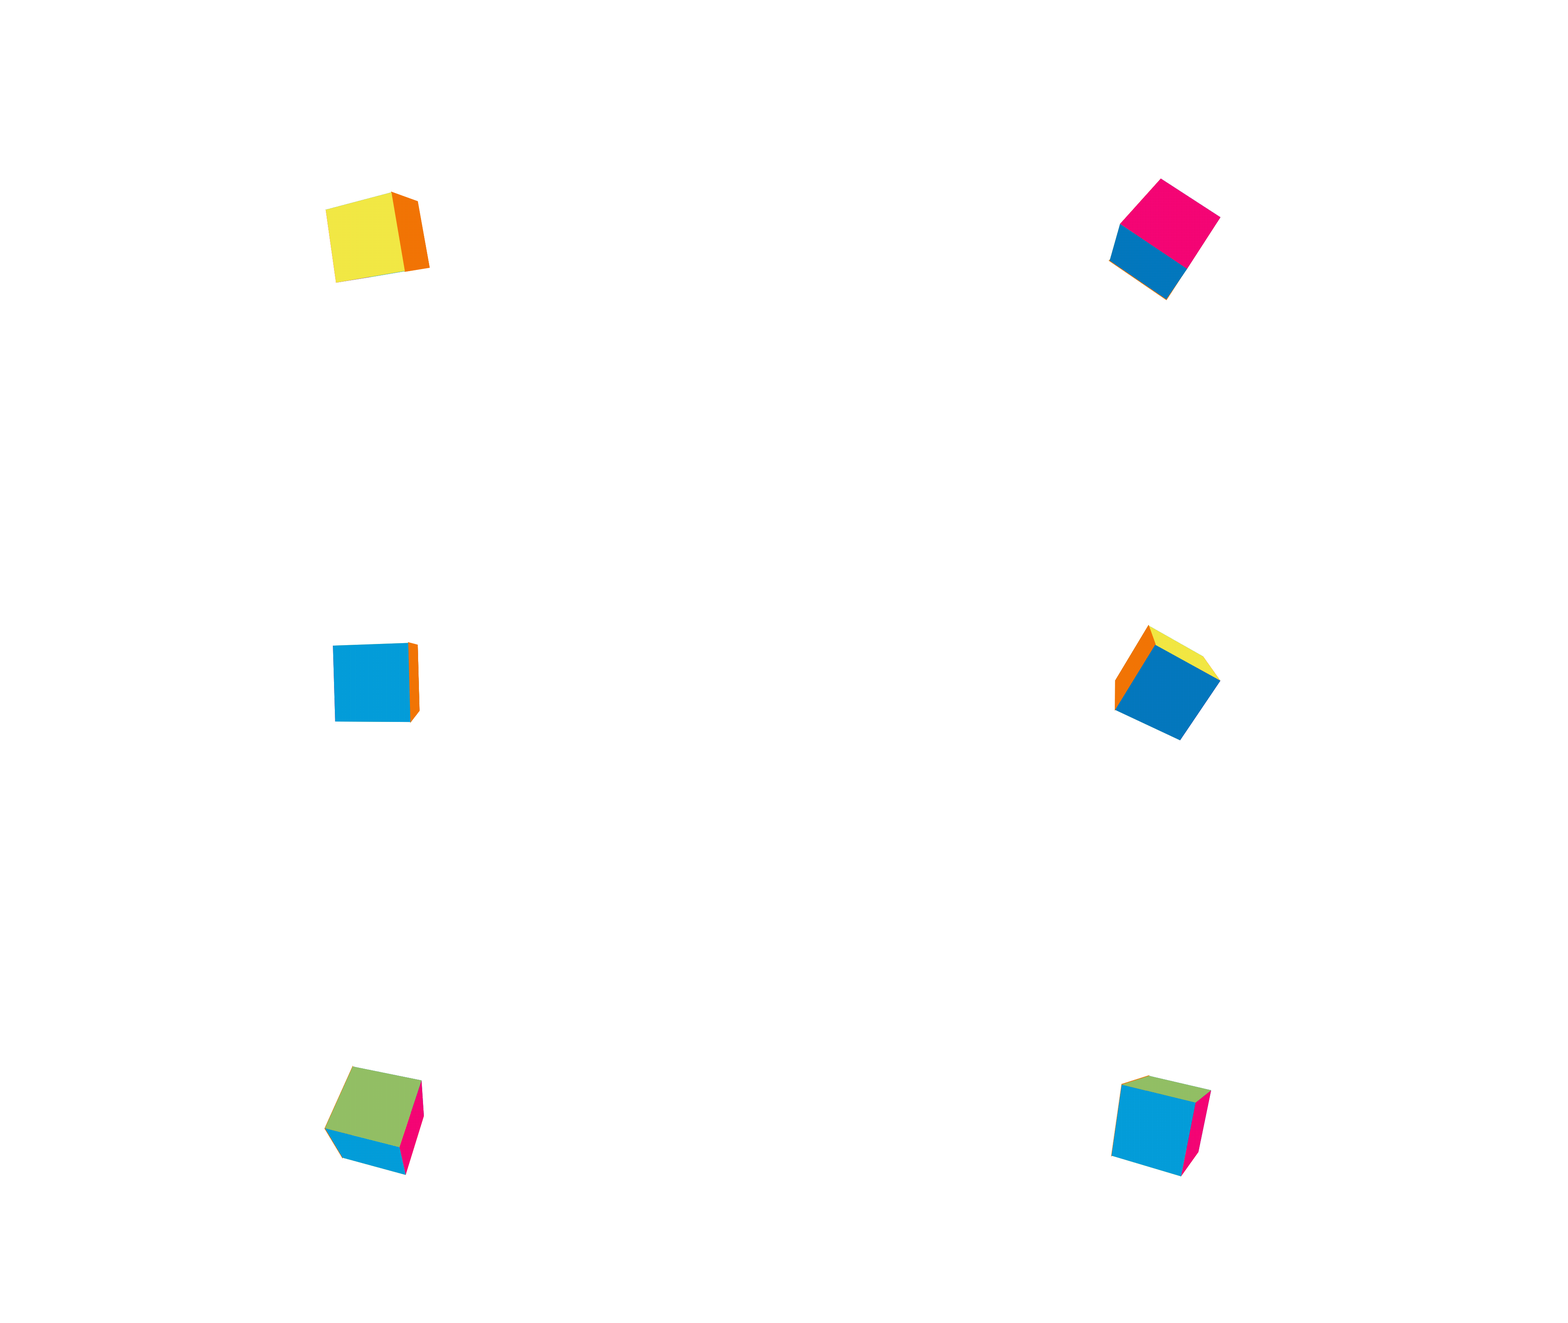
Note: At this point, if you have the 3D grid enabled in your viewport, you may want to turn it off, though leaving it on will not affect the final render (it will be invisible in the output file).
We can take this further, of course, and add noise to our camera position. In the example below, I clicked on the camera layer and added a behaviour: Noise to the camera position attributes. By adjusting the minimum and maximum values of the noise layer, a subtle dynamic camera movement was created, independently of the cube noise layer:
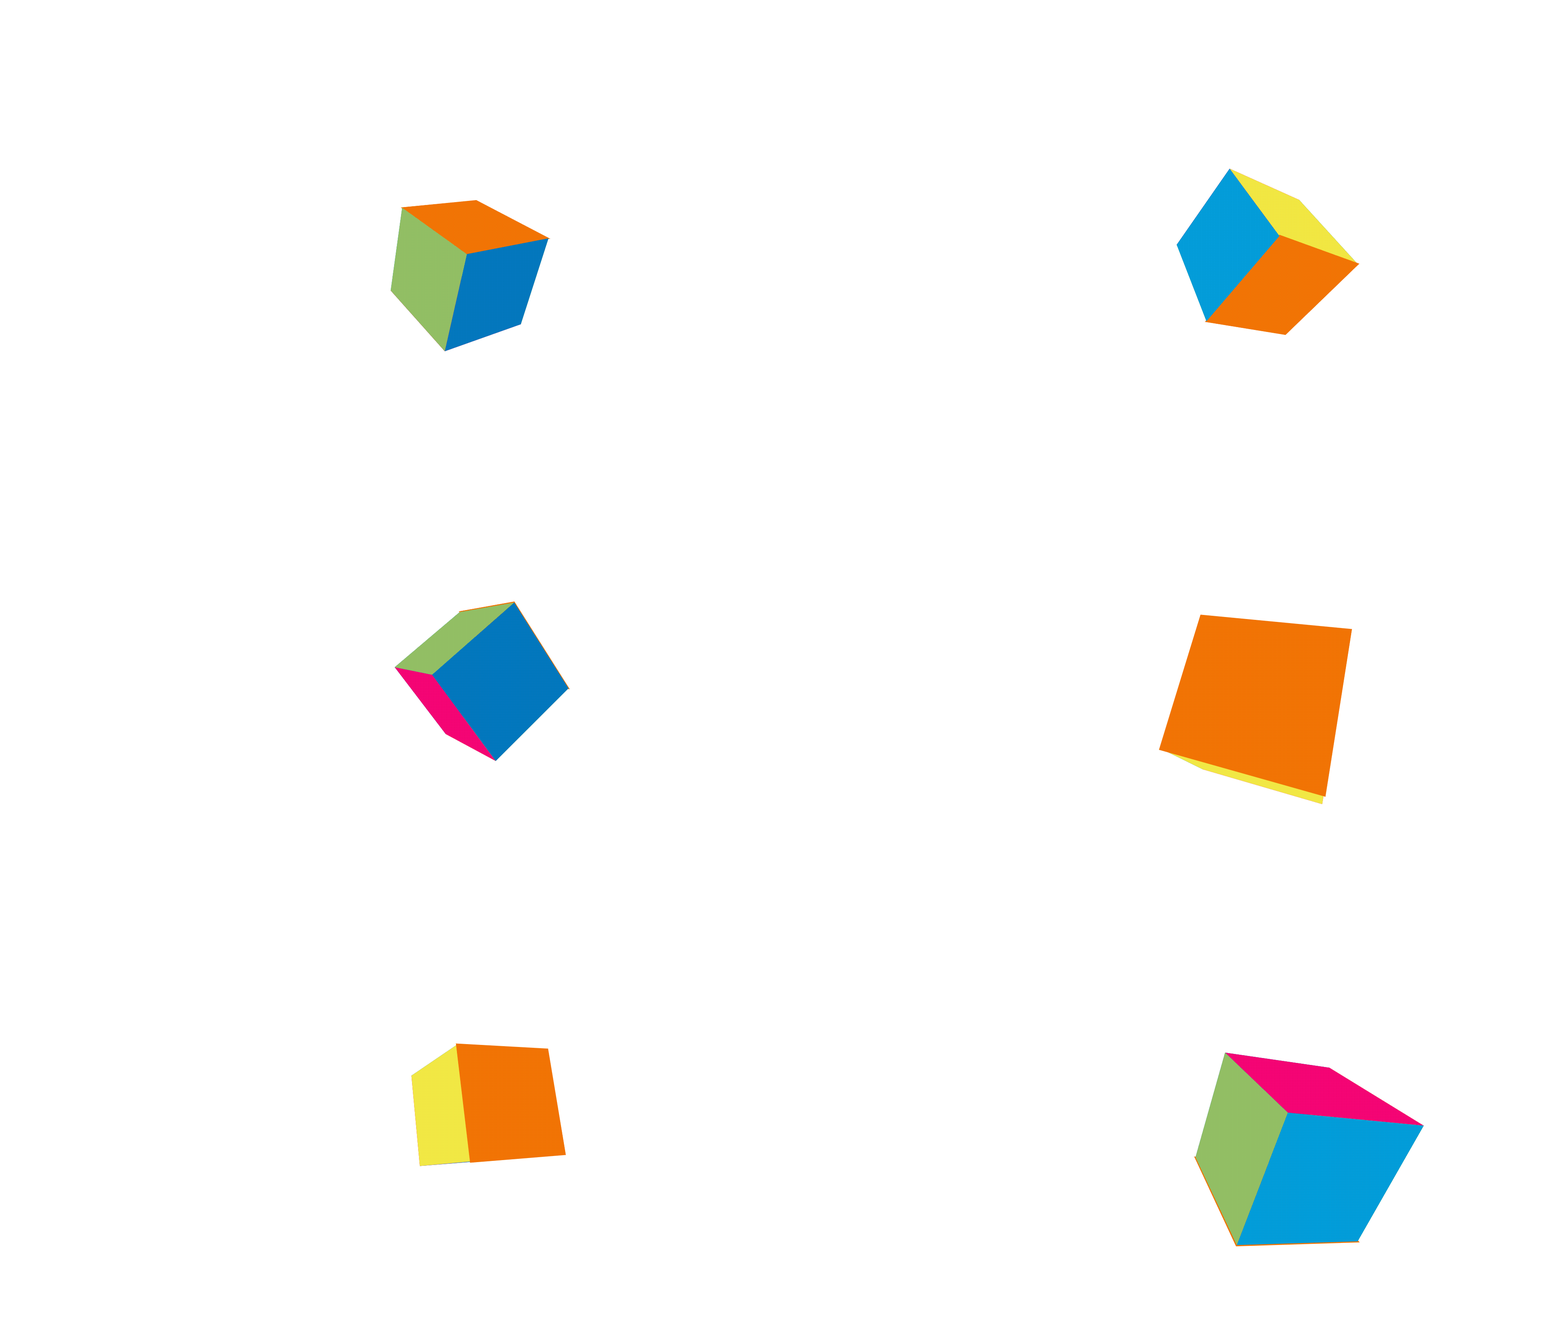
You can experiment with other parameters like zoom, scale, etc. in the camera noise layer to affect how the camera “moves” around the cube.
Another thing you can do is to duplicate your group to add another cube to your scene. You can then reposition that group elsewhere in your scene and you’ll get something like this:
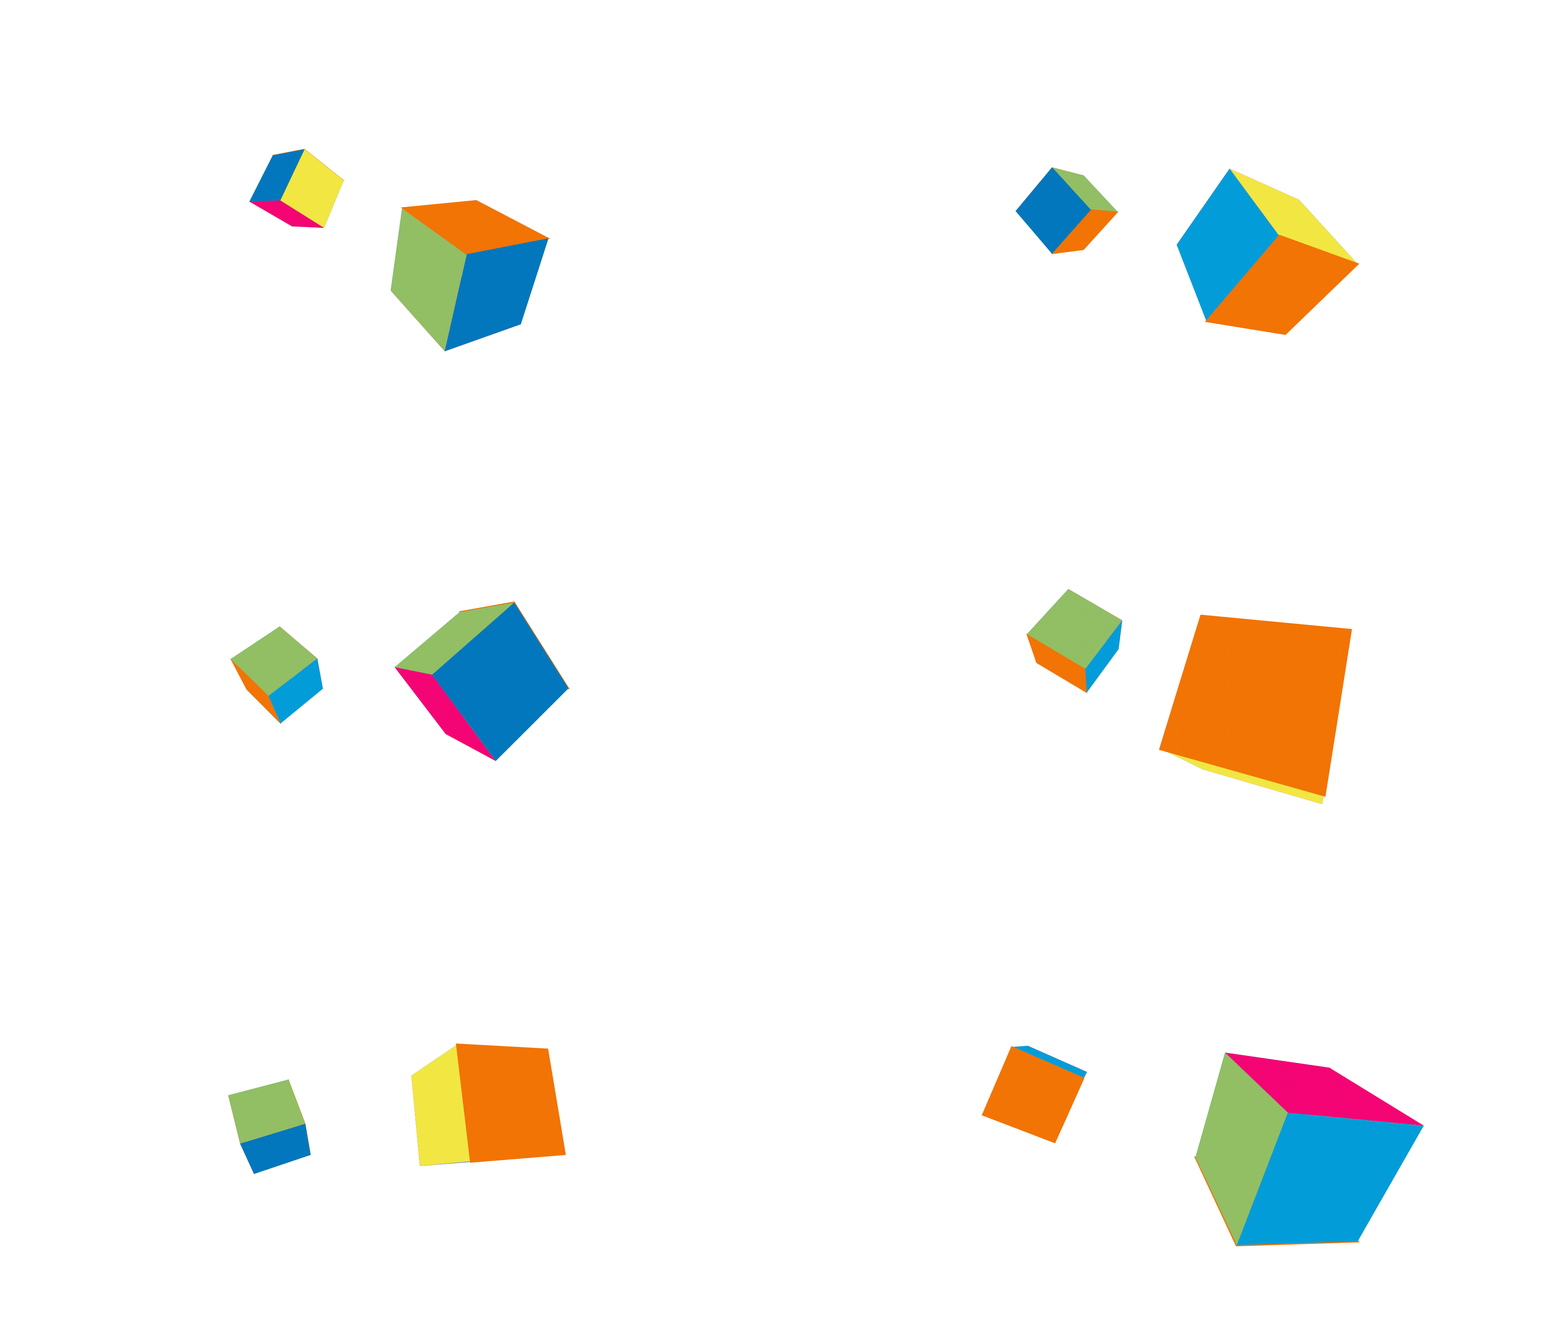
Remember — everything remains editable at this stage, so you might want to experiment further by changing colours, creating different ranges for the cube position noise and so on:
Here, I have added a second camera to focus on one of the cubes. I displaced the second camera layer along the timeline (note: we covered the hierarchy of cameras in the previous tutorial).
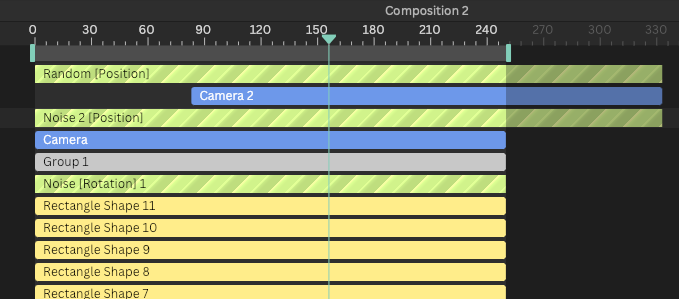
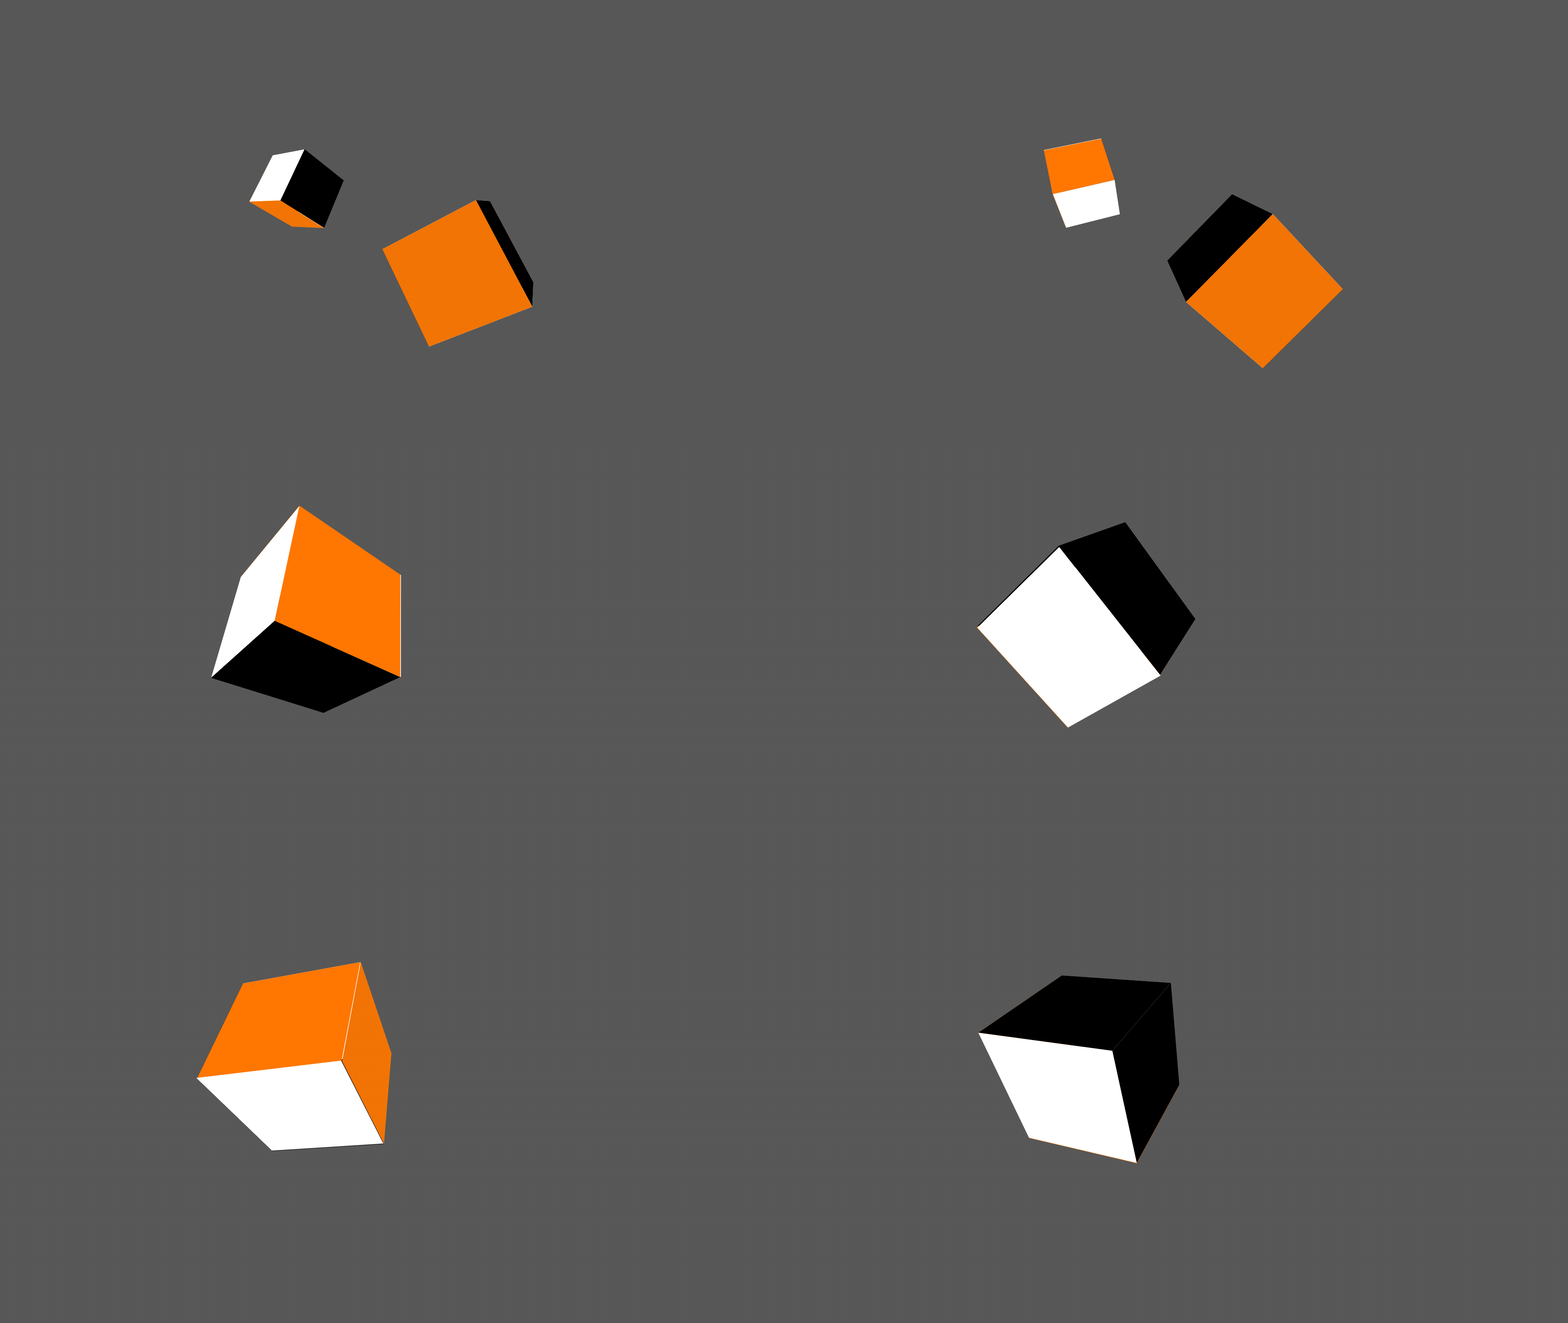
In this way, the composition starts by showing both cubes using camera 1, but then jumps to the second view, which focuses only on one of the cubes. All other parts of the composition remain unchanged, and only the camera views change. You can also do this along a path to create dynamic flythroughs, etc.
That’s all for this week. As always, please clap, subscribe or comment if you want to see more of these introductory lessons to help you create in Cavalry.
메타데이터
- post_id
- 172e1306d410
- slug
- creating-and-using-cameras-in-cavalry-part-two-172e1306d410
- url
- https://medium.com/@nigel_reyes/creating-and-using-cameras-in-cavalry-part-two-172e1306d410
- canonical_url
- https://medium.com/@nigel_reyes/creating-and-using-cameras-in-cavalry-part-two-172e1306d410
- author_url
- https://medium.com/@nigel_reyes
- status
- ok
- fetched_at
- 2026-06-12 22:02:08