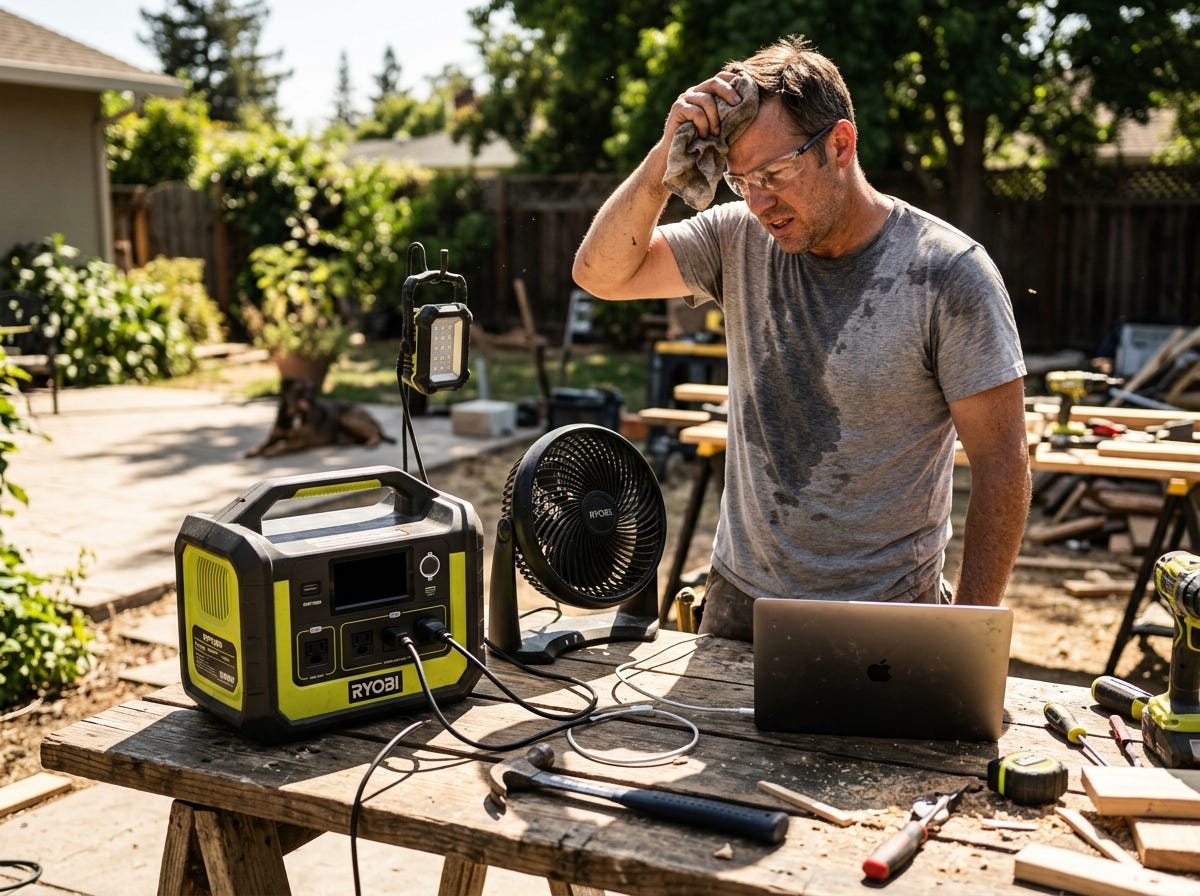
Dewalt portable power station
How I stopped killing my tools on job sites and finally got reliable off-grid power using a DeWalt portable power station the right way.
Dewalt portable power station
How I stopped killing my tools on job sites and finally got reliable off-grid power using a DeWalt portable power station the right way.
Photo by Zendure Power Station on Unsplash
I plugged my circular saw into a portable power station I barely understood and watched the whole unit shut down mid-cut. The blade stopped halfway through a board. I lost two hours of daylight, had to reschedule a client walkthrough, and spent the rest of that afternoon figuring out what I did wrong. Turns out I had no idea what “continuous output” meant versus “peak output,” and I was running too many tools at once without a single plan.
That mistake pushed me to actually learn how these units work. Not just the marketing copy, but the real operational logic behind them. This tutorial is what I wish someone had handed me before that afternoon.
Before You Start: What You Need to Know
First, understand the difference between continuous watts and peak watts. Continuous watts is what the station can deliver steadily. Peak watts is a short burst for startup. Most tools pull peak watts for about half a second when they first spin up. If your tool’s startup draw exceeds the peak rating, the station shuts off. This is the number one reason people think their power station is broken when it isn’t.
Second, know your battery percentage doesn’t equal your runtime. A station at 50% doesn’t mean you have half the runtime left. Power draw is variable. Running a heavy tool drains it faster than the percentage suggests.
Third, DeWalt power stations use a Battery Management System (BMS). This is a safety feature that cuts power to protect the cells from overload, overheating, or deep discharge. It’s not a malfunction. It’s the unit doing its job.
Fourth, the common misconception: bigger always means better. A higher watt-hour capacity matters less than matching the station to your actual load. I’ve seen people haul massive units to a job site when a smaller one would have done the work fine, and vice versa.
Step 1: Calculate Your Total Power Load Before You Plug In Anything
Look at every tool or device you plan to run. Find the wattage on the label or in the manual. Write it down. Add up everything you might run simultaneously, not just one at a time.
Why this matters: I skipped this step and assumed I could figure it out on the fly. I couldn’t. The BMS doesn’t care about your deadline.
What can go wrong: People forget that power tools have startup surges. A tool rated at 1,200 continuous watts might pull 2,400 watts at startup. If you have two of those tools and try to start them at the same time, you’re asking the station for nearly 5,000 peak watts. Most mid-range units can’t do that. Stagger your tool startups by a few seconds to avoid this.
Step 2: Charge the Station Fully Before Your First Use
Plug the station into a standard wall outlet and charge it to 100% before taking it anywhere. This isn’t optional. It initializes the BMS properly and gives you an accurate baseline for how long a charge actually lasts under your specific load.
Why this matters: Partial charges on the first use can skew the battery indicator. I learned this after wondering why my unit seemed to drain faster than the specs promised.
What can go wrong: Some people charge using a solar panel right out of the box. That’s fine eventually, but the input wattage from solar varies too much to give you a clean first charge. Use the AC adapter for the initial charge.
Step 3: Connect Your Highest-Draw Device First
Once the station is on and you’re ready to work, plug in your highest-wattage tool first. Let it run for a moment before adding anything else.
Why this matters: This tells you immediately whether the station can handle your primary load. Better to find out before you’re committed to a cut or a pour or whatever the task is.
What can go wrong: Plugging in multiple devices at once creates overlapping startup surges. The BMS trips and everything shuts off. It feels like a failure. It’s actually just poor sequencing.
Step 4: Monitor the Output Display During Operation
Keep an eye on the wattage readout while you work. DeWalt stations show real-time draw on the display. Watch for spikes when tools start up and watch for the number to stabilize once they’re running.
Why this matters: This is your early warning system. If the draw is consistently near the continuous output ceiling, you’re running hot. Back off before the BMS makes the decision for you.
What can go wrong: People ignore the display entirely and then act surprised when the unit cuts out. The data is right there. Use it.
Step 5: Manage Your Charging Sources Strategically
If you’re recharging in the field using solar panels or a car adapter, understand that input wattage affects how fast you recover capacity. A solar panel in partial shade gives you maybe 30% of its rated input. Plan around that.
Why this matters: I once assumed my solar setup would keep pace with my tool usage. It didn’t. I ran out of power two hours before I expected to because I didn’t account for cloud cover cutting my solar input by half.
What can go wrong: Daisy-chaining multiple charging inputs without checking compatibility can cause issues. Stick to one input source at a time unless the manual explicitly says simultaneous charging is supported.
Step 6: Store the Station at 50–80% Charge When Not in Use
Don’t store it fully charged and don’t let it drain to zero. Lithium cells degrade faster at both extremes. Aim for that middle range if the unit is sitting for more than a few days.
Why this matters: Battery longevity is a real cost. A station that holds 70% of its original capacity after two years of proper storage beats one that holds 40% because it was left plugged in at 100% all winter.
What can go wrong: People leave these plugged into the wall indefinitely thinking it’s fine. Most units have overcharge protection, but keeping cells at 100% consistently accelerates degradation.
Step 7: Reset the BMS If the Unit Refuses to Power On
If the station won’t turn on and you’ve confirmed the battery isn’t dead, try a BMS reset. The process varies slightly by model but generally involves holding the power button for 10–15 seconds, disconnecting all outputs, and then attempting a fresh charge cycle.
Why this matters: The BMS can enter a protection lockout state. It’s not broken. It just needs a reset signal to clear the fault condition.
What can go wrong: People assume the unit is defective and return it. I’ve seen this happen twice with people I know. The fix took 30 seconds once they knew what to do.
Troubleshooting: When Things Go Wrong
The station shuts off mid-use: You exceeded either the continuous or peak watt rating. Disconnect everything, wait 60 seconds for the BMS to reset, then reconnect with fewer devices or stagger your startups.
The display shows charging but percentage doesn’t increase: The input wattage from your source is lower than the station’s self-consumption at idle. Shade on solar panels is the usual culprit. Move to full sun or switch to AC charging.
One outlet works but another doesn’t: Some stations have independent circuit protection per outlet type. Check whether the AC outlet, USB ports, and DC ports are on separate circuits. A tripped circuit on one doesn’t affect the others.
The unit gets warm during heavy use: This is normal up to a point. If it’s hot to the touch, reduce the load and give it airflow. Don’t set it inside a closed toolbox while it’s running.
What Good Looks Like
You know you’ve got this right when the station runs your tools without a single unexpected shutdown. The display stays well below the continuous watt ceiling during normal operation. Your charge lasts roughly in line with the math you did in Step 1. And when you pack it up, it still has meaningful capacity left because you planned the job around what the unit could actually do.
Honestly, that’s the whole game. Match the load, manage the sequencing, watch the display, and treat the battery like the expensive asset it is. Do those four things and this tool becomes one of the most reliable pieces of kit on any job site.
메타데이터
- post_id
- 17618d3b2810
- slug
- the-dewalt-portable-power-station-guide-nobody-gave-me-before-i-fried-my-first-one-17618d3b2810
- url
- https://medium.com/@jake.morrison.power/the-dewalt-portable-power-station-guide-nobody-gave-me-before-i-fried-my-first-one-17618d3b2810
- canonical_url
- https://medium.com/@jake.morrison.power/the-dewalt-portable-power-station-guide-nobody-gave-me-before-i-fried-my-first-one-17618d3b2810
- author_url
- https://medium.com/@jake.morrison.power
- status
- ok
- fetched_at
- 2026-06-23 03:48:11