Easily Deploy Next Js App on Aws Lightsail (A Beginner-Friendly Guide)
So, you’ve built your Next.js app, maybe it’s a portfolio, a SaaS dashboard, or the next unicorn startup and now you’re ready to show it…
Easily Deploy Next Js App on Aws Lightsail (A Beginner-Friendly Guide)
next js deployment on AWS Lightsail
So, you’ve built your Next.js app, maybe it’s a portfolio, a SaaS dashboard, or the next unicorn startup and now you’re ready to show it off to the world. The question is: where should you deploy it?
Just in case you chose AWS Lightsail, This post will walk you through deploying a Next.js app on AWS Lightsail, step by step.
🛠 Step 1: Prepare Your Next.js App
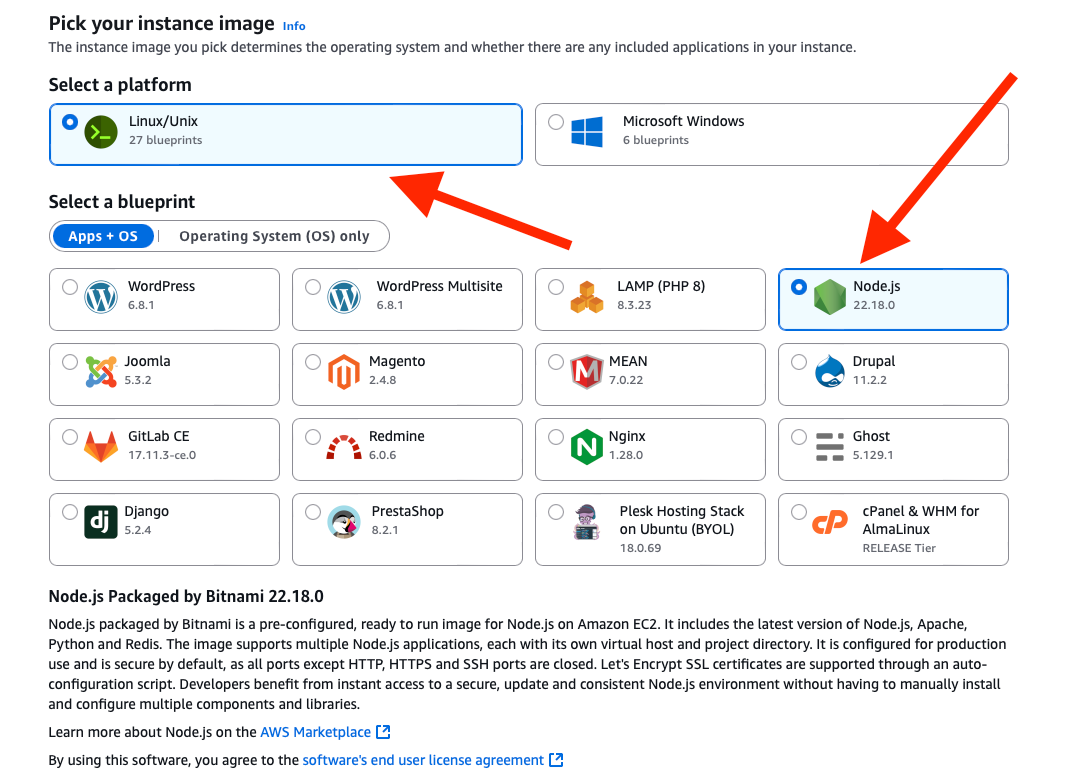
A. Head over to the AWS Lightsail console.
B. Click Create Instance. C. Choose Linux/Unix D. Pick a plan (the $5 or $7 option is fine for most apps). E. Name your instance and launch it.

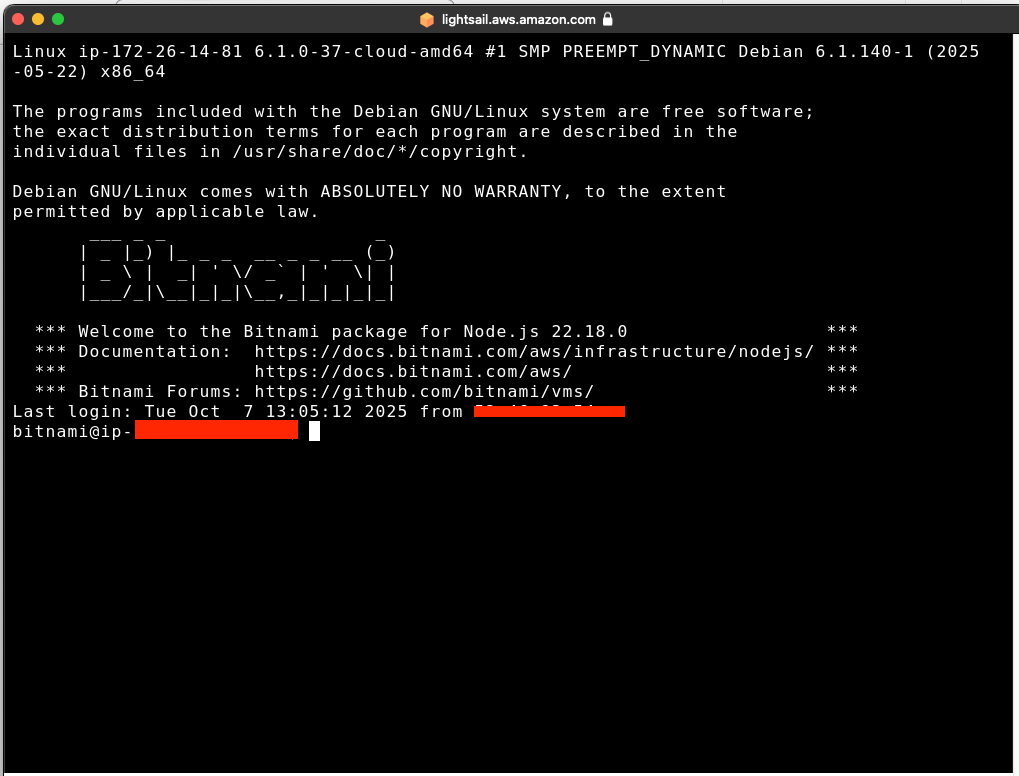
🔑 Step 2: Connect to Your Instance From the Lightsail dashboard, you can launch an SSH session in your browser. Or, from your terminal just click on connect using SSH

you should see something like this
Step 3: Install Dependencies and Update packages:
sudo apt update && sudo apt upgrade -ycurl -fsSL https://deb.nodesource.com/setup_20.x | sudo -E bash -sudo apt-get install -y nodejssudo npm install -g pm2Step 4: Upload Your App/Clone your repository from GitHub
git clone https://github.com/your-next-app.gitmove to your app folder
cd your-next-appStep 3: Install core app Dependencies:
make sure you are in your app, the run
npm installnpm run buildStep 4: Add/Set upNginx Reverse Proxy
run the command to install nginx
sudo apt install nginx -yopen the nginx file using this command
sudo vim /etc/nginx/sites-available/defaultYou will find some script inside the file, remove everything by just pressing the key D on your keyboard, this action completely removes all the file on vim.
After removing the script completely, press I on your keyboard to allow you add or write in the file.
copy and paste this nginx script inside the file
server {
    listen 80;
    server_name your-ip-address;

    location / {
        proxy_pass http://localhost:3000;
        proxy_http_version 1.1;
        proxy_set_header Upgrade $http_upgrade;
        proxy_set_header Connection 'upgrade';
        proxy_set_header Host $host;
        proxy_cache_bypass $http_upgrade;
    }
}
Note: make sure you replace your-ip-adress with the real ip address (Public IPv4 address) of the created instance as shown in the reference image

save and exit vim by clicking esc (escape) on your keyboard, then enter :wq
:wqhit enter to exit vim
Step 5: Restart Nginx
sudo nginx -tsudo systemctl restart nginxif everything is okay, then you should not see any errors
Step 6: Start your app usin pm2
pm2 start npm --name "your-next-app" -- run start
pm2 savepm2 startupStep 7: Verify if your app is running
after completing the above steps, you can proceed to visit your instance ip-address and your app should be running.
congratulations 🎉 🎊
Step 6: Connect your domain name and install SSL Certificate
Assuming your domain name is example.com, just like in step 4, open the nginx file
sudo vim/etc/nginx/sites-available/default*update your ip address with the real domain name, make sure not to include http or https or any other prefix, just *example.com
server {
    listen 80;
    server_name example.com;

    location / {
        proxy_pass http://localhost:3000;
        proxy_http_version 1.1;
        proxy_set_header Upgrade $http_upgrade;
        proxy_set_header Connection 'upgrade';
        proxy_set_header Host $host;
        proxy_cache_bypass $http_upgrade;
    }
}
Exit vim just like in the steps above (check the step 4 for guide on how to edit on vim)
run the following commands to install ssl certificate
sudo apt install certbot python3-certbot-nginx -ysudo certbot --nginx -d example.comenter your email address if prompted, if the above step is successfull
A. Restart the nginx server
sudo systemctl restart nginxvisit your domain e.g https://*example.com *and it should be working now
congratulations again 👏 🎉 🎊
When you push update in the future, run the following commands to keep your app updated
git pull
npm install
npm run build
pm2 restart your-next-app
메타데이터
- post_id
- 19f7481af0c2
- slug
- easily-deploy-next-js-app-on-aws-lightsail-a-beginner-friendly-guide-19f7481af0c2
- url
- https://medium.com/@igahfranklin/easily-deploy-next-js-app-on-aws-lightsail-a-beginner-friendly-guide-19f7481af0c2
- canonical_url
- https://medium.com/@igahfranklin/easily-deploy-next-js-app-on-aws-lightsail-a-beginner-friendly-guide-19f7481af0c2
- author_url
- https://medium.com/@igahfranklin
- status
- ok
- fetched_at
- 2026-08-07 10:18:08