Building an ACR Continuous Delivery Pipeline with FluxCD
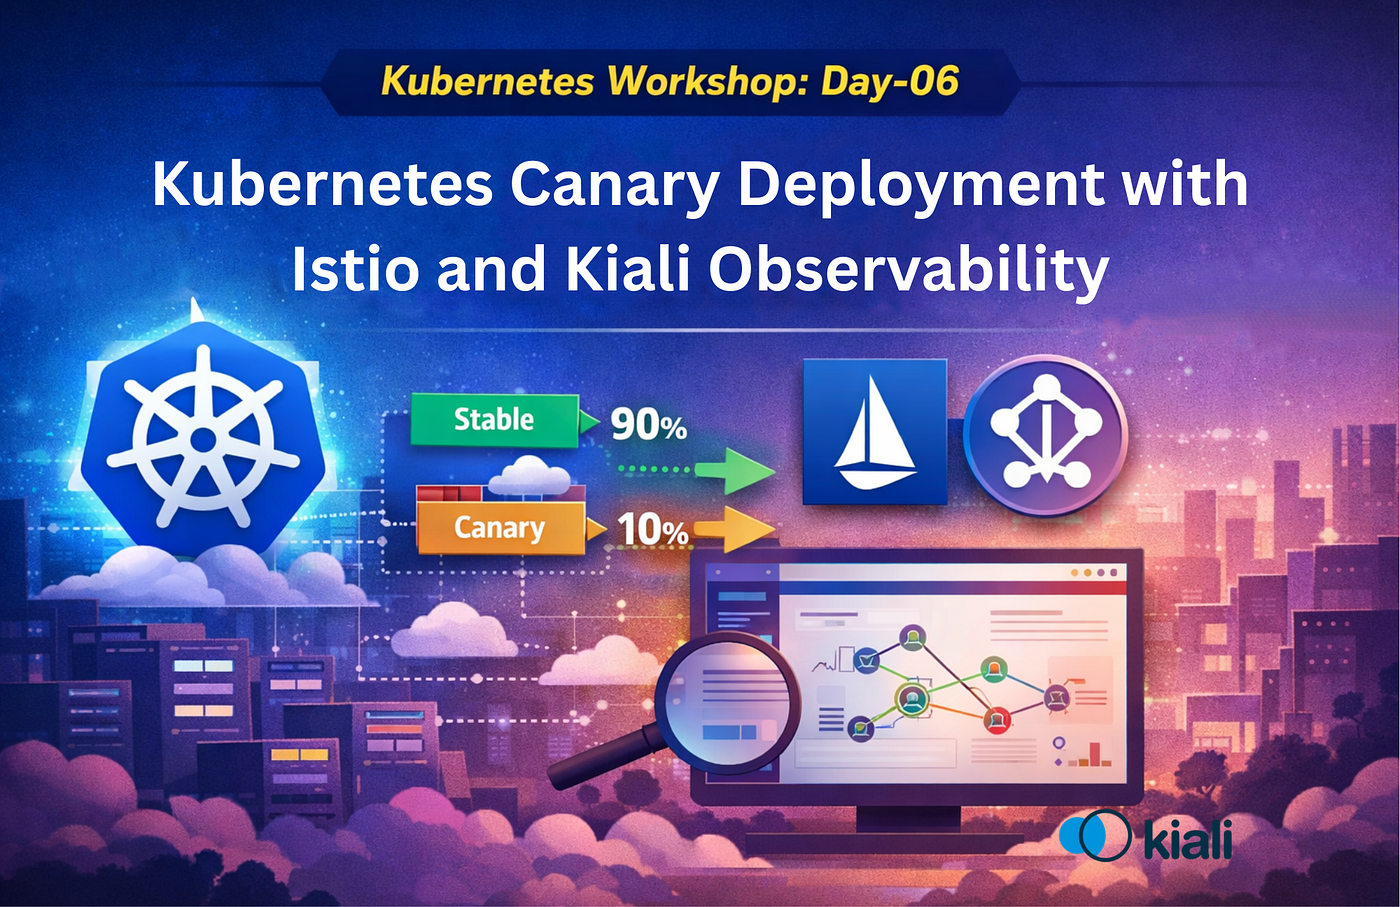
In the previous workshop, we deployed an application on Kubernetes using a canary deployment process and used the Kiali dashboard to…
Building an ACR Continuous Delivery Pipeline with FluxCD
In the previous workshop, we deployed an application on Kubernetes using a canary deployment process and used the Kiali dashboard to visually observe cluster insights and details. In this blog, we will build a Continuous Delivery (CD) pipeline to automatically apply newly created ACR images to the cluster.

We have already built a Continuous Integration (CI) pipeline for our application using GitHub Actions. So whenever a user updates or changes any part of the application, then commits and pushes those changes to the GitHub repository, it automatically builds a new version and publishes it to ACR.
However, this newly created ACR Docker image is not automatically applied to our Kubernetes cluster during the deployment process — we still need to configure that part manually. To avoid this manual step, we will build a Continuous Delivery (CD) pipeline that automatically applies the newly released ACR Docker image to the deployment process.
First, open your VS Code terminal and execute the following Flux bootstrap command along with the additional line.
flux bootstrap github \
  --token-auth \
  --owner=kubeflex \
  --repository=paas-config \
  --branch=main \
  --path=clusters/production \
  --personal
  --components-extra=image-reflector-controller,image-automation-controller
In the above bootstrap command, we added a new line at the end. The purpose of this line is to install the necessary components required by FluxCD.
This process will take a short amount of time. After the installation is complete, you need to download the latest changes from the remote repository to your local repository using the git pull command.
Once that is done, close your VS Code window and delete the entire Kubernetes cluster configuration folder from your computer. Then open a new terminal and clone your remote repository back into your local machine using the following command:
git clone <remote repository link>Why do we delete the entire folder and then clone the remote repository again to our local machine?
The reason is that after running the Flux bootstrap command, two new controllers — image-reflector-controller and image-automation-controller are added to the Flux system. These controllers continuously monitor ACR for any updates or changes to the container images.
However, the configuration files for these controllers are not present in your previous local repository. Since the Flux bootstrap process pushes new configuration files directly to the remote Git repository, your local copy becomes outdated.
Therefore, to sync your local environment with the latest Flux configurations, we delete the old folder and clone the updated repository again to ensure we are working with the correct and complete setup.
Create a secret on flux system
After that, switch to the Flux system folder, and we need to create a new secret within this Flux system. We already completed this process in Workshop 05.
kubectl create secret docker-registry acr-secret \
  --docker-server=k8sworkshopcertd.azurecr.io \
  --docker-username=k8sworkshopcertd \
  --docker-password=CNeUCBKHzJC9CIbdaJgtSz5JSCsyvnBqPvlWt2SCr5PZUCPHFwiYJQQJ99CBAC4f1cMEqg7NAAACAZCRlLQ2 \
  --docker-email=tharindukalhara73@outlook.com -n flux-system --dry-run=client -o yaml > acr-secret.yaml
Then execute the command below to create the public key:
kubeseal --controller-name=sealed-secrets-controller --controller-namespace=sealed-secrets --fetch-cert > pub.crtAfter creating the public key, use it to encrypt the acr-secret.yaml file.
kubeseal -o yaml --scope cluster-wide --cert pub.crt < acr-secret.yaml > acr-secret-enc.yamlThen, commit and push the changes to the GitHub repository. After that, reconcile the cluster using the flux reconcile command.
flux reconcile source git -n flux-system flux-systemCreate a new folder inside the Flux system directory named imagerepository, and then create a new file within this folder called lms-static-canary.yaml.
lms-static-canary.yaml
apiVersion: image.toolkit.fluxcd.io/v1
kind: ImagePolicy
metadata:
  name: lms-static-canary
  namespace: flux-system
spec:
  imageRepositoryRef:
    name: lms-static-canary
  policy:
    semver:
      range: '>=1.0.0'
Create a new folder inside the Flux system directory named imagepolicies, and then create a new file within this folder called lms-static-canary.yaml.
lms-static-canary.yaml
apiVersion: image.toolkit.fluxcd.io/v1
kind: ImageRepository
metadata:
  name: lms-static-canary
  namespace: flux-system
spec:
  secretRef:
    name: acr-secret
  image: k8sworkshopcertd.azurecr.io/lms-static
  interval: 1m
After adding both folders and their respective files, we need to reference them in the kustomization.yaml file by adding new entries for each one.
apiVersion: kustomize.config.k8s.io/v1beta1
kind: Kustomization
resources:
- gotk-components.yaml
- gotk-sync.yaml
- helmrepositories/cert-manager.yaml
- helmrepositories/sealed-secrets.yaml
- imagerepositories/lms-static-canary.yaml
- imagepolicies/lms-static-canary.yaml
We can verify that the imagerepository is correctly scanning ACR after running the flux reconcile command by using the following command:
flux get image repository lms-static-canary -n flux systemWe can verify that the imagepolicy is correctly detecting updates from ACR after running the flux reconcile command by using the following command:
flux get image policy lms-static-canary -n flux systemThen, open the deployment-canary.yaml file inside the lms folder and modify the image section as follows:
image: k8sworkshopcertd.azurecr.io/lms-static:v1.0.20 # {"$imagepolicy": "flux-system:lms-static-canary"}In this line, we added “ # {“$imagepolicy”: “flux-system:lms-static-canary”} “ at the end. This annotation allows Flux to automatically update the image field whenever a new version is pushed to ACR. When any update or modification occurs in ACR, the imagepolicy detects it and updates the image tag in this file’s image section accordingly.
Next, create a new file named “image-update-automation.yaml” inside the Flux system folder, and add the following content to it:
apiVersion: image.toolkit.fluxcd.io/v1
kind: ImageUpdateAutomation
metadata:
  name: flux-system
  namespace: flux-system
spec:
  interval: 5m
  sourceRef:
    kind: GitRepository
    name: flux-system
  git:
    checkout:
      ref:
        branch: main
    commit:
      author:
        email: fluxcdbot@users.noreply.github.com
        name: fluxcdbot
      messageTemplate: '{{range .Changed.Changes}}{{print .OldValue}} -> {{println .NewValue}}{{end}}'
    push:
      branch: main
  update:
    path: ./clusters/k8s-ws-terra-v2
    strategy: Setters
After adding this file, we need to reference it in the kustomization.yaml file by adding a new entry for it.
apiVersion: kustomize.config.k8s.io/v1beta1
kind: Kustomization
resources:
- gotk-components.yaml
- gotk-sync.yaml
- helmrepositories/cert-manager.yaml
- helmrepositories/sealed-secrets.yaml
- imagerepositories/lms-static-canary.yaml
- imagepolicies/lms-static-canary.yaml
- image-update-automation.yaml
Then, commit and push the changes to the GitHub repository. After that, reconcile the cluster using the flux reconcile command.
flux reconcile source git -n flux-system flux-systemAgain, verify that both the imagerepositoryand imagepolicy are working correctly and are monitoring the ACR repository.
flux get image repository lms-static-canary -n flux system

flux get image policy lms-static-canary -n flux system
Check the ACR CD pipeline process
At this stage, we will verify whether our ACR‑based CD pipeline is working correctly. The goal is to ensure that when a user updates or modifies the web application, a new ACR Docker image is built, and that updated image is automatically applied to the deployment-canary.yaml file.
Follow the steps below:
- Go to the web application and make a small update or modification.
- Commit and push the changes to the GitHub repository.
- Open the GitHub Actions tab in your repository you should now see a new workflow running.
- Merge the Pull Request (PR) into the main branch; this will trigger another workflow run.
- After a short time, go to your ACR repository and refresh it. You should see the newly created Docker image pushed successfully.
- Finally, check the deployment-canary.yaml file. You will notice that the image section has been automatically updated with the new image version.
This confirms that your CD pipeline is functioning correctly and that FluxCD is automatically applying the latest ACR image updates to your Kubernetes deployment.
Conclusion:
In this workshop, we built an automated Continuous Delivery (CD) pipeline using FluxCD and Azure Container Registry (ACR). With the help of imagerepository, imagepolicy, and image-update-automation, our Kubernetes cluster can now automatically detect new container images and update the deployment configuration without manual intervention.
This setup demonstrates the power of the GitOps approach, where Git acts as the single source of truth and ensures that the latest application version is continuously delivered to the Kubernetes cluster in a reliable and automated way
🤝 Let’s Connect
I’m documenting my Kubernetes and Cloud Native learning journey week by week through this workshop. If you’re also learning Kubernetes, DevOps, or Cloud technologies, feel free to connect with me and share knowledge.
🔗 LinkedIn: linkedin.com/in/sasankad101 💬 Always open to discussions, feedback, and collaboration opportunities.
Let’s learn and grow together in the Cloud Native ecosystem 🚀
메타데이터
- post_id
- 2016876e17fb
- slug
- building-an-acr-continuous-delivery-pipeline-with-fluxcd-2016876e17fb
- url
- https://blog.devops.dev/building-an-acr-continuous-delivery-pipeline-with-fluxcd-2016876e17fb
- canonical_url
- https://blog.devops.dev/building-an-acr-continuous-delivery-pipeline-with-fluxcd-2016876e17fb
- author_url
- https://medium.com/@sasankad101
- status
- ok
- fetched_at
- 2026-07-27 17:46:35