UI5 for Beginners — Part 2
Building Your First SAP UI5 App (A Complete Step-by-Step Tutorial)
UI5 for Beginners — Part 2
Building Your First SAP UI5 App (A Complete Step-by-Step Tutorial)
Welcome to Part 2 of the UI5 for Beginners series!
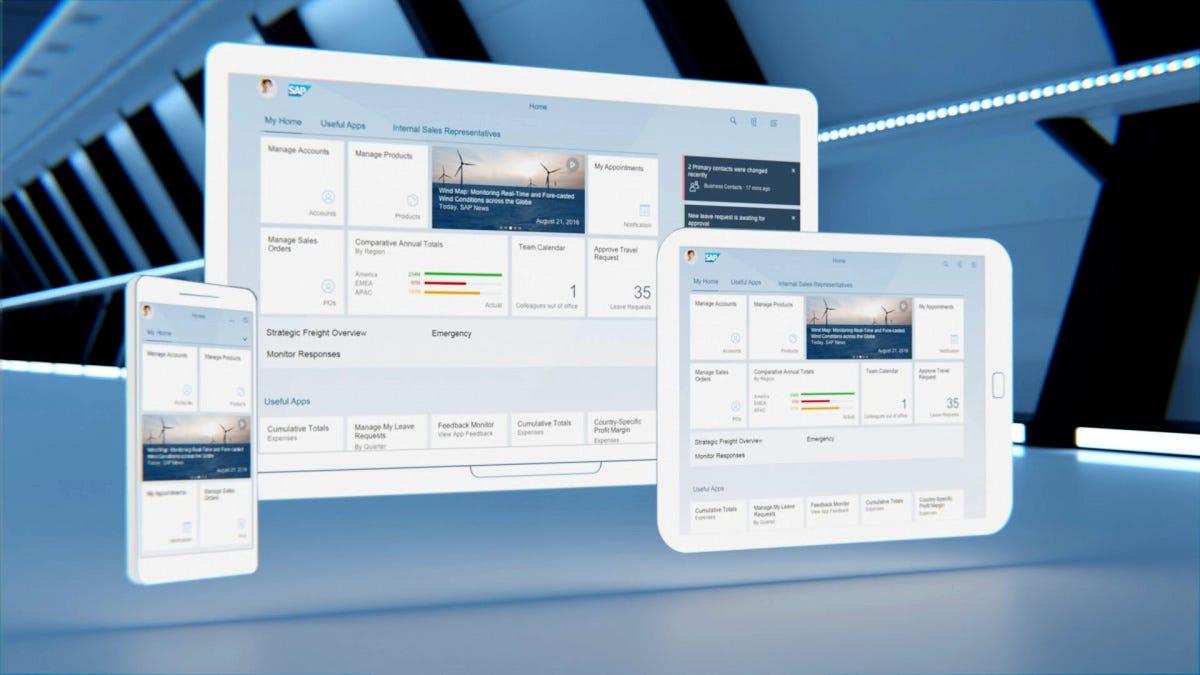
In **Part 1, we explored the fundamentals of SAP Fiori and SAP UI5, **including what they are, why they matter, and how their architecture works.
Now it’s time to turn theory into practice.
In this guide, you’ll build your first SAP UI5 application from scratch. This tutorial is designed for complete beginners but structured professionally so you can apply it in real SAP projects.
By the end of this chapter, you will understand:
- How a UI5 project is structured
- How to work with views and controllers
- How models store and bind data
- How routing works
- How to run and test your app
Let’s get started.
1. Create Your First UI5 Project
You can create UI5 apps using:
- SAP Business Application Studio (BAS)
- Visual Studio Code + UI5 Tooling
For this tutorial, BAS is recommended because it provides ready-made templates for SAP UI5.
Steps:
- Open SAP Business Application Studio
- Choose File → New Project from Template
- Select SAP Fiori Application or SAP UI5 Freestyle App
- Choose SAP UI5 Application (Freestyle)
- Fill in details:
- Project Name:
SimpleUI5App - Namespace:
demo - View Type: XML
- View Name:
Main
Click Finish, and BAS will generate the full UI5 project.
Your folder structure should now look like:
webapp/
   ├─ controller/
   ├─ view/
   ├─ model/
   ├─ i18n/
   ├─ manifest.json
   └─ Component.js
Now it’s time to start coding.
2. Create Your First XML View
Open webapp/view/Main.view.xml
Replace its content with this basic UI:
<mvc:View
    controllerName="demo.controller.Main"
    xmlns:mvc="sap.ui.core.mvc"
    xmlns="sap.m">
    <VBox class="sapUiSmallMargin">
        <Title text="Welcome to Your First UI5 App!" level="H2" />
        <Button text="Click Me" press="onClick" />
        <Text id="messageText" text="" />
    </VBox>
</mvc:View>
What this does:
- Displays a title
- Adds a button
- Adds a text element to show a message
Now let’s add logic.
3. Add Controller Logic
Open webapp/controller/Main.controller.js
Replace its content with:
sap.ui.define([
    "sap/ui/core/mvc/Controller",
    "sap/m/MessageToast"
], function (Controller, MessageToast) {
    "use strict";

    return Controller.extend("demo.controller.Main", {
        onClick: function () {
            MessageToast.show("Button Clicked!");
            this.byId("messageText").setText("You clicked the button!");
        }
    });
});
Explanation:
- The
onClickfunction is called when the button is pressed MessageToastshows a popup- The text on the page updates dynamically
Congratulations!!!! you just created your first UI interaction in UI5!
4. Add a JSON Model (Introducing Data Binding)
Let’s display some mock data using a model.
Create a file:
webapp/model/data.jsonAdd this sample data:
{
    "user": {
        "name": "John",
        "role": "AI & Full Stack Developer"
    }
}
Load the model in Component.js
Open Component.js and register the model:
init: function () {
    UIComponent.prototype.init.apply(this, arguments);

    var oModel = new JSONModel("model/data.json");
    this.setModel(oModel, "data");
}
Bind the data in the XML view:
Replace the Title tag in your view:
<Title text="Hello, {data>/user/name}!" level="H2" />Now run the app — you’ll see your model value displayed dynamically.
You’ve just learned:
- How to create a JSON Model
- How to load it into the app
- How to bind UI elements to model data
This is the foundation of all UI5 applications.
5. Add Navigation (Routing)
UI5 routing is defined in manifest.json.
Step 1: Create a second view
Create a file:
webapp/view/Second.view.xmlAdd:
<mvc:View
    controllerName="demo.controller.Second"
    xmlns:mvc="sap.ui.core.mvc"
    xmlns="sap.m">

    <Page title="Second Page">
        <content>
            <Text text="You navigated to page 2!" />
        </content>
    </Page>
</mvc:View>
Step 2: Add the controller
Create:
webapp/controller/Second.controller.jsAdd:
sap.ui.define([
    "sap/ui/core/mvc/Controller"
], function (Controller) {
    "use strict";

    return Controller.extend("demo.controller.Second", {});
});
Step 3: Configure routing in manifest.json
Add to routing:
"routes": [
    {
        "pattern": "",
        "name": "main",
        "target": "main"
    },
    {
        "pattern": "second",
        "name": "second",
        "target": "second"
    }
],
"targets": {
    "main": {
        "viewName": "Main",
        "viewType": "XML"
    },
    "second": {
        "viewName": "Second",
        "viewType": "XML"
    }
}
Step 4: Add navigation button to Main view:
<Button text="Go to Second Page" press="onNav" />Step 5: Add navigation logic:
In Main.controller.js:
onNav: function () {
    this.getOwnerComponent().getRouter().navTo("second");
}
You now have multi-page navigation — a core concept in real Fiori/UI5 apps.
6. Run the App
In BAS:
- Right-click project
- Select Preview Application
- Choose
index.html
Your first UI5 app is now fully functional.
You’ve implemented:
- XML Views
- Controllers
- JSON Models
- Data Binding
- Routing
- Navigation
- UI interactions
You are no longer a UI5 beginner — you’re officially building real applications.
Final Thoughts
This tutorial covered the essential building blocks of every SAP UI5 application.
You learned how to:
- Create an app structure
- Work with views and controllers
- Bind data using models
- Build interactions
- Implement routing and navigation
In the next chapter, we’ll go deeper into UI5 Controls, including:
- Tables
- Lists
- Dialogs
- Forms
- Fragments
- Layouts
- Best practices for UI performance
This is where you’ll start building apps that look and feel truly professional.
메타데이터
- post_id
- 232e2f7aeabd
- slug
- ui5-for-beginners-part-2-232e2f7aeabd
- url
- https://medium.com/@jagrutivekariya261/ui5-for-beginners-part-2-232e2f7aeabd
- canonical_url
- https://medium.com/@jagrutivekariya261/ui5-for-beginners-part-2-232e2f7aeabd
- author_url
- https://medium.com/@jagrutivekariya261
- status
- ok
- fetched_at
- 2026-07-31 12:44:47




