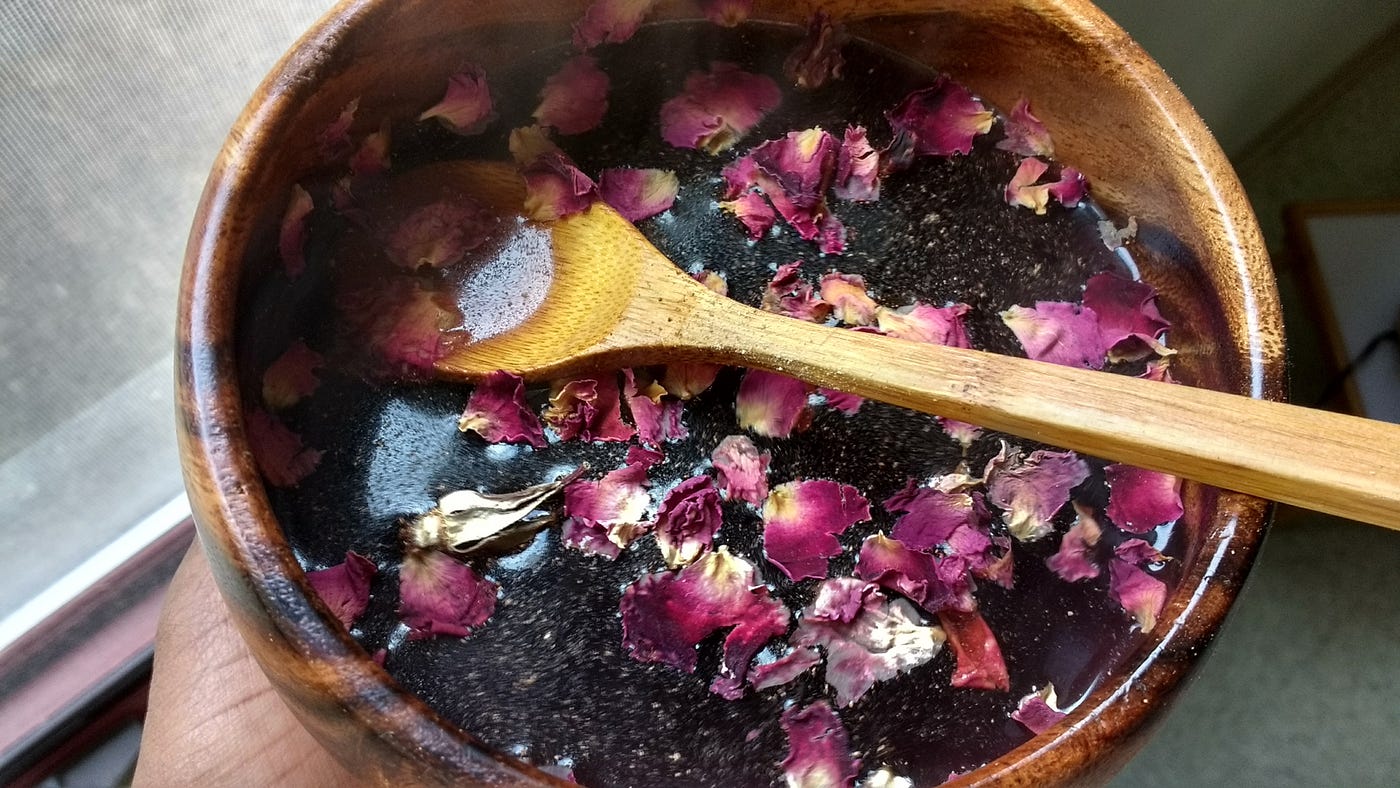
Learning to Render Tallow and Making Soap With It
My friend gave me beef fat trimmings in exchange for homemade tallow soap
Soap Making
Learning to Render Tallow and Making Soap With It
My friend gave me beef fat trimmings in exchange for homemade tallow soap
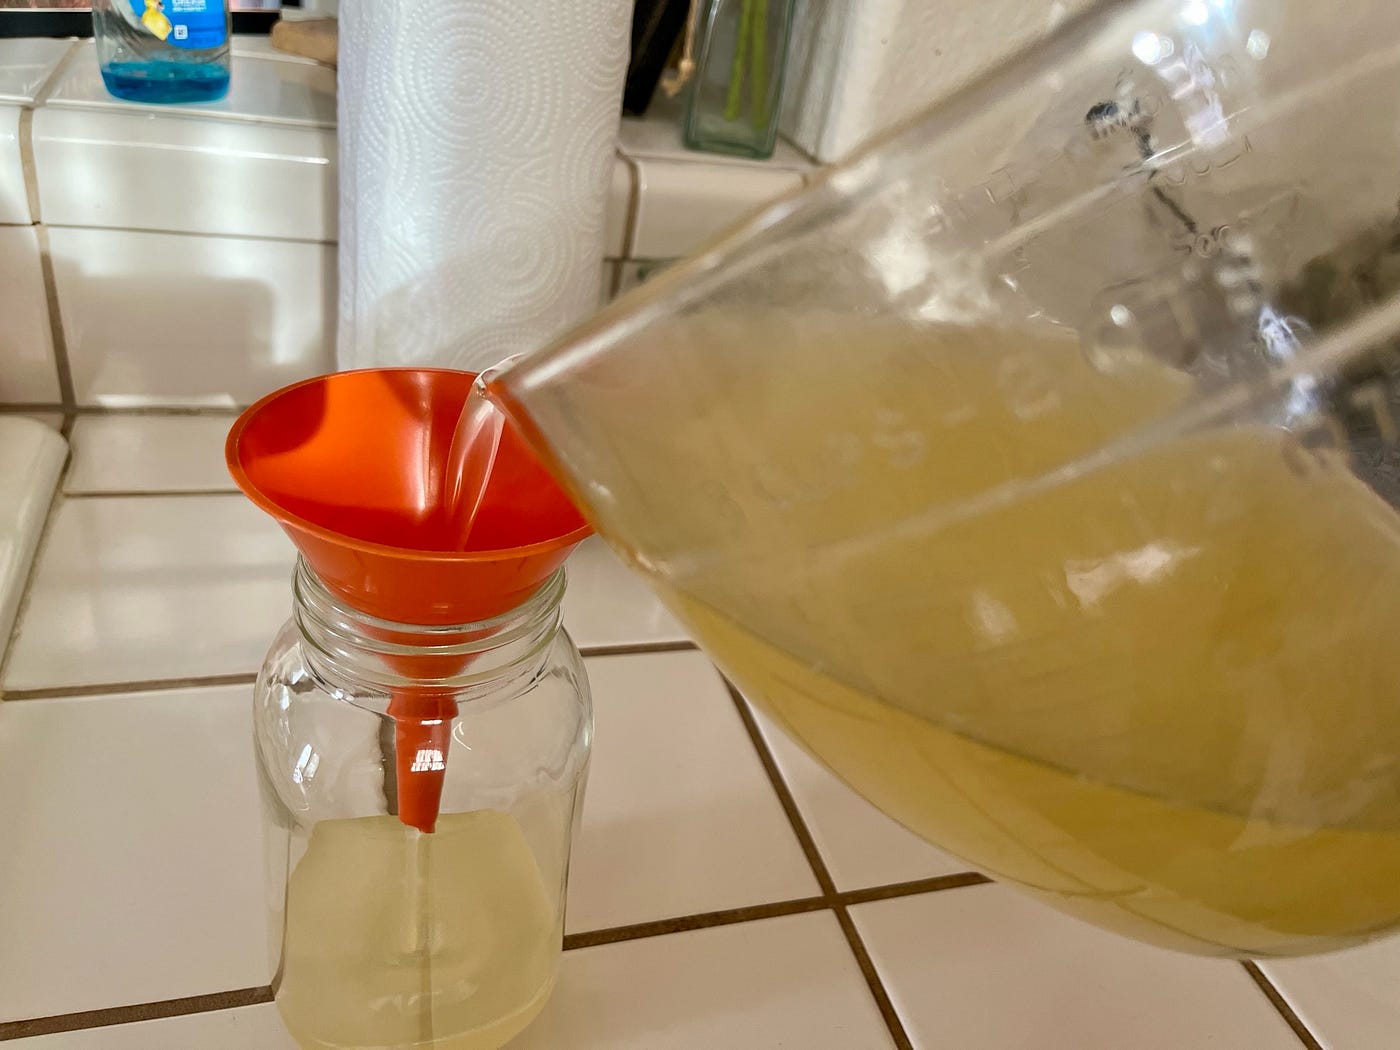
Photo by Kim Clawson
I was scrolling through YouTube one night after work when a video popped up in the Shorts section. The person was rendering beef fat into tallow and made it look super easy (and clean). I think he was using an air fryer.
The next morning, my friend texted me, asking if I wanted some beef fat trimmings to render into tallow for soap. I thought that was kind of a cool synchronicity, and agreed to it, asking, “How much?”
She replied that it was an “exchange.” She wanted tallow shampoo bars.

Photo by Kim Clawson
Over the next couple of nights after work, I watched more YouTube videos on rendering tallow. I decided on the wet method — cooking the fat trimmings down in a crock pot with water and salt. The salt was supposed to draw out the impurities.
Most of the videos I watched came from Bumblebee Apothecary on YouTube, so I decided to follow her method.

Photo by Kim Clawson
Once I decided the trimmings were fully cooked down (or well enough for me), I strained the mixture into a large metal mixing bowl. This process was messy! I ended up with melted tallow all over my long-sleeved t-shirt. I’m glad I thought to wear an old one so it didn’t matter!
The smell wasn’t bad, but the weather was nice and I was able to open some windows and air out the house. It still ended up smelling “beefy” for a while though! The trimmings were in the crock pot for around 6 hours.

Photo by Kim Clawson
I left the tallow to cool on the counter before placing it into the fridge over night. Then I broke the solid fat off of the top and poured the water mixture down the sink.
The process can be repeated several times to draw out more impurities, so I heated the tallow up with more water and salt and repeated the cooling process one more time.

Photos by Kim Clawson
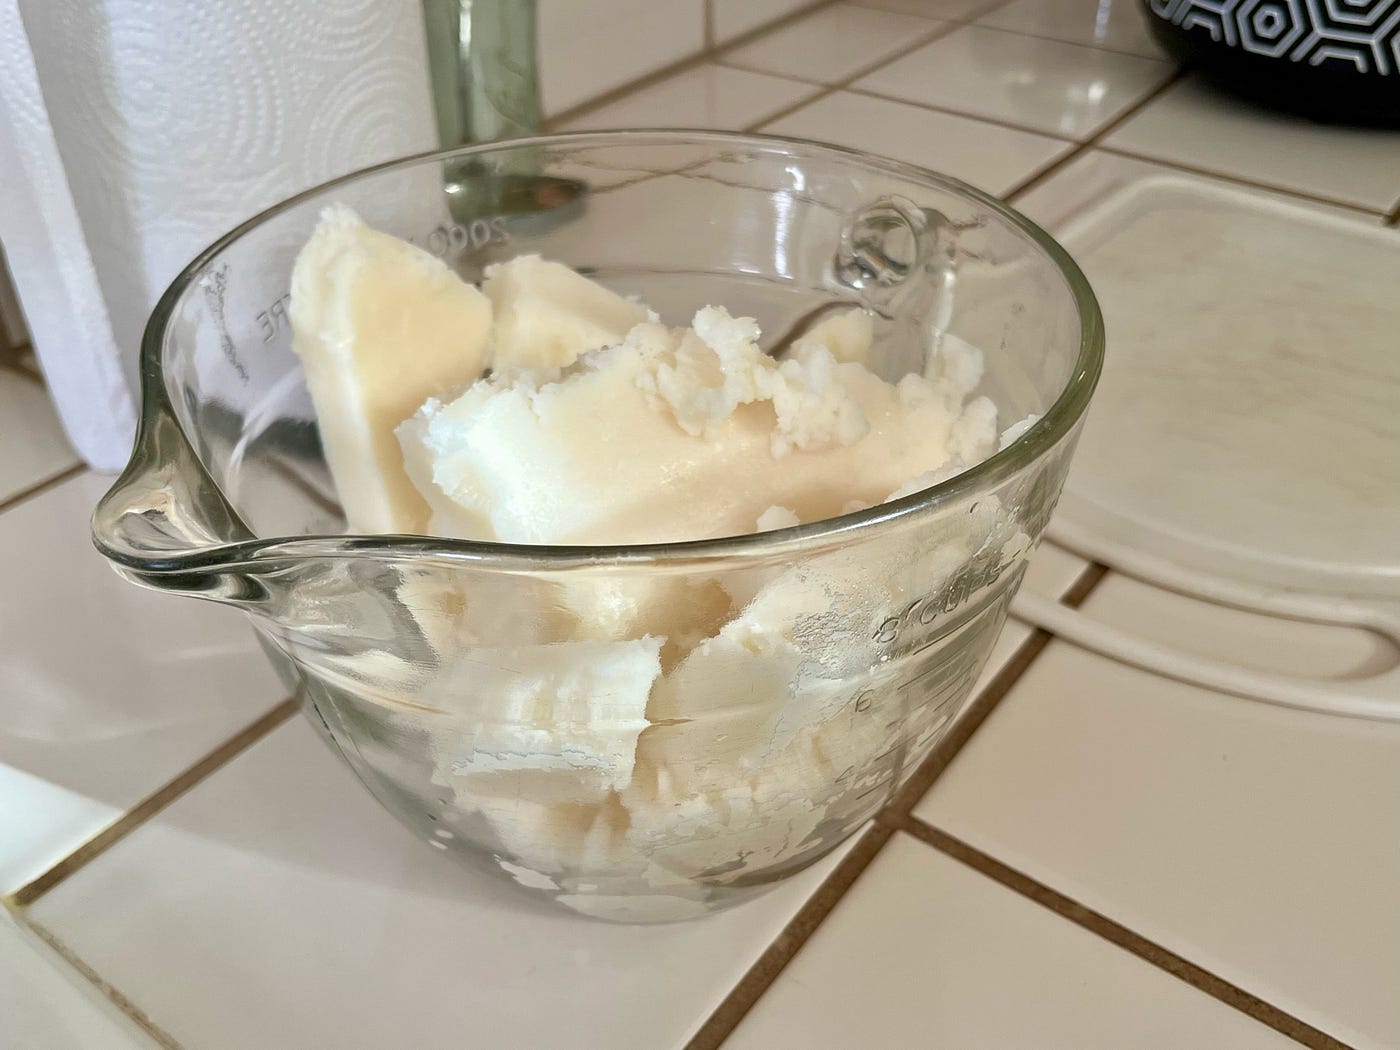
Finally, I was able to break the fat off the top of the bowl for the last time, melted it down, and poured it carefully into a jar. There was a tiny bit of water at the bottom of the container, so I had to make sure none of that water made it into the jar so it wouldn’t mold.
Five pounds of trimmings got me two jars full of tallow.

Photo by Kim Clawson
I used Bumblebee Apothecary’s advice on making tallow shampoo bars, except I also used advice from Liz Ardlady’s blog about making shampoo soap and replacing apple cider vinegar for the water.
She mixes the lye right into the apple cider vinegar for the lye solution but says to use a larger container because the mixture “tends to foam up.” I always mix my lye into the water slowly, but this time it wasn’t slowly enough. It didn’t just foam up a little. I got a volcano in the kitchen! Thankfully I heard it starting and put the whole container in the sink. (Think of baking soda and vinegar, but with a stronger reaction!)
Oops… My mixture also turned dark brown and smelled. No one mentioned that in any of the information I read about replacing water with apple cider vinegar. Weird.
I started the process over, this time adding lye a little at a time and sirring very slowly. I still got a smaller volcano but lost a lot less of the solution down the sink so I went ahead and used it anyway.
The lye & vinegar volcano was a good lesson in why we wear gloves and goggles while making soap. Lye has a pH of 14 and it’s a very strong corrosive material. It gets used up during the chemical reaction that makes the soap, but before that happens, it can definitely burn your skin!
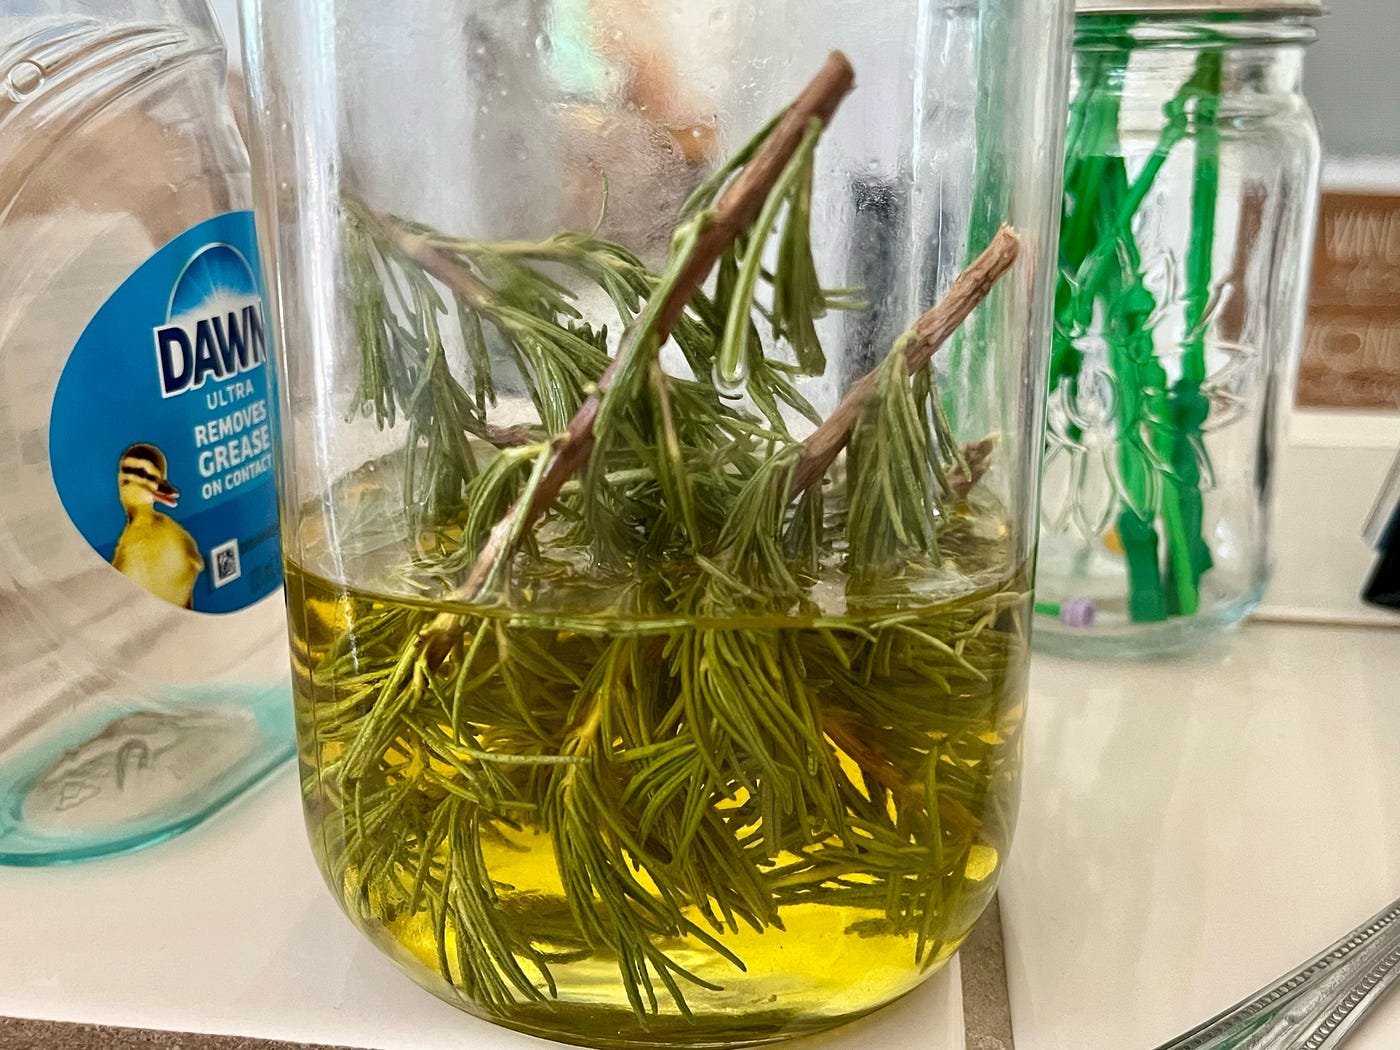
Photo by Kim Clawson
My friend asked for rosemary soap, so I infused dried rosemary into olive oil to use for the soap itself. I also added rosemary essential oil for scent.


Photos by Kim Clawson
The dark brown mixture is what I got from replacing water with the vinegar. I finally looked closely at my vinegar container and realized it’s got honey in it! That’s why it got so hot and scorched. Lye reacts with sugar and that mixture gets hotter than lye and water alone. Now I know to read the labels more carefully!
I decided to make a whole separate batch with water and used some apple cider vinegar as an additive this time. It went straight into the soap batter and I stirred it in slowly. I got a much smoother-looking soap that way.

Photo by Kim Clawson
The dark brown soap looks like brownies because I tried cooking that one in the crock pot. I’m a lot happier with the newer batch, which is cold processed soap. It will need to cure 4–6 weeks before we can try it out, but I’m really just chalking this one up to a fun experiment and science project.

Photo by Kim Clawson
Since I already had the tallow rendered and ready to use, I went ahead and tried a tallow lip balm recipe that I found on YouTube — also from Bumblebee Apothecary. The ingredients are just tallow and beeswax.
I didn’t use honey or any essential oils. It has a nice texture, but it can definitely use some mint or flavor oil to cover the beefy scent a little (better quality beef fat is supposed to have less of a smell).
메타데이터
- post_id
- 28f4a5d6ea7c
- slug
- learning-to-render-tallow-and-making-soap-with-it-28f4a5d6ea7c
- url
- https://medium.com/share-your-creativity/learning-to-render-tallow-and-making-soap-with-it-28f4a5d6ea7c
- canonical_url
- https://medium.com/share-your-creativity/learning-to-render-tallow-and-making-soap-with-it-28f4a5d6ea7c
- author_url
- https://medium.com/@kimzuch
- status
- ok
- fetched_at
- 2026-06-15 20:49:13