Windows Can be Zen Too
From bloat to cool-dude vibes with a few simple tweaks
Windows Can be Zen Too
From bloat to cool-dude vibes with a few simple tweaks
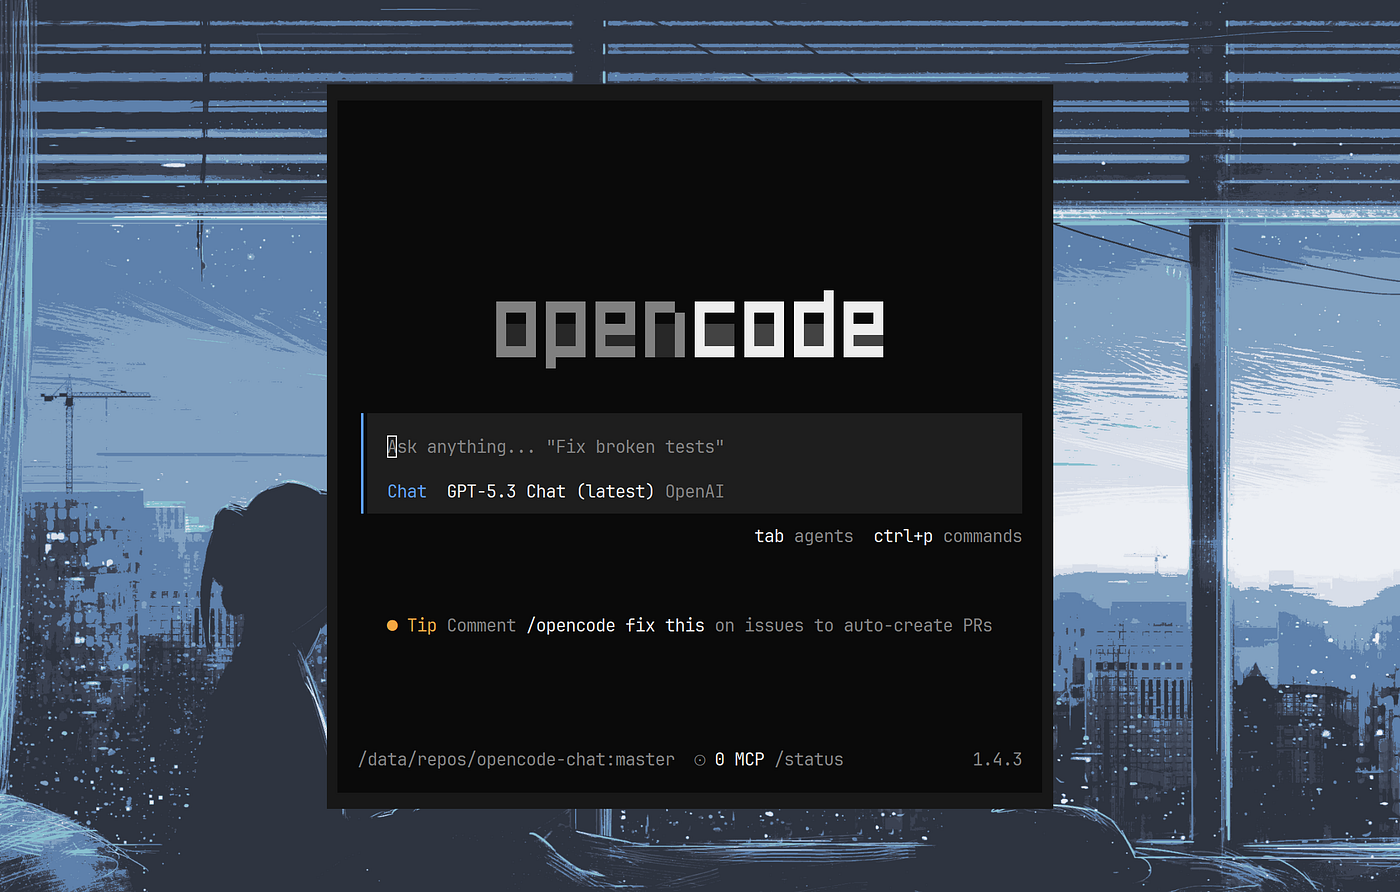
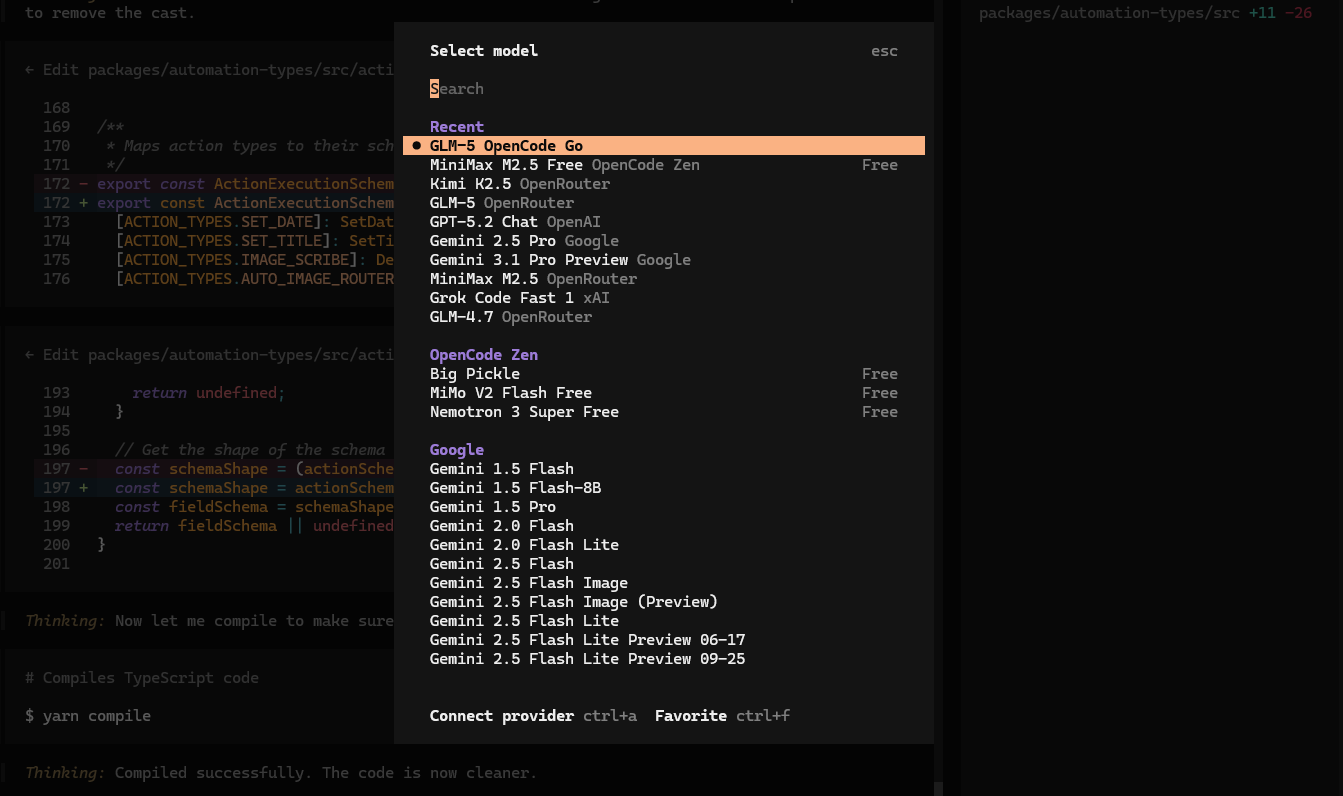
Yep, that’s how my Windows looks now — screenshot by author
I recently got a new laptop. This forced me to make a difficult decision: should I finally switch to Linux?
Many YouTube videos later, I decided to stick with Windows.
I need Windows to play games — preferably without needing some scary looking guides.
But I was tempted by what Linux has to offer. I was especially enamored with the Omarchy distribution— I loved the minimalist aesthetic and keyboard-driven philosophy.
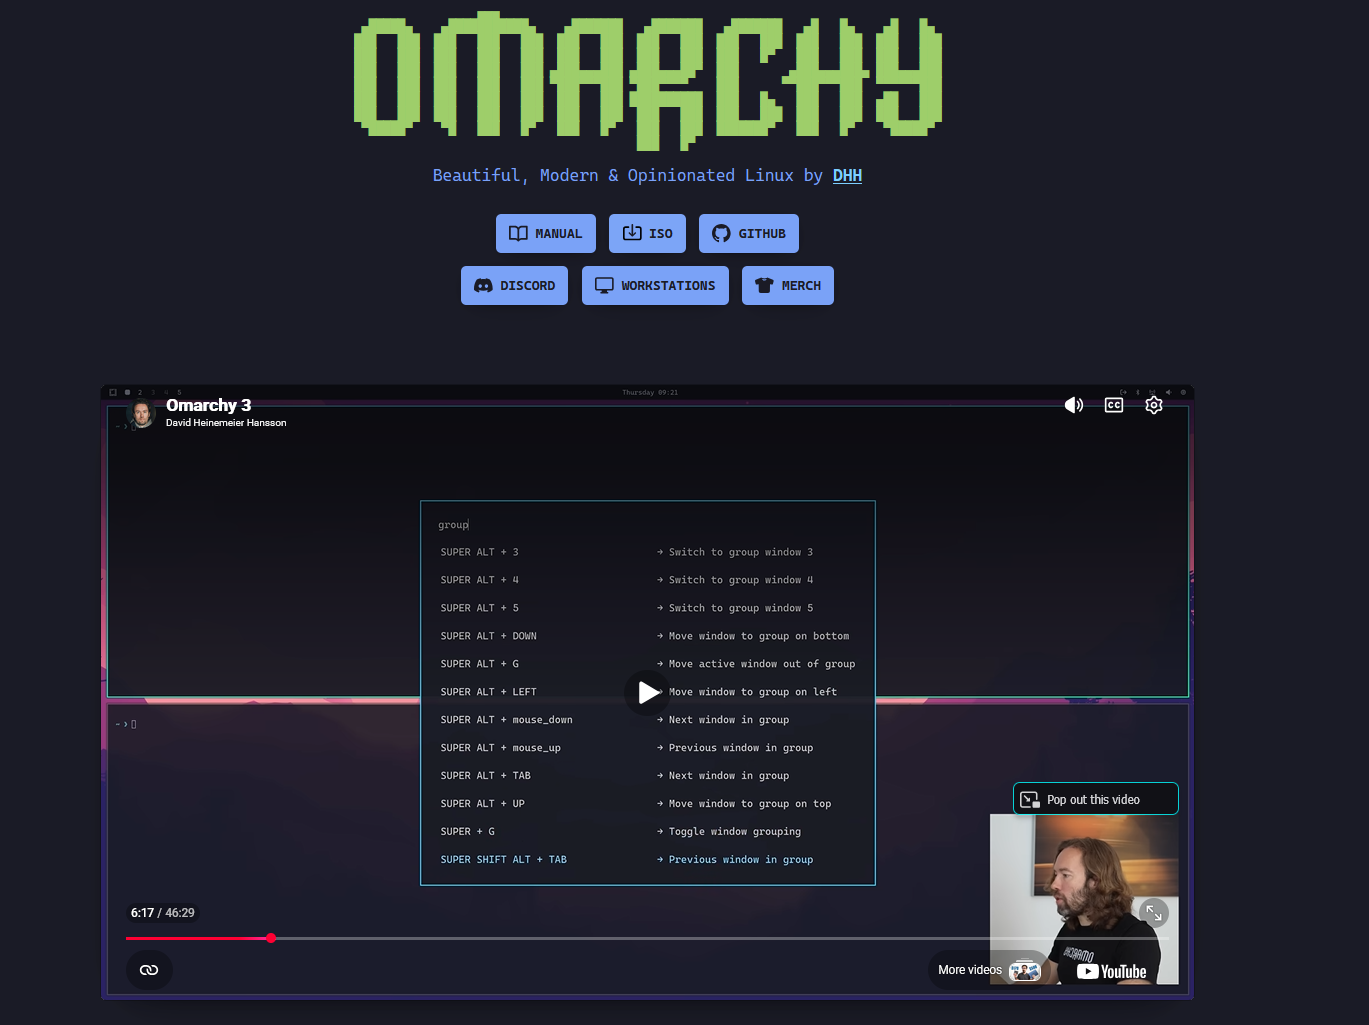
Screenshot of omarchy.org — taken by author
I strongly believe that our tooling matters. We get our best work done in an environment that feels right.
Windows out-of-the box does not feel right to me.
So this got me thinking:
Can I bring some of that Omarchy magic to my every-man operating system?
Turns out, it’s possible — not perfectly, but way better than I expected!
It took a fair bit of tinkering, so I thought I’d share what I learned for anyone interested in giving their Windows a bit of fresh air.
You can do this setup in less than 15 minutes (excluding step 7 which is a bit more involved).
So let’s turn Windows into a sanctuary for quality work!
Step 1: Dark mode
Switching on dark mode in Windows is not hard. But I have to admit that doing so never occurred to me.
Yet, this simple action makes Windows feel way more premium and brings it closer in line with newer operating systems like Omarchy.
Here is how its done:
- Right click your Desktop, select ‘Personalize’
- Click ‘Colors’
- Choose your mode. Select: Dark
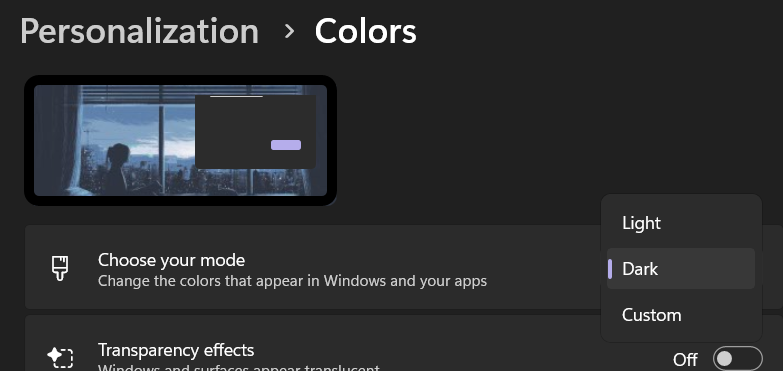
Selecting windows dark mode — screenshot by author
Step 2: Start menu and task bar
The default start menu and task bar of Windows are so cluttered it hurts my soul.
Thankfully, it’s easy to clean them up.
I recommend the following three guides:
- Declutter Your Windows Start Menu: 5 Hacks for a Minimalist Desktop
- 5 settings I always change to declutter the System Tray on Windows 11
- Declutter the Task Bar
After you have followed these, your start menu and taskbar should look as follows:
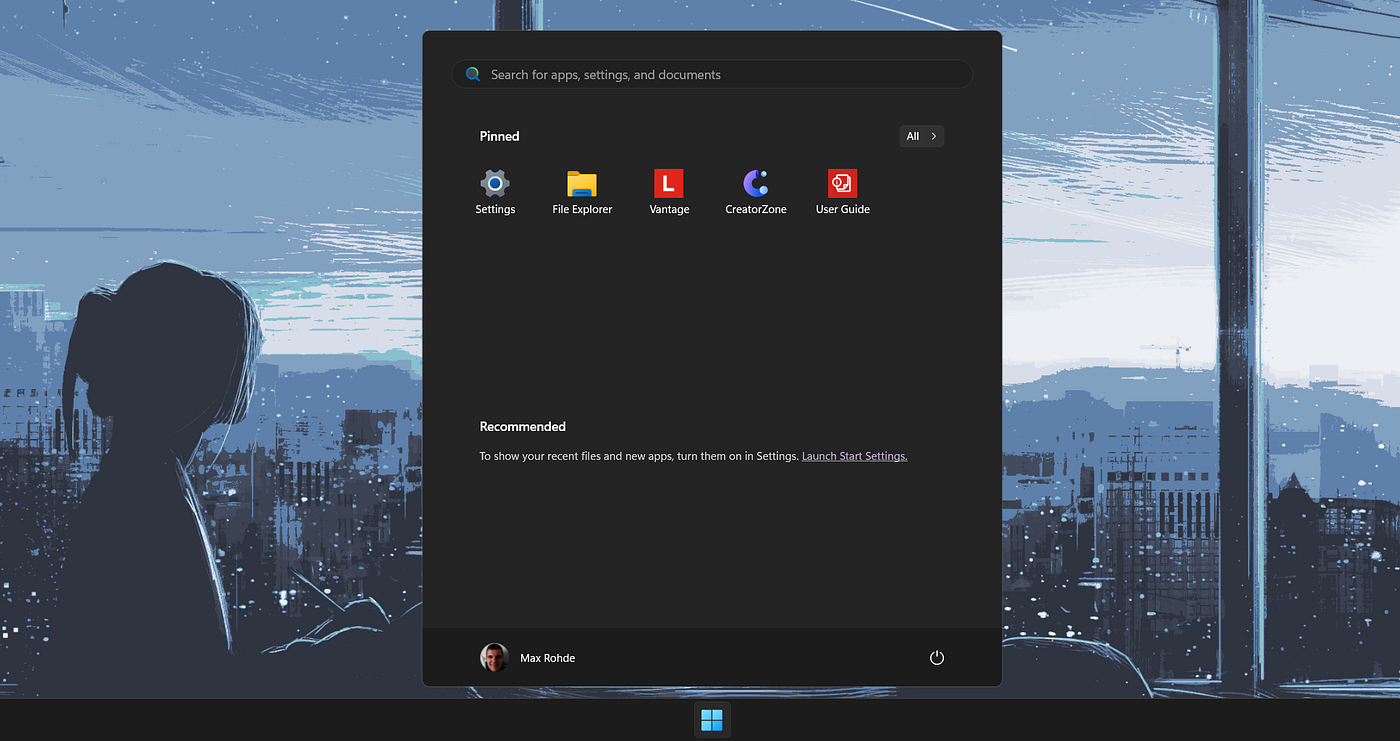
Decluttered start menu and taskbar — screenshot by author
Step 3: Desktop
The Omarchy desktop by default is … completely empty. Believe it or not, we can easily achieve the same in Windows. Just do the following:
- How to Hide the Windows Taskbar
- How to show or hide desktop icons on Windows 11
- Also move all files that sit in the Desktop folder somewhere else
Now we just need a fancy background image.
There are millions to choose from but why not stick to the theme and get the fancy ones Omarchy uses.
You can simply download them from GitHub. For instance:
https://github.com/…/themes/catppuccin/backgrounds
Then move the image into your Documents folder, right click it and ‘set as windows background’.
Volia, our minimal desktop is ready:
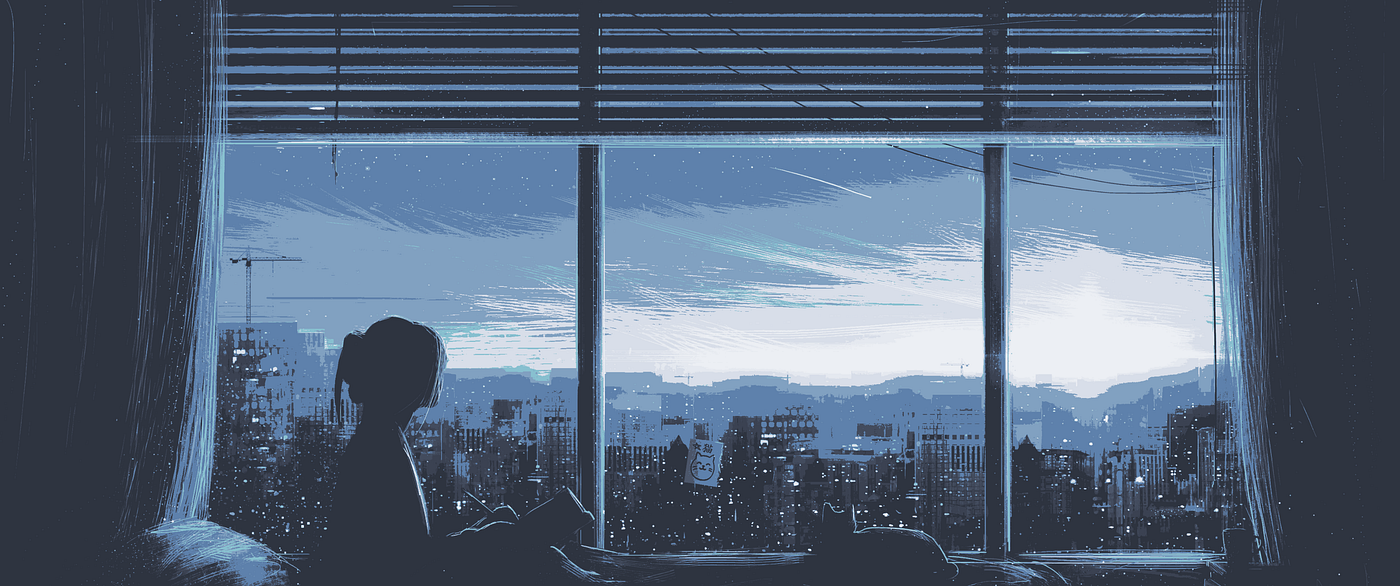
An empty desktop — on windows — screenshot by author
You can also head back to the color personalization options we looked at earlier when setting the dark mode (step 1) and set an accent color that matches the background image:
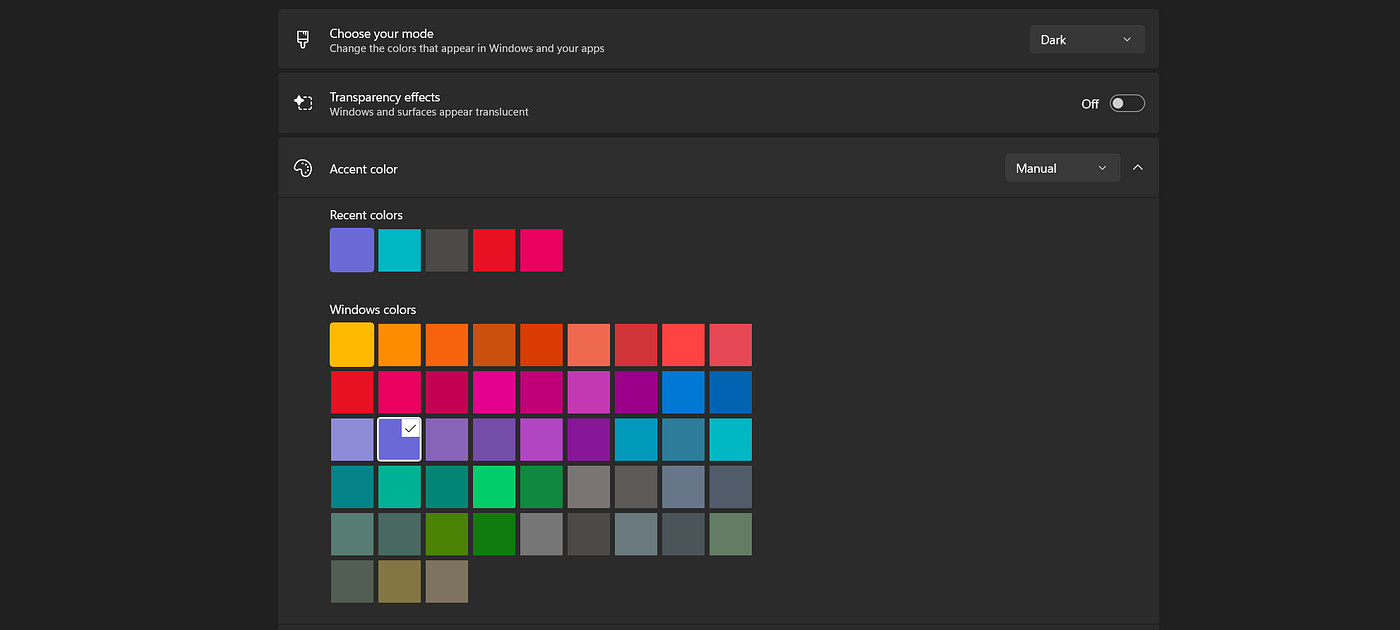
Setting Windows accent color — screenshot by author
Step 4: Launcher
While so far we firmly stayed in Windows out-of-the-box territory, the default Windows start menu is beyond hope (even after our adjustments) to become the minimalist entry point to our desktop we need.
Thankfully we can use something that’s as close to native Windows as possible: the open source PowerToys suite managed by Microsoft.
Simply download and install it.
Then disable all utilities but PowerToys Run:
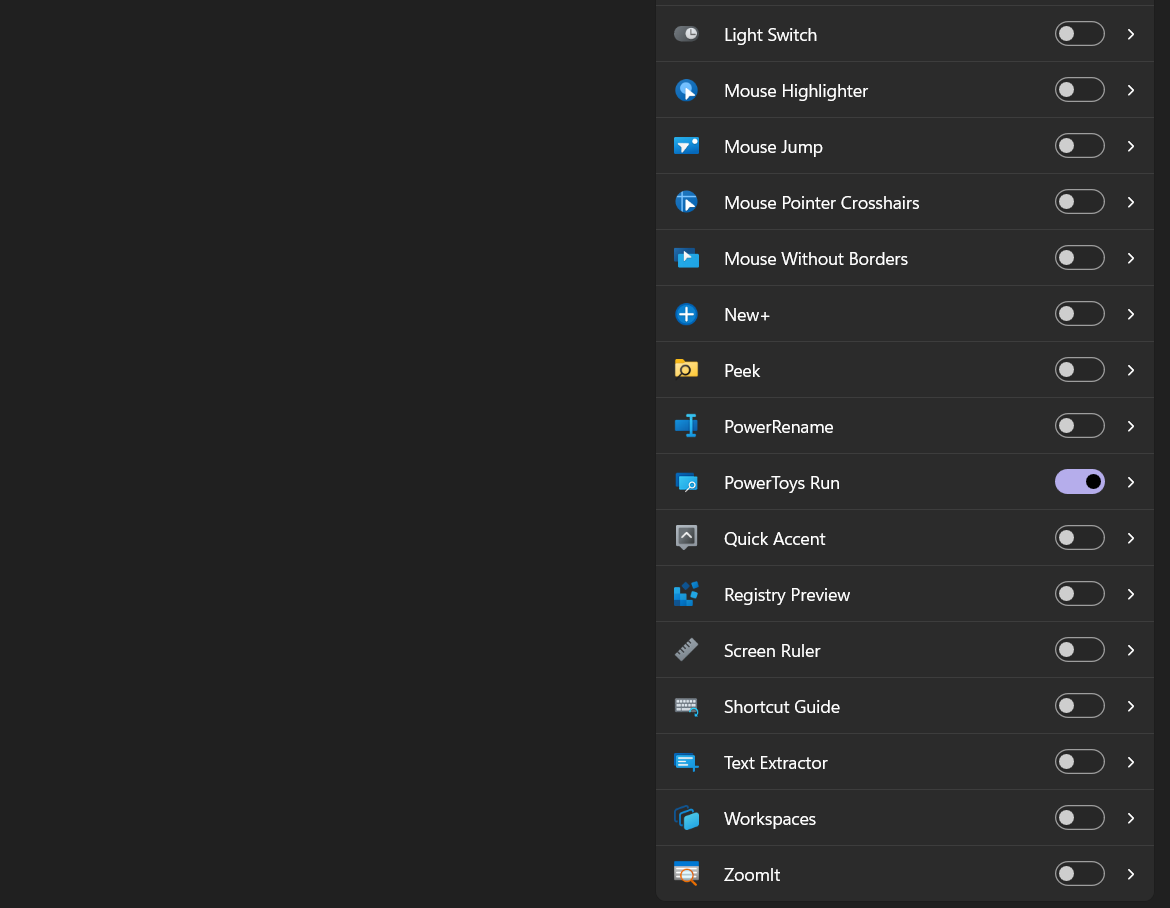
PowerToys utility settings — screenshot by author.
Now we can launch any app by pressing Alt + Spacebar and searching for it.
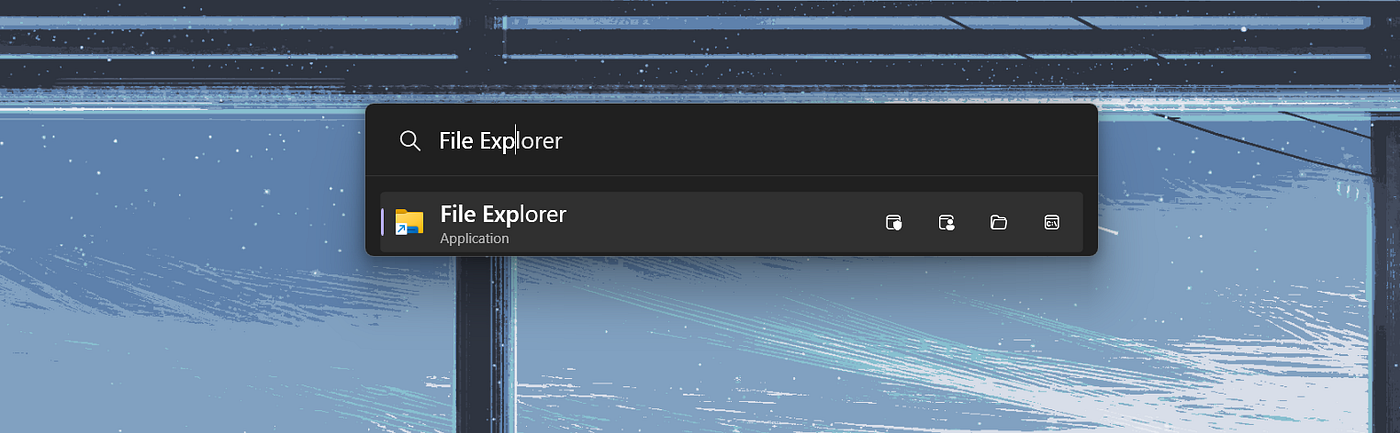
PowerToys Run launcher — screenshot by author
There are a lot of neat things we can do with PowerToys, such as opening our browser bookmarks (hello Omarchy ‘web apps’), but, in the interests of keeping this article short-ish, I’ll leave that for another day.
Step 5: Window tiling
Omarchy uses the fancy hyprland Window tiling manager to arrange windows on the desktop.
We can’t quite match that but another PowerToys utility allows us to some window tiling on Windows also.
For this, open up the PowerToys settings again and then enable the FancyZones tool.
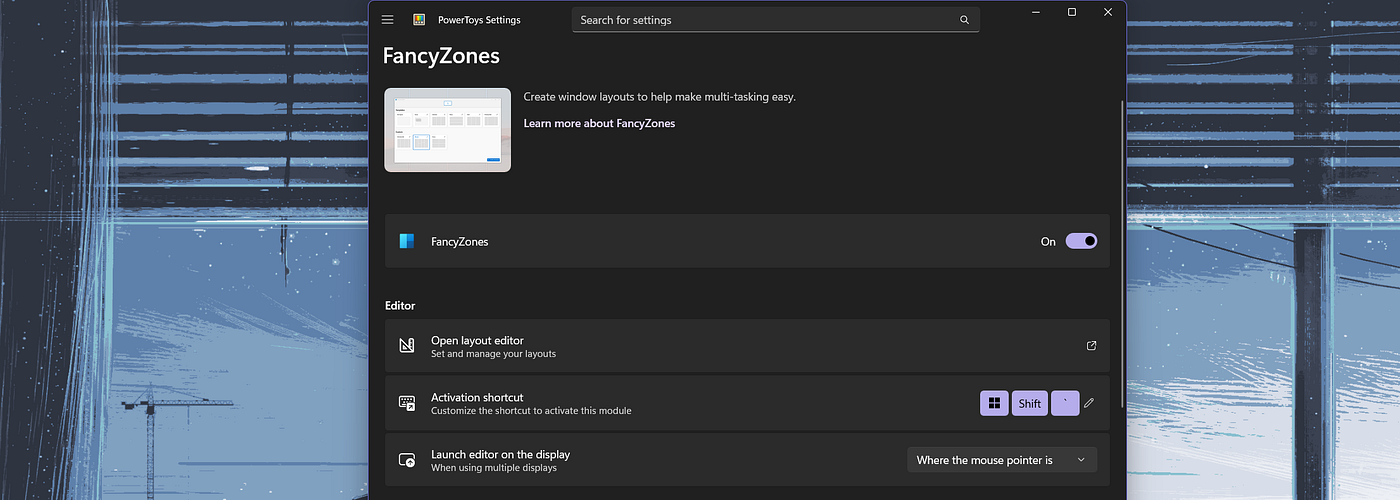
PowerToys FancyZone tool settings — screenshot by author
Here you’ll want to find the setting ‘Override Windows Snap’ and set this to ‘On’. This will allow us to use Windows Key + Arrow Keys to rearrange windows in our zones.
Also look for ‘Enable quick layout switch’. This enables us to switch between layouts in the keyboard.
Last but not least, you can use the Layout Editor to define the Window layouts you want to use.
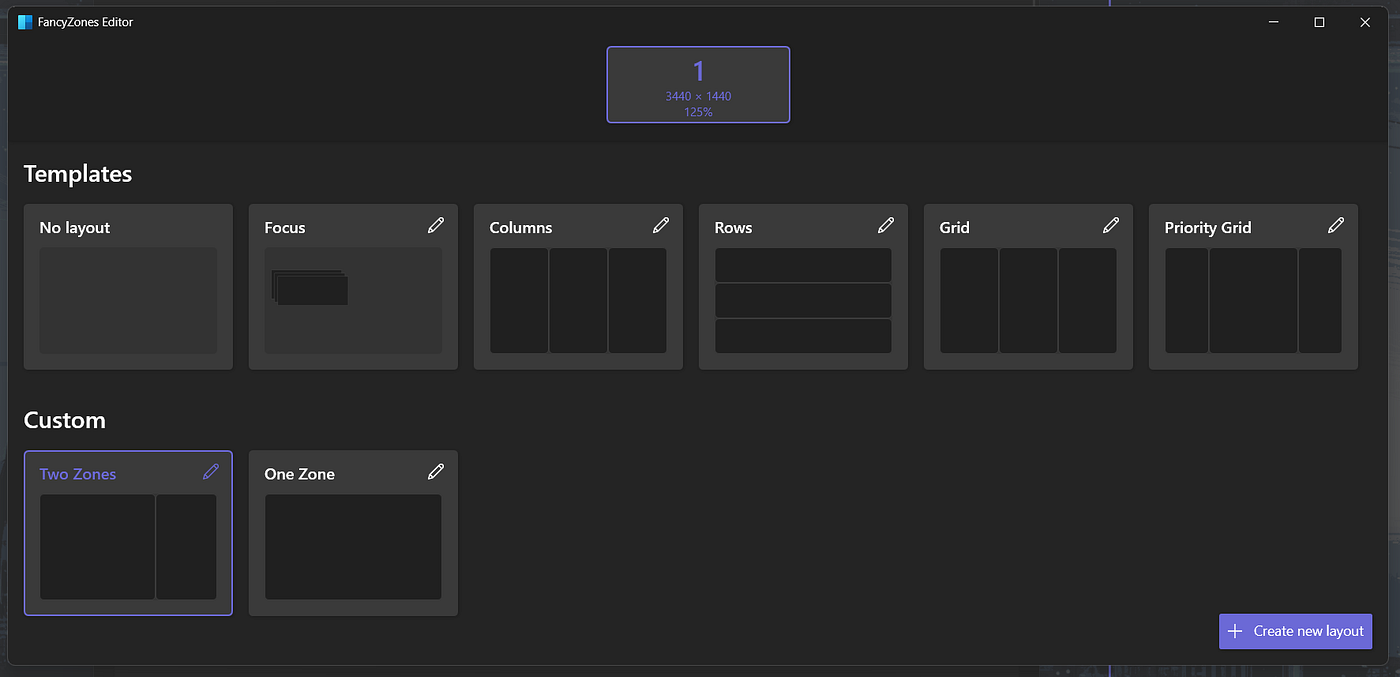
FancyZone layout editor — screenshot by author
When you click the little edit button next to the zone, you can also define the keyboard shortcut to activate the layout. This will then arrange your windows in that layout if you press Win + Ctrl + Alt + [Layout number].
Yes, this is no way as feature rich as hyprland — but I’m a simple man and rarely want more than two windows on my screen, so for me this is all I need.
Step 6: Workspaces / virtual desktops
A big part of the zen-like experience Omarchy and similar Linux distributions provide is that we don’t clutter our screen with layers of windows.
But often we do need to open multiple applications at the same time!
The solution to this is to use workspaces or, in Windows terms, Virtual Desktops.
The Windows support for these is already quite good. But there is one issue with it that I find very annoying, especially if I have to switch between different desktops frequently.
Windows shows a fancy animation where one Desktop ‘swipes’ to another.
Thankfully, this is easily disabled and can save you many precious seconds during the day.
- Open Settings
- Go to ‘Accessibility’
- Go to ‘Visual Effects’
- For ‘Animation Effects’ select ‘Off’
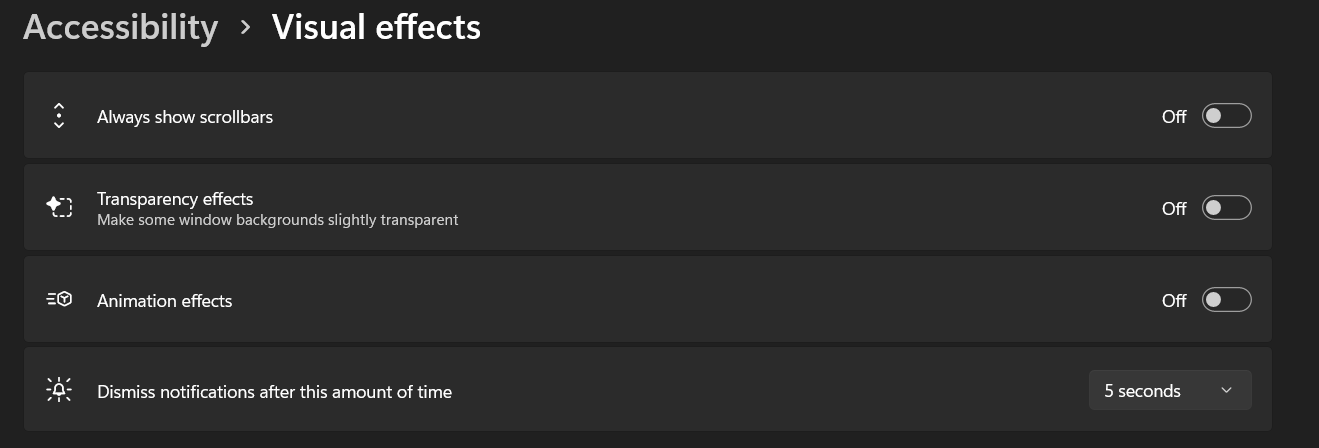
Windows visual effects settings — screenshot by author
I also like to use keyboard shortcuts to create and destroy virtual desktops — however to get that working is a bit involved. If you are interested, just leave a comment and I’ll provide the steps.
Step 7: Terminal
Okay, here things get a bit technical.
If the command line is not your thing, feel free to stop now and enjoy the benefits of an already significantly decluttered Windows.
However, if you can tolerate those blocky letters, the terminal opens a world of possibilities for us.
I can’t cover all the fancy things we can do in this article, but I’ll provide the steps to get the basic terminal up and running.
At the end, I’ll also provide a sneak peak for some ‘Terminal User Interfaces’ (TUI) that are easy to set up.
First of all, we need to install the Windows Subsystem for Linux (WSL).
WSL provides us with 99% of the features native Linux offers and thus makes it a breeze for us to get all those fancy terminal applications running.
Microsoft has a great guide to set up WSL:
Please use Ubuntu as the distribution.
Once you have set up WSL, you need a terminal emulator. Omarchy uses Alactritty which is also available for Windows.
First, install Alacritty using the Windows installer.
Then we need to make a few tweaks to give our terminal that ‘omarchy’-feel.
First, download and install Nerd Fonts.
Then, create the file C:\Users\[your windows user]\AppData\Roaming\alacritty\alacritty.toml with the following content:
[window]
dimensions = { columns = 100, lines = 40 }
padding = { x = 10, y = 10 }
dynamic_padding = true
decorations = "None"
opacity = 1.0
blur = true
startup_mode = "Windowed"
title = "Alacritty"
dynamic_title = true
decorations_theme_variant = "Dark"
resize_increments = false
level = "Normal"

[selection]
save_to_clipboard = true

[scrolling]
history = 20000
multiplier = 3

[font]
normal.family = "JetBrainsMono Nerd Font"
bold.family = "JetBrainsMono Nerd Font"
italic.family = "JetBrainsMono Nerd Font"
bold_italic.family = "JetBrainsMono Nerd Font"
size = 12
offset = { x = 0, y = 0 }
Next, create a shortcut in your Windows start menu: C:\ProgramData\Microsoft\Windows\Start Menu\Programs\Ubuntu.lnk with the following properties:
Target: "C:\Program Files\Alacritty\alacritty.exe" -e wsl -d Ubuntu — cd ~
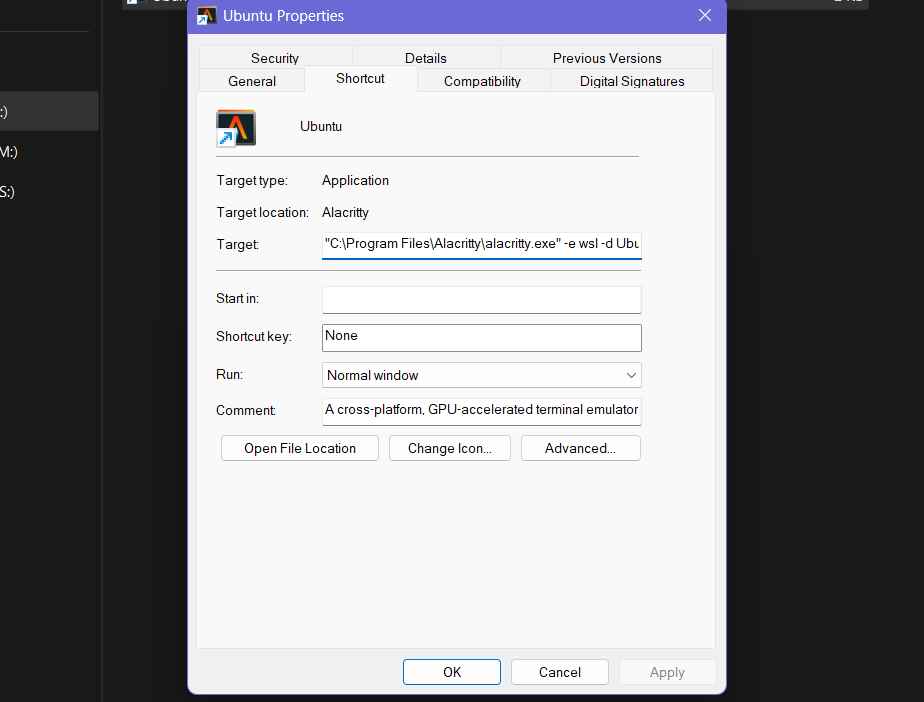
Ubuntu shortcut — screenshot by author
This will launch Alactritty and boot us straight into the Ubuntu VM we installed with WSL.
Just click on the shortcut and the terminal shall appear:
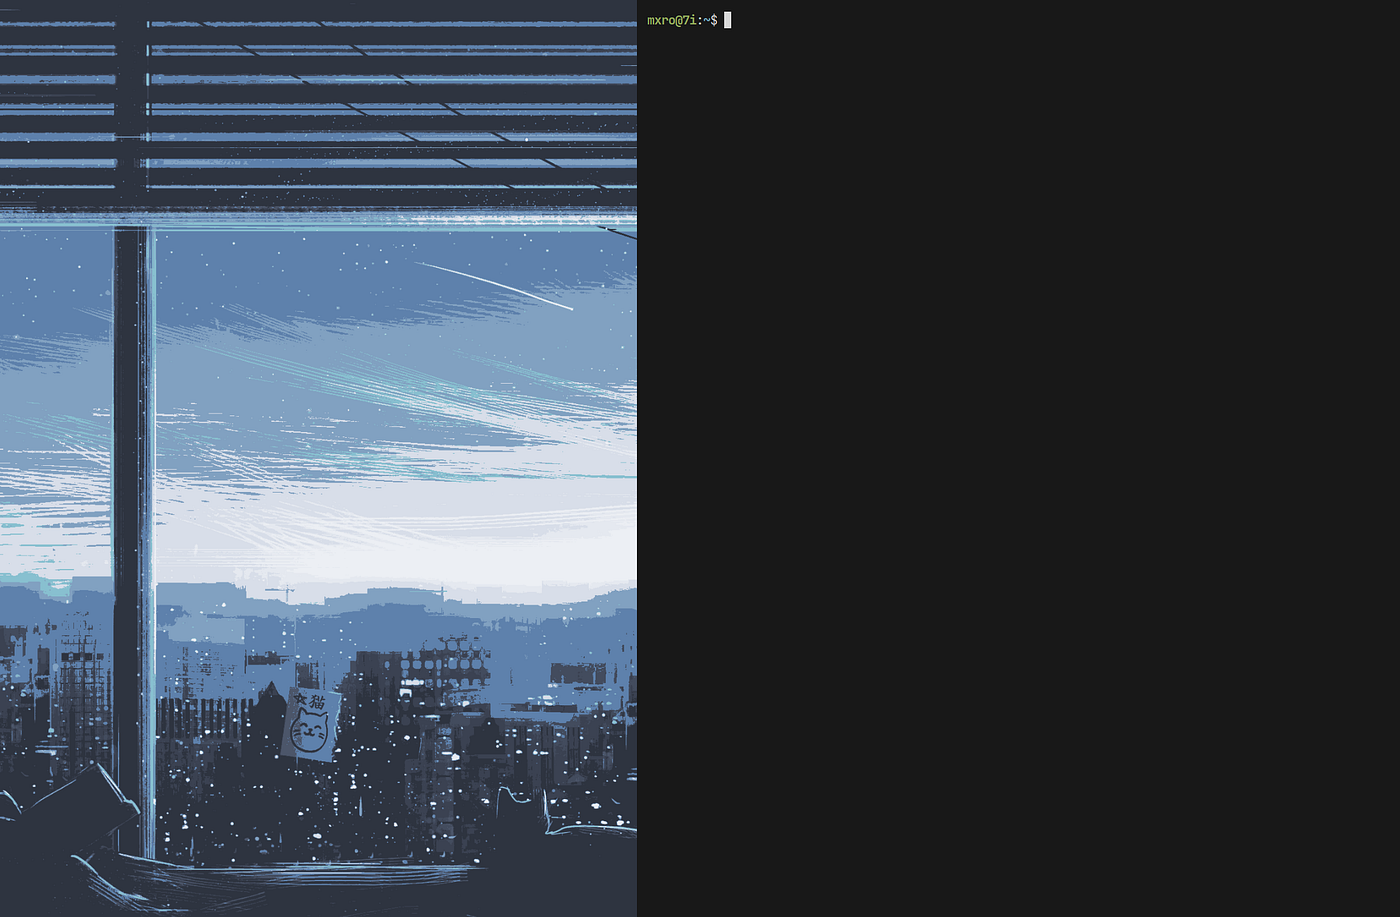
Minimal Alacritty terminal window — screenshot by author
If yours looks any different, just drop me a comment — I’m happy to help.
Now the power of Linux is at your fingertips. As promised, here’s a little showcase of what is possible when we customize further from here:
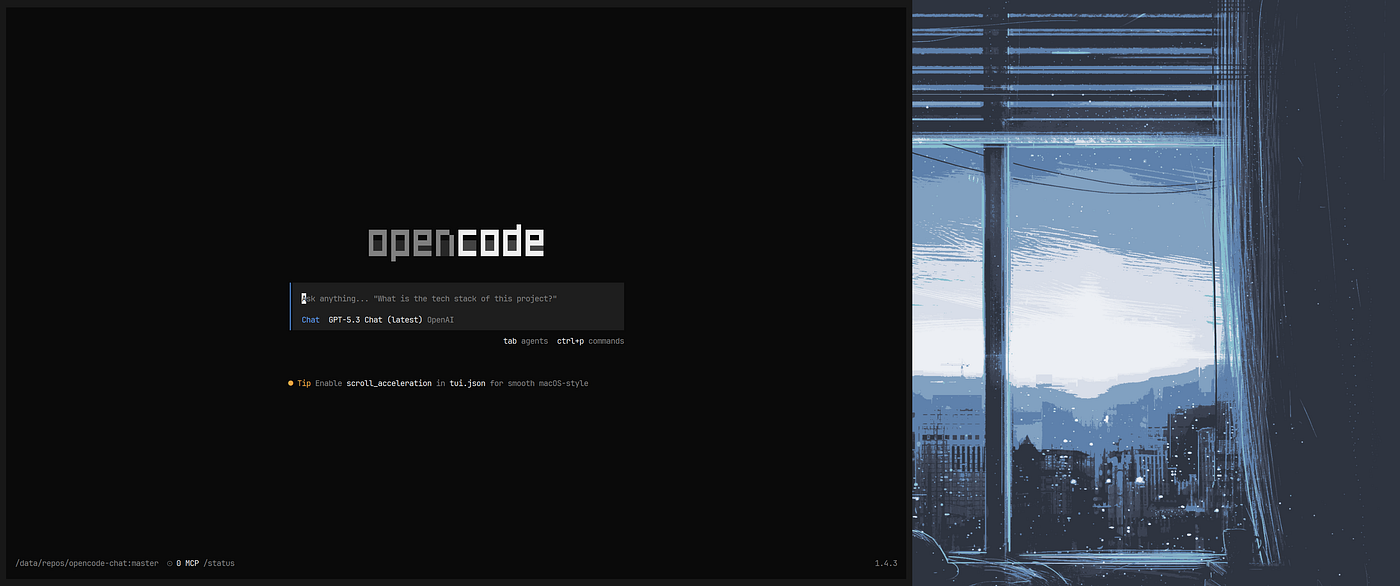
Running OpenCode in our minimal desktop — screenshot by author
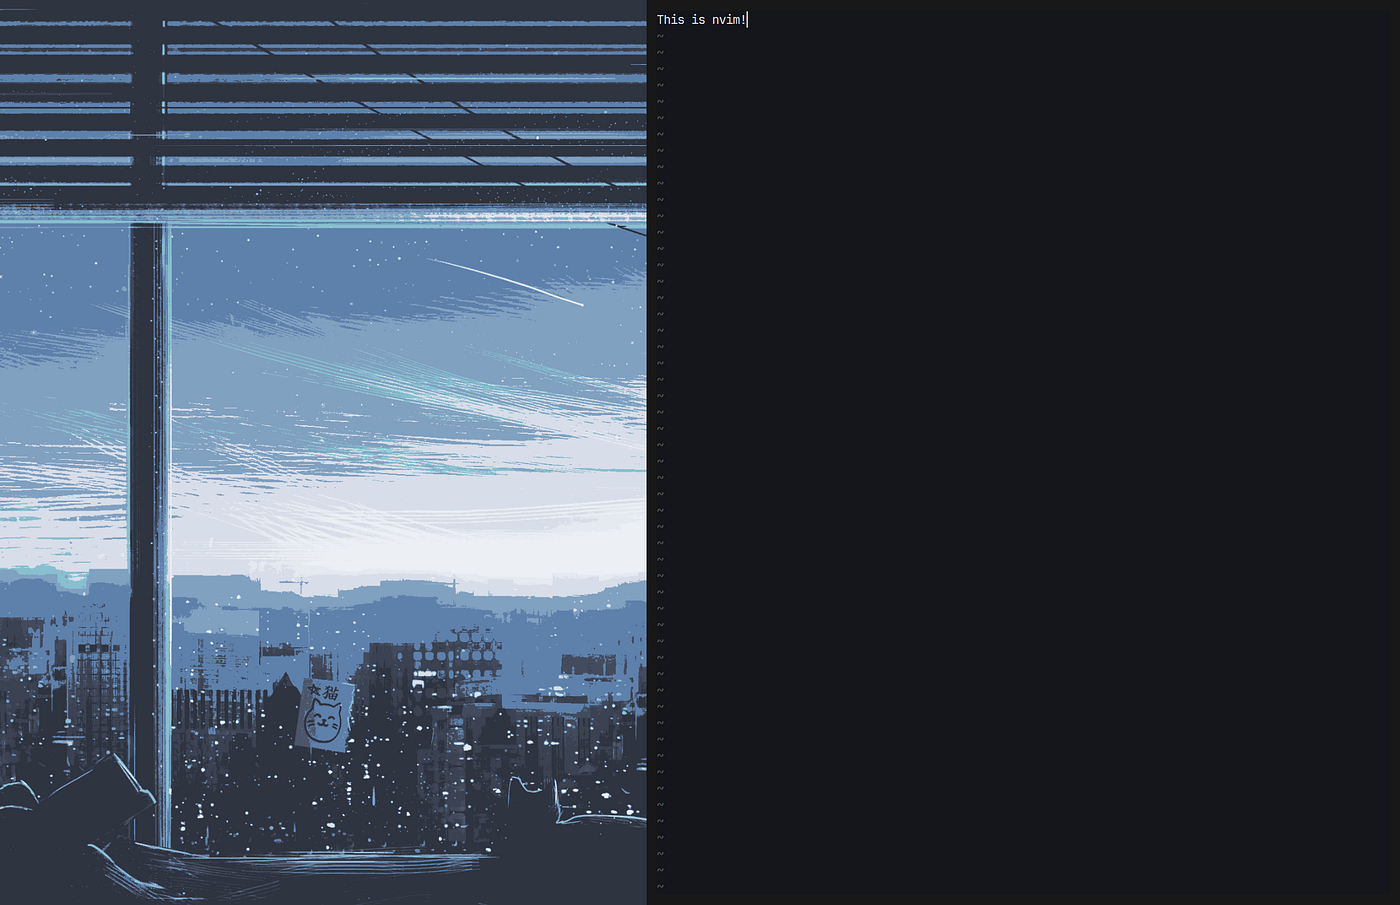
neovim for writing code — screenshot by author
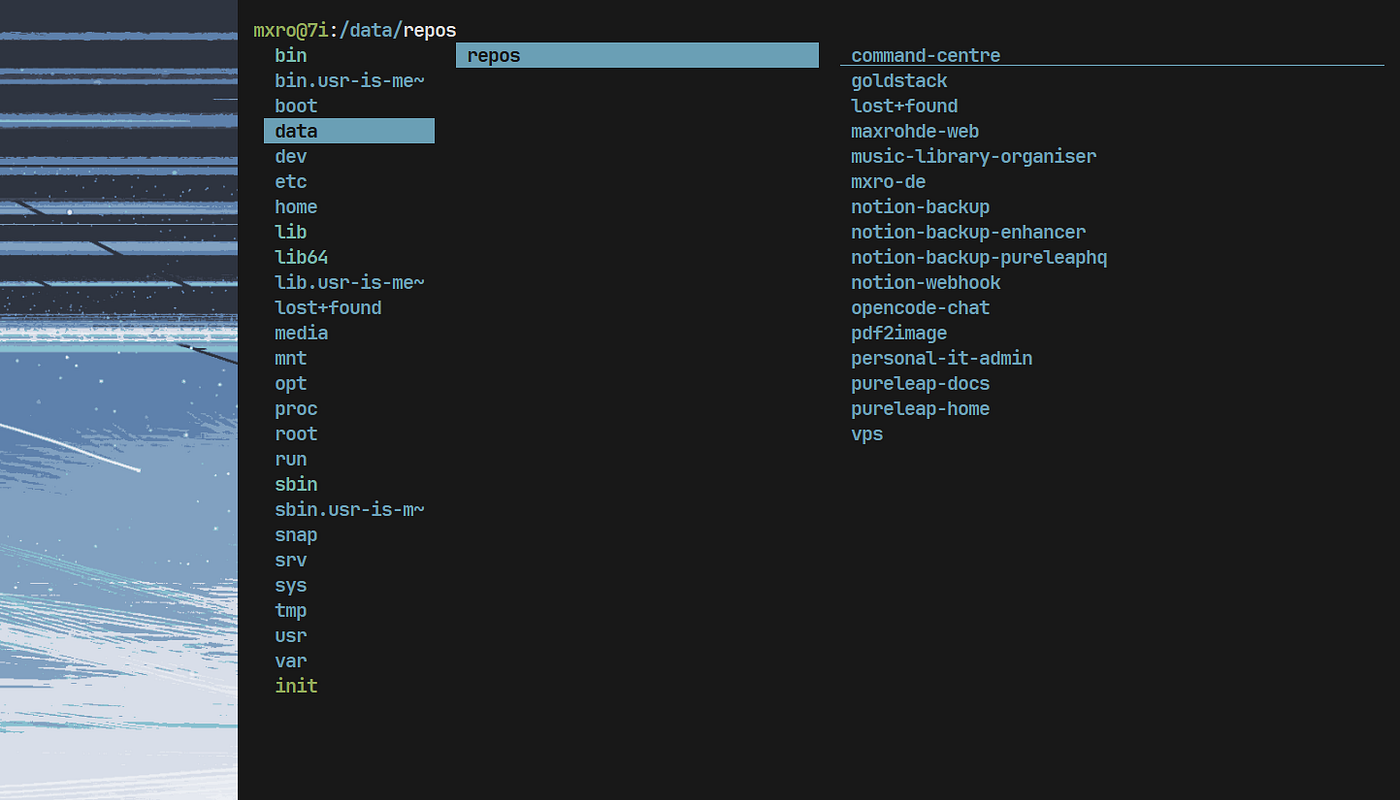
lf file browser — screenshot by author
Onward and Upward
I hope this guide helps you declutter your windows or at the very least provides some inspiration for how to make Windows into a more wholesome environment that works for you.
I implemented these changes on my own laptop a few weeks ago, and it’s been working reliably so far.
This basic setup has also been a launching pad for me to develop all kinds of automatons and tools. For instance, I used OpenCode to develop a minimalist TUI to display the time and date for the three timezones I care about.
As I continue to tinker around and figure stuff out, I’ll be sharing more guides for optimizing your digital workspace. If that’s something you are interested in too, follow me on Medium.
Let me know if you have any comments or questions. Otherwise, I’m heading back to the terminal now!
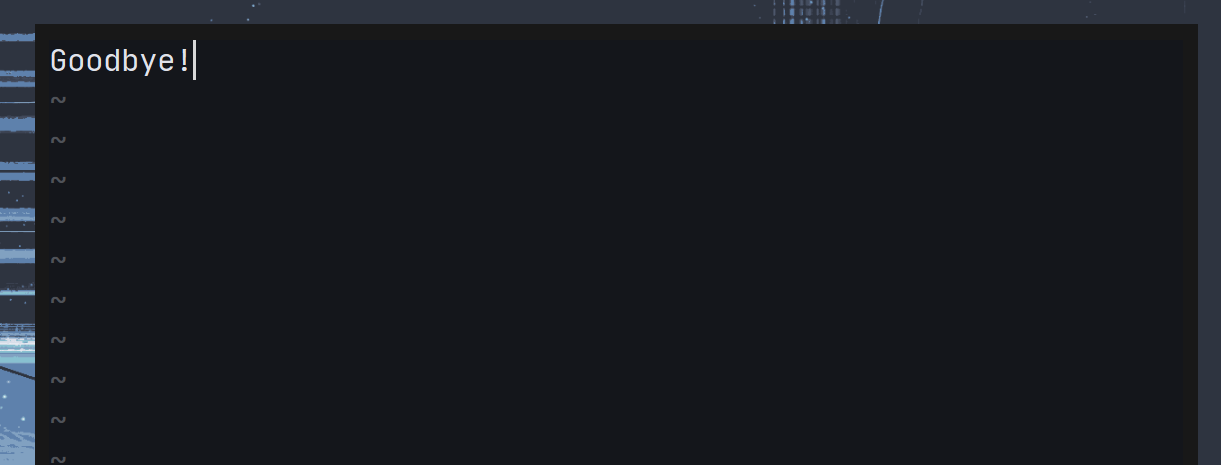
neovim editor — screenshot by author
메타데이터
- post_id
- 29d9a0b90b95
- slug
- windows-can-be-zen-too-29d9a0b90b95
- url
- https://blog.devgenius.io/windows-can-be-zen-too-29d9a0b90b95
- canonical_url
- https://blog.devgenius.io/windows-can-be-zen-too-29d9a0b90b95
- author_url
- https://medium.com/@mxro
- status
- ok
- fetched_at
- 2026-06-09 19:06:51