How to Achieve Realistic Skin Texture in Procreate: A Professional Guide to Digital Portraiture
One of the biggest challenges in digital portrait painting is overcoming the “plastic” look. You’ve spent hours on the anatomy and the…
How to Achieve Realistic Skin Texture in Procreate: A Professional Guide to Digital Portraiture

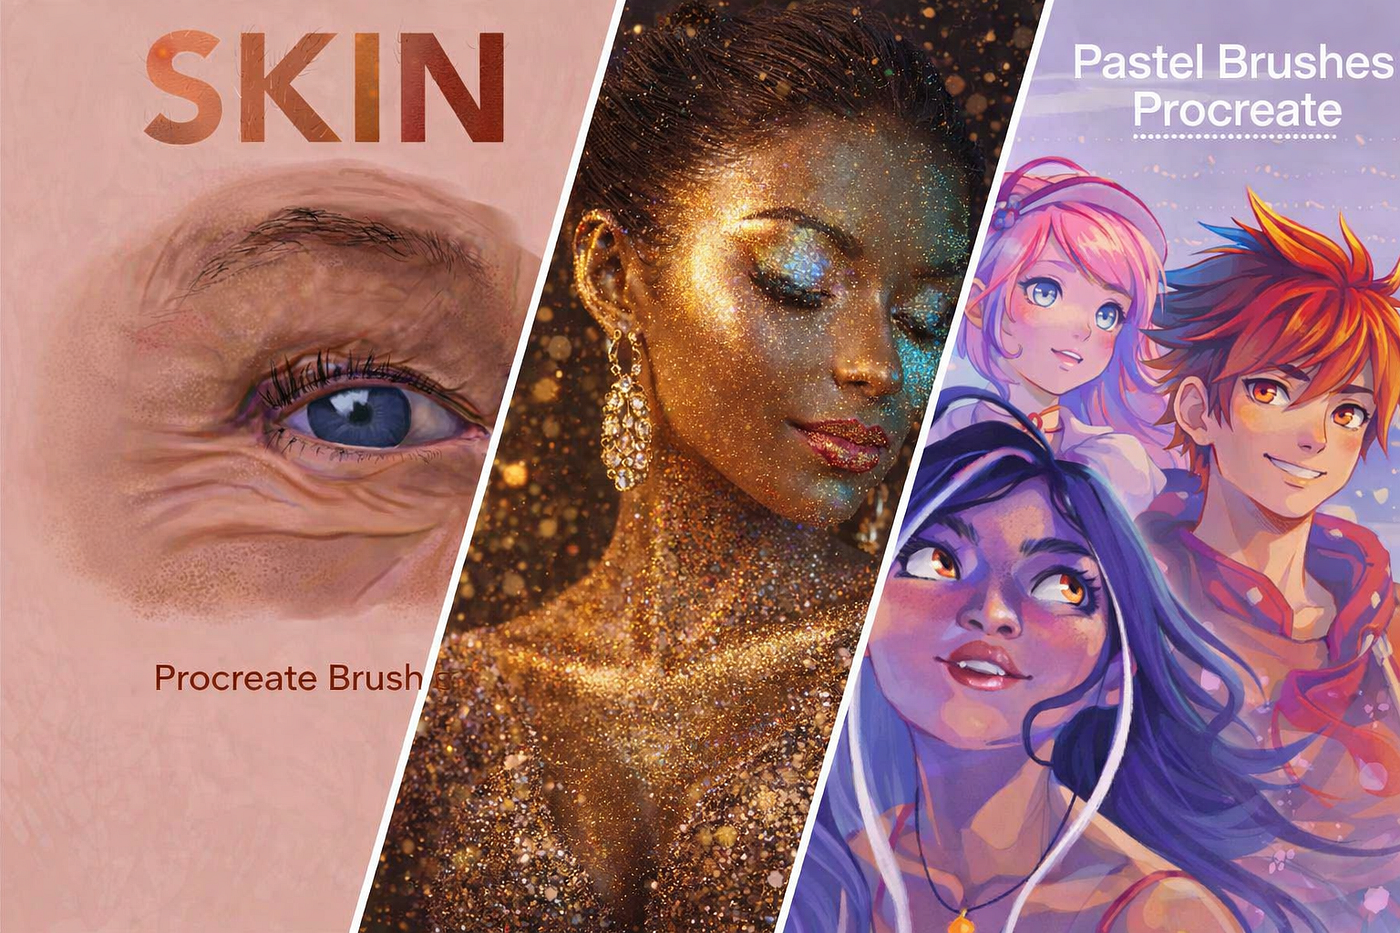
One of the biggest challenges in digital portrait painting is overcoming the “plastic” look. You’ve spent hours on the anatomy and the lighting, but the skin still looks too smooth, airbrushed, and artificial. This is a common struggle for artists using Procreate, but the solution isn’t more blending , it’s the addition of realistic skin texture.
To move from a “digital sketch” to a “photorealistic portrait,” you need to understand how light interacts with the micro-details of human skin.
Why Your Digital Art Looks “Plastic”
The “plastic effect” happens when there is a lack of frequency in the texture. Real skin is a complex landscape of pores, fine lines, and organic irregularities. When we rely solely on the soft airbrush or smudge tools, we erase these details, leaving the art looking flat.
To fix this, you must stop thinking about “smoothing” and start thinking about texturing.

3 Professional Techniques for Realistic Skin in Procreate
1. The Power of Blend Modes for Texture The secret to a believable skin finish is the use of Blend Modes. Instead of painting textures directly onto your base color, create a new layer on top and set it to Overlay or Soft Light.
By using a grit-based brush on an Overlay layer, the texture merges with the skin tones beneath it, creating a natural depth that looks like it’s inside the skin, not sitting on top of it.
2. Mastering the “Micro-Detail” (Pores and Freckles) Realism lives in the imperfections. To avoid the “perfect” look, you must introduce “controlled chaos.”
- Pores: Use a fine-grain brush to add pores, focusing on the T-zone (nose and cheeks).
- Freckles and Blemishes: Subtle, uneven spots break up the symmetry of the face and make the character feel human.
- Fine Lines: Adding micro-creases around the eyes and mouth adds age and expression.

3. Creating the Specular Highlight To make skin look “alive,” you need the “dewy” effect. Use a hard-edged, bright brush to add sharp, high-contrast highlights on the tip of the nose, the inner corners of the eyes, and the cheekbones. This mimics the way light reflects off skin oils and is the final step in achieving hyper-realism.
The Professional Shortcut: The DigiKitPro System While these techniques work, manually painting thousands of pores and freckles is a tedious process that can take hours. For the professional artist, efficiency is just as important as quality.
This is why we developed the Professional Realistic Textured Skin Kit for Procreate.
Instead of manually dotting textures, our kit provides 19 precision-crafted brushes , including specialized tools for pores, wrinkles, and blending , that allow you to apply studio-grade realism in a single stroke. It is designed to integrate seamlessly into your workflow, allowing you to focus on the creativity while the tools handle the technical grit.
Conclusion Realism is not about perfection; it is about the perfect simulation of imperfection. By shifting your focus from “smoothing” to “texturing,” you can transform your portraits from digital drawings into living, breathing masterpieces.
Ready to upgrade your digital portraiture? Explore the Professional Skin Texture Kit and our other high-performance assets at DigiKitPro.
👉 ***Professional Digital Portrait & Skin Texture Brush Set for Procreate***
Important Links
The Essential Precision Line-Art & Sketching Kit for Procreate
*The DigiKitPro Master Library: 2,000+ Professional Procreate Brushes*
*The Professional Anime Soft-Style Studio Kit: 100+ Procreate Brushes*
메타데이터
- post_id
- 2b660d2f811c
- slug
- how-to-achieve-realistic-skin-texture-in-procreate-a-professional-guide-to-digital-portraiture-2b660d2f811c
- url
- https://medium.com/@digikitpro/how-to-achieve-realistic-skin-texture-in-procreate-a-professional-guide-to-digital-portraiture-2b660d2f811c
- canonical_url
- https://medium.com/@digikitpro/how-to-achieve-realistic-skin-texture-in-procreate-a-professional-guide-to-digital-portraiture-2b660d2f811c
- author_url
- https://medium.com/@digikitpro
- status
- ok
- fetched_at
- 2026-06-09 14:34:10