Complete Guide of STM32 Installation on Ubuntu with printf statement
In today’s blog we shall understand how complicated process is to install STM32 Cube IDE on Ubuntu and all possibilities of problems you…
Complete Guide of STM32 Installation on Ubuntu with printf statement
In today’s blog we shall understand how complicated process is to install STM32 Cube IDE on Ubuntu and all possibilities of problems you could face and their solutions. Also we will understand how we can use printf statements on STM32 which usually you cannot run.
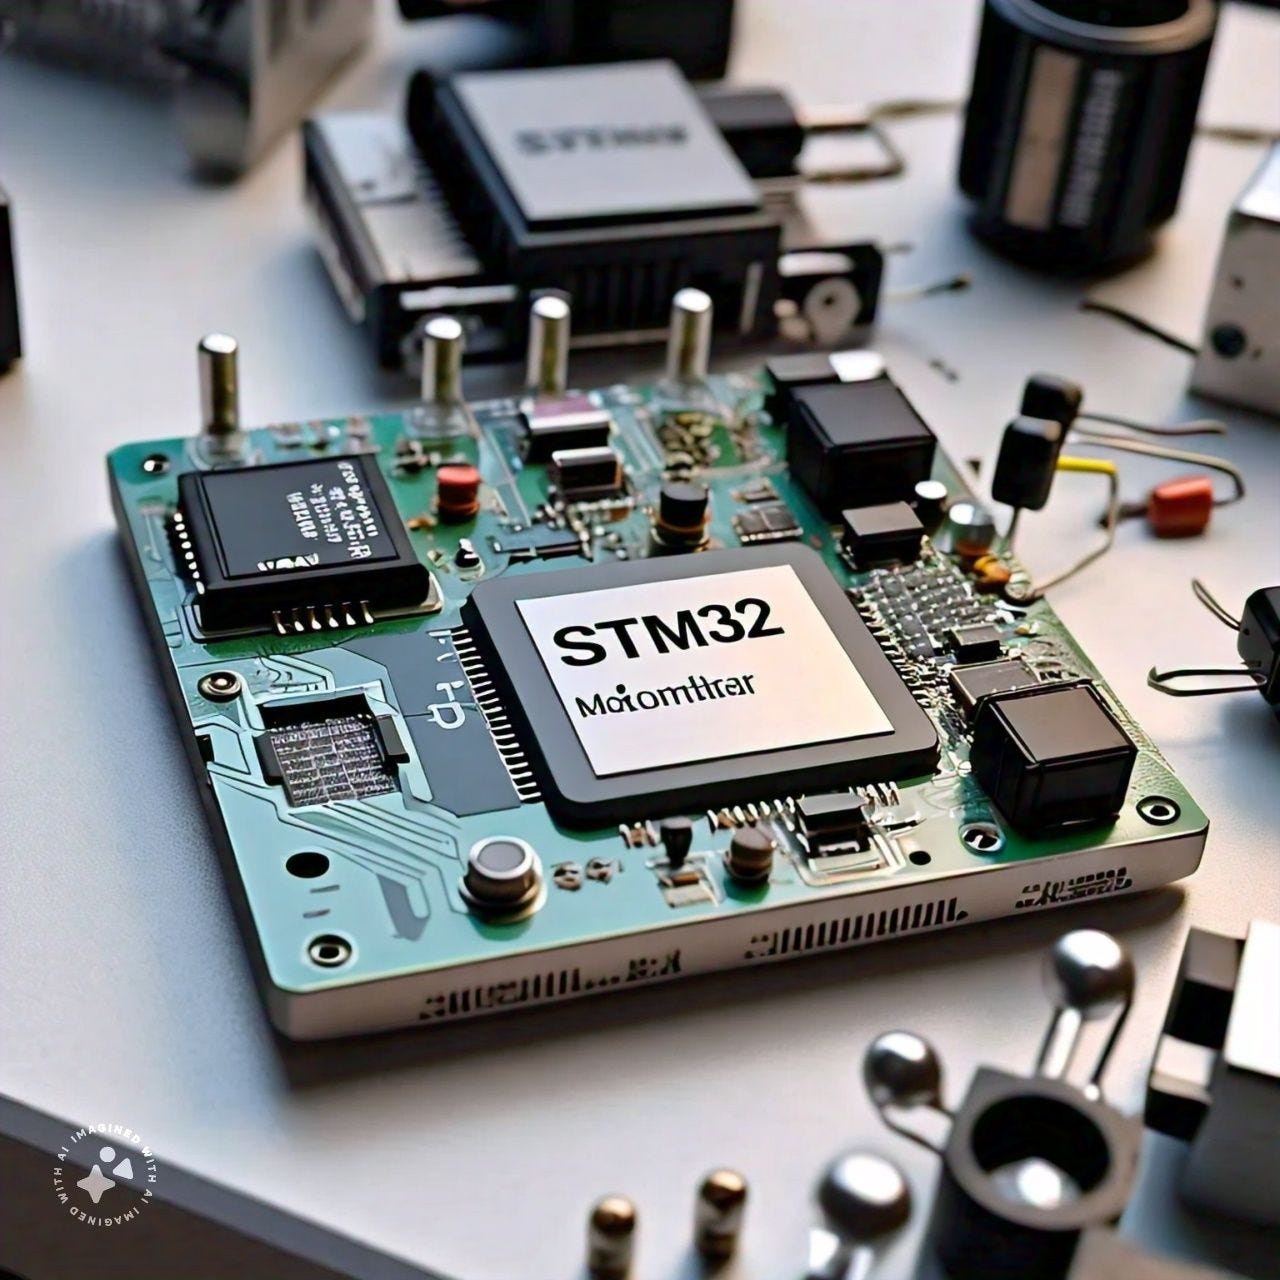
STM32 is an important micro controller which is popular and has following of influential community of Embedded Developers. It is 32 Bit ARM Cortex CPU core which is low powered approximately 2.0 to 3.6V. It follows RISC Architecture set which essentially is Reduced Instruction set which explained low powered nature of this micro controller.
We shall use STM32 NUCLEO-F103RB , you can read about it on STM32 page which is of STM32 Nucleo series. We shall learn how can we run it step by step and within these steps I will explain how we can solve the problems I faced.
If you require further assistance add me on Discord @shahrukh517#4777 or add me on LinkedIn.
System: STM32 Nucleo-F103RB, Ubuntu 20.04.6 LTS
Step#1 Downloading STM32 Cube IDE
This goes without saying it is a good practice to actually have a micro controller before downloading Cube IDE to execute it. Once you have the micro-controller we will head over to this link and download STM32CubeIDF-DEB as simple as that.

Did you really think it would be as simple as that? Yes it can be as simple as downloading something from website but if you are in Pakistan region (there could be other countries apart from Pakistan) you will get a download error that looks something like this.
This software is not available for download STM32

This issue I faced because I was sitting in Pakistan and trying to download it. If you are from Pakistan most probably you might be facing the issue. I have a solution for this problem which is to use proxy.
On your web browser most probably chrome you can add this chrome extension you can download from here .

If for some reason you do not want to use a chrome extension VPN which I would recommend to use you can use VPN through Ubuntu Terminal and this method would be useful later as well.
Remember this is free VPN and not paid one. Head over to VPN Book link here and move to OpenVPN tab.

You can use any server but I used USI Server OpenVPN Config Bundle it will download immediately. After it has been downloaded head over to Downloads dir in ubuntu and find your downloaded OpenVPN which you can do by ls command.

use following command
your@pc:~$ unzip vpnbook-openvpn-us1.zipOnce the contents are unzipped the contents will be shown to you like this.

Now run the following command
your@pc:~$ sudo openvpn vpnbook-us1-tcp443.ovpnHit enter and provide your password.

It will ask for Auth Username and password which you can find on your VPN page last line.

Add the Auth username and Password once added it will start running your VPN for entire ubuntu for free and it would look something like this

Once this is running head over to your STM32 Cube IDE debian page again here . Do not forget to signin or if new register and download your debian Linux Installer. It will start downloading now.
If it does not try first approach which is through chrome VPN extension and download again.
Step#2 Running Downloaded STM32 Cube IDE
I am assuming that zip file of stmcube IDE has been installed. Now you need to unzip it like

After you unzip your package it will show a dot sh file. You need to run it like this
your@pc:~$ sudo sh ./st-stmxxxxxxxxxxxxxxxxxxxxx.deb_bundle.shAfter this it will execute and a long term of agreement will open. Keep pressing enter select y when it asks to accept agreement. After this terms of conditions on terminal will open keep pressing enter and accept with y.
Note: You will keep hitting enter and on your y or N you might hit enter as well it will terminate the process.
I cannot reproduce the whole process because Cube IDE got installed after many trial and error so I do not want to disturb it in any manner.
It will take time but eventually install your Cube IDE in GUI form.
You can head over to and type STM32 it will pop up. Click on it and run.
Important: It is important practice to know command to uninstall cube ide if you want to reinstall the newer version or if installed incorrectly you can uninstall and reinstall again.
Uninstall command is like
sudo apt purge segger-jlink-udev-rules st-stlink-server st-stlink-udev-rules st-stm32cubeide-1.15.1Step#3 Playing with STM CUBE IDE

After you have clicked on STM32 this window will pop up and run. After this running is over , redirect to your software upper tabs and login.

Most probably when you will try to login it will not because your VPN is not on. So you need to move back to Linux VPN method and launch it. After that login to your account. Logging in is important because when you create new project it downloads certain important files. For downloading purposes it uses your login. Otherwise it will not work.
Now I assume you have successfully logged in to your Cube IDE. Now create a new project.
When you will open create new project a Target Selection Window will open like this

Now here either type in search bar or scroll down and search for your board. My board is “Nucleo F103RB” after selecting it we move to next.

After that a Window will pop up asking for project name and language. Name it as you like and I will select C language for starters.

After it will say Initialize peripherals with default mode and select yes

It will load IOC and UI which is a graphical user interface which helps you select the pins if you want to use it as GPIO, I2C or Analog

For starters we will keep it as default . Make sure to your left you see these project files like Includes, Core , Drivers like this.

If these files exist that means you are good to go. If not then it means after you have logged in your Cube IDE it has not successfully downloaded further files which are necessary. In this case uninstall cube IDE and start over again.
Some times during downloading of packages it takes more than 2 hours and it shows an error like
“MD5 file checksum is not good”
To solve this I closed the file and started again. I am not exactly sure why on second try is worked but it did. If your’s does not work you can checkout this documentation where it worked.
Moving on if contents of your code show these files as mentioned in above pic then move to Project tab and click generate code. It will generate code and you can open main.c in your project->core->src main.c like this

With main.c you will see other files such as stm32f1xx and many more. These are header files for important functions.
Step#4 Finally In Main.c
If you have made it to main.c Congratulations!
Now we need to have a console. STM32 Cube IDE does not have a console it can only build your project and provide error or warnings if they exist just like any other compiler but it does not have a console output onto which you can see outputs if you are using printf statements.
STM32 is a bare metal micro-controller that provides debugging features in IDE but developers who use printf statements for debugging and want to see output on console for them they have to do something which is to set printf function.
If you do not set printf function then you will need to use a different approach which uses char arrays pre defined and you have to use huart functions and I do not like it. It goes something like this.
char data[] = "Hello, World!\r\n";
HAL_UART_Transmit(&huart2, (uint8_t*)data, strlen(data), 1000);
It is okay but printf is better i mean. So to add printf in your code you need to add these lines in your code after you have declared UART_HandleTypeDef huart2
#include "main.h"
#include "stm32f1xx_hal.h"
#include <stdio.h>

UART_HandleTypeDef huart2;

void SystemClock_Config(void);
static void MX_GPIO_Init(void);
static void MX_USART2_UART_Init(void);
//printf code begines
#ifdef __GNUC__
#define PUTCHAR_PROTOTYPE int __io_putchar(int ch)
#else
#define PUTCHAR_PROTOTYPE int fputc(int ch, FILE *f)
#endif

PUTCHAR_PROTOTYPE
{
  HAL_UART_Transmit(&huart2, (uint8_t *)&ch, 1, HAL_MAX_DELAY);
  return ch;
}
//printf code ends
Also if you require to use floating point variables like float or double you need to do some setting changes in your Cube IDE.
Go to Project->Properties->C/C++ Build->Settings->MCU Settings and check USe float with printf from newlib-nano(-u _printf _float)

and Apply and close. Now your printf with floating point is all set. Now we shall write our main code.
int main(void)
{
  HAL_Init();
  SystemClock_Config();
  MX_GPIO_Init();
  MX_USART2_UART_Init();
  int number = 0;
  char buffer[]= "The number is ";
  while (1)
  {
   printf("The number is %d\r\n",number);
   number++;
   HAL_Delay(2000);
  }
  /* USER CODE END 3 */
}
Here we are simply incrementing a number and printing it like we go in C. Also note one thing that when we are writing printf statement we are using both “\r\n” together. This is important to do so in all printf cases because if you only use “/n” the output will add a tab to it automatically which would look uneven just like a stair case. If you do not use “\n” it will not print anyhing. Also if you use only “\r” it will not print anything on console.
Step#5 Console
You can use either PuTTY which is a software you can download from here this will open a separate terminal typein your system and show output.

Or you can download screen which will show output in your Linux Terminal like this

This is your choice. I prefer screen as it shows output on terminal which is more clear and fun.
But before you go to either or you need to know on which USB port your STM32 is connected with. For that you need to run “lsusb” which will list all usb connections and tell you if your stm32 is connected or not.

After that run “dmesg | grep tty” it will show messages from the kernel ring buffer, which includes information about hardware detection, device initialization, and any potential issues encountered by the kernel during the boot process and while the system is running. By piping the output of dmesg into grep tty, you’re specifically looking for messages that mention “tty”, which could include information about serial ports, modems, or other devices that communicate over serial interfaces.
Now you will know your USB name STM32 micro controller is connected with.
So first we will start with PuTTY. Download and execute PuTTY it will open.

Here since it it serial monitor you will select serial and in speed provide Baud rate which and your USB. Here according to my setting I will select Baud rate as 115200 and usb as ttyACM0. Then press open and a terminal shall open.

Second is Screen. First Open terminal and download screen with following command.
sudo apt install screenAfter this provide screen with USB name and Baud rate like this
screen /dev/ttyACM0 115200Hit enter and it will output the console data.
If you want to terminate the screen use “Cntrl+a+d” and it will detach from screen

Now if you want to reopen the screen
your@pc:~$ screen -r 7228.pts-1.srkThis 7228 is screen number. If you want to know current screen terminal running.
your@pc:~$ screen -lsand you will get

Now I have not given entire code you shall use the default code and play around printf stuff do stuff and experiment.
I hope this was helpful and if you require further assistance add me on Discord @shahrukh517#4777 or add me on LinkedIn
Happy Coding!
메타데이터
- post_id
- 2ba28075e7b7
- slug
- complete-guide-of-stm32-installation-on-ubuntu-with-printf-statement-2ba28075e7b7
- url
- https://medium.com/@fatehsali517/complete-guide-of-stm32-installation-on-ubuntu-with-printf-statement-2ba28075e7b7
- canonical_url
- https://medium.com/@fatehsali517/complete-guide-of-stm32-installation-on-ubuntu-with-printf-statement-2ba28075e7b7
- author_url
- https://medium.com/@fatehsali517
- status
- ok
- fetched_at
- 2026-07-20 02:51:28


