Building Modern APIs: A Guide to GraphQL with Spring Boot
Understanding GraphQL: The Basics
Building Modern APIs: A Guide to GraphQL with Spring Boot

source: viralpatel.net
Understanding GraphQL: The Basics
Before we dive into implementation, let’s understand what GraphQL is and why it has become so popular. Imagine you’re at a restaurant. With a traditional REST API, you get a fixed meal — you get everything that comes on the plate, whether you want it or not. But with GraphQL, you’re ordering exactly what you want from the menu — no more, no less. This is the main idea behind GraphQL.
GraphQL, created by Facebook in 2012 and released publicly in 2015, is a query language for APIs. It lets clients specify exactly what data they need, avoiding the common problem of getting too much or too little information from an API.
Why Choose GraphQL?
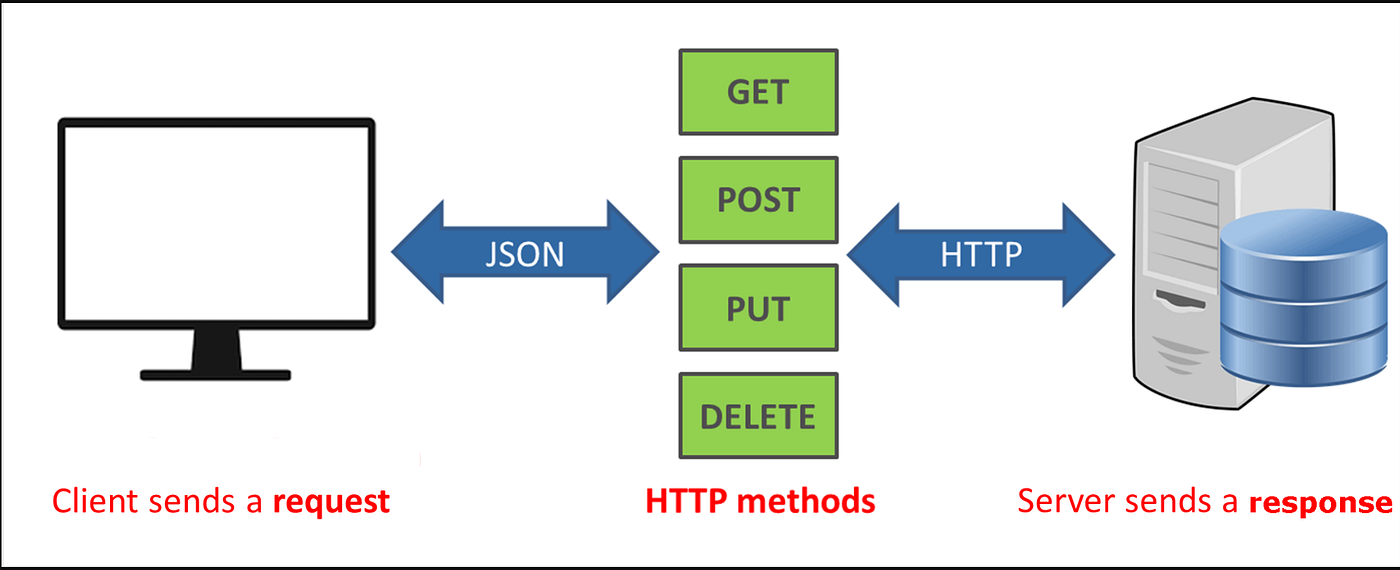
Let’s look at a real-world example. Suppose you’re building a blog application. With a traditional REST API, to get a blog post and its author’s information, you might need to make two separate API calls:
GET /api/posts/123
GET /api/users/456
With GraphQL, you can get all this information in a single query:
query {
  post(id: "123") {
    title
    content
    author {
      name
      email
    }
  }
}
Setting Up GraphQL with Spring Boot
Now, let’s implement GraphQL in a Spring Boot application. We’ll create a simple book management system.
First, add these dependencies to your pom.xml:
<dependencies>
    <dependency>
        <groupId>org.springframework.boot</groupId>
        <artifactId>spring-boot-starter-graphql</artifactId>
    </dependency>
    <dependency>
        <groupId>org.springframework.boot</groupId>
        <artifactId>spring-boot-starter-web</artifactId>
    </dependency>
</dependencies>
Defining the Schema
The schema is like a contract between the client and server. Create a file named schema.graphqls in src/main/resources/graphql:
type Book {
    id: ID!
    title: String!
    author: String!
    pageCount: Int
    publishedYear: Int
}

type Query {
    bookById(id: ID!): Book
    allBooks: [Book]!
}

type Mutation {
    addBook(title: String!, author: String!, pageCount: Int, publishedYear: Int): Book!
    deleteBook(id: ID!): Boolean
}
Creating the Model
Create a Book class to represent our data:
public class Book {
    private String id;
    private String title;
    private String author;
    private Integer pageCount;
    private Integer publishedYear;

    // Constructor, getters, and setters
}
Implementing the Controller
Now, let’s create a GraphQL controller to handle queries and mutations:
@Controller
public class BookController {
    private final BookService bookService;

    public BookController(BookService bookService) {
        this.bookService = bookService;
    }

    @QueryMapping
    public Book bookById(@Argument String id) {
        return bookService.getBookById(id);
    }

    @QueryMapping
    public List<Book> allBooks() {
        return bookService.getAllBooks();
    }

    @MutationMapping
    public Book addBook(@Argument String title,
                       @Argument String author,
                       @Argument Integer pageCount,
                       @Argument Integer publishedYear) {
        Book book = new Book();
        book.setTitle(title);
        book.setAuthor(author);
        book.setPageCount(pageCount);
        book.setPublishedYear(publishedYear);
        return bookService.saveBook(book);
    }

    @MutationMapping
    public boolean deleteBook(@Argument String id) {
        return bookService.deleteBook(id);
    }
}
Creating the Service Layer
Implement the service layer to handle business logic:
@Service
public class BookService {
    private final Map<String, Book> books = new HashMap<>();

    public Book getBookById(String id) {
        return books.get(id);
    }

    public List<Book> getAllBooks() {
        return new ArrayList<>(books.values());
    }

    public Book saveBook(Book book) {
        String id = UUID.randomUUID().toString();
        book.setId(id);
        books.put(id, book);
        return book;
    }

    public boolean deleteBook(String id) {
        return books.remove(id) != null;
    }
}
Testing the Implementation
Once everything is set up, you can test your GraphQL API. Spring Boot provides a GraphiQL interface at http://localhost:8080/graphiql. Here are some example queries:
Getting all books:
query {
  allBooks {
    id
    title
    author
    pageCount
    publishedYear
  }
}
Adding a new book:
mutation {
  addBook(
    title: "Spring Boot in Action"
    author: "Craig Walls"
    pageCount: 264
    publishedYear: 2021
  ) {
    id
    title
  }
}
Error Handling
Let’s add some basic error handling:
@Controller
public class BookController {
    // ... other methods ...

    @QueryMapping
    public Book bookById(@Argument String id) {
        Book book = bookService.getBookById(id);
        if (book == null) {
            throw new RuntimeException("Book not found with id: " + id);
        }
        return book;
    }
}
Adding Data Validation
To make our API more robust, let’s add some validation:
@Service
public class BookService {
    public Book saveBook(Book book) {
        if (book.getTitle() == null || book.getTitle().trim().isEmpty()) {
            throw new RuntimeException("Book title cannot be empty");
        }
        if (book.getAuthor() == null || book.getAuthor().trim().isEmpty()) {
            throw new RuntimeException("Book author cannot be empty");
        }
        // ... rest of the save logic
    }
}
Best Practices
When implementing GraphQL with Spring Boot, keep these tips in mind:
- Keep your schema clean and well-organized
- Use meaningful names for types and fields
- Implement proper error handling
- Add input validation
- Consider pagination for large data sets
- Use proper security measures
- Monitor performance
Performance Considerations
To improve performance, consider implementing DataLoader to batch requests and avoid the N+1 query problem. Here’s a simple example:
@Component
public class BookDataLoader extends DataLoader<String, Book> {
    private final BookService bookService;

    public BookDataLoader(BookService bookService) {
        this.bookService = bookService;
    }

    @Override
    public CompletableFuture<Book> load(String key) {
        return CompletableFuture.supplyAsync(() -> bookService.getBookById(key));
    }
}
Conclusion
GraphQL with Spring Boot provides a powerful way to build flexible and efficient APIs. By following this guide, you now have the basic knowledge to:
- Set up a GraphQL API with Spring Boot
- Define schemas and types
- Implement queries and mutations
- Handle errors and validation
- Consider performance optimizations
Remember that GraphQL is not a replacement for REST APIs but rather another tool in your API development toolkit. Choose the right tool based on your specific needs and requirements.
This implementation provides a foundation that you can build upon for more complex applications. As you become more comfortable with these basics, you can explore advanced features like subscriptions, custom scalars, and more sophisticated error handling.
메타데이터
- post_id
- 2db6884e32f2
- slug
- building-modern-apis-a-guide-to-graphql-with-spring-boot-2db6884e32f2
- url
- https://medium.com/@naveen-metta/building-modern-apis-a-guide-to-graphql-with-spring-boot-2db6884e32f2
- canonical_url
- https://medium.com/@naveen-metta/building-modern-apis-a-guide-to-graphql-with-spring-boot-2db6884e32f2
- author_url
- https://medium.com/@naveen-metta
- status
- ok
- fetched_at
- 2026-07-25 12:44:45