How to use Net Core and Docker for dummies.
Hey y’all, My name is Francisco and I’m a software developer with 4 years of experience developing applications with Microsoft…
How to use Net Core and Docker for dummies.
Hey y’all, My name is Francisco and I’m a software developer with 4 years of experience developing applications with Microsoft Technologies. I want to show you how to create an application using .Net Core and Docker, and to show you that, I’ll provide a step by step guide that explains how the process is from zero to your application.
First, When we are faced with new technology, we should learn about the benefit and the functionalities that the tool has. Having said that, we should start with the definition of the tool.
What is DOCKER?
Behind the applications always has been a major problem which is the process of assembly and run the application, Docker came to solve that problem. We first should familiarize with concepts and words, the Container is one of these new words or approaches used in Docker. This approach allows pieces of code to be put into smaller and more portable making able the capacity to run applications in a more distributed way.
What is Net Core?
Is a framework Cross-Platform of Microsoft. That is used to develop more loose and portable applications, but what’s mean Cross-Platform? It means that you can run your app in MacOs and Linux and obviously Windows.
Now with that feature in mind, you would be able to create your application and host it in a Linux server, which in some cases is cheaper than others. But that is not all, the net core is a flexible and scalable framework, this is useful for integration with different pieces of code to one structure, this is due to the way that the component works; they work with packages that you can add and use but with the config package Json you can specify the dependencies of the packages used by your app.
There is a complete philosophy behind this approach, using the packages to simplify the building and run the apps, but we will submerge more on this with the Next Steps:
1. Installation of Visual Studio 2019.
First, you should download VS2019 this is the last version of VS that was launched a few days ago, from this page: https://visualstudio.microsoft.com/vs/community/
I recommend you download the community version because is free and you don’t need a license to use it.
The .net Core framework is included in the ASP.Net and web development option. With the visual studio, you will get the Net Core Framework.
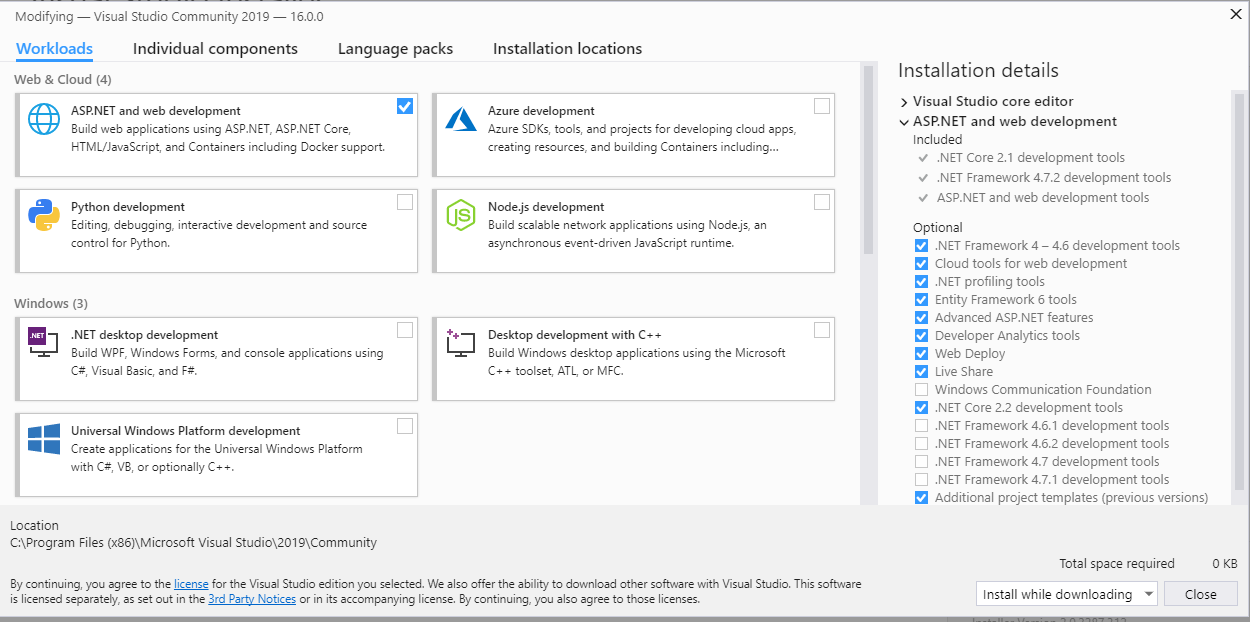
You must select these options.
Remember to Select Additional project template, that gives you a more easy way to create .Net core Application.
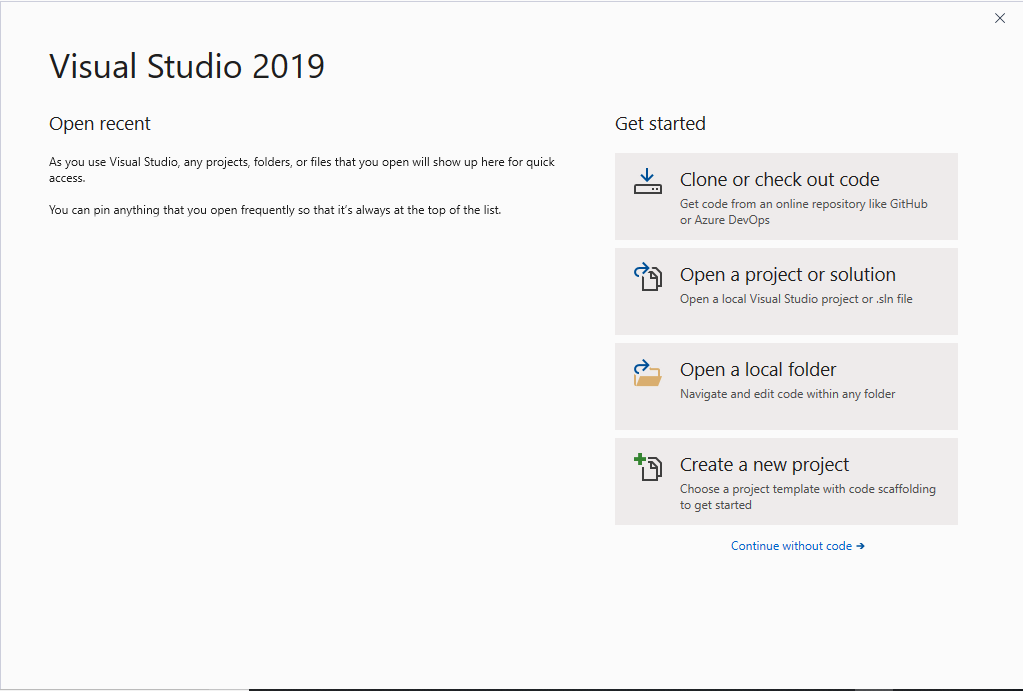
Select Create New Project
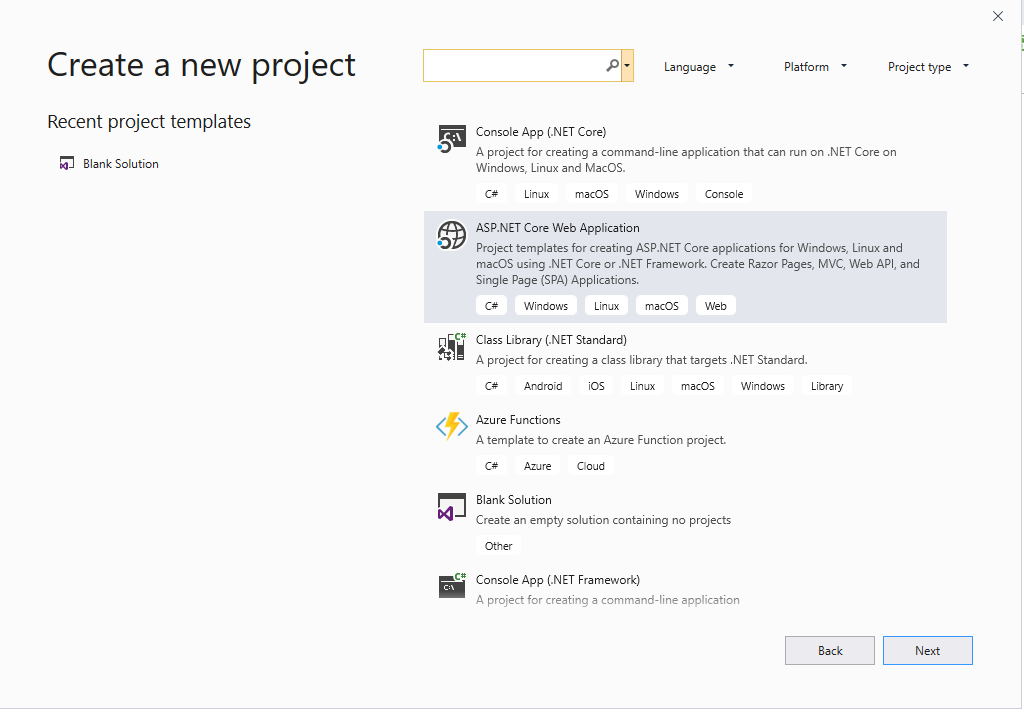
Select ASP.Net Core Web Application
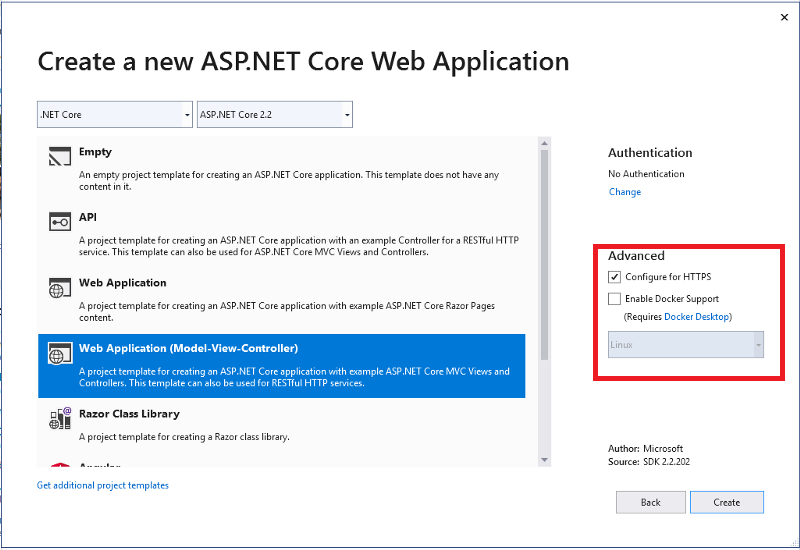
You can notice on the advanced option the Enable Docker Support check. If you select that option Visual Studio will ask you to install docker desktop. Also if you select that check you can select the type of image that the compiler will create for you as well. This can be an image for Docker Windows container or Docker Linux Container.
2. Install Docker.
The Installation of docker will depend on your OS if you have Windows 7 or 8 you would need to install others tools than if you have Windows 10. Check the image.
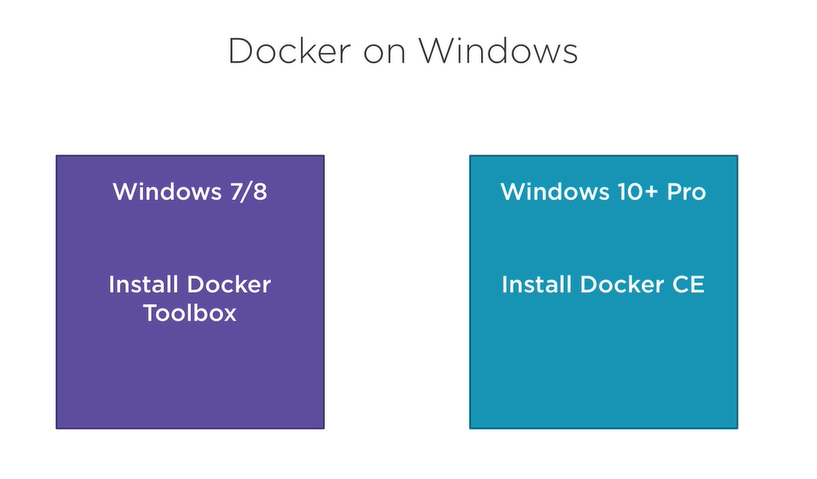
Taken from Pluralsight https://app.pluralsight.com/library/courses/docker-web-development/table-of-contents
I have Windows 10, so I will show you the steps for the Docker Desktop for Windows. If you need more info please check here https://docs.docker.com/
If you selected the docker desktop option on VS create project and you already install Docker desktop, you should run the Docker on your machine to do that Just type on Window search Docker Desktop.
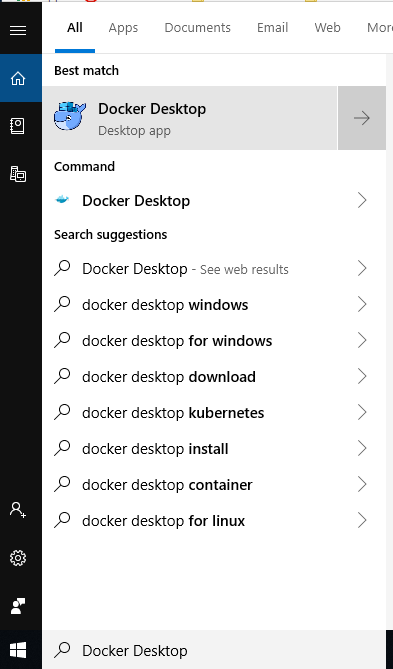
Select the first option.
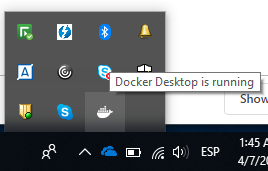
You will see the Whale Icon.
3. Install Kitematic
Maybe you will need another tool that gives you a more easy way to understand how docker works. I strongly recommend you download it. This version works for me https://github.com/docker/kitematic/releases/download/v0.17.7/Kitematic-0.17.7-Windows.zip
Download the Zip and Extract the content to this path C:\Program Files\Docker\Kitematic
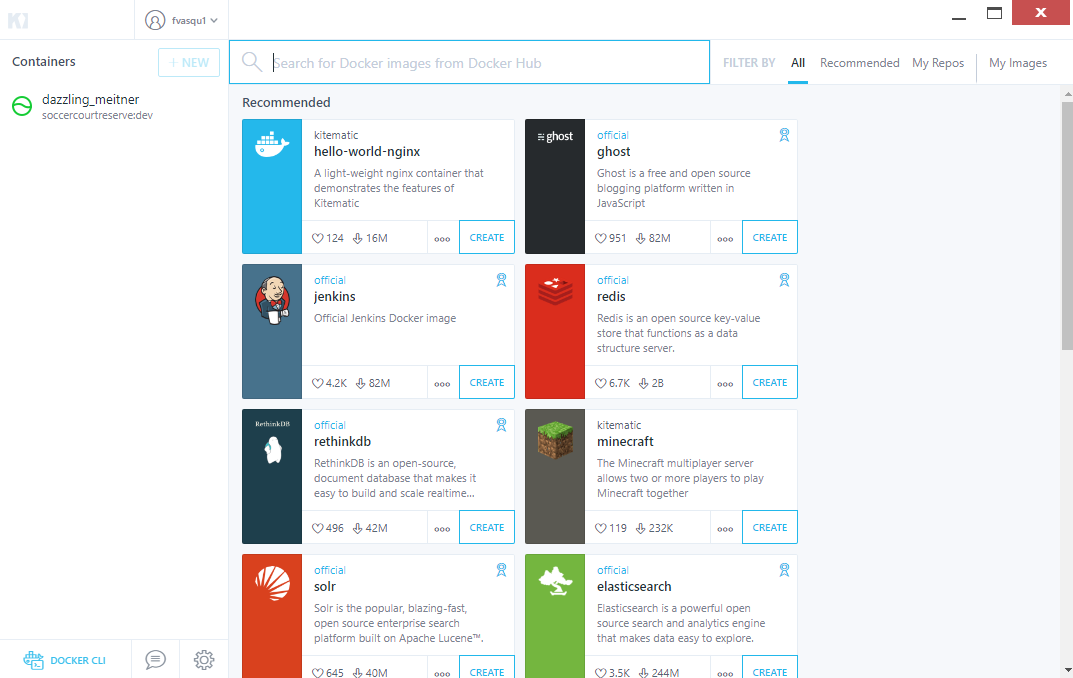
This tool Show you the container on your Machine.
4. Add Entity Framework Core to Our Solution.
Now we will get some fun, all our Environment is set so we will add the database to our project. Select from Tools → NugetPackageManager → Manage NuGet Packages for Solution, and on the search Microsoft.EntityFrameworkCore.Sqlite
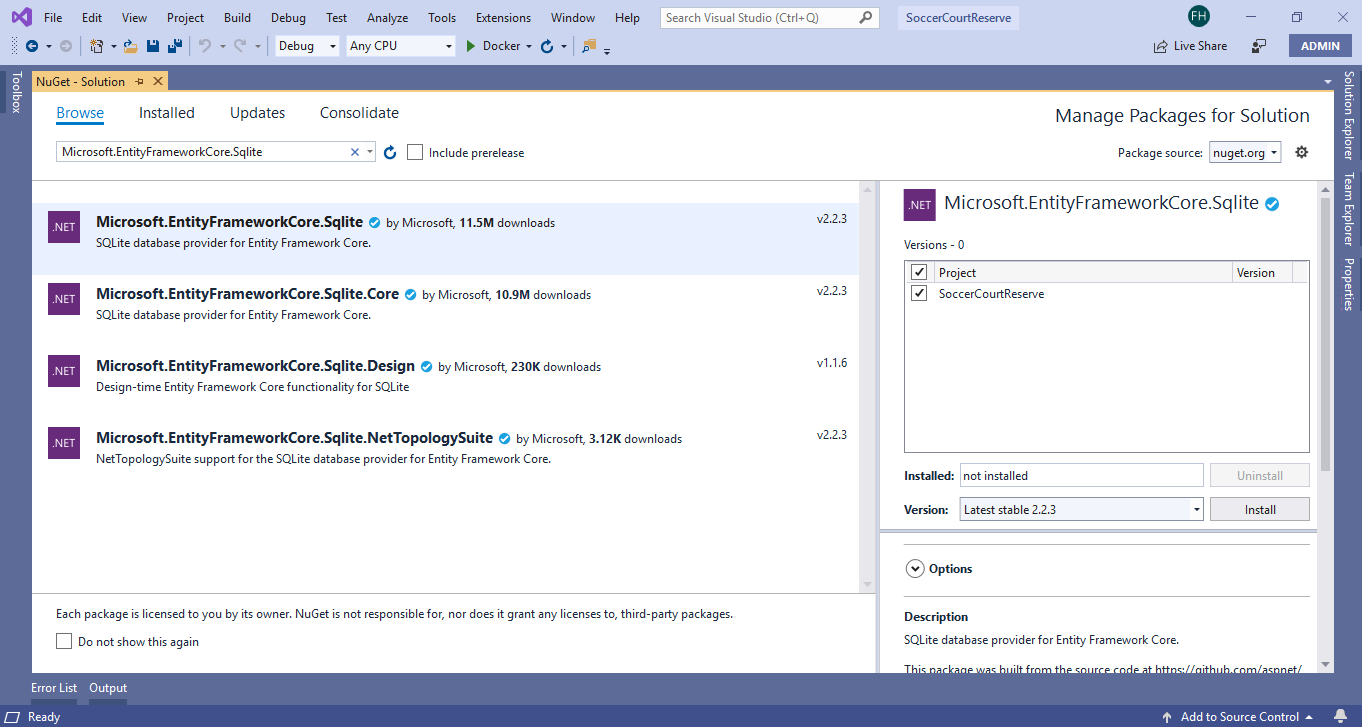
You can Run in the .Net Core CLI the command → dotnet add package Microsoft.EntityFrameworkCore.Sqlite look at https://docs.microsoft.com/en-us/ef/core/get-started/aspnetcore/new-db
We will work on a System to manages reserves for a Soccer Court. For that we need the Model of the Reserve System
We will need three tables, but first, we should define the context to use DB Migration of EF. See the following code this is a class of DbContext which is used to do map the classes into DataBase.
[embed]
Now the next step is to Register the context with dependency injection. For that on the Startup.cs we can add this line:

On database field, we define the DB name.
After Create our Tables we should run two commands on Tools > NuGet Package Manager > Package Manager Console which are:
PM > Add-Migration InitialCreate
And
PM> Update-Database
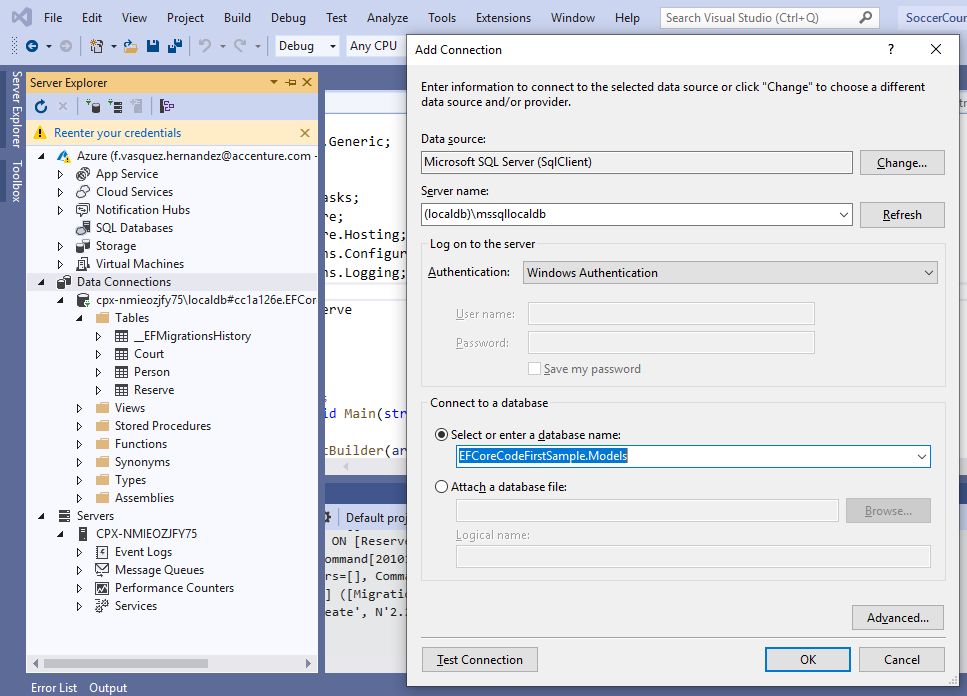
Now to obtain the data from the database we should create the context business or services methods. However, you want to call.
With that info, we can create our dynamic view looping through the data. First, on the controller, we must inject with Dependency Injection the context to be able to use the method getCourtInfo(). But On net core, if you don't register your dependency you won’t be able to use it. Then, we should inject like this. With the TryAddScoped we ensure that the dependency will be registered once time. That method only registers if the service Type hasn’t already been registered. If you want to know more about dependency injection on net core I strongly recommend this course: https://app.pluralsight.com/library/courses/aspdotnet-core-dependency-injection/table-of-contents

Now we can use from the controller the method to obtain the data of the database. And we pass that info to the view.
[embed]
Now on the view, we use the data.
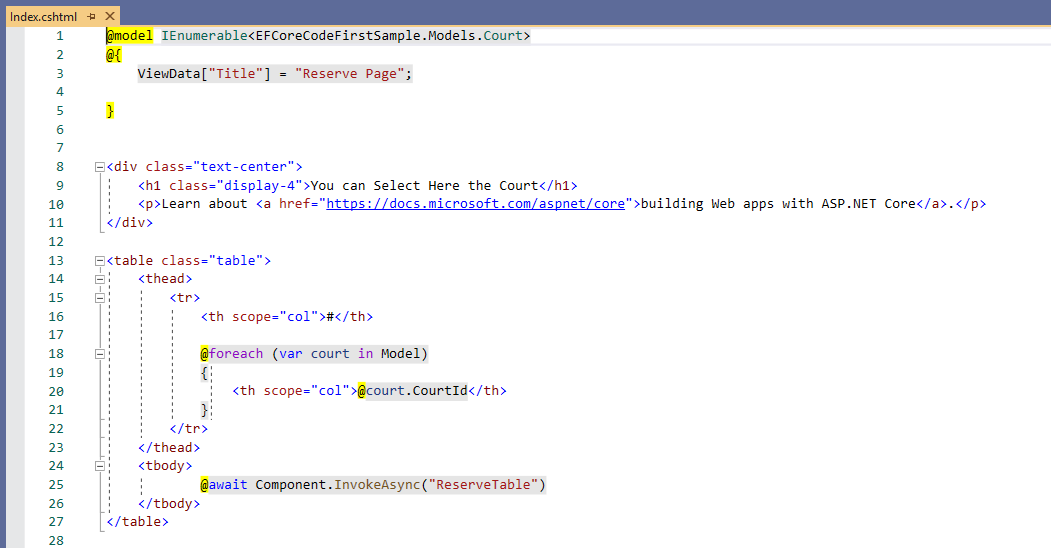
To create our Docker Image and run our project we only need to Run with the Button of Docker.
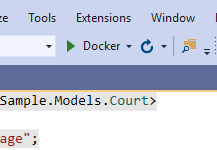
This button will create the image and add to one container.
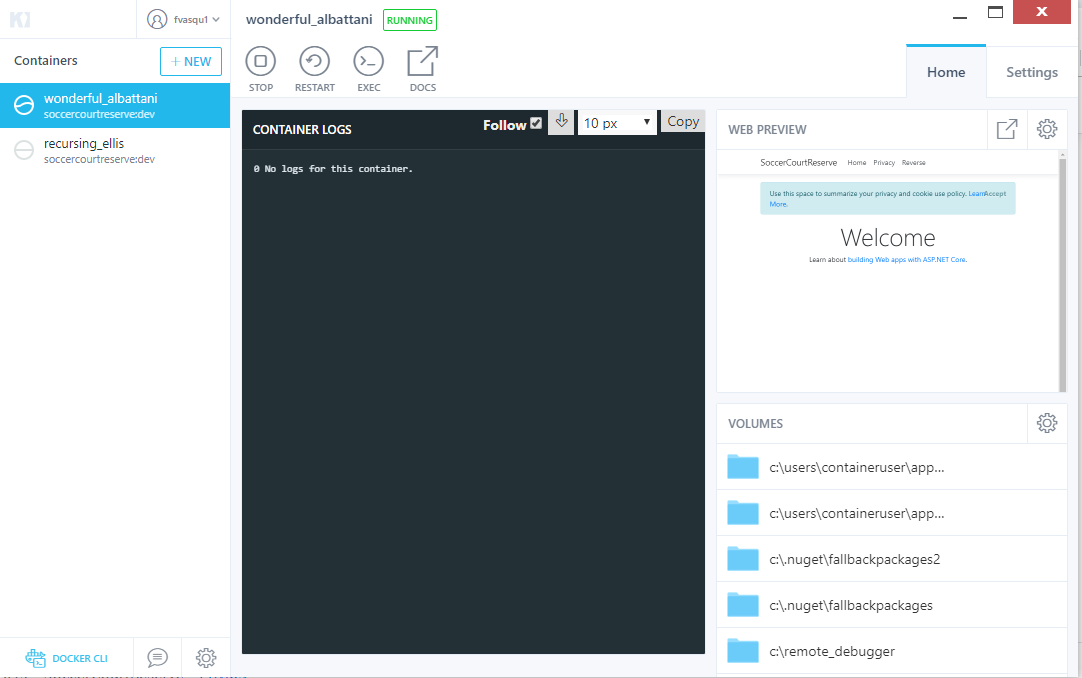
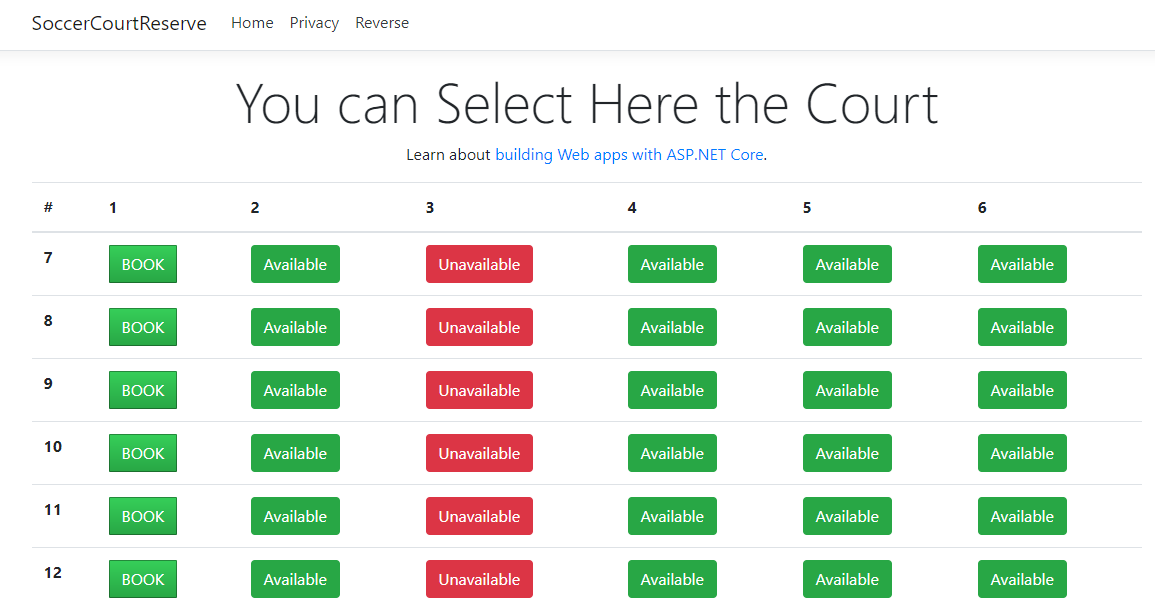
This is the reserve page.
Typing Docker Images on the CMD Windows you will See the local images on your machine.

And typing Docker Ps -a you will see all the containers.

That was all for this time folks. If you want to know more about Docker and .Net core please use these pages:
b) https://docs.microsoft.com/en-us/dotnet/core/
Please look the Solution on this repository if you want to see the use of the partial Views with net core.
See ya!
메타데이터
- post_id
- 2df9ae652fa2
- slug
- how-to-use-net-core-and-docker-for-dummies-2df9ae652fa2
- url
- https://medium.com/@francisco.vasquez.h/how-to-use-net-core-and-docker-for-dummies-2df9ae652fa2
- canonical_url
- https://medium.com/@francisco.vasquez.h/how-to-use-net-core-and-docker-for-dummies-2df9ae652fa2
- author_url
- https://medium.com/@francisco.vasquez.h
- status
- ok
- fetched_at
- 2026-07-29 18:11:50


