How to Easily Configure Launch Icons in React Native — Android & iOS
Launch icon! A simple task, that can become a painful problem/challenge if we don’t know exactly what to do. What we need to implement…
How to Easily Configure Launch Icons in React Native — Android & iOS

Image 1: Abstract image of mobile apps’ launch icons
Launch icon! A simple task, that can become a painful problem/challenge if we don’t know exactly what to do. What we need to implement here, is a two step process for each one of the native platforms:
- Prepare launch icons with proper dimensions for all the possible screen sizes (i.e. iPhone SE, iPhone 7, iPhone X etc)
- Place them inside the native app folder and replace the existing default ones.
And of course repeat both steps for the remaining native platform (i.e. Android)
But well, if it is your first React Native app and you come from a web developer background as I did, you are not familiar with the details mentioned above; at least not just yet.
So, I started looking for a way to implement this for both platforms (iOS, Android) fast and easy instead of having to figure out all the details. Luckily, I found the way :D
RN toolbox to the rescue
There is a toolset for React Native, called *RN toolbox. *It is a set of Yeoman generators that can help with project kickstart.
We are going to install and use it to resize and place all the needed icons for us! Image resizing is achieved with the help of *ImageMagick tool, *so we need to install this as well. Let’s get started!
Install the tools
To use RN toolbox, we need a minimum of node 6 already installed.
Then, we install it with npm globally as shown below:
npm install -g yo generator-rn-toolboxFor ImageMagick now, installation steps are different per platform and they can all be found in the download section of the website.
Use the tools!
- Prepare a single icon file of 200x200px. If you don’t have one ready just use the sample below:

Image 2: Sample React logo png icon of 200x200px
- Navigate to your React Native app root folder and execute the following command:
yo rn-toolbox:assets --icon <path-to-your-icon-file>You will be prompted to enter the name of your React Native project but you can simply press enter because it gets auto detected. Pay attention here to supply the correct name as it is needed for the iOS app and in order for the icons to be placed correctly in the proper paths. For instance, if you created your project with react-native init MyReactNativeProject, your project name is MyReactNativeProject.
And if you get asked to overwrite Contents.json file, reply with Y.
And that’s it! All Android & iOS icons were created and placed in the appropriate native projects’ paths! And what is great here, is that now we can identify all the icon sizes and appropriate paths in case we want to change/resize one or more of them manually.
Let’s see an example:
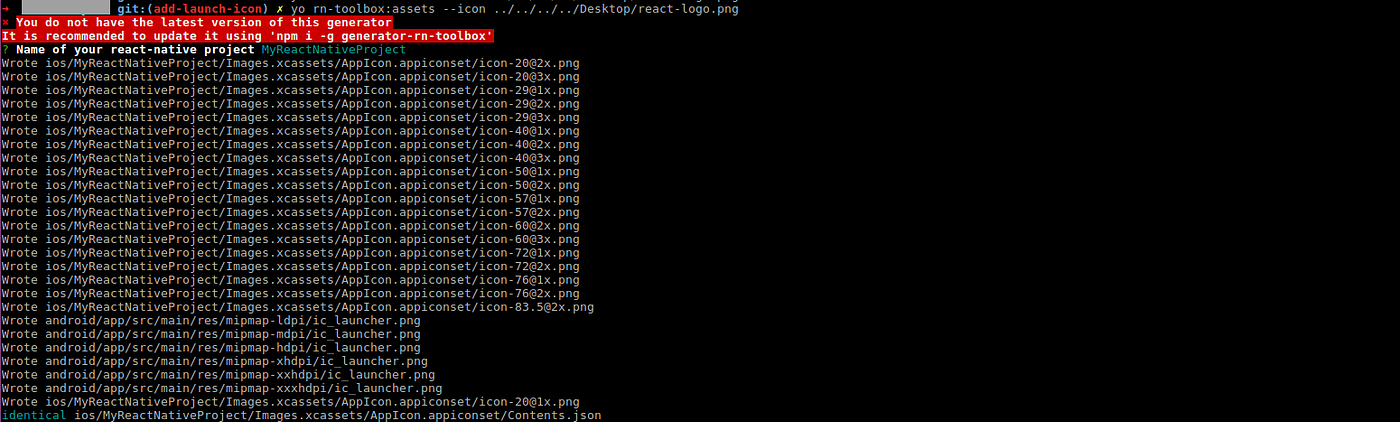
Image 3: rn-toolbox command execution with sample icon name react-logo.png
In the example seen here, we have provided for launch icon the sample image 1 from above with the name react-logo.png. The name of the sample project is MyReactNativeProject. In your case the latter one needs to be the actual name of the project.
As you can see from the console output, the tool has resized, generated and placed the new launch icon images into the respective folders of the native projects. And in order to check if this is the case indeed, we take a look to the changes detected from Git.
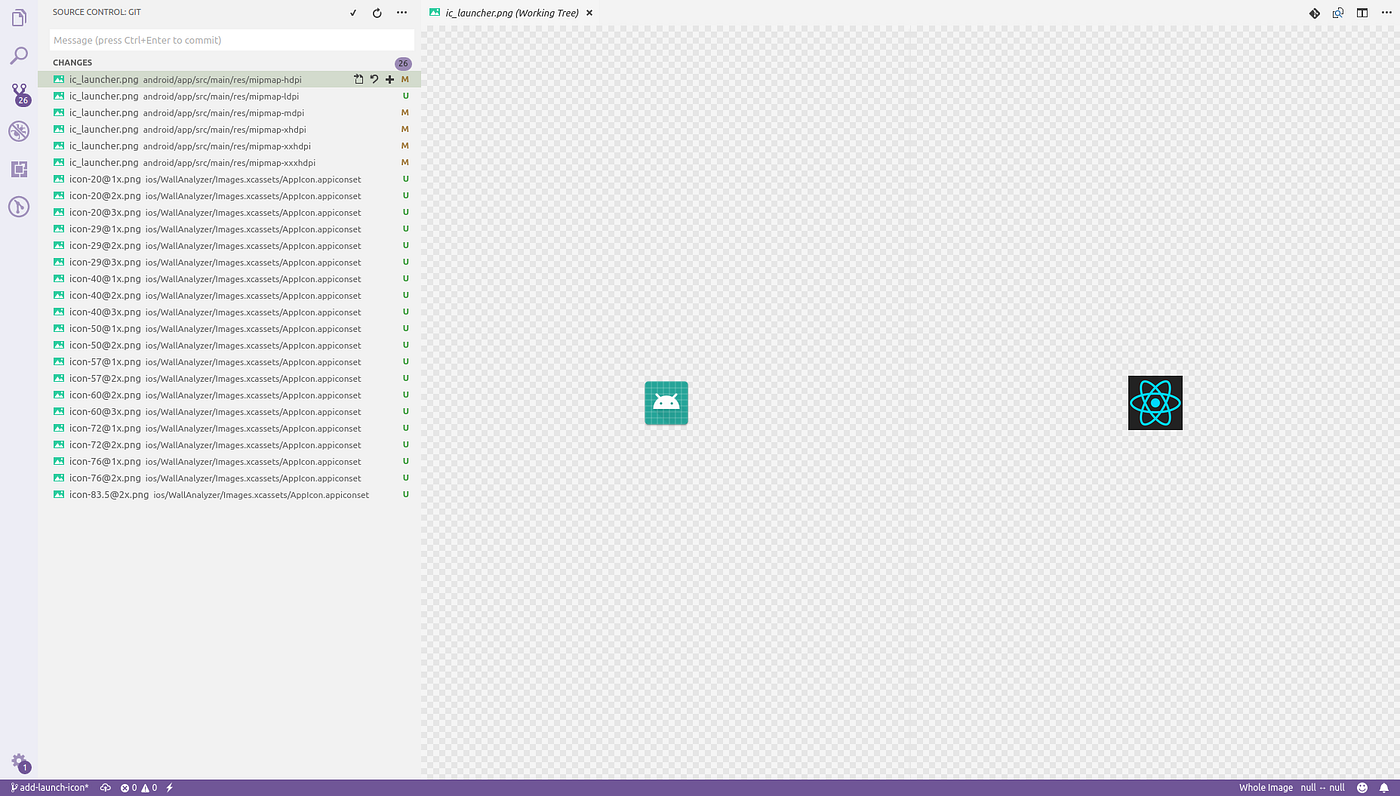
Image 4: Project changes after rn-toolbox command execution
And yes! Changes can be seen and default Android icon has already been replaced with the supplied one. I usually check all the added/changed files above, just to be sure that everything works properly and then perform a few tests on emulators/devices to check that the launch icon works fine.
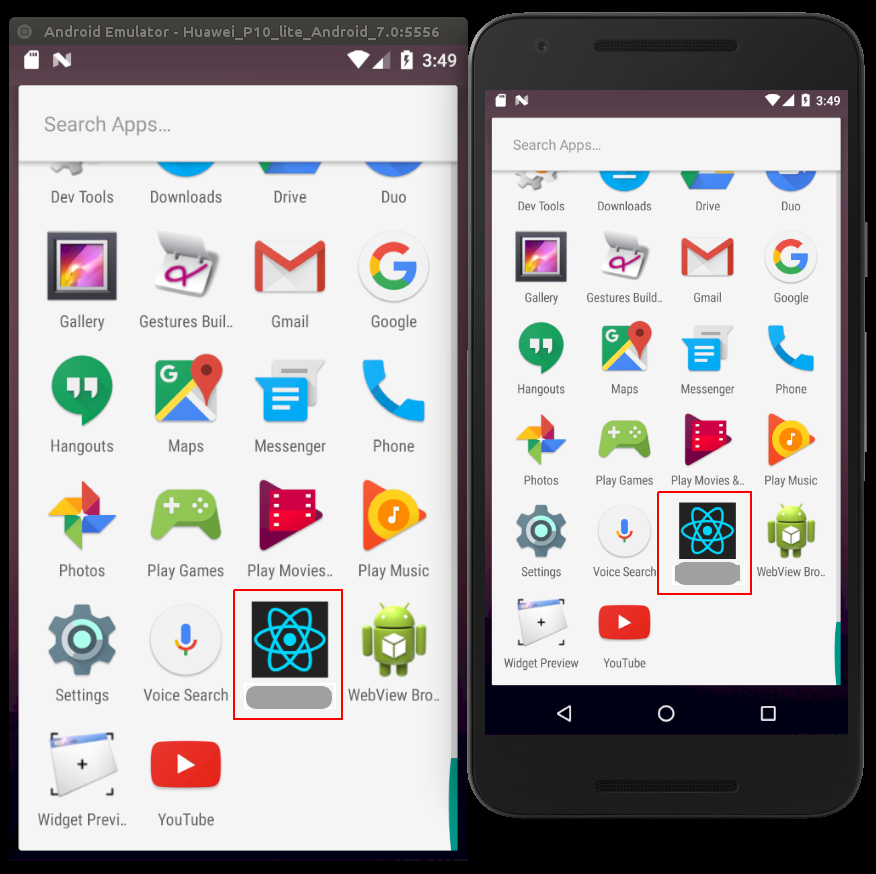
Image 5: Sample application with newly added launch icons as shown in Android menu
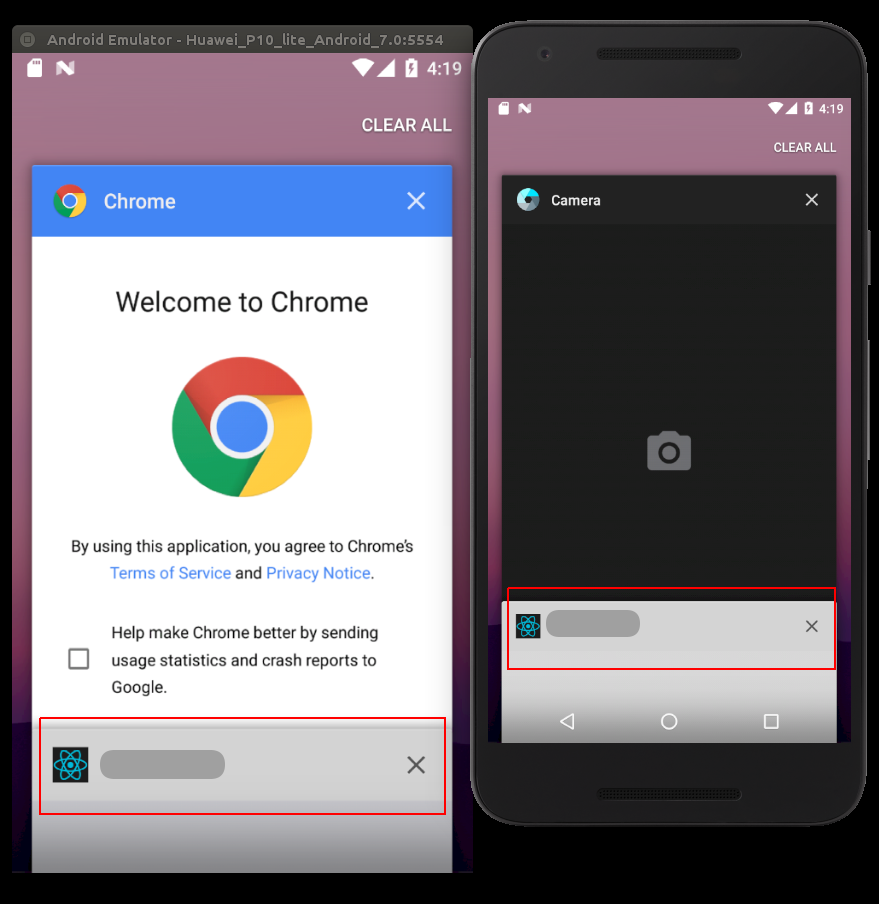
image 6: Sample application with newly added launch icon as shown in Android section with currently running apps
What do you think?
What do you think about this article? How do you change your launch icons? Offer your perspective and ideas in the comments section below.
If you enjoyed this article, feel free to hit that clap button 👏 to help others find it.
About me
Hi there, I’m Tasos; a software engineer that loves web and currently works a lot with React Native and React. I’m the co-founder of Coded Lines software agency where we undertake end-to-end mobile & web projects with emphasis to in-app marketing. If it sounds what you are looking for, please contact me here: tasos.maroudas@codedlines.com. Thanks for stopping by :)
Thanks
George Karboulonis for proof reading
메타데이터
- post_id
- 2e1f351496ed
- slug
- how-to-easily-configure-launch-icons-in-react-native-android-ios-2e1f351496ed
- url
- https://medium.com/react-native-training/how-to-easily-configure-launch-icons-in-react-native-android-ios-2e1f351496ed
- canonical_url
- https://medium.com/react-native-training/how-to-easily-configure-launch-icons-in-react-native-android-ios-2e1f351496ed
- author_url
- https://medium.com/@jeevium
- status
- ok
- fetched_at
- 2026-07-29 23:38:26