How to make a router on raspberry pi zero 2w?
You can turn a Raspberry Pi Zero 2 W into a little Wi-Fi router pretty easily — the main trick is:
How to make a router on raspberry pi zero 2w?
You can turn a Raspberry Pi Zero 2 W into a little Wi-Fi router pretty easily — the main trick is:
Use a USB-Ethernet adapter as WAN (internet in) and the Pi’s built-in Wi-Fi as an access point (Wi-Fi out), with NAT + DHCP in the middle.
I’ll assume you’re on Raspberry Pi OS Bookworm (the current default) and use the NetworkManager way, which is much simpler than the old hostapd + dnsmasq + iptables dance.
1. What you’ll need
Hardware
- Raspberry Pi Zero 2 W
- Good 5 V power supply
- microSD card (8 GB+)
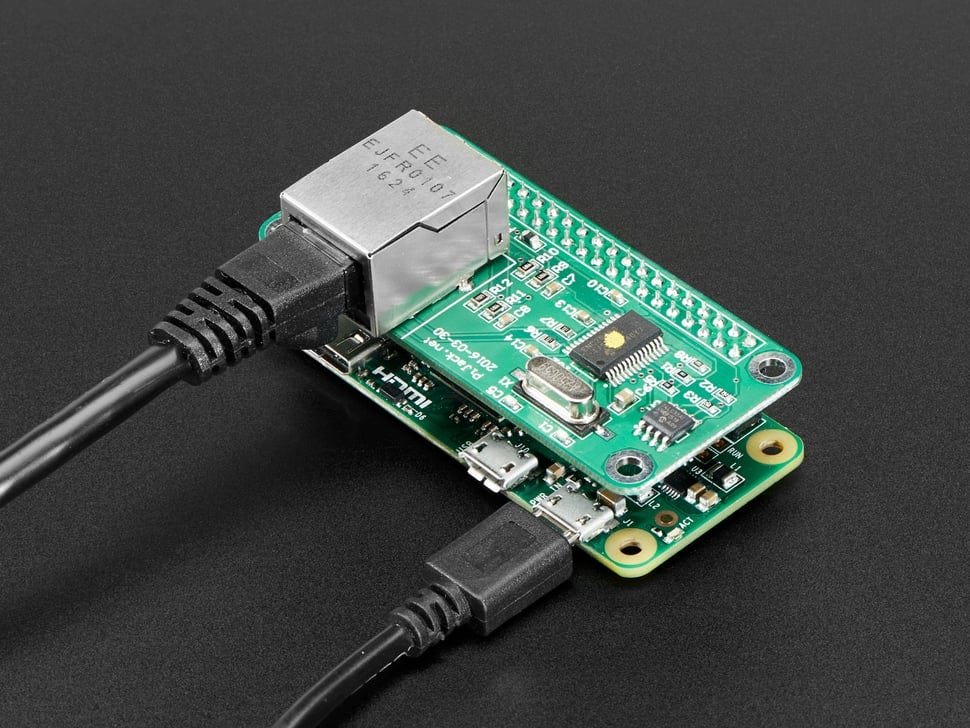
- micro-USB OTG adapter
- USB-Ethernet adapter (this will be your WAN connection)
- Ethernet cable to your existing router/modem
Result
eth0(USB-Ethernet) = uplink to the internetwlan0(on-board Wi-Fi) = Wi-Fi router/AP for your devices- Pi does routing + NAT + DHCP between the two.
2. Basic OS setup
- Flash Raspberry Pi OS Lite (Bookworm) onto the SD card using Raspberry Pi Imager.
- In Imager’s “advanced options”, enable SSH and set Wi-Fi only if you want initial access via Wi-Fi.
- Boot the Pi Zero 2 W.
- Plug in the USB-Ethernet adapter, connect it to your main router. It should get an IP via DHCP automatically.
- SSH into the Pi and update:
sudo apt update
sudo apt full-upgrade -y
Bookworm uses NetworkManager by default, so we’ll configure everything with nmcli.
3. Create the Wi-Fi router (AP) on wlan0 with NetworkManager
NetworkManager has a built-in “shared” mode: it automatically turns the interface into a NAT router + DHCP server for clients. That’s exactly what we want.
Run these commands on the Pi:
# 1) Create a Wi-Fi connection called "pi-router" in AP mode
sudo nmcli con add type wifi ifname wlan0 mode ap con-name pi-router ssid PiZeroRouter

# 2) Give it a static IP and enable shared/NAT mode
sudo nmcli con modify pi-router \
  802-11-wireless.band bg \
  ipv4.method shared \
  ipv4.address 192.168.50.1/24 \
  ipv6.method disabled

# 3) Set Wi-Fi password (WPA2)
sudo nmcli con modify pi-router wifi-sec.key-mgmt wpa-psk
sudo nmcli con modify pi-router wifi-sec.psk "VeryStrongPassword123"

# 4) Bring the AP up
sudo nmcli con up pi-router
What this does:
- Makes
**wlan0broadcastPiZeroRouter** with WPA2 passwordVeryStrongPassword123. - Gives the Pi IP 192.168.50.1/24 on that Wi-Fi network.
**ipv4.method shared** tells NetworkManager to:- turn on IP forwarding
- enable NAT from
wlan0to the default route (which will be viaeth0) - run a small DHCP server on
wlan0so clients get addresses like192.168.50.x.
At this point:
- Plug
eth0into your normal router. - Connect your phone/laptop to
PiZeroRouter. - You should get an IP in 192.168.50.x and have internet via the Pi.
You can check:
ip addr show wlan0
ip route
nmcli device
and from a client:
ping 192.168.50.1(Pi)ping 8.8.8.8(internet)- open a web page
4. Making it persistent & checking forwarding
NetworkManager remembers connections, so after reboot it should bring pi-router up automatically.
If you want to be extra sure that IP forwarding is enabled system-wide:
grep ip_forward /etc/sysctl.conf
# If it's commented, add:
echo "net.ipv4.ip_forward=1" | sudo tee -a /etc/sysctl.conf
sudo sysctl -p
(Usually ipv4.method shared handles this for you, but it’s nice to know where it lives. )
5. What if I want Wi-Fi in → Wi-Fi out?
On the Pi Zero 2 W you only have one built-in Wi-Fi radio (wlan0). Using it as both client and AP at the same time is possible in some chipsets / modes but:
- It’s fragile,
- You can’t do true bridging of a Wi-Fi client interface,
- Best practice is to route between two different interfaces (e.g. onboard Wi-Fi as AP and a USB Wi-Fi dongle as uplink).
If you want “Wi-Fi repeater” style:
- Use onboard Wi-Fi as AP (
wlan0, as above) - Add a USB Wi-Fi dongle (
wlan1) as upstream client using anothernmcliconnection, withipv4.method auto. - NetworkManager will then route/NAT from
wlan0(AP) towlan1(upstream).
6. Old-school alternative: hostapd + dnsmasq + iptables
If you ever want more manual control (or you disable NetworkManager), the classic method is:
- Install:
sudo apt install hostapd dnsmasq-
Give
wlan0a static IP (e.g. via/etc/dhcpcd.confon older releases). -
Configure dnsmasq as DHCP server on
wlan0. -
Configure hostapd with SSID, channel, WPA2 password, etc.
-
Enable IP forwarding and iptables MASQUERADE from
wlan0→eth0.
This is the approach in many older Raspberry Pi and Pi Zero W router tutorials.
But on Bookworm the NetworkManager method you just used is simpler and works nicely on a Zero 2 W.
메타데이터
- post_id
- 30fefbd06406
- slug
- how-to-make-a-router-on-raspberry-pi-zero-2w-30fefbd06406
- url
- https://medium.com/@pqshedy33/how-to-make-a-router-on-raspberry-pi-zero-2w-30fefbd06406
- canonical_url
- https://medium.com/@pqshedy33/how-to-make-a-router-on-raspberry-pi-zero-2w-30fefbd06406
- author_url
- https://medium.com/@pqshedy33
- status
- ok
- fetched_at
- 2026-06-29 22:44:20