Jetpack Compose Canvas to Bitmap: A Complete Guide
Have you ever drawn something beautiful on a Jetpack Compose Canvas and thought, “I wish I could save this as an image”? Whether you’re…
Jetpack Compose Canvas to Bitmap: A Complete Guide
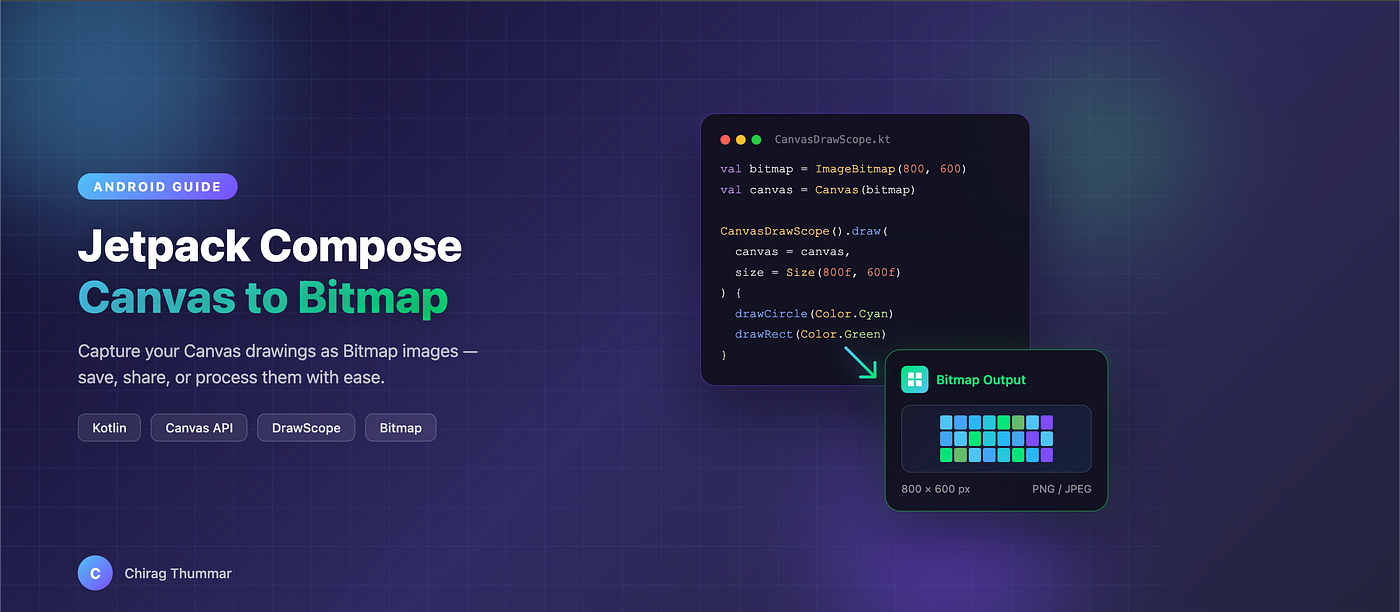
Have you ever drawn something beautiful on a Jetpack Compose Canvas and thought, “I wish I could save this as an image”? Whether you’re building a drawing app, generating charts, or creating custom graphics, converting your Canvas drawings into a Bitmap is a skill you’ll need.
In this article, I’ll walk you through every step — from understanding the core concepts to building a fully working Android app that draws on a Canvas and exports it as a PNG image.
What You’ll Learn
- How
CanvasDrawScopeworks under the hood - How to draw on an off-screen Canvas and capture it as
ImageBitmap - How to convert
ImageBitmaptoandroid.graphics.Bitmap - How to save the Bitmap as a PNG file to the device gallery
- A complete project you can clone and run
Why Canvas to Bitmap?
Jetpack Compose’s Canvas composable is fantastic for rendering custom graphics — circles, paths, text, gradients — you name it. But the Canvas composable renders directly to the screen. It doesn't give you a Bitmap object you can save or share.
That’s where CanvasDrawScope comes in. It lets you perform the exact same drawing operations, but target an off-screen area ImageBitmap instead of the screen.
Step 1: Understanding the Key Classes
Before we write code, let’s understand three essential classes.
ImageBitmap
ImageBitmap is Compose's multiplatform representation of a bitmap. Think of it as a blank sheet of pixels you can draw on.
val imageBitmap = ImageBitmap(width = 800, height = 600)Canvas
Canvas in androidx.compose.ui.graphics wraps the ImageBitmap and provides a drawing surface.
val canvas = Canvas(imageBitmap)CanvasDrawScope
CanvasDrawScope bridges the gap between the Compose drawing API (DrawScope) and the raw Canvas. It lets you use familiar functions like drawCircle(), drawRect(), and drawPath() to draw onto any Canvas — not just the one attached to a composable.
val drawScope = CanvasDrawScope()Step 2: Drawing onto an Off-Screen Bitmap
Here’s the core pattern. We create an ImageBitmap, wrap it in a Canvas, then use CanvasDrawScope to draw on it.
import androidx.compose.ui.geometry.Size
import androidx.compose.ui.graphics.Canvas
import androidx.compose.ui.graphics.Color
import androidx.compose.ui.graphics.ImageBitmap
import androidx.compose.ui.graphics.drawscope.CanvasDrawScope
import androidx.compose.ui.unit.Density
import androidx.compose.ui.unit.LayoutDirection

fun createBitmapFromCanvas(): ImageBitmap {
    val width = 800
    val height = 600
    // 1. Create a blank ImageBitmap
    val imageBitmap = ImageBitmap(width, height)
    // 2. Create a Canvas targeting this bitmap
    val canvas = Canvas(imageBitmap)
    // 3. Use CanvasDrawScope to draw
    val drawScope = CanvasDrawScope()
    drawScope.draw(
        density = Density(1f),
        layoutDirection = LayoutDirection.Ltr,
        canvas = canvas,
        size = Size(width.toFloat(), height.toFloat())
    ) {
        // Draw a background
        drawRect(color = Color(0xFF1A1A2E))
        // Draw a circle in the center
        drawCircle(
            color = Color.Cyan,
            radius = 150f,
            center = center
        )
        // Draw a smaller circle
        drawCircle(
            color = Color(0xFF7C4DFF),
            radius = 80f,
            center = center
        )
    }
    return imageBitmap
}
That’s it! The imageBitmap now contains your drawn graphics as pixel data.
Step 3: Converting ImageBitmap to Android Bitmap
Compose’s ImageBitmap and Android's android.graphics.Bitmap are different types. To save or share the image, you need the Android Bitmap. The conversion is straightforward:
import androidx.compose.ui.graphics.asAndroidBitmapval androidBitmap: android.graphics.Bitmap = imageBitmap.asAndroidBitmap()That one-liner handles the conversion. The asAndroidBitmap() extension function is available in androidx.compose.ui.graphics.
Step 4: Saving the Bitmap to Gallery
Now let’s save that Bitmap as a PNG file. On Android 10+ (API 29+), we use MediaStore:
import android.content.ContentValues
import android.content.Context
import android.graphics.Bitmap
import android.os.Build
import android.os.Environment
import android.provider.MediaStore
import android.widget.Toast
import java.io.IOException

fun saveBitmapToGallery(context: Context, bitmap: Bitmap, fileName: String) {
    val contentValues = ContentValues().apply {
        put(MediaStore.Images.Media.DISPLAY_NAME, "$fileName.png")
        put(MediaStore.Images.Media.MIME_TYPE, "image/png")
        if (Build.VERSION.SDK_INT >= Build.VERSION_CODES.Q) {
            put(
                MediaStore.Images.Media.RELATIVE_PATH,
                Environment.DIRECTORY_PICTURES + "/CanvasToBitmap"
            )
        }
    }
    val resolver = context.contentResolver
    val uri = resolver.insert(
        MediaStore.Images.Media.EXTERNAL_CONTENT_URI,
        contentValues
    )
    uri?.let {
        try {
            resolver.openOutputStream(it)?.use { outputStream ->
                bitmap.compress(Bitmap.CompressFormat.PNG, 100, outputStream)
            }
            Toast.makeText(context, "Saved to Gallery!", Toast.LENGTH_SHORT).show()
        } catch (e: IOException) {
            Toast.makeText(context, "Failed to save: ${e.message}", Toast.LENGTH_SHORT).show()
        }
    }
}
Step 5: Building the Complete UI
Let’s put everything together in a single composable screen. The user will see a preview of the Canvas drawing, and a button to save it.
@Composable
fun CanvasToBitmapScreen() {
    val context = LocalContext.current
// Hold the generated bitmap in state
    var imageBitmap by remember { mutableStateOf<ImageBitmap?>(null) }
    // Generate bitmap on first composition
    LaunchedEffect(Unit) {
        imageBitmap = createBitmapFromCanvas()
    }
    Column(
        modifier = Modifier
            .fillMaxSize()
            .background(Color(0xFF0F0C29))
            .padding(24.dp),
        horizontalAlignment = Alignment.CenterHorizontally,
        verticalArrangement = Arrangement.Center
    ) {
        Text(
            text = "Canvas to Bitmap",
            color = Color.White,
            fontSize = 28.sp,
            fontWeight = FontWeight.Bold
        )
        Spacer(modifier = Modifier.height(24.dp))
        // Show the live Canvas preview
        Canvas(
            modifier = Modifier
                .size(300.dp, 225.dp)
                .clip(RoundedCornerShape(16.dp))
        ) {
            drawRect(color = Color(0xFF1A1A2E))
            drawCircle(
                color = Color.Cyan,
                radius = 150f,
                center = center
            )
            drawCircle(
                color = Color(0xFF7C4DFF),
                radius = 80f,
                center = center
            )
        }
        Spacer(modifier = Modifier.height(16.dp))
        // Show the bitmap preview if available
        imageBitmap?.let { bitmap ->
            Text(
                text = "Bitmap Preview (${bitmap.width} x ${bitmap.height})",
                color = Color.Gray,
                fontSize = 14.sp
            )
            Spacer(modifier = Modifier.height(8.dp))
            Image(
                bitmap = bitmap,
                contentDescription = "Generated Bitmap",
                modifier = Modifier
                    .size(300.dp, 225.dp)
                    .clip(RoundedCornerShape(16.dp))
            )
        }
        Spacer(modifier = Modifier.height(24.dp))
        // Save button
        Button(
            onClick = {
                imageBitmap?.let { composeBitmap ->
                    val androidBitmap = composeBitmap.asAndroidBitmap()
                    saveBitmapToGallery(
                        context = context,
                        bitmap = androidBitmap,
                        fileName = "canvas_drawing_${System.currentTimeMillis()}"
                    )
                }
            },
            colors = ButtonDefaults.buttonColors(
                containerColor = Color.Cyan
            ),
            shape = RoundedCornerShape(12.dp),
            modifier = Modifier
                .fillMaxWidth()
                .height(50.dp)
        ) {
            Text(
                text = "Save to Gallery",
                color = Color.Black,
                fontWeight = FontWeight.Bold,
                fontSize = 16.sp
            )
        }
    }
}
Step 6: Drawing More Complex Graphics
The real power shows when you draw complex, dynamic graphics. Here’s a function that creates a more interesting bitmap with gradients, paths, and text:
fun createAdvancedBitmap(): ImageBitmap {
    val width = 1080
    val height = 1080
val imageBitmap = ImageBitmap(width, height)
    val canvas = Canvas(imageBitmap)
    val drawScope = CanvasDrawScope()
    drawScope.draw(
        density = Density(1f),
        layoutDirection = LayoutDirection.Ltr,
        canvas = canvas,
        size = Size(width.toFloat(), height.toFloat())
    ) {
        // Gradient background
        drawRect(
            brush = Brush.linearGradient(
                colors = listOf(
                    Color(0xFF0F0C29),
                    Color(0xFF302B63),
                    Color(0xFF24243E)
                )
            )
        )
        // Draw concentric circles
        val circleColors = listOf(
            Color(0x334FC3F7),
            Color(0x5500E676),
            Color(0x777C4DFF),
            Color(0xFFE040FB)
        )
        circleColors.forEachIndexed { index, color ->
            drawCircle(
                color = color,
                radius = (size.minDimension / 2) - (index * 100f),
                center = center
            )
        }
        // Draw diagonal lines
        for (i in 0..10) {
            drawLine(
                color = Color.White.copy(alpha = 0.1f),
                start = Offset(i * 108f, 0f),
                end = Offset(0f, i * 108f),
                strokeWidth = 2f
            )
        }
    }
    return imageBitmap
}
Step 7: Adding Text to Your Canvas Bitmap
Drawing text on a CanvasDrawScope requires using the native canvas, since DrawScope doesn't have a drawText method for raw strings. Here's how:
drawScope.draw(
    density = Density(3f), // Use 3f for high DPI
    layoutDirection = LayoutDirection.Ltr,
    canvas = canvas,
    size = Size(width.toFloat(), height.toFloat())
) {
    // ... draw your shapes first ...
// Access native canvas for text
    drawIntoCanvas { nativeCanvas ->
        val paint = android.graphics.Paint().apply {
            color = android.graphics.Color.WHITE
            textSize = 48f
            isAntiAlias = true
            textAlign = android.graphics.Paint.Align.CENTER
            typeface = android.graphics.Typeface.create(
                android.graphics.Typeface.DEFAULT,
                android.graphics.Typeface.BOLD
            )
        }
        nativeCanvas.nativeCanvas.drawText(
            "Hello from Canvas!",
            width / 2f,
            height / 2f,
            paint
        )
    }
}
Common Pitfalls and Tips
1. Density matters. If your bitmap looks pixelated, increase the Density value in drawScope.draw(). A density of 3f mimics an xxhdpi screen.
2. Don’t confuse the two Canvas classes. androidx.compose.ui.graphics.Canvas (Compose) and android.graphics.Canvas (Android) are different. Use the Compose one with CanvasDrawScope.
3. Memory considerations. Large bitmaps eat memory. A 4000x4000 ARGB_8888 bitmap uses ~64MB. Size your bitmaps appropriately.
4. Thread safety. Create bitmaps off the main thread for large sizes. Use withContext(Dispatchers.IO) in a coroutine for the save operation.
5. ImageBitmap vs Bitmap. Use imageBitmap.asAndroidBitmap() to convert from Compose to Android, and bitmap.asImageBitmap() for the reverse.
🍴Check out the complete code on my **GitHub** Project. ✍️ Hope this project helps you. Hope you enjoy coding Jetpack Compose 😁. Don’t forget to share 📨 and clap 👏.
Any Suggestions are welcome. If you need any help or have questions for Code Contact Me. You can follow me on **LinkedIn**, ***StackOverflow and [Twitter](https://twitter.com/chiragthummar22)* For More Updates 🔔
Happy Compose !! 🚀
Happy Compose !! 🚀
메타데이터
- post_id
- 32649d3acbb4
- slug
- jetpack-compose-canvas-to-bitmap-a-complete-guide-32649d3acbb4
- url
- https://medium.com/@chiragthummar16/jetpack-compose-canvas-to-bitmap-a-complete-guide-32649d3acbb4
- canonical_url
- https://medium.com/@chiragthummar16/jetpack-compose-canvas-to-bitmap-a-complete-guide-32649d3acbb4
- author_url
- https://medium.com/@chiragthummar16
- status
- ok
- fetched_at
- 2026-07-13 06:23:13