Databricks Community Edition Upgrade To Paid Plan AWS Setup
How to sign up for the free Databricks Community Edition, upgrade to the paid plan using AWS, and monitor Databricks and AWS costs
Databricks Community Edition Upgrade To Paid Plan AWS Setup
How to sign up for the free Databricks Community Edition, upgrade to the paid plan using AWS, and monitor Databricks and AWS costs
Photo by Joshua Sortino on Unsplash
Databricks has a free community edition and different paid plans. The paid plans can be integrated with AWS, Microsoft Azure, or Google Cloud. This tutorial covers:
- How to sign up for the free Databricks Community Edition?
- How to upgrade to the paid plan using AWS?
- How to monitor Databricks and AWS costs?
To learn about how to sign up for the 14-day full trial directly and set up AWS, please refer to my tutorial Databricks AWS Account Setup.
Resources for this post:
- Video tutorial for this post on YouTube
- More video tutorials on Databricks and PySpark
- More blog posts on Databricks and PySpark
Let’s get started!
Step 1: Databricks Free Community Edition Sign Up
To sign up for the Databricks free community edition, go to https://community.cloud.databricks.com and click the blue Sign Up.
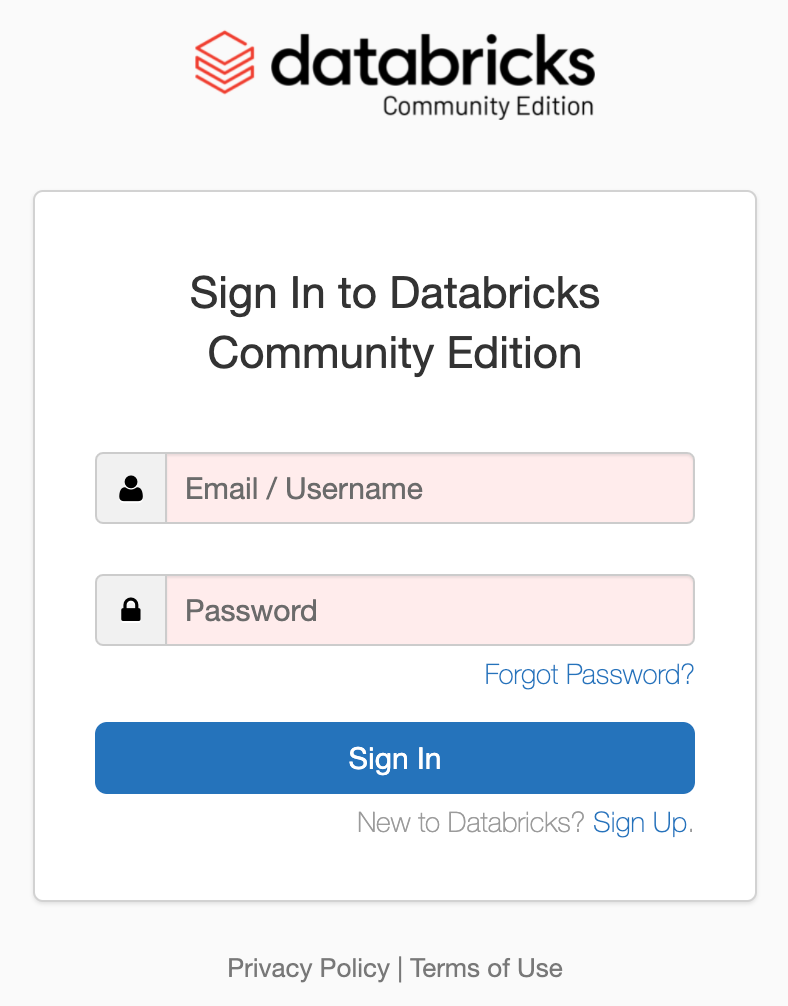
Databricks Free Community Edition Sign Up — Image from GrabNGoInfo.com
Fill out the form and click the orange GET STARTED FOR FREE button.
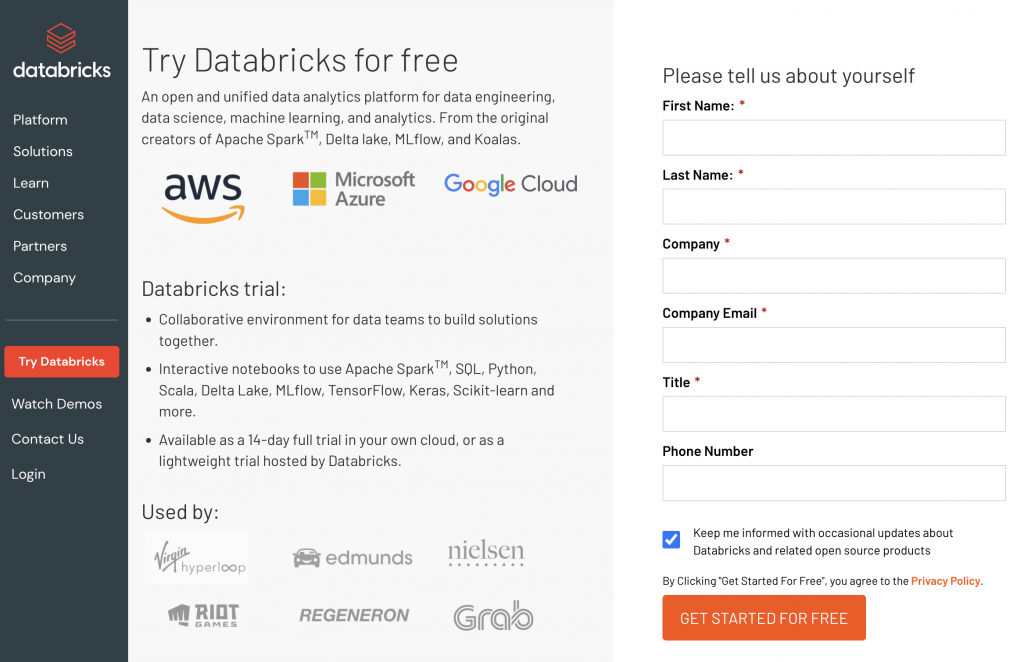
Try Databricks form — Image from GrabNGoInfo.com
On the Choose a cloud provider page, click Get started with Community Edition.

Databricks sign up for community edition — Image from GrabNGoInfo.com
A window for verification will pop up. Click Verify. After finishing the verification, you will be asked to validate your email.

Databricks sign up email verification — Image from GrabNGoInfo.com
An email titled “Welcome to Databricks! Please verify your email address” from Databricks will be sent to your email. Clicking the link in the email brings you to a page to set your password.

Databricks sign up community edition reset password — Image from GrabNGoInfo.com
After setting the password, you will see the Databricks homepage, and the free community edition is ready to use!
Step 2: Databricks Paid Plans Selection
Databricks free community edition has most of the commonly used features, but there are some features only available for the paid plans. For example, only the paid plans have the workspace, cluster, pool, jobs, and table access control.

Databricks only the paid plans have the workspace, cluster, pool, jobs, and table access control — Image from GrabNGoInfo.com
When there is a need to use the features that are not available in the community edition, we can upgrade to a paid plan.
To switch to a paid plan, click Settings, then Manage Account on the lower-left corner of the page.

Databricks Manage Account — Image from GrabNGoInfo.com
We need to sign in again to manage the account.

Databricks sign in to manage the account — Image from GrabNGoInfo.com
After logging in the account, it’s time to select a subscription plan.
- Standard plan provides a basic platform for data analytics and machine learning workloads. It does not have access to Databricks SQL, autoscaling, and role-based access control.
- Premium plan has access to Databricks SQL, cloud native security, and autoscaling. It’s the most popular plan.
- Enterprise plan provides advanced compliance and security for mission critical data. It’s commonly used by large companies.
We selected the premium plan because it has all the commonly used functionalities for data science and machine learning projects.

Databricks select a subscription plan — Image from GrabNGoInfo.com
Clicking the blue Continue button starts the 14-day free trial. The rate after the free trial is available by clicking the blue list rates.
Step 3: Databricks Workspace Setup
After clicking the blue Continue button, we can see a page about account, workspace, and tools structure.

Databricks account, workspace, and tools structure — Image from GrabNGoInfo.com
After clicking the blue Get started button, we need to confirm:
- An AWS account has been created.
- We have the password for the newly created Databricks account.
- We have a name in mind for the workspace.

Databricks workspace requirement — Image from GrabNGoInfo.com
If you have all three items available, click the blue Confirm button.
Now it’s time to set up the first workspace! Give your workspace a name and select an AWS region from the dropdown list.

Databricks give your workspace a name and select an AWS region — Image from GrabNGoInfo.com
After clicking the blue “Start quickstart” button, a Databricks workspace page is open.

Databricks workspace page — Image from GrabNGoInfo.com
Step 4: AWS Acount Setup
A new tab is open for logging in AWS console. We will work on the AWS setup, then return to the Databricks workspace page.

Sign in AWS console — Image from GrabNGoInfo.com
After logging in AWS account, we will create a stack. Most information for creating the stack has been pre-populated. The Databricks account password needs to be entered.

Create a stack for Databricks — Image from GrabNGoInfo.com
Under Workspace configuration, if the Data bucket name is not pre-populated, enter star (* ) to access data in any of your S3 buckets.

Data bucket name — Image from GrabNGoInfo.com
Scroll to the end of the page, under Capabilities, check “I acknowledge that AWS CloudFormation might create IAM resources with custom names.” and click the orange Create stack button.

Create stack — Image from GrabNGoInfo.com
The status shows CREATION_IN_PROGRESS.

Stack creation in progress — Image from GrabNGoInfo.com
When the stack creation is completed, the status changes to CREATE_COMPLETE.

Stack creation complete — Image from GrabNGoInfo.com
Step 5: Databricks Workspace Login
Now let’s return to the Databricks workspaces page. We can see that the workspace called “demo” is created.

Databricks workspace created— Image from GrabNGoInfo.com
Clicking the blue word Open will open a new tab for logging in Databricks.

Databrick log in — Image from GrabNGoInfo.com
We will see the Databricks homepage after entering the username and password. On the upper right corner of the page, there is a message “Free trial ends in 14 days. Continue with a pay-as-you-go subscription by providing your billing information.”

Databricks homepage — Image from GrabNGoInfo.com
Databricks is successfully connected to the AWS account for the premium plan now!
Step 6: Verify Current Plan and Add Billing Information
To verify the plan selection and AWS account connection, click Settings, then Manage Account on the lower-left corner of the page.

Databricks manage account— Image from GrabNGoInfo.com
We need to sign in again to manage the account.

Databricks login — Image from GrabNGoInfo.com
Go to the Settings gear icon on the left-hand side, we can see that the current plan is Premium. We can add billing information here.

Databricks Subscription and Billing— Image from GrabNGoInfo.com
Step 7: Track Costs For DBU and AWS
To check the DBU usage and costs, click the usage icon on the left-hand side.

Databricks DBU usage and cost— Image from GrabNGoInfo.com
The AWS costs need to be monitored in the AWS account. Please follow my previous tutorial on AWS Cost Control Using Budget Monitor Alert to monitor the AWS cost.
Summary
In this tutorial, you learned:
- How to sign up for the free Databricks Community Edition?
- How to upgrade to the paid plan using AWS?
- How to monitor Databricks and AWS costs?
More tutorials are available on GrabNGoInfo YouTube Channel and GrabNGoInfo.com.
[embed]Databricks Upgrade Community Edition to Paid Plan — GrabNGoInfo.com
Recommended Tutorials
메타데이터
- post_id
- 33c00db7f91e
- slug
- databricks-community-edition-upgrade-to-paid-plan-aws-setup-33c00db7f91e
- url
- https://pub.towardsai.net/databricks-community-edition-upgrade-to-paid-plan-aws-setup-33c00db7f91e
- canonical_url
- https://pub.towardsai.net/databricks-community-edition-upgrade-to-paid-plan-aws-setup-33c00db7f91e
- author_url
- https://medium.com/@AmyGrabNGoInfo
- status
- ok
- fetched_at
- 2026-07-09 05:26:43