How to Use Cascade on Lumera: A Complete Guide to Decentralized File Storage
Decentralized storage is becoming a core part of Web3 — and Lumera’s Cascade makes it incredibly simple to store and share files on-chain.
How to Use Cascade on Lumera: A Complete Guide to Decentralized File Storage
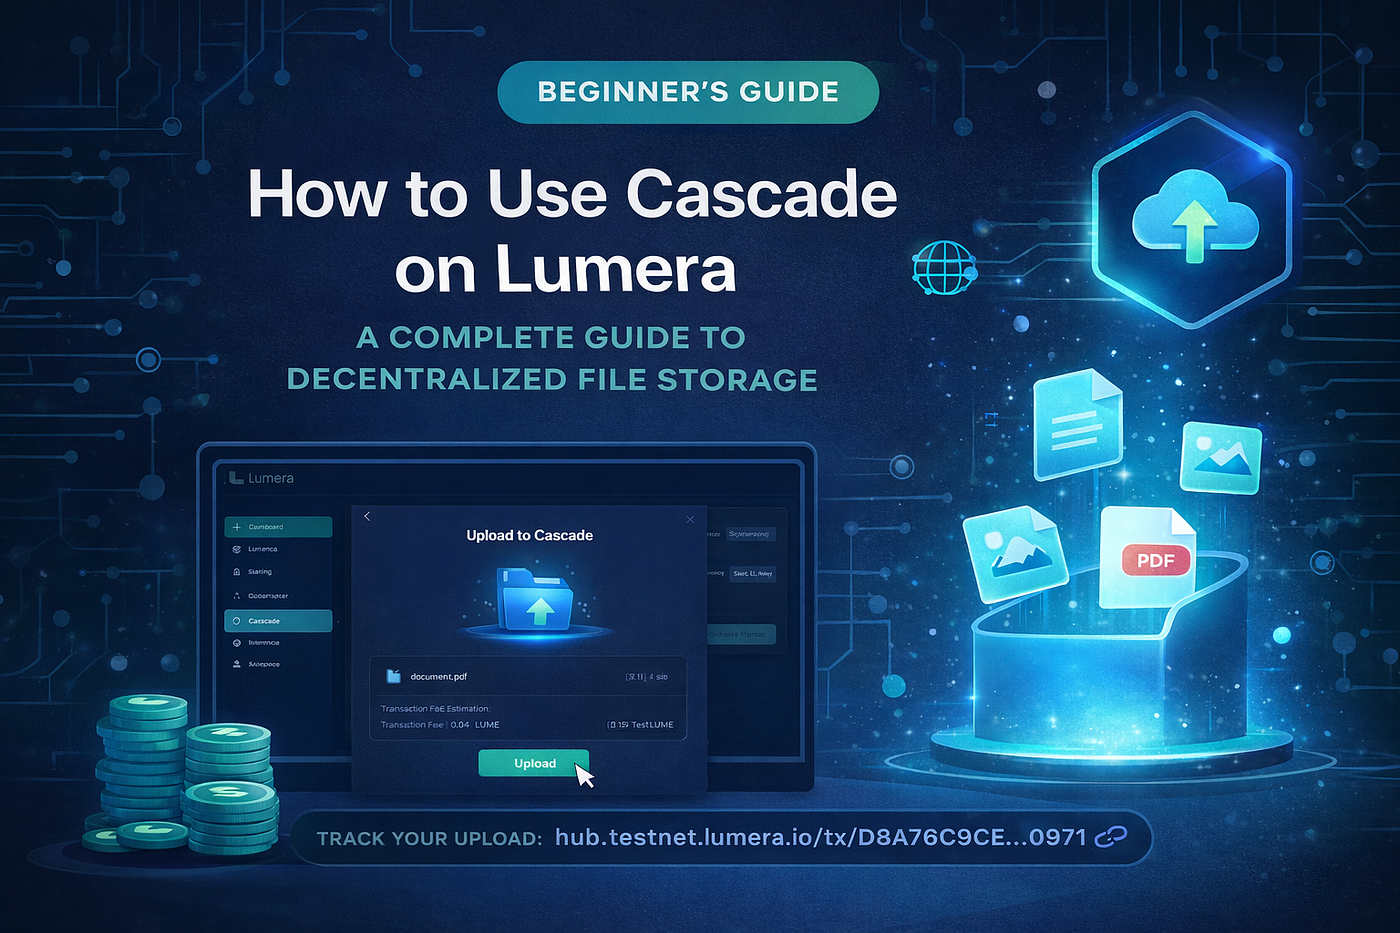
Decentralized storage is becoming a core part of Web3 — and Lumera’s Cascade makes it incredibly simple to store and share files on-chain.
In this guide, you’ll learn exactly how to use Cascade step-by-step, even if you’re a beginner.
What is Cascade?
Cascade is a feature within Lumera Hub that allows you to upload and store files on-chain in a decentralized way.
Instead of relying on centralized servers, your data becomes:
- 🔐 Secure
- 🌍 Publicly accessible
- 🚫 Censorship-resistant
Each uploaded file generates a transaction record and a shareable link.
Why Use Cascade?
Here’s why Cascade stands out:
- No centralized storage risks
- Permanent and verifiable uploads
- Easy sharing via transaction links
- Fully integrated with Lumera Hub
It’s perfect for proofs, public files, and on-chain data storage.
Step 1: Access Lumera Hub
Go to: 👉 https://hub.testnet.lumera.io
Make sure your wallet is connected before proceeding.
Step 2: Connect Your Wallet
- Click “Connect Wallet”
- Choose Keplr or Leap
- Approve the connection
Once connected, you’re ready to use Cascade.
Step 3: Navigate to Cascade
From the sidebar menu:
➡️ Click “Cascade”
This will open the file upload interface.
Step 4: Upload Your File
- Click Upload
- Select the file you want to store
- Review the upload details
- Confirm the transaction in your wallet
💡 You may need a small amount of LUME for transaction fees.
Step 5: Confirm & Store On-Chain
After confirming:
- Your file is uploaded to the network
- A transaction hash is generated
- The file becomes publicly accessible
You now have proof of storage on-chain ✅
Step 6: Access Your File
Once uploaded, you’ll receive a link like this:
👉 https://hub.testnet.lumera.io/tx/[your_tx_hash]
This link allows anyone to verify and access your file.
Step 7: Track Your Activity
In the dashboard, you can monitor:
- Recent uploads
- Transaction history
- Storage activity
Everything is transparent and verifiable.
Use Cases for Cascade
Here are a few practical ways to use it:
- 📄 Store public documents
- 🧾 Save proofs or receipts on-chain
- 🖼 Upload NFTs metadata or assets
- 📊 Share research or datasets
- 🔗 Create permanent public links
Tips for Best Use
- Keep files optimized (avoid very large sizes)
- Double-check before confirming uploads
- Save your transaction link for easy access
- Use for public or non-sensitive data
Why Cascade Matters
Most storage solutions are fragmented or centralized.
Cascade simplifies everything by combining:
- Storage
- Verification
- Accessibility
All directly within Lumera Hub.
Final Thoughts
Cascade is one of the easiest ways to experience decentralized storage without complexity.
With just a few clicks, you can upload files, generate proof, and share them with the world — all on-chain.
Try it yourself 👇 https://hub.testnet.lumera.io
메타데이터
- post_id
- 3661fae6dc32
- slug
- how-to-use-cascade-on-lumera-a-complete-guide-to-decentralized-file-storage-3661fae6dc32
- url
- https://medium.com/@7Klinik/how-to-use-cascade-on-lumera-a-complete-guide-to-decentralized-file-storage-3661fae6dc32
- canonical_url
- https://medium.com/@7Klinik/how-to-use-cascade-on-lumera-a-complete-guide-to-decentralized-file-storage-3661fae6dc32
- author_url
- https://medium.com/@7Klinik
- status
- ok
- fetched_at
- 2026-08-02 19:11:32



