Building a Budget-Friendly Mini Home Server with Intel N100 Alder Lake
A Guide to Setting Up and Running a Low-Cost, Powerful Bare Metal Server with VM Capability
Building a Budget-Friendly Mini Home Server with Intel N100 Alder Lake
A Guide to Setting Up and Running a Low-Cost, Powerful Bare Metal Server with VM Capability
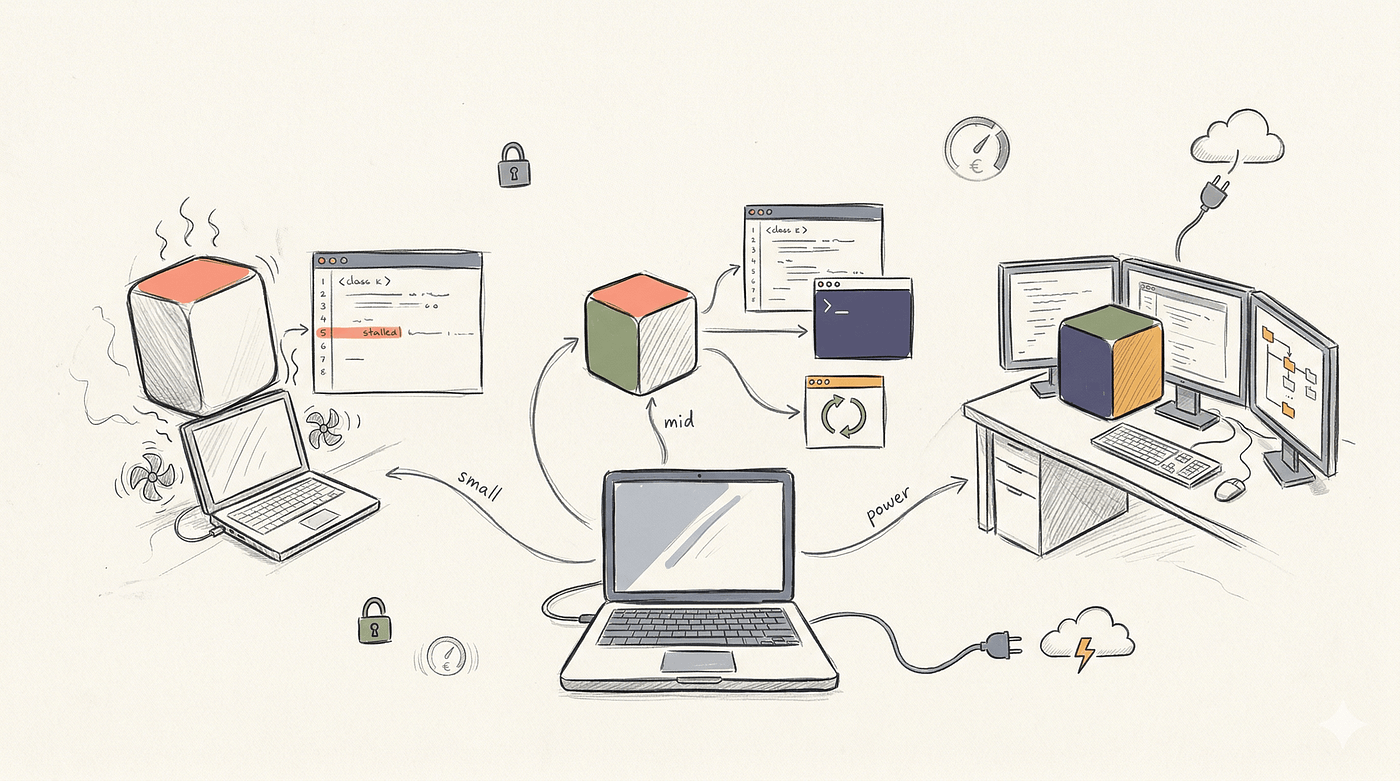
How to find a powerful hardware without breaking the bank
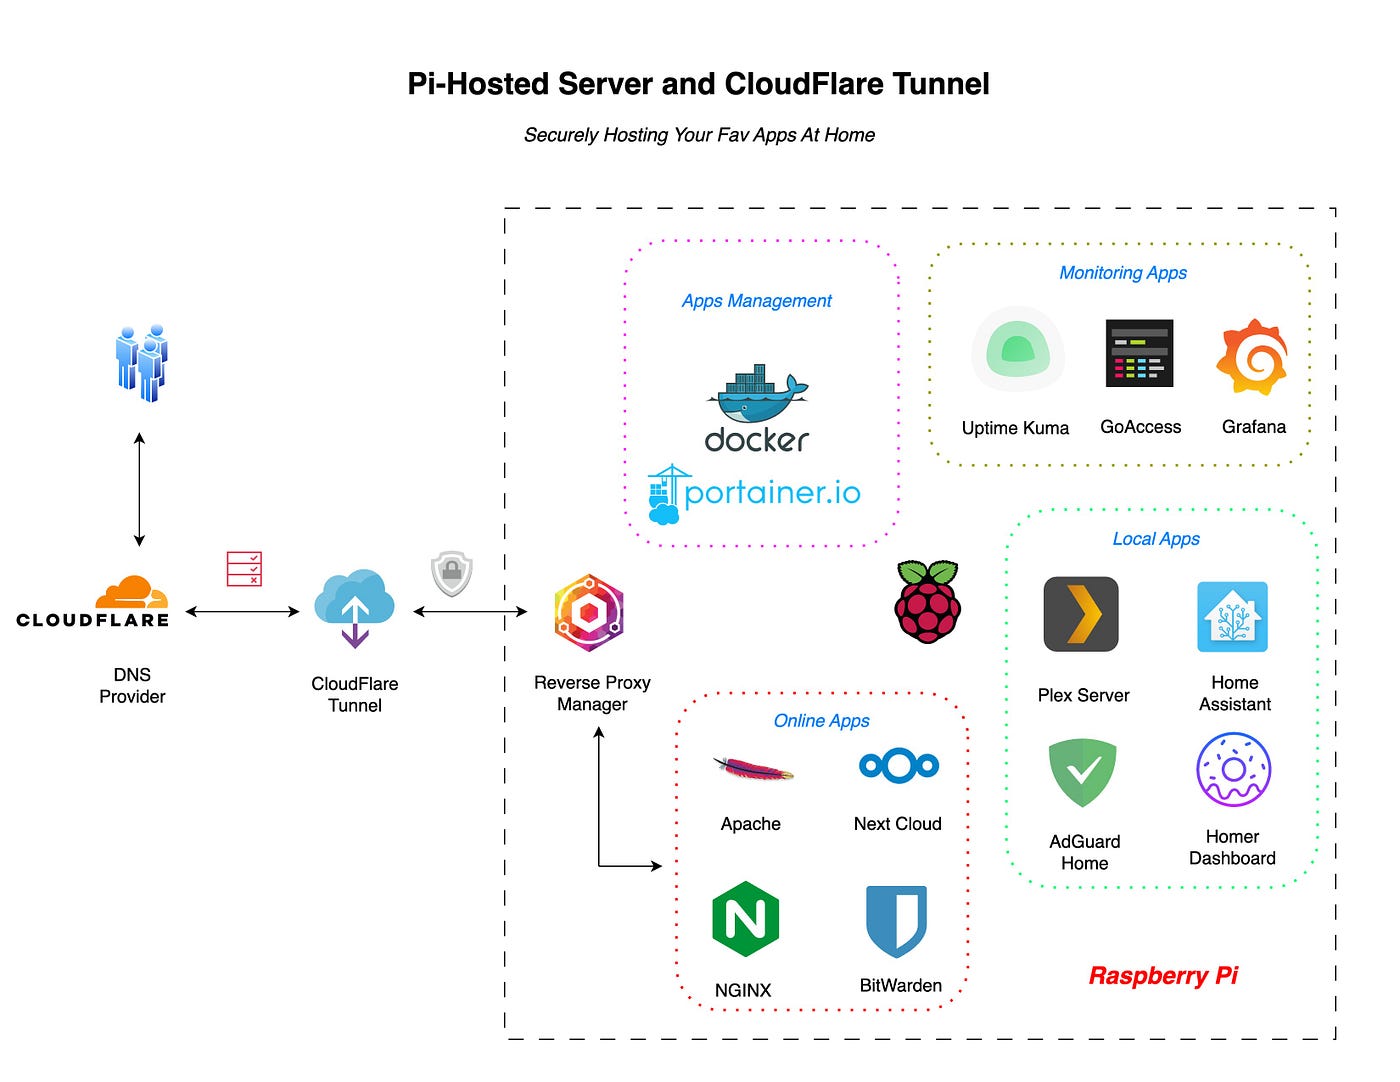
I’ve been using my Raspberry Pi 4 for a while now, and it’s been a fantastic experience. I still highly recommend it to anyone looking to learn the basics and gain hands-on experience with Linux, Docker, programming, and self-hosting.

However, as I sought to explore different Linux distributions and run specific applications on Windows, I encountered limitations with the Raspberry Pi. Additionally, the device lacks the power needed to handle heavy tasks concurrently, such as re-indexing Plex and browsing through thousands of files stored in NextCloud.
With the recent launch of the Raspberry Pi 5, my enthusiasm for owning and operating a new server based on the Raspberry Pi wanes, as the new device comes with a higher price tag while still facing technical limitations. After exploring various hardware options, I found the recently launched Intel Alder Lake N100 to be a compelling choice:
- It offers excellent affordability, with the entire mini hardware set costing just about $150, comparable to the price of a full Raspberry Pi 5 set.
- The N100 CPU boasts significantly more power than the Raspberry Pi 5 while operating at a relatively low TDP of just 6W. Additionally, the Intel x86–64 architecture supports VMs with iGPU passthrough capability.
- The N100 chip even supports DDR5 RAM with a maximum capacity of 32GB, far surpassing the 8GB DDR4 limit of the Raspberry Pi 5.
- Some N100 sets feature dual LAN ports clocked at 2.5G, ideal for faster file transfers and providing connection redundancy.
- N100 often comes bundled with a motherboard that fully supports NVMe Gen 3+ storage, offering much higher read/write speeds compared to the Raspberry Pi 5’s SD card, USB 3, or even PCIe solutions.

Hardware options
There are several budget-friendly options available for Intel N100 setups, such as this mini computer from Amazon:
Alternatively, some users may opt to build their N100 setup on a mini ITX motherboard and add ample storage for RAID configurations.”
[embed]
For me, simplicity was key. I opted for a bare-bones setup and separately purchased an SSD and RAM during Black Friday, taking advantage of some great deals.

The unit is incredibly portable, boasting low heat generation and a silent fan. Under typical conditions, power consumption remains under 10W.

Options for operating systems
For many common users, their primary usage of a mini desktop involves connecting to external 4K monitors while running Windows 10 or 11 for daily tasks. However, in my case, I opted to transform mine into a headless home server capable of running multiple virtual machines (VMs).
I explored various scenarios, including Proxmox, running a plain Debian/Ubuntu setup with a VM application on top, and dedicated NAS/home server operating systems like TrueNAS or Unraid.
Each scenario presented its own learning curve, requiring significant time for study and fine-tuning, particularly in understanding hardware limitations and setting up passthrough for optimal VM performance, especially for graphics-intensive tasks such as hardware rendering and decoding.
Unraid is my choice
After extensive hands-on experience and exploration, I ultimately decided to go with Unraid. The platform offered me a seamless experience, with a well-built ecosystem and a generous 45% discount, making it a cost-effective solution. With my hardware configuration supporting only around 2 VMs and a dozen containers, Unraid’s features aligned perfectly with my needs.
For other users seeking a free and open-source option, TrueNAS is also a viable choice.

Setting up a new server can indeed be time-consuming, involving software installations, backup restorations, and the configuration of scheduled tasks.
How I organize my mini home server
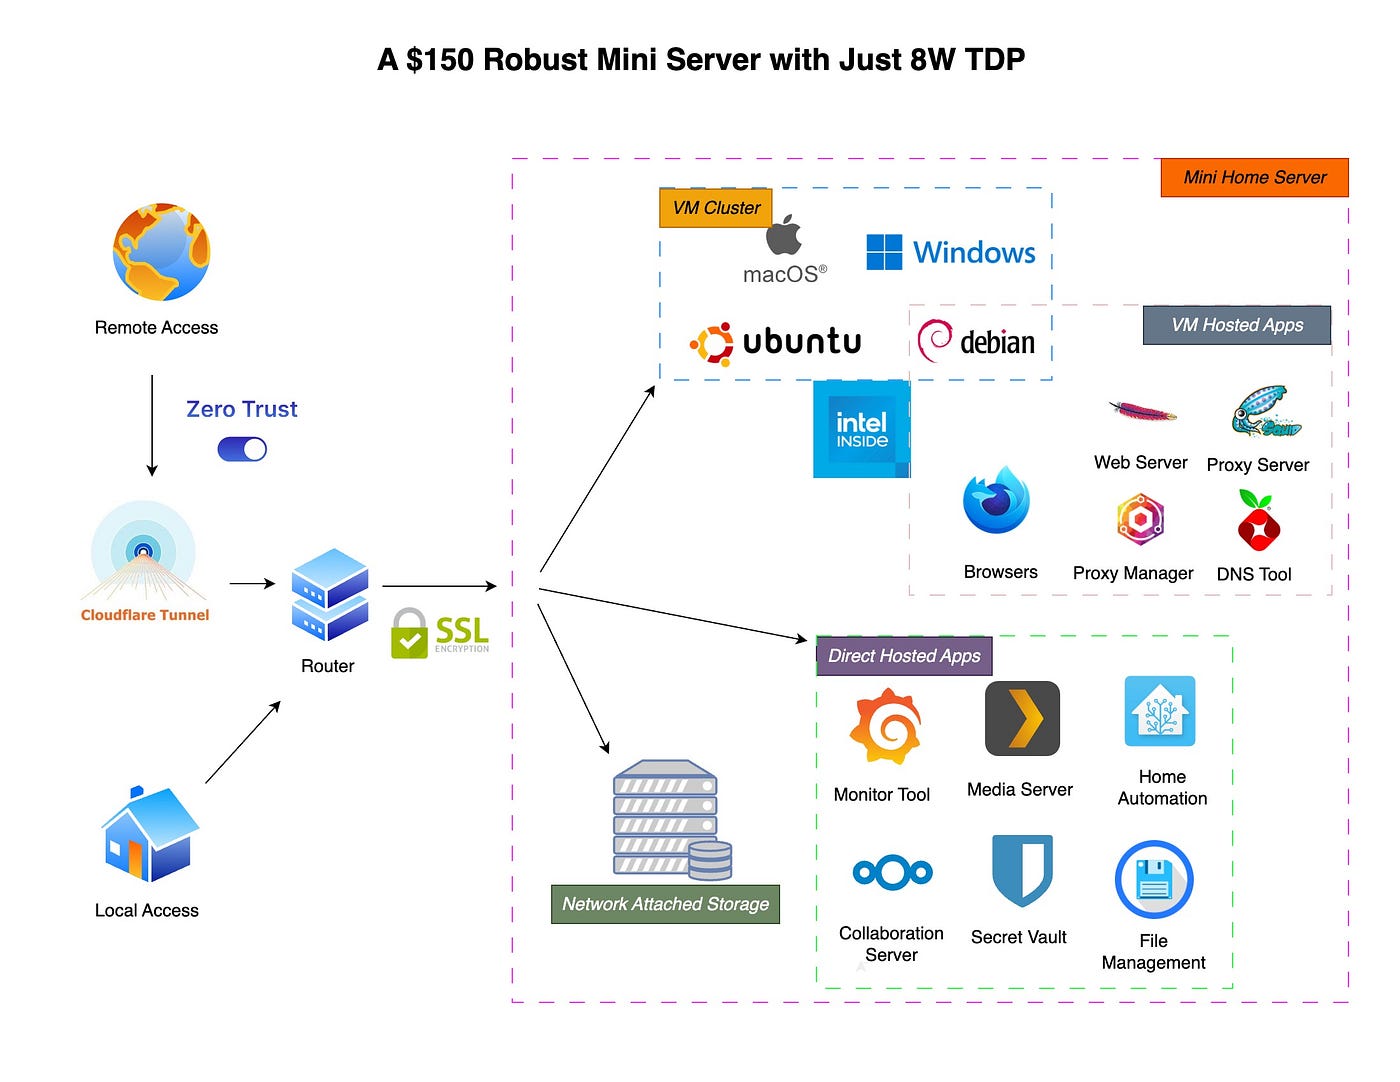
With my new server, I’ve opted to run all applications entirely as Docker containers and mostly within VMs. While Unraid offers this capability, it’s not as optimized for VMs as Proxmox.
Despite the underlying hardware’s power, I’ve found it more efficient to run heavy tasks like NextCloud and Plex/Jellyfin directly on the host. For the remaining applications, I run them as Docker containers on a lightweight Linux VM, particularly headless Debian, ensuring a streamlined and efficient setup.
A valuable resource for learning about Unraid OS is the Spaceinvader One YouTube channel. It provides comprehensive tutorials ranging from basic setup to advanced features, making it an excellent resource for users at all skill levels.
What I have learned so far
It’s important to note that Unraid is primarily designed for NAS (Network Attached Storage) servers, offering support for RAID configurations, cache reading/writing, and network file sharing. Built on Slackware, Unraid simplifies the user experience by restricting access to certain command-line interface (CLI) functions, thus minimizing the risk of accidental system modifications. However, users can unlock additional functionality by installing plugins.
Unraid boasts a vast array of ready-to-use applications available in its app store, many of which are Docker containers. These containers are incredibly easy to deploy and run without the need to modify the underlying operating system, further enhancing Unraid’s user-friendly approach to server management.

My personal tips for secured and fast access to home server
I won’t delve deeply into the software aspect, as I’ve already covered it in a previous post about my Raspberry Pi. However, I’d like to highlight three important lessons I’ve learned with my new home server.
- Seamless Remote Access with Cloudflare Zero Trust Warp App: Pairing the Cloudflare Zero Trust Warp app with the Cloudflare Tunnel installed on the host or VMs enables secure remote access to your home server from anywhere in the world. This setup is not only free but also remarkably easy to set up.
- Utilizing VMs with home IP: By connecting to my home network via VPN, I can effortlessly access my VMs. This proves invaluable while traveling, as I can securely perform various tasks using my home IP address, bypassing geo-restrictions. To ensure uninterrupted access, I always prepare a couple of standby VMs. Surprisingly, my tiny home server supports a wide range of operating systems, including MacOS.

- Optimized Remote Desktop Experience: For a smoother user experience, I recommend using NoMachine for Linux VMs and Microsoft Remote Desktop for Windows VMs. Leveraging hardware passthrough capabilities, I successfully installed an Intel iGPU, enabling me to enjoy light gaming and seamless 4K YouTube video playback on a Windows 10 Tiny version.

Final Thoughts
Setting up my new home server was a journey that took me a couple of weeks, but it was a significant leap forward in my understanding of VMs, resource sharing, and various Linux server operating systems. Through this process, I gained valuable insights and knowledge that have enriched my understanding of server management.
I hope that by sharing my experience, others who are seeking to build a budget-friendly yet powerful mini home server with VM capability will find it helpful. May this guide serve as a stepping stone for anyone embarking on a similar journey into the realm of programming and self-hosted.
메타데이터
- post_id
- 392d4bb440f3
- slug
- building-a-budget-friendly-mini-home-server-with-intel-n100-alder-lake-392d4bb440f3
- url
- https://medium.com/@casysops/building-a-budget-friendly-mini-home-server-with-intel-n100-alder-lake-392d4bb440f3
- canonical_url
- https://medium.com/@casysops/building-a-budget-friendly-mini-home-server-with-intel-n100-alder-lake-392d4bb440f3
- author_url
- https://medium.com/@casysops
- status
- ok
- fetched_at
- 2026-07-24 08:52:30