Deploying AI Agents as Serverless Functions on AWS Lambda
Important: This guide is designed for developers who are ready to move past basic LLM prompts. I will be using a custom-built agent…
Deploying AI Agents as Serverless Functions on AWS Lambda
Important: This guide is designed for developers who are ready to move past basic LLM prompts. I will be using a custom-built agent repository https://github.com/Rehman110-F/JobHunting-Agent .Note: This is not an introductory tutorial; a solid understanding of [Python/Node/Docker] and agentic workflows is required to follow along.
1.Introduction:
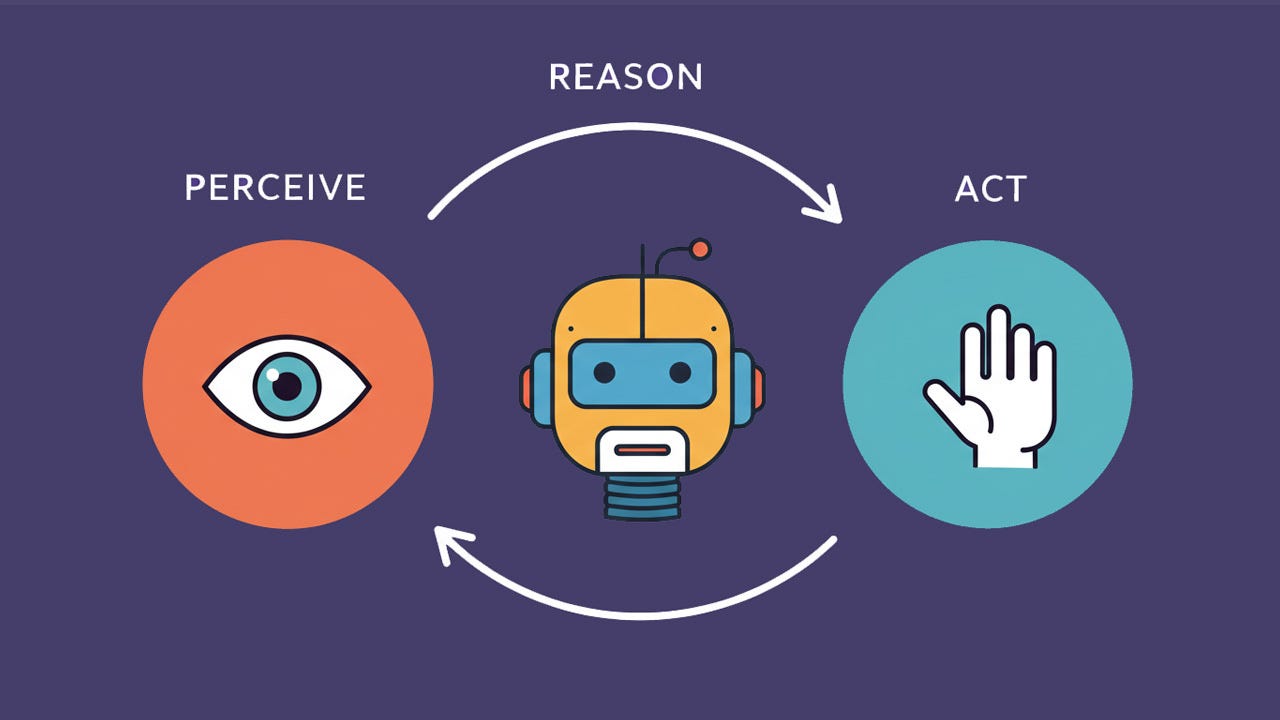
Agents functioning
What are AI Agents?
AI agents are autonomous software systems that don’t just “chat” — they act. Unlike traditional AI models that respond to prompts with text, agents are designed to pursue goals by reasoning, planning, and executing multi-step tasks independently.
At their core, AI agents are “goal-achievers” rather than just “task-executors”. They typically consist of:
- A “Brain” (LLM): Uses Large Language Models to process natural language and reason through problems.
- Planning Module: Breaks down a high-level goal into smaller, manageable subtasks.
- Memory: Retains short-term context (recent interactions) and long-term knowledge (past successes/failures) to improve over time.
- Tools (Actuators): Interfaces with external software, APIs, or databases to take actual digital or physical actions.
Why are They Needed?
Traditional software and standard chatbots have limitations that agents solve:
- Complexity Handling: Standard bots break down when faced with unpredictable, multi-step scenarios. Agents can “think” and adapt their plan if a step fails.
- Autonomy: They reduce the need for constant human oversight by initiating actions and making decisions based on predefined objectives.
- Bridging Systems: Agents can connect fragmented tools (like CRMs, email, and calendars) to complete an end-to-end workflow that otherwise requires manual human effort.
How are They Helpful?
Agents provide strategic value across various industries by:
- Boosting Productivity: Automating repetitive, labor-intensive tasks like code reviews, document synthesis, or lead qualification.
- 24/7 Proactive Support: Unlike reactive bots, agents can monitor systems and proactively resolve issues — for example, a “logistics agent” might see a weather delay and automatically reroute a shipment before it’s stuck.
- Personalization at Scale: They learn from individual user behaviors to offer tailored recommendations or unique learning paths in education.
- Informed Decision-Making: They can analyze massive datasets in real-time to provide insights for complex scenarios like credit underwriting or supply chain risk assessment.
2.Agent setup
Follow the setup in READ.md given at repository https://github.com/Rehman110-F/JobHunting-Agent
Before moving install the Docker in your systems. And also create the free tier account at the AWS(follow any google tutorial).
1. The Local Setup
Before moving to the cloud, ensure your project is “Cloud-Ready.”
- Add Mangum: Since AWS Lambda doesn’t run a continuous server like Uvicorn, install
mangumand addhandler = Mangum(app)to yourmain.py. Already done. - The
/tmpRule: AWS Lambda has a read-only file system. If your agent saves PDFs or resumes, ensure your code points to the/tmpdirectory.Already done.
Step 1: Containerizing the Agent
We use Docker to package our Python environment, libraries, and code into a single image. In your project root, run: Install the Docker in your system and then back to tutorial.
docker build --provenance=false -t job-hunter-api .Note: The
--provenance=falseflag is essential. It ensures the image manifest is compatible with AWS Lambda's older requirements.
Step 2: Creating the ECR “Warehouse”
Amazon Elastic Container Registry (ECR) is where your Docker image will live in the cloud.
- Log into your AWS Console and search for ECR.
- Click Create repository.
- Set visibility to Private and name it
job-hunter-api. - Once created, click on the repository name. Look for the “View push commands” button in the top right — this is your cheat sheet for the next steps!
Step 3: Connecting Your Terminal to AWS
Your terminal needs permission to “talk” to your AWS account.
- Get Keys: Go to profile tab at top left corner then go to Security Credentials in the AWS Console, scroll to Access Keys, and create a new set for the “CLI” use case. Download the CSV file!
- Configure: Run the following command in your terminal:
aws configure- Provide your Access Key, Secret Key, and set your region to
us-east-1 and file to json.
Step 4: Pushing the Image to the Cloud
Now, execute the “Handshake” and upload your image. Replace [ACCOUNT_ID] in the commands with your 12-digit AWS Account ID.
Login to ECR:
aws ecr get-login-password --region us-east-1 | docker login --username AWS --password-stdin [ACCOUNT_ID].dkr.ecr.us-east-1.amazonaws.comTag and Push:
docker tag job-hunter-api:latest [ACCOUNT_ID].dkr.ecr.us-east-1.amazonaws.com/job-hunter-api:latest
docker push [ACCOUNT_ID].dkr.ecr.us-east-1.amazonaws.com/job-hunter-api:latest
Step 5: Creating the Lambda Function
Now we turn that stored image into a live API.
- Search for Lambda in the AWS Console and click Create function.
- Select Container image.
- Name your function (e.g.,
JobHunter-Backend). - Click Browse images and select the image you just pushed to ECR(latest).
- Click Create function.
Step 6: Critical Configurations
Warning: Your AI agent will crash if you skip this. AI tasks are heavy and slow!
- General Configuration: Go to Edit and increase Memory to 1024 MB and Timeout to 1 minute.
- Environment Variables: Add your
GEMINI_API_KEY andTAVILY_KEY here. This keeps your key secure and out of your GitHub code. - Function URL: Go to the Function URL tab and click Create. Set Auth to NONE and enable CORS. This gives you a public link to your API!
To test your deployment, copy your new Function URL and add /docs to the end. If you see the FastAPI Swagger UI, your agent is officially live in the cloud!
📩 Stay Tuned: Subscribe for more content like this. 💬 Questions? Contact me at rehmanashraf0314@gmail.com.
메타데이터
- post_id
- 3d55f6e0ec00
- slug
- deploying-ai-agents-as-serverless-functions-on-aws-lambda-3d55f6e0ec00
- url
- https://medium.com/@ibnashraf110/deploying-ai-agents-as-serverless-functions-on-aws-lambda-3d55f6e0ec00
- canonical_url
- https://medium.com/@ibnashraf110/deploying-ai-agents-as-serverless-functions-on-aws-lambda-3d55f6e0ec00
- author_url
- https://medium.com/@ibnashraf110
- status
- ok
- fetched_at
- 2026-06-22 19:40:15



