Step-by-Step Configure SAML 2.0 Single Sign-On (SSO) in Mendix
Streamline user management and enforce Enterprise SSO within your Low-Code Application.
Step-by-Step Configure SAML 2.0 Single Sign-On (SSO) in Mendix
Streamline user management and enforce Enterprise SSO within your Low-Code Application.
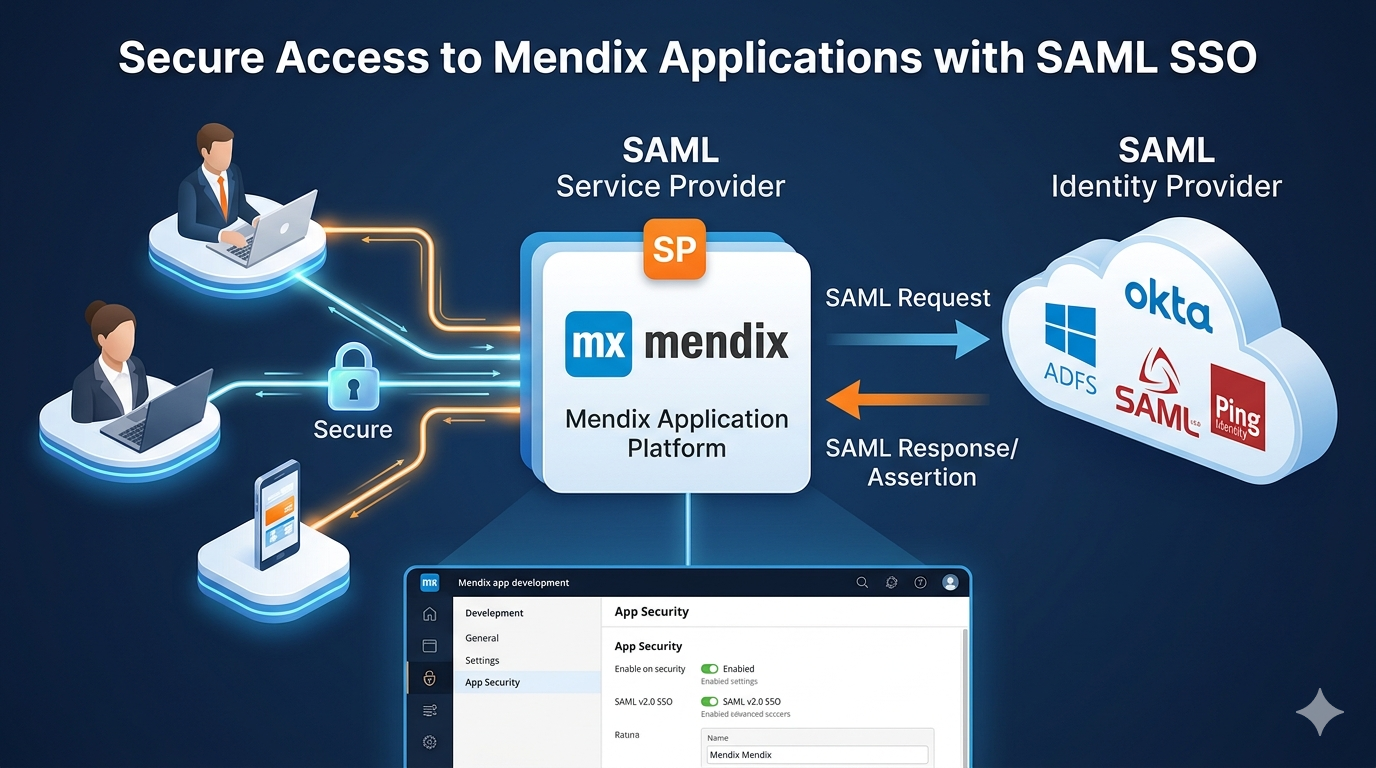
Modern low-code application development demands seamless, highly secure user access workflows. If your enterprise relies on an external Identity Provider (IdP) like Azure Active Directory or Okta, configuring the Mendix SAML module is the path to achieving centralized access.
The Prerequisites
Before diving directly into the Mendix application dashboard, verify that you have:
- The SAML module downloaded into your project marketplace directory.
- The MxModelReflection module synchronized to handle incoming attributes.
- An active Federation Metadata URL or an exported XML file from your central identity provider.
Step 1: Establish Your Service Provider (SP) Profile
Open your application runtime environment as an administrator and locate the SAML configuration suite in your sidebar (p. 1). Your first goal is to state your application’s profile details to generate its metadata file.

P. 1
- Select SP Configuration.
- Review the auto-populated application endpoints to ensure they align with your active hosting destination.
- Replace template data with your real infrastructure fields, mapping your operational domain name securely.
Step 2: Ingest Identity Provider (IdP) Metadata
Connecting your app to a secure identity engine is completely automated by pulling the identity provider metadata online.

P. 2
- Choose the Identity Provider Metadata sub-pane.
- Toggle Read IDP metadata from URL to Yes.
- Provide the secure HTTPS link containing your IdP assertion rules.
- Click Refresh metadata to download the system credentials directly into the workspace.
Step 3: Map incoming User Principals
Once your app understands your identity provider, you must instruct Mendix on how to identify incoming system profiles and link them to system database entries.
Select IdP Attributes
Navigate to Mapping →IdP Attributes. Under the assertion parameters, confirm Use Name ID to map user records by unique name metrics.

P. 3
Link Application Entities
Switch to Application Attributes. Bind the incoming data fields directly to target application account layers:
- Set The entity where the user is to be found to
Administration.Account. - Set The attribute where the user principal is stored to
Name.

P. 4
Step 4: Configure Just-In-Time (JIT) Provisioning
To avoid manually provisioning user accounts, enable dynamic onboarding within the Provisioning module configuration dashboard:

P. 5
- Under Just in time provisioning, map specific organizational claim rules to update user structural access criteria every time they click sign-in.
Step 5: Finalize Security with Request Authn Context
Complete your integration process by specifying the transport protocols:

P. 6
- Under the identity management control settings, choose POST_BINDING for your standard Response protocol binding (p. 2).
- For platforms requiring strict token-level safety, switch to Encryption Settings to load your secure enterprise private/public keypair.

P. 7
- Run an operational end-to-end trace login to confirm accurate automated record processing.

P. 8
메타데이터
- post_id
- 3e1fe78e8c8e
- slug
- step-by-step-configure-saml-2-0-single-sign-on-sso-in-mendix-3e1fe78e8c8e
- url
- https://medium.com/@wikiwaleed2/step-by-step-configure-saml-2-0-single-sign-on-sso-in-mendix-3e1fe78e8c8e
- canonical_url
- https://medium.com/@wikiwaleed2/step-by-step-configure-saml-2-0-single-sign-on-sso-in-mendix-3e1fe78e8c8e
- author_url
- https://medium.com/@wikiwaleed2
- status
- ok
- fetched_at
- 2026-07-10 08:43:10