The DESIGN.md
How one structured file eliminated 80% of my AI back-and-forth and turned vague prompts into production-ready designs.
The DESIGN.md File: The Exact Template I Use to Make Claude, Cursor & Lovable Build Pixel-Perfect UIs
How one structured file eliminated 80% of my AI back-and-forth and turned vague prompts into production-ready designs.
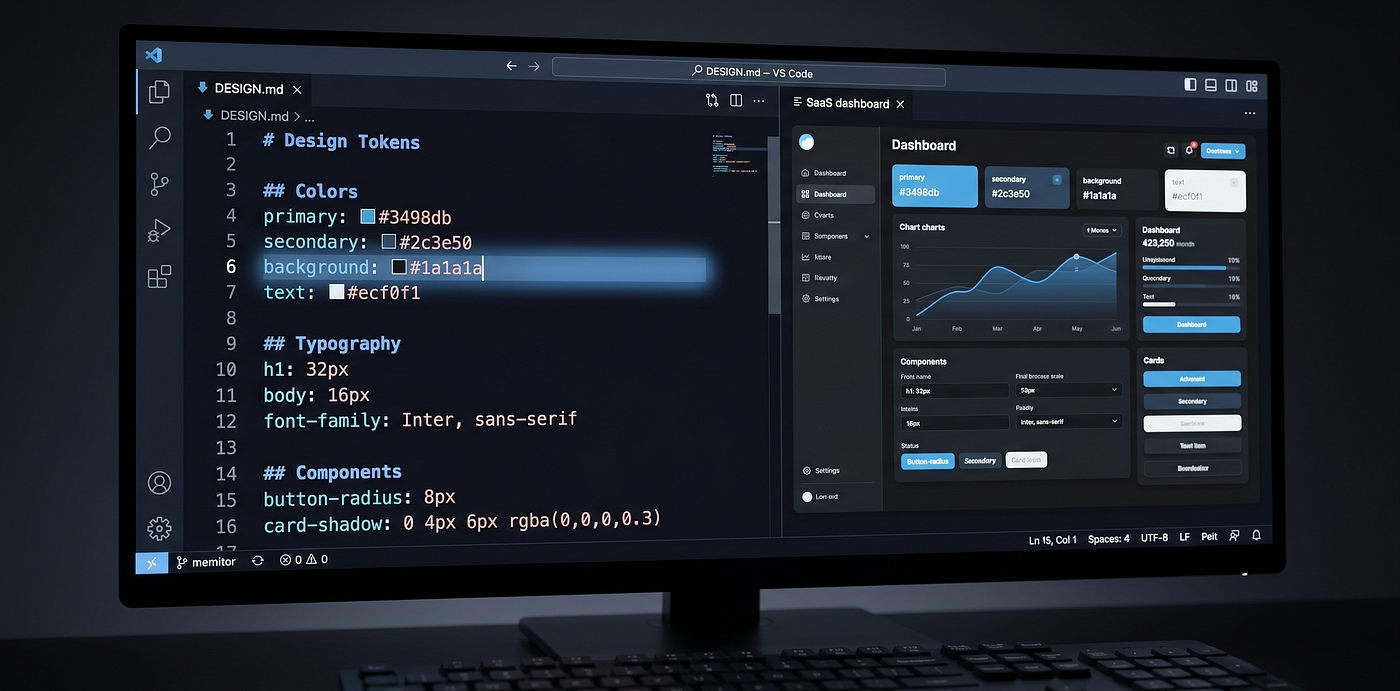
I used to spend the first 45 minutes of every AI session explaining myself.
“Make it look modern.” “No, not like that.” “More like Linear.” “Actually, darker.” “Add some breathing room.” “Why does this look like a Bootstrap template from 2017?”
Sound familiar?
Then I built the DESIGN.md file. Now I paste it once, and Claude, Cursor, or Lovable just gets it—first try, every time.
This isn’t a prompt hack. It’s a design context layer—a structured single file that tells any AI tool exactly who you are, what you’re building, and what “good” looks like to you.
Here’s the exact template, the thinking behind each section, and how to make it yours.
Why AI Tools Fail at Design (It’s Not Their Fault)

Every time you start a new session, the AI starts with zero context. It doesn’t know:
- Your visual language
- Your component library
- What “clean” means to you
- What you’ve already built
- What you’re trying to feel like
So it defaults. To Bootstrap. To generic gradients. To spacing that looks like it was done by someone who’s never used Figma.
The DESIGN.md file solves this by front-loading all creative context before a single prompt is written.
Think of it like a design brief—but machine-readable.
The DESIGN.md Template (Copy This)

Paste this into a new file called DESIGN.md at your project root. Fill in your values. That's it.
https://gist.github.com/chetansingh19999-max/ee97b072267861a6f9d64e7dd8787eeaThe template has 6 sections. You don’t need all of them on day one—but you do need sections 1, 2, and 6 before you write your first AI prompt.
How to Use It With Each Tool
With Claude
Paste the entire DESIGN.md at the start of every conversation, then say:
“Using this design system, build me a [component/page]. Return clean, copy-pasteable code only.”
That’s it. Claude now has full brand context and stops guessing.
Pro tip: Add a # Current Task section at the bottom of each session to give Claude focused scope without re-explaining the whole system.
With Cursor
Create DESIGN.md at your project root. Then in .cursorrules, add:
Always read DESIGN.md before generating any UI component.
Respect all color tokens, spacing values, and component standards.
Never deviate from the visual language unless explicitly asked.
Cursor will now reference your design system in every autocomplete and generation.
With Lovable
Paste DESIGN.md as your first message in the project. Lovable treats it as persistent project context — every subsequent prompt inherits it automatically.
Bonus: Add a ## Lovable-Specific Notes section for things like:
- Always use Shadcn/ui base components
- Wrap pages in the AppLayout component
- Use React Query for data fetching, never useEffect for API calls
The Sections Most Designers Skip (And Shouldn’t)
Section 6 — AI Prompting Rules is the one that makes the biggest difference.
Without it, every AI tool brings its own assumptions: Tailwind defaults, random border-radius choices, and inconsistent spacing. With explicit rules, you’re not just giving context—you're constraining the output space to match your design system.
The best version of this section is written after you’ve fought with the AI a few times and know exactly what it keeps getting wrong. Mine has 23 rules now. Started with 4.
Section 5—Current Build State is underrated for multi-session work. It tells the AI what’s done, what’s in progress, and what’s broken—so it stops regenerating components you’ve already finalized.
The Real Unlock: DESIGN.md as a Living Document
The mistake is treating this as a one-time setup file.
The designers who get the most out of it update it every time they make a design decision. New component pattern? Add it. Changed the radius system? Update it. Found a better way to handle empty states? Document it.
After a few weeks, you don’t just have a prompt file — you have a living design system spec that any AI tool (or new team member) can use to build consistently.
“You’re not just giving context — you’re constraining the output space to match your design system.”
This is the real power: not faster prompts, but a shared source of design truth that compounds over time.
What Changed After I Started Using It
Before DESIGN.md:
- 40–60 minutes to get a usable component
- 3–5 rounds of back-and-forth corrections
- Inconsistent spacing, colors, and component styles across sessions
- Constant “no, make it more like X” loops
After DESIGN.md:
- First output is 80–90% production-ready
- 1–2 small refinements max
- Consistent design language across every session and tool
- I spend time on design decisions, not AI wrangling
“The file takes about 30 minutes to set up. It saves hours every week.”
Start Today—You Only Need 3 Sections
You don’t need to fill in every section on day one. Start with:
- Section 1 — Identity (5 minutes)
- Section 2 — Colors and fonts (10 minutes)
- Section 6–3–5 prompting rules specific to your project (10 minutes)
That’s a functional DESIGN.md in under 30 minutes. Add to it as you build.
The AI tools you’re already paying for are waiting to be used at full capacity.
One structured file is all it takes.
I’m Chetan Singh—senior product designer exploring AI-first UX workflows, design systems, and the future of human-centered product design. I write weekly about the intersection of design craft and AI tooling.
Follow me on Medium for the next article: how I structure my Figma MCP setup to push components directly to Cursor—without ever leaving my design environment.
메타데이터
- post_id
- 405ca46e862c
- slug
- the-design-md-405ca46e862c
- url
- https://www.designsystemscollective.com/the-design-md-405ca46e862c
- canonical_url
- https://www.designsystemscollective.com/the-design-md-405ca46e862c
- author_url
- https://medium.com/@chetansingh19999
- status
- ok
- fetched_at
- 2026-06-09 15:37:30