Getting Real Client IPs with Istio Gateway and PROXY Protocol v2 on OVH Cloud
How to configure OVH’s OpenStack-based load balancers with Istio to preserve client IP addresses
Getting Real Client IPs with Istio Gateway and PROXY Protocol v2 on OVH Cloud
How to configure OVH’s OpenStack-based load balancers with Istio to preserve client IP addresses
The Problem
When running Istio service mesh in production with external load balancers on OVH Cloud, you quickly run into a common issue: your applications only see the load balancer’s IP address, not the real client IP. This breaks logging, rate limiting, geolocation, and security policies that depend on knowing where requests actually come from.
In a typical OVH Cloud setup:
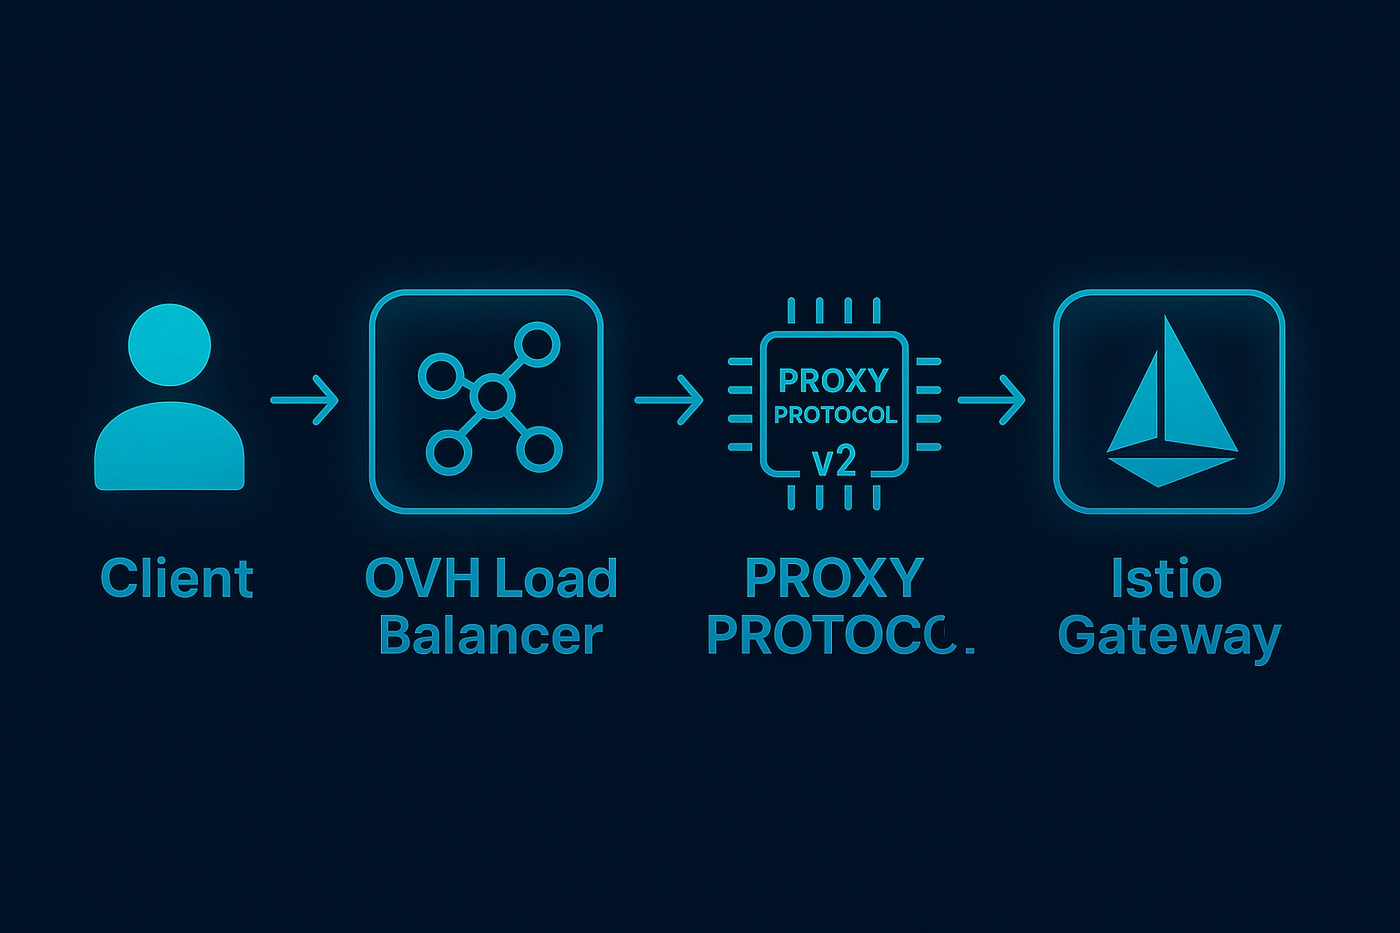
- Client (IP: 203.0.113.50) → OVH Load Balancer → Istio Gateway → Your App
- Your app sees: 10.0.1.100 (load balancer IP) ❌
- Your app should see: 203.0.113.50 (real client IP) ✅
Why This Happens
Most cloud load balancers, including OVH’s Octavia load balancers (based on OpenStack), perform Network Address Translation (NAT), replacing the original client IP with their own. While HTTP headers like X-Forwarded-For can help, they're not always reliable and can be spoofed.
PROXY Protocol solves this by having the load balancer prepend connection metadata (including the original client IP) to the data stream in a standardized format that the backend can trust.
The Solution: PROXY Protocol v2 + Istio on OVH Cloud
Here’s how to configure your infrastructure to preserve real client IPs using OVH’s OpenStack-based Octavia load balancers with Istio Gateway.
Step 1: Configure Your OVH Load Balancer Service
First, enable PROXY Protocol v2 on your Kubernetes LoadBalancer service using OVH-specific annotations:
service:
  type: LoadBalancer
  annotations:
    # OVH Cloud specific annotations
    loadbalancer.ovhcloud.com/class: octavia
    loadbalancer.ovhcloud.com/flavor: small
    service.beta.kubernetes.io/openstack-internal-load-balancer: "true"
    # OpenStack/Octavia PROXY Protocol configuration
    loadbalancer.openstack.org/proxy-protocol: "v2"
  spec:
    externalTrafficPolicy: Local  # Critical for IP preservation
Key points for OVH Cloud:
loadbalancer.ovhcloud.com/class: octaviaspecifies OVH's Octavia serviceloadbalancer.ovhcloud.com/flavorcontrols the load balancer size on OVHloadbalancer.openstack.org/proxy-protocol: "v2"enables PROXY Protocol v2 (OpenStack standard)service.beta.kubernetes.io/openstack-internal-load-balancerkeeps traffic within OVH's private networkexternalTrafficPolicy: Localprevents additional network hops that would lose the client IP
Step 2: Configure Your Istio Gateway
Add the PROXY Protocol annotation to your Gateway resource:
apiVersion: networking.istio.io/v1beta1
kind: Gateway
metadata:
  name: my-gateway
  namespace: istio-system
  annotations:
    "proxy.istio.io/config": '{"gatewayTopology" : { "proxyProtocol": {} }}'
spec:
  selector:
    istio: gateway
  servers:
    - port:
        number: 80
        name: http
        protocol: HTTP
      hosts:
        - myapp.example.com
    - port:
        number: 443
        name: https
        protocol: HTTPS
      tls:
        mode: SIMPLE
        credentialName: my-tls-cert
      hosts:
        - myapp.example.com
Step 3: Configure Envoy with EnvoyFilter
This is the most critical step. Istio’s Envoy proxy needs to understand PROXY Protocol headers sent by OVH’s Octavia load balancers:
apiVersion: networking.istio.io/v1alpha3
kind: EnvoyFilter
metadata:
  name: proxy-protocol
  namespace: istio-system
spec:
  workloadSelector:
    labels:
      istio: gateway
  configPatches:
    # HTTPS listener configuration
    - applyTo: LISTENER
      match:
        context: GATEWAY
        listener:
          portNumber: 443
      patch:
        operation: MERGE
        value:
          listener_filters:
            - name: envoy.filters.listener.proxy_protocol
              typed_config:
                "@type": type.googleapis.com/envoy.extensions.filters.listener.proxy_protocol.v3.ProxyProtocol
            - name: envoy.filters.listener.tls_inspector
              typed_config:
                "@type": type.googleapis.com/envoy.extensions.filters.listener.tls_inspector.v3.TlsInspector
            - name: envoy.filters.listener.http_inspector
              typed_config:
                "@type": type.googleapis.com/envoy.extensions.filters.listener.http_inspector.v3.HttpInspector
    # HTTP listener configuration
    - applyTo: LISTENER
      match:
        context: GATEWAY
        listener:
          portNumber: 80
      patch:
        operation: MERGE
        value:
          listener_filters:
            - name: envoy.filters.listener.proxy_protocol
              typed_config:
                "@type": type.googleapis.com/envoy.extensions.filters.listener.proxy_protocol.v3.ProxyProtocol
            - name: envoy.filters.listener.http_inspector
              typed_config:
                "@type": type.googleapis.com/envoy.extensions.filters.listener.http_inspector.v3.HttpInspector
Why this configuration matters:
- The PROXY Protocol filter must be first in the listener filter chain
- For HTTPS, it must come before the TLS inspector
- Both HTTP (80) and HTTPS (443) listeners need configuration
Understanding the Flow on OVH Cloud
After configuration, here’s what happens in the OVH Cloud environment:
- Client sends request to your domain
- DNS resolves to OVH load balancer IP
- OVH’s Octavia Load Balancer receives request, prepends PROXY Protocol v2 header with client IP
- Istio Gateway (running on OVH’s OpenStack infrastructure) receives PROXY Protocol header, extracts client IP
- Envoy sets proper
X-Forwarded-Forheaders - Your Application receives request with real client IP in headers
Private vs Public Load Balancers
- Use
service.beta.kubernetes.io/openstack-internal-load-balancer: "true"for internal load balancers - Remove this annotation for public-facing load balancers
- Internal load balancers are more secure and cost-effective for private applications
Health Checks on OVH
OVH’s Octavia load balancers automatically configure health checks on port 15021 (Istio’s status port). This port doesn’t use PROXY Protocol, so health checks work seamlessly.
Troubleshooting on OVH Cloud
Common Issues
“Bad Request” errors after enabling PROXY Protocol:
- Check that the EnvoyFilter is applied:
kubectl get envoyfilter -n istio-system - Verify the workload selector matches your gateway pods
- Ensure PROXY Protocol filter comes first in the chain
Load balancer shows “degraded” member status:
- This is normal during initial configuration
- OVH’s health checks run on port 15021 without PROXY Protocol
- Status should become healthy within a few minutes
Still seeing OVH load balancer IPs:
- Verify
externalTrafficPolicy: Localis set - Check that the EnvoyFilter targets the correct gateway pods
- Enable debug logging to see what Envoy receives
Debug Commands
# Check load balancer status
kubectl get service -n istio-system -o yaml | grep -A 10 annotations

# Enable debug logging on Istio gateway
kubectl exec <gateway-pod> -n istio-system -- \
  curl -X POST "localhost:15000/logging?level=debug"

# Check health status
kubectl exec <gateway-pod> -n istio-system -- \
  curl localhost:15021/healthz/ready

# Verify EnvoyFilter is applied
kubectl get envoyfilter -n istio-system -o yaml
Why Choose OVH Cloud for This Setup?
OVH Cloud’s advantages for PROXY Protocol:
- OpenStack Native: Built on proven OpenStack technology
- Octavia Integration: Full support for advanced load balancing features
- European Data Sovereignty: Servers located in Europe with GDPR compliance
- Cost Effective: Competitive pricing for enterprise-grade infrastructure
- No Vendor Lock-in: Standard OpenStack APIs and Kubernetes integration
Security Considerations
- Network isolation: Use OVH’s private networks for internal communication
- Monitoring: Monitor for unusual IP patterns that might indicate spoofing attempts
- GDPR compliance: OVH’s European infrastructure helps with data residency requirements
Conclusion
Implementing PROXY Protocol v2 with Istio on OVH Cloud requires coordination between OVH’s OpenStack-based load balancers, Kubernetes services, and Envoy configuration. While it involves several moving parts, the result is accurate client IP tracking that’s essential for production applications.
The key takeaways for OVH Cloud:
- Use OVH-specific annotations for Octavia load balancers
- Leverage
externalTrafficPolicy: Localto preserve client IPs through Kubernetes - Configure both OVH’s load balancer and Envoy to handle PROXY Protocol
- Order matters: PROXY Protocol filter must come first
- Health checks automatically work on port 15021
With this setup on OVH Cloud, your applications will finally see real client IPs, enabling better logging, security policies, and user analytics while benefiting from OVH’s reliable OpenStack infrastructure.
Running Istio on OVH Cloud? Share your experiences and configurations in the comments below!
메타데이터
- post_id
- 4064fbd2ed51
- slug
- getting-real-client-ips-with-istio-gateway-and-proxy-protocol-v2-on-ovh-cloud-4064fbd2ed51
- url
- https://medium.com/@pascal.toepke/getting-real-client-ips-with-istio-gateway-and-proxy-protocol-v2-on-ovh-cloud-4064fbd2ed51
- canonical_url
- https://medium.com/@pascal.toepke/getting-real-client-ips-with-istio-gateway-and-proxy-protocol-v2-on-ovh-cloud-4064fbd2ed51
- author_url
- https://medium.com/@pascal.toepke
- status
- ok
- fetched_at
- 2026-06-21 07:44:09

