How to Create a Firebase Middleware to Connect Firebase Auth Frontend with Node.js Backend
In modern web applications, authentication plays a crucial role in ensuring security and a seamless user experience. If you’re using…
How to Create a Firebase Middleware to Connect Firebase Auth Frontend with Node.js Backend
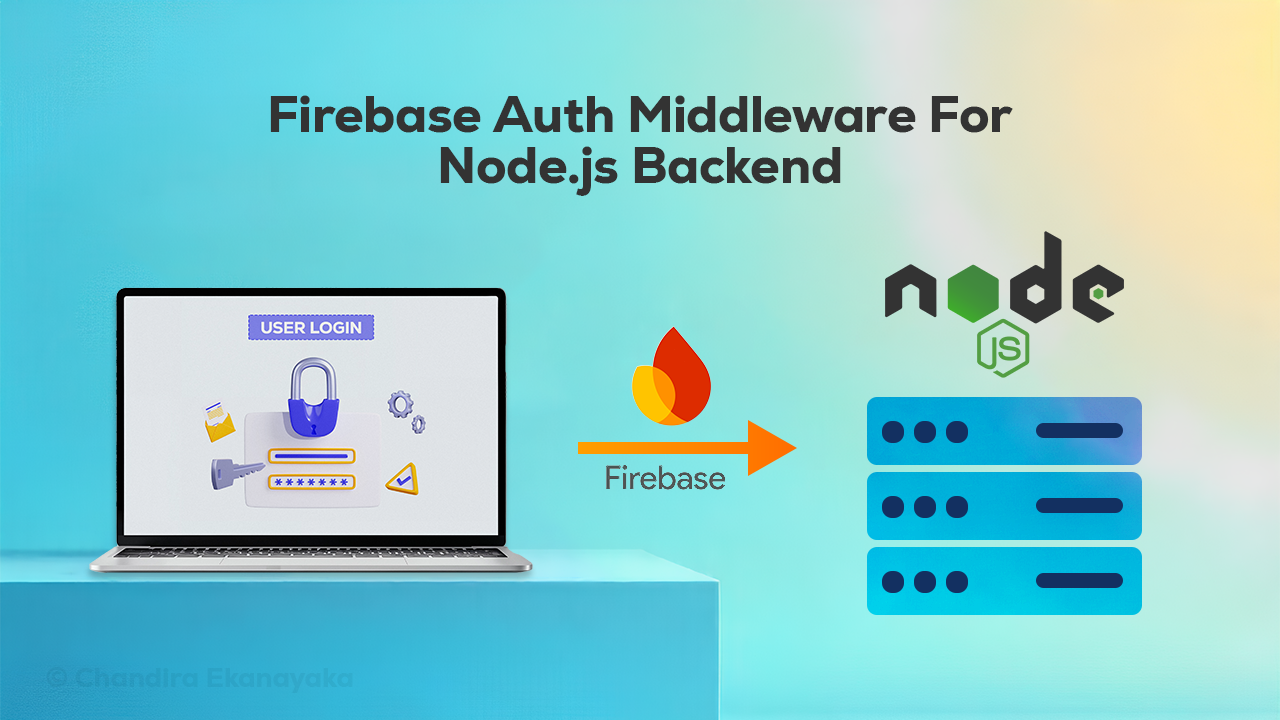
In modern web applications, authentication plays a crucial role in ensuring security and a seamless user experience. If you’re using Firebase Authentication on the frontend, you’ll often need to verify users on your Node.js backend as well. The best practice for doing this is to create a Firebase middleware that validates Firebase ID tokens before granting access to backend resources.
In this article, we’ll walk through step-by-step instructions to create a secure middleware function in Node.js that connects Firebase Auth (frontend) with your backend API.
Why Use Firebase Middleware in Node.js?
When a user signs in on the frontend (using React, Angular, Vue, etc.) with Firebase Authentication, Firebase generates a JWT (JSON Web Token) called an ID token.
- The frontend app sends this token with each request to your backend.
- Your Node.js backend must verify the token’s authenticity using the Firebase Admin SDK before allowing access.
- This ensures only authenticated users can use protected routes like
/api/profileor/api/orders. - This is where middleware comes in — it acts as a gatekeeper, verifying tokens before requests hit your API logic.
Step 1: Set Up Firebase Admin SDK in Node.js
First, install Firebase Admin SDK in your Node.js project:
npm install firebase-adminNext, download the service account private key from Google Cloud Console ([Google Cloud Console](https://console.cloud.google.com/) > Select Your Project > APIs and Services > Credentials > Service Accounts > Select Relavent firebase-adminsdk) and save it as serviceAccountKey.json. Never expose this file publicly.
Step 2: Create Firebase Middleware for Authentication
Now, let’s build the middleware that verifies the Firebase ID token.
// middleware/verifyToken.js
const admin = require("firebase-admin");
const serviceAccount = require("./serviceAccountKey.json"); // Download from Google Cloud Console

admin.initializeApp({
  credential: admin.credential.cert(serviceAccount)
});

const verifyToken = async (req, res, next) => {
  const idToken = req.headers.authorization?.split("Bearer ")[1];

  if (!idToken) {
    return res.status(401).json({ message: "Unauthorized Request" });
  }

  try {
    // Verify the ID token using Firebase Admin SDK
    const decodedToken = await admin.auth().verifyIdToken(idToken);

    // Attach user info to request object
    req.user = decodedToken;

    // Proceed to the next middleware or route handler
    next();
  } catch (error) {
    return res.status(401).json({ message: "Unauthorized: Invalid or expired token" });
  }
};

module.exports = verifyFirebaseToken;
How it works:
- The middleware looks for a Bearer Token in the
Authorizationheader. - It verifies the token using
admin.auth().verifyIdToken(). - If valid, it attaches the user’s info (UID, email, etc.) to
req.user. - If invalid, it rejects the request with
401 Unauthorized.
Step 3: Protect Routes with Firebase Middleware
Now that you have the middleware, you can apply it to your Node.js routes.
// server.js
const express = require("express");
const verifyToken= require("./middleware/verifyToken");

const app = express();
app.get("/public", (req, res) => {
  res.send("This is a public route, no authentication required.");
});
app.get("/protected", verifyToken, (req, res) => {
  res.send(`Welcome ${req.user.email}, this is a protected route.`);
});
app.listen(5000, () => console.log("Server running on port 5000"));
Now, only authenticated users can access /protected.
Step 4: Sending Firebase Token from Frontend
On the frontend (React example), once the user signs in with Firebase Auth, you can send the token with API requests:
import { getAuth } from "firebase/auth";

const auth = getAuth();
async function fetchProtectedData() {
  const token = await auth.currentUser.getIdToken();
  const response = await fetch("http://localhost:5000/protected", {
    headers: {
      Authorization: `Bearer ${token}`,
    },
  });
  const data = await response.json();
  console.log(data);
}
This ensures every request carries a valid Firebase ID token.
Best Practices for Firebase Middleware
- Always use HTTPS to secure tokens in transit.
- Set token expiry checks since Firebase ID tokens expire after 1 hour.
- Use role-based access control (RBAC) with Firebase custom claims for different user roles (e.g., admin, teacher, student).
- Cache decoded tokens when possible for performance.
Conclusion
By setting up a Firebase middleware in Node.js, you create a secure bridge between your Firebase Auth frontend and Node.js backend API. This ensures only authenticated users can access protected routes while keeping your application safe and scalable.
✅ Frontend handles authentication (Firebase Auth). ✅ Backend verifies tokens using Firebase Admin SDK. ✅ Middleware ensures security and easy integration.
With this setup, you can confidently build secure full-stack applications powered by Firebase and Node.js.
Next Article — Role-based Access with Firebase Custom Claims
메타데이터
- post_id
- 43cdabf08db5
- slug
- how-to-create-a-firebase-middleware-to-connect-firebase-auth-frontend-with-node-js-backend-43cdabf08db5
- url
- https://medium.com/@iamchandira/how-to-create-a-firebase-middleware-to-connect-firebase-auth-frontend-with-node-js-backend-43cdabf08db5
- canonical_url
- https://medium.com/@iamchandira/how-to-create-a-firebase-middleware-to-connect-firebase-auth-frontend-with-node-js-backend-43cdabf08db5
- author_url
- https://medium.com/@iamchandira
- status
- ok
- fetched_at
- 2026-07-20 20:45:26