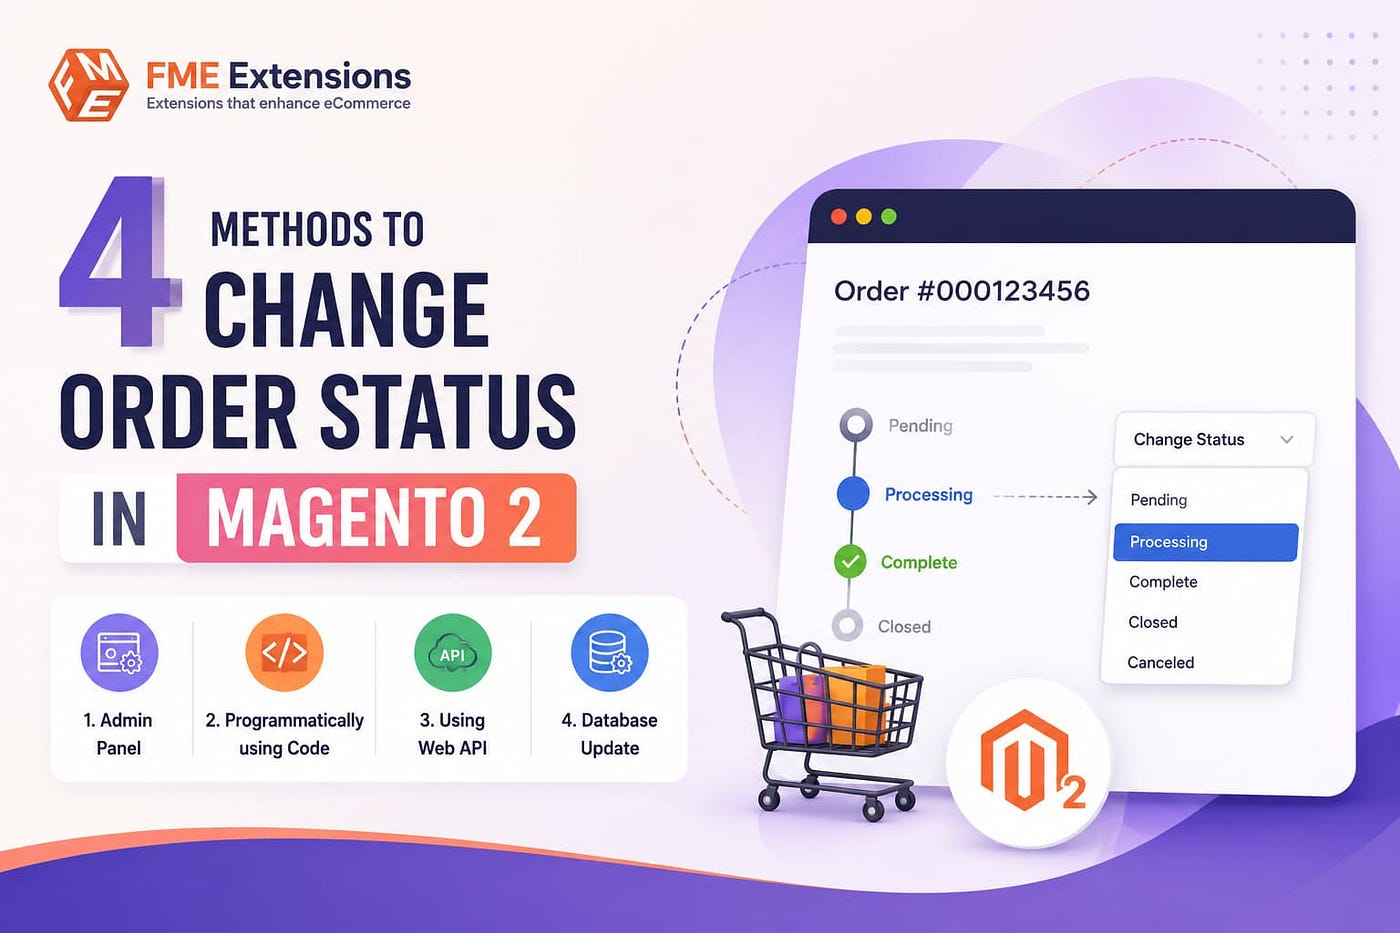
4 Methods to Change Order Status in Magento 2
Efficient order management is one of the most important aspects of running a successful Magento 2 store. As orders move through different…
4 Methods to Change Order Status in Magento 2
Efficient order management is one of the most important aspects of running a successful Magento 2 store. As orders move through different stages of fulfillment, merchants need a reliable way to track their progress and keep both customers and internal teams informed.
Magento 2 provides several ways to update order statuses. Some status changes happen automatically through Magento’s built-in workflow, while others can be managed manually, customized for specific business needs, or updated programmatically through custom code.
In this guide, you’ll learn the different methods for changing order status in Magento 2, understand the difference between order states and order statuses, and discover best practices for managing your order workflow effectively.
Understanding Magento 2 Order State vs Order Status
Before changing order statuses, it’s important to understand how Magento handles order processing.
What Is an Order State?
An order state represents the current stage of an order within Magento’s workflow. These states are predefined by Magento and cannot be removed.
Common Magento 2 order states include:
- New
- Pending Payment
- Processing
- Complete
- Closed
- Canceled
- Holded
These states control how Magento processes an order throughout its lifecycle.
What Is an Order Status?
An order status is a label associated with a specific order state. Unlike states, Magento allows merchants to create multiple statuses under a single state.
For example:
Processing State
Possible statuses:
- Processing
- Packing
- Ready to Ship
Complete State
Possible statuses:
- Delivered
- Completed Successfully
This flexibility allows merchants to build custom workflows that better reflect their fulfillment process.
Method 1: Change Order Status Automatically Through Magento Workflow
Magento automatically updates order statuses as customers move through the purchasing process.
Common Automatic Status Changes
Instead of manually updating statuses, Magento performs many transitions automatically based on order activity.
- Customer places an order → Pending
- Invoice is generated → Processing
- Shipment is completed → Complete
- Credit memo is issued → Closed
- Payment fails → Canceled
How Pending Changes to Processing
One of the most common status transitions is moving an order from Pending to Processing.
Magento automatically performs this change when an invoice is created.
Steps
- Navigate to Sales > Orders
- Open the desired order
- Click Invoice
- Capture payment
- Submit the invoice
Once the invoice is generated successfully, Magento updates the order status to Processing automatically.
This approach is recommended because it follows Magento’s native order workflow and reduces the risk of workflow inconsistencies.
Method 2: Change Order Status Manually From the Admin Panel
Magento allows merchants to update order statuses manually when the selected status belongs to the order’s current state.
Steps to Update Order Status Manually
- Navigate to Sales > Orders
- Open the desired order
- Scroll to the Comments History section
- Select a status from the available dropdown options
- Add an order comment if required
- Click Submit Comment
Important Considerations
Manual status updates only work when:
- The selected status belongs to the order’s current state
- Magento allows that particular status transition
- The order workflow requirements have been met
If a status does not appear in the dropdown, it may not be assigned to the order’s current state.
Method 3: Create a Custom Order Status in Magento 2
Magento’s default statuses may not always match your business processes. In such cases, creating custom order statuses can improve order tracking and workflow management.
Step 1: Open Order Status Settings
Navigate to:
Stores > Settings > Order Status
Step 2: Create a New Status
Click Create New Status and enter:
- Status Code
- Status Label
Example:
- Status Code:
ready_to_ship - Status Label:
Ready to Ship
Save the new status.
Step 3: Assign the Status to a State
After creating the status:
- Click Assign Status to State
- Select the appropriate order state
- Choose the custom status
- Set it as the default status if required
- Save the configuration
Benefits of Custom Order Statuses
Custom statuses offer several advantages:
- Better order tracking
- Improved customer communication
- More organized fulfillment workflows
- Easier internal order management
- Greater visibility into order progress
Method 4: Change Order Status Programmatically in Magento 2
For advanced requirements such as ERP integrations, automated workflows, cron jobs, or custom modules, developers may need to update order statuses programmatically.
Step 1: Create the Module Structure
Create the following directory:
app/code/Vendor/ChangeOrderStatus/Inside it, create:
registration.php
etc/module.xml
Controller/Index/Update.php
Step 2: Create registration.php
File:
app/code/Vendor/ChangeOrderStatus/registration.phpCode:
<?php
use Magento\Framework\Component\ComponentRegistrar;
ComponentRegistrar::register(
ComponentRegistrar::MODULE,
'Vendor_ChangeOrderStatus',
__DIR__
);Step 3: Create module.xml
File:
app/code/Vendor/ChangeOrderStatus/etc/module.xmlCode:
<?xml version="1.0"?>
<config xmlns:xsi="http://www.w3.org/2001/XMLSchema-instance"
xsi:noNamespaceSchemaLocation="urn:magento:framework:Module/etc/module.xsd">
    <module name="Vendor_ChangeOrderStatus" setup_version="1.0.0"/>
</config>
Step 4: Create the Controller
File:
app/code/Vendor/ChangeOrderStatus/Controller/Index/Update.phpCode:
<?phpnamespace Vendor\ChangeOrderStatus\Controller\Index;use Magento\Framework\App\Action\Action;
use Magento\Framework\App\Action\Context;
use Magento\Sales\Api\OrderRepositoryInterface;class Update extends Action
{
protected $orderRepository; public function __construct(
Context $context,
OrderRepositoryInterface $orderRepository
) {
parent::__construct($context);
$this->orderRepository = $orderRepository;
} public function execute()
{
try { $orderId = 1; $order = $this->orderRepository->get($orderId); $order->setState(
\Magento\Sales\Model\Order::STATE_PROCESSING
)->setStatus(
\Magento\Sales\Model\Order::STATE_PROCESSING
); $order->addCommentToStatusHistory(
__('Order status changed programmatically to Processing.')
); $this->orderRepository->save($order); echo "Order status updated successfully."; } catch (\Exception $e) {
echo $e->getMessage();
}
}
}Step 5: Enable the Module
Run the following commands:
php bin/magento setup:upgrade
php bin/magento cache:flush
Step 6: Execute the Controller
Visit:
https://yourstore.com/changeorderstatus/index/updateThe controller will:
- Load the order
- Update its state
- Update its status
- Add a status history comment
- Save the changes
How To Change to a Custom Status
If you’ve created a custom status such as:
ready_to_shipUse:
$order->setState(
    \Magento\Sales\Model\Order::STATE_PROCESSING
)->setStatus('ready_to_ship');
Ensure that the custom status is assigned to the selected order state before using it programmatically.
Important Notes
Use Valid State and Status Combinations
Magento requires statuses to be associated with their corresponding states.
Examples:
- STATE_PROCESSING → processing
- STATE_COMPLETE → complete
- STATE_CANCELED → canceled
Using invalid combinations may result in errors.
Avoid Direct Database Updates
Never update order statuses directly in the database.
Editing the sales_order table manually can break Magento workflows and create inconsistencies across invoices, shipments, and credit memos.
Best Use Cases for Programmatic Updates
Programmatic status changes are particularly useful for:
- ERP integrations
- Third-party APIs
- Automated workflows
- Cron jobs
- Custom business processes
Troubleshooting Order Status Issues
Order Status Is Not Changing
Verify:
- State and status compatibility
- Invoice generation
- Shipment completion
- Third-party extension conflicts
Custom Status Is Missing
Check that:
- The status is assigned to the correct state
- Magento cache has been cleared
- Configuration has been saved successfully
Programmatic Updates Are Not Working
Ensure:
- The correct state/status combination is being used
- The order repository save method executes successfully
- No observer or plugin is overriding the status after saving
Using a **Magento 2 custom log file** can help developers monitor order workflow execution, debug status update failures, and identify conflicts caused by observers or third-party extensions.
Final Thoughts
Magento 2 provides multiple ways to manage order statuses depending on your business requirements. For most stores, Magento’s built-in workflow automatically handles status transitions efficiently and safely.
However, businesses with more complex fulfillment processes may benefit from custom order statuses and programmatic updates. These advanced options provide greater flexibility, improve internal workflows, and enhance order tracking capabilities.
By understanding the difference between order states and order statuses and using the appropriate update method, merchants can maintain a streamlined order management process while providing a better customer experience.
메타데이터
- post_id
- 459f4eed2fc7
- slug
- 4-methods-to-change-order-status-in-magento-2-459f4eed2fc7
- url
- https://medium.com/@fme_extensions/4-methods-to-change-order-status-in-magento-2-459f4eed2fc7
- canonical_url
- https://medium.com/@fme_extensions/4-methods-to-change-order-status-in-magento-2-459f4eed2fc7
- author_url
- https://medium.com/@fme_extensions
- status
- ok
- fetched_at
- 2026-08-01 12:40:08