Publish an NFT Collection
This post covers how to publish an NFT Collection using ERC721, IPFS, Hardhat, etc on Ethereum’s Goerli testnet. I’ll publish an NFT…
Publish an NFT Collection

I is learning and I teach what I learned
This post covers how to publish an NFT Collection using ERC721, IPFS, Hardhat, etc on Ethereum’s Goerli testnet. I’ll publish an NFT collection of my two avatars (1, 2) on Ethereum’s Goerli testnet.
Setup Decentralized Storage
You may use services like NFT.Storage, Pinata or other decentralized storage protocols like Arweave, Storj, etc. But in this post I will upload NFT media and metadata using a self hosted IPFS node.
Create two folders in IPFS :
henry-avatarsContains the NFT pictures (I have two avatar pictures)henry-avatars-metadataContains the metadata files about the NFTs
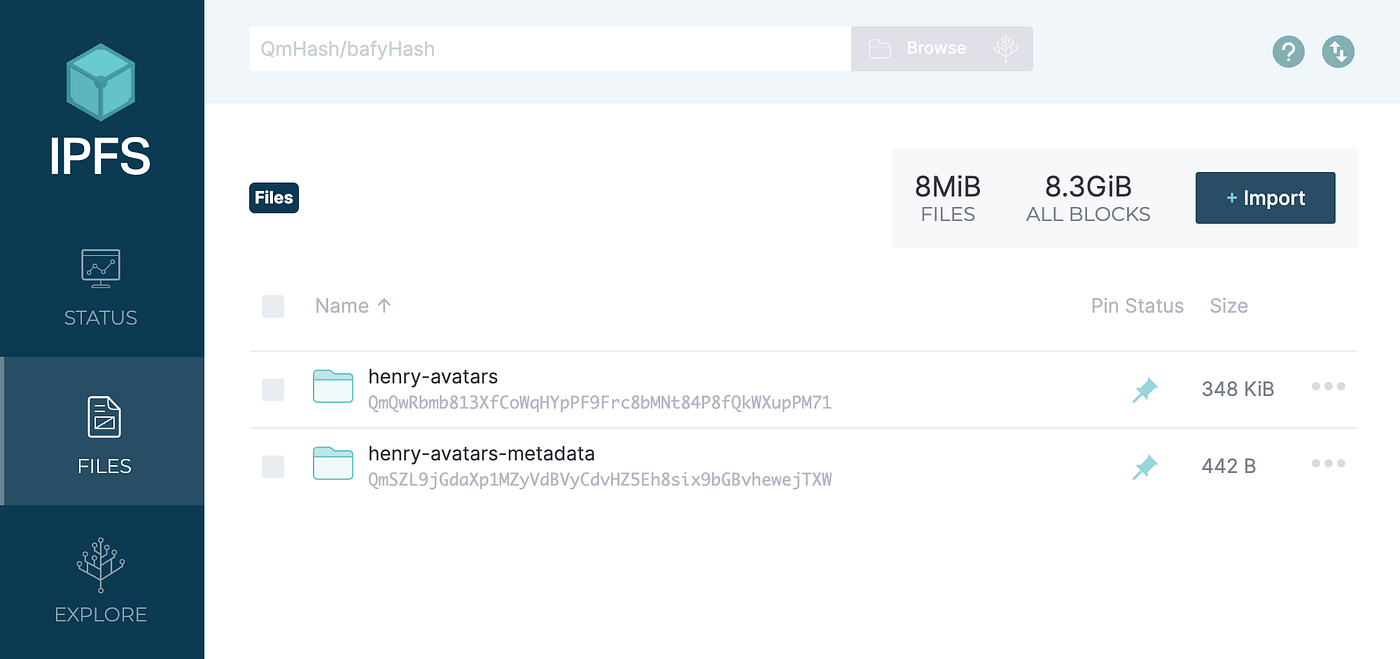
Two Folders in IPFS
Create a folder with the NFT pictures on the computer. I have two pictures in a folder called henry-avatars. One picture is an original avatar of myself. The other is a pixelated version. Click “+Import” and import the folder:
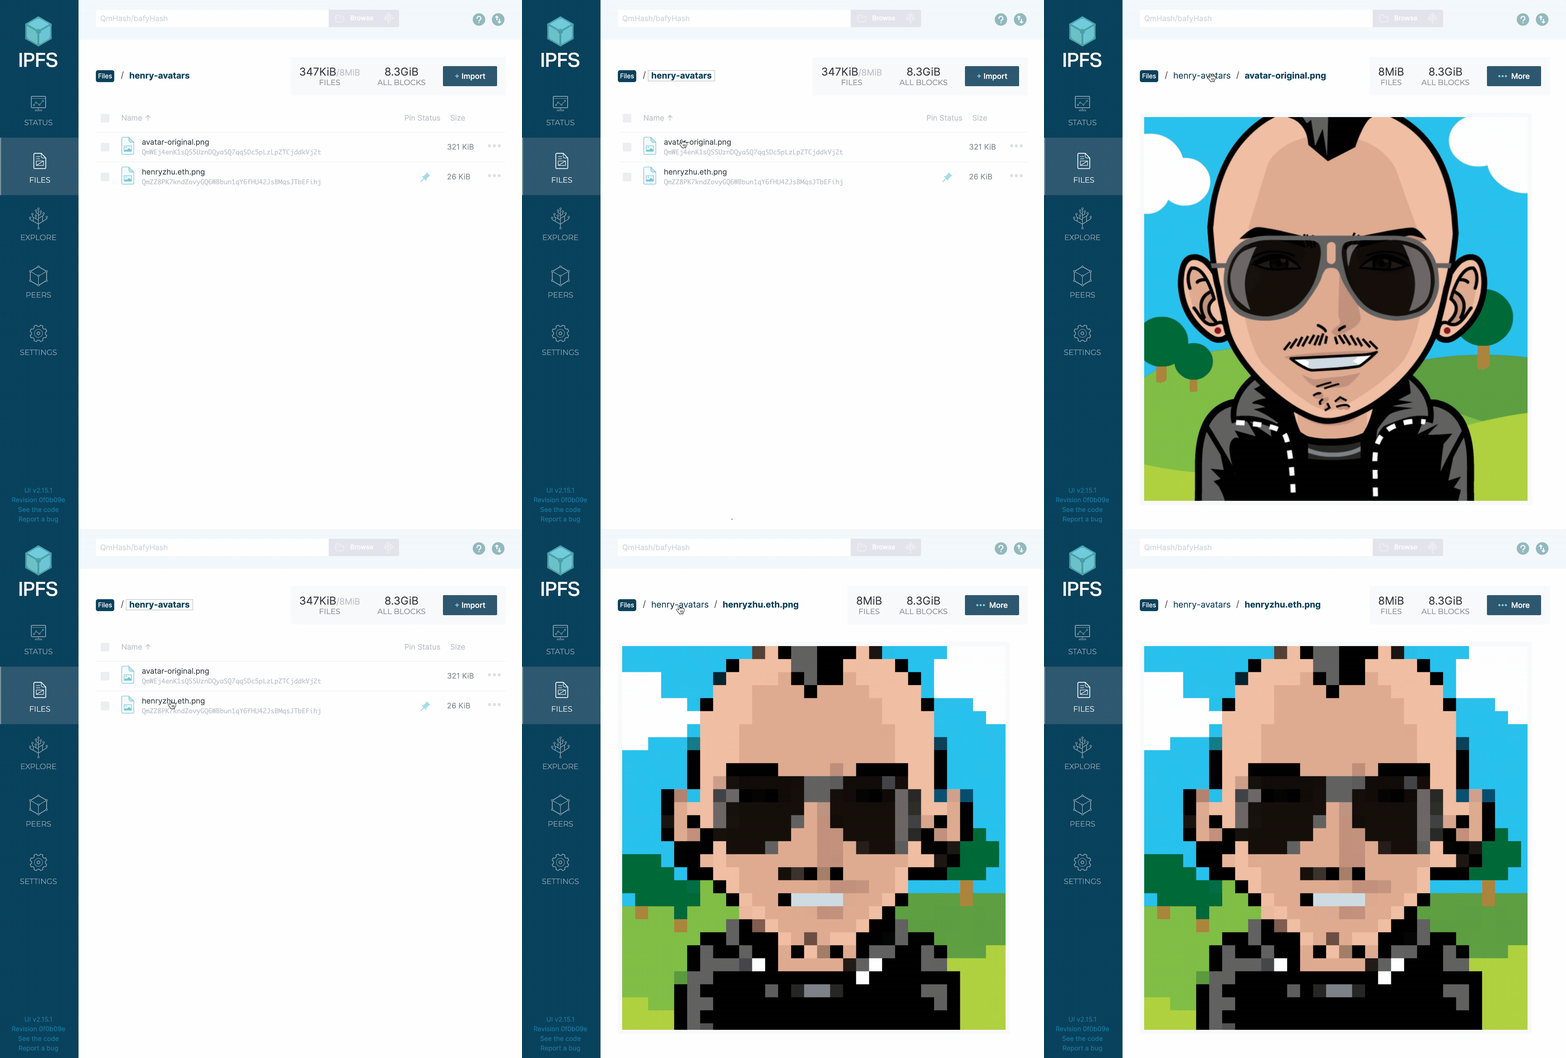
Folder for NFT pictures
Now copy the URL to the images. These URLs are necessary for the next step when we create the metadata folder:
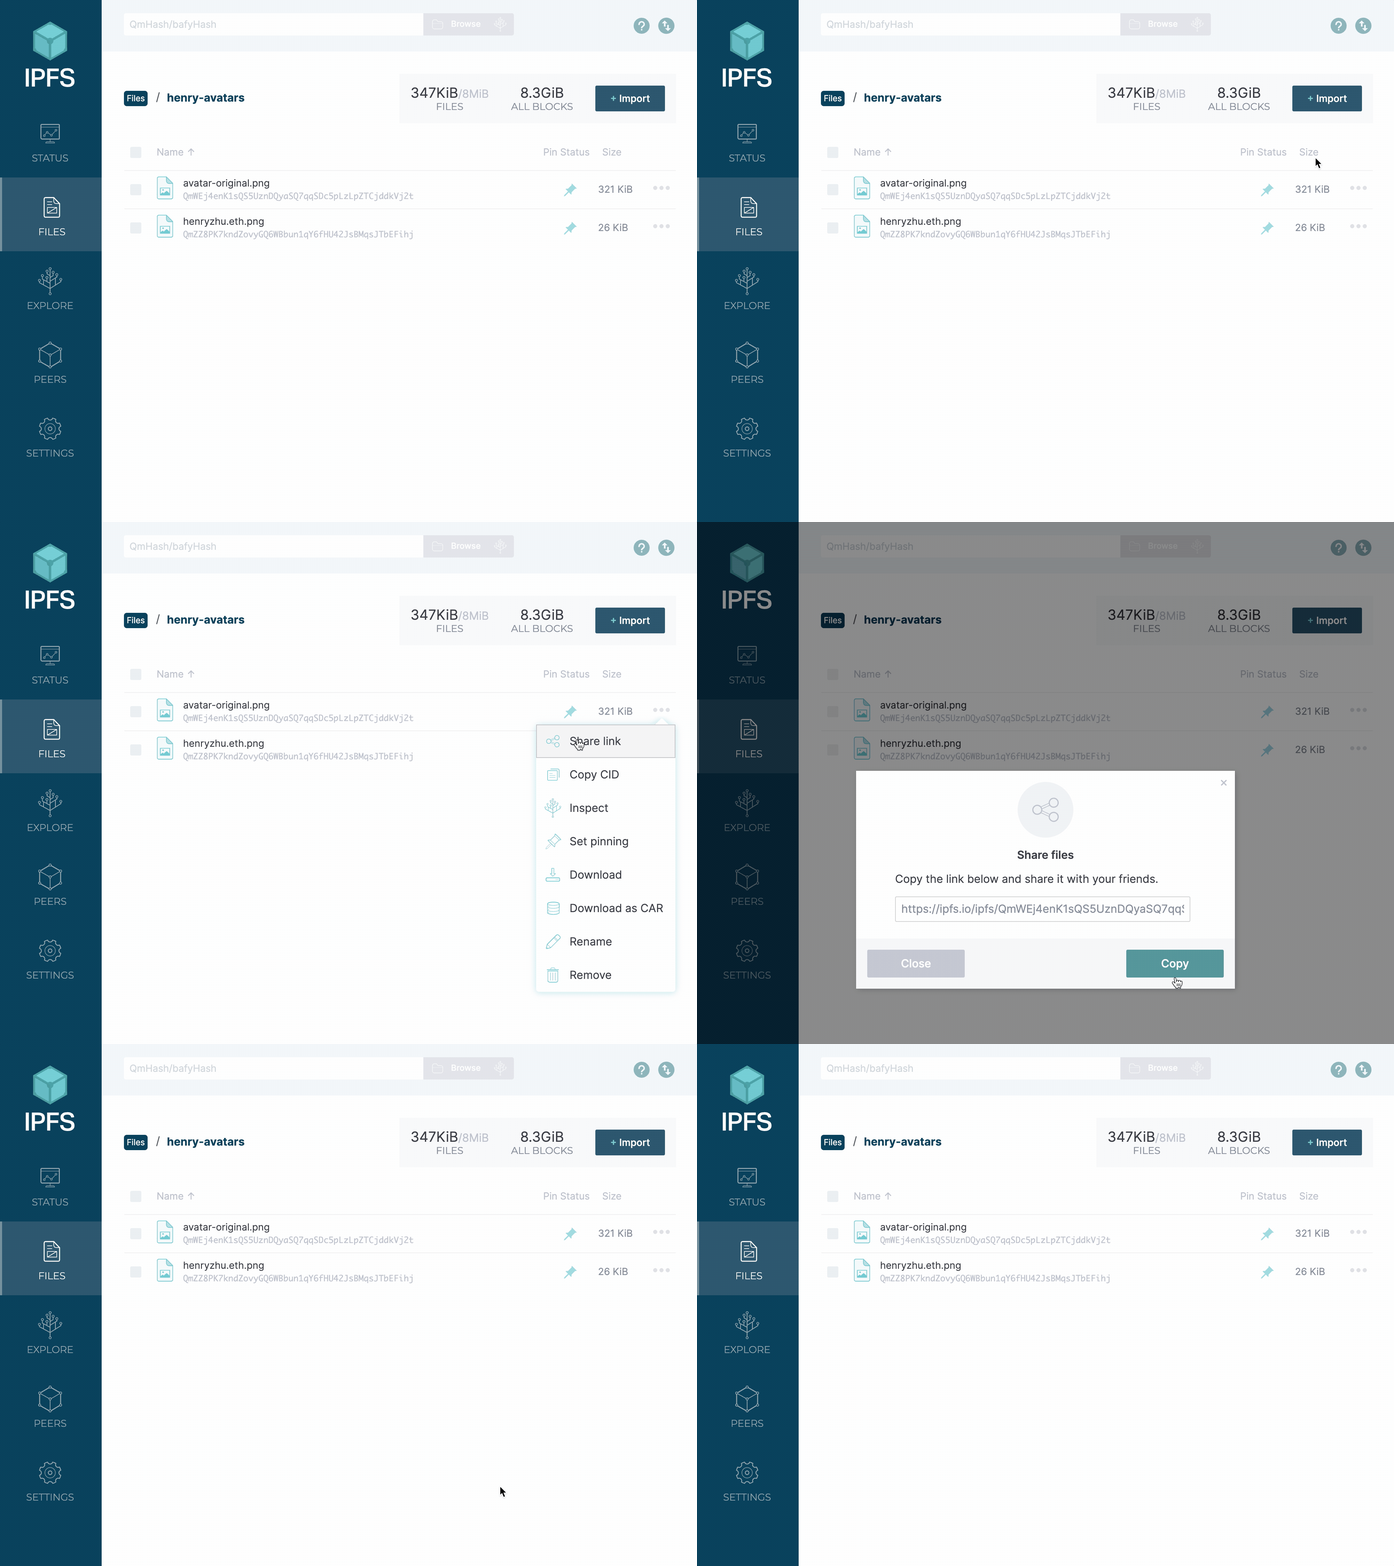
Copying the picture URL
Next, create a folder with files containing the metadata for each NFT. I created a folder named henry-avatars-metadata containing two files (one for each NFT). Each file should contain the name, image, and description for the NFTs in JSON format. Do not add .json extension to these files. Each file should look like this:
{
  "name": "henryzhu.eth",
  "image": "https://ipfs.io/ipfs/QmZZ8PK7kndZovyGQ6WBbun1qY6fHU42JsBMqsJTbEFihj?filename=henryzhu.eth.png",
  "description": "henryzhu.eth pixelated avatar"
}
{
"name": "henryzhu.eth",
"image": "https://ipfs.io/ipfs/QmWEj4enK1sQS5UznDQyaSQ7qqSDc5pLzLpZTCjddkVj2t?filename=avatar-original.png",
"description": "henryzhu.eth original avatar"
}Click “+Import” and import the folder into IPFS. Once imported it should look like:
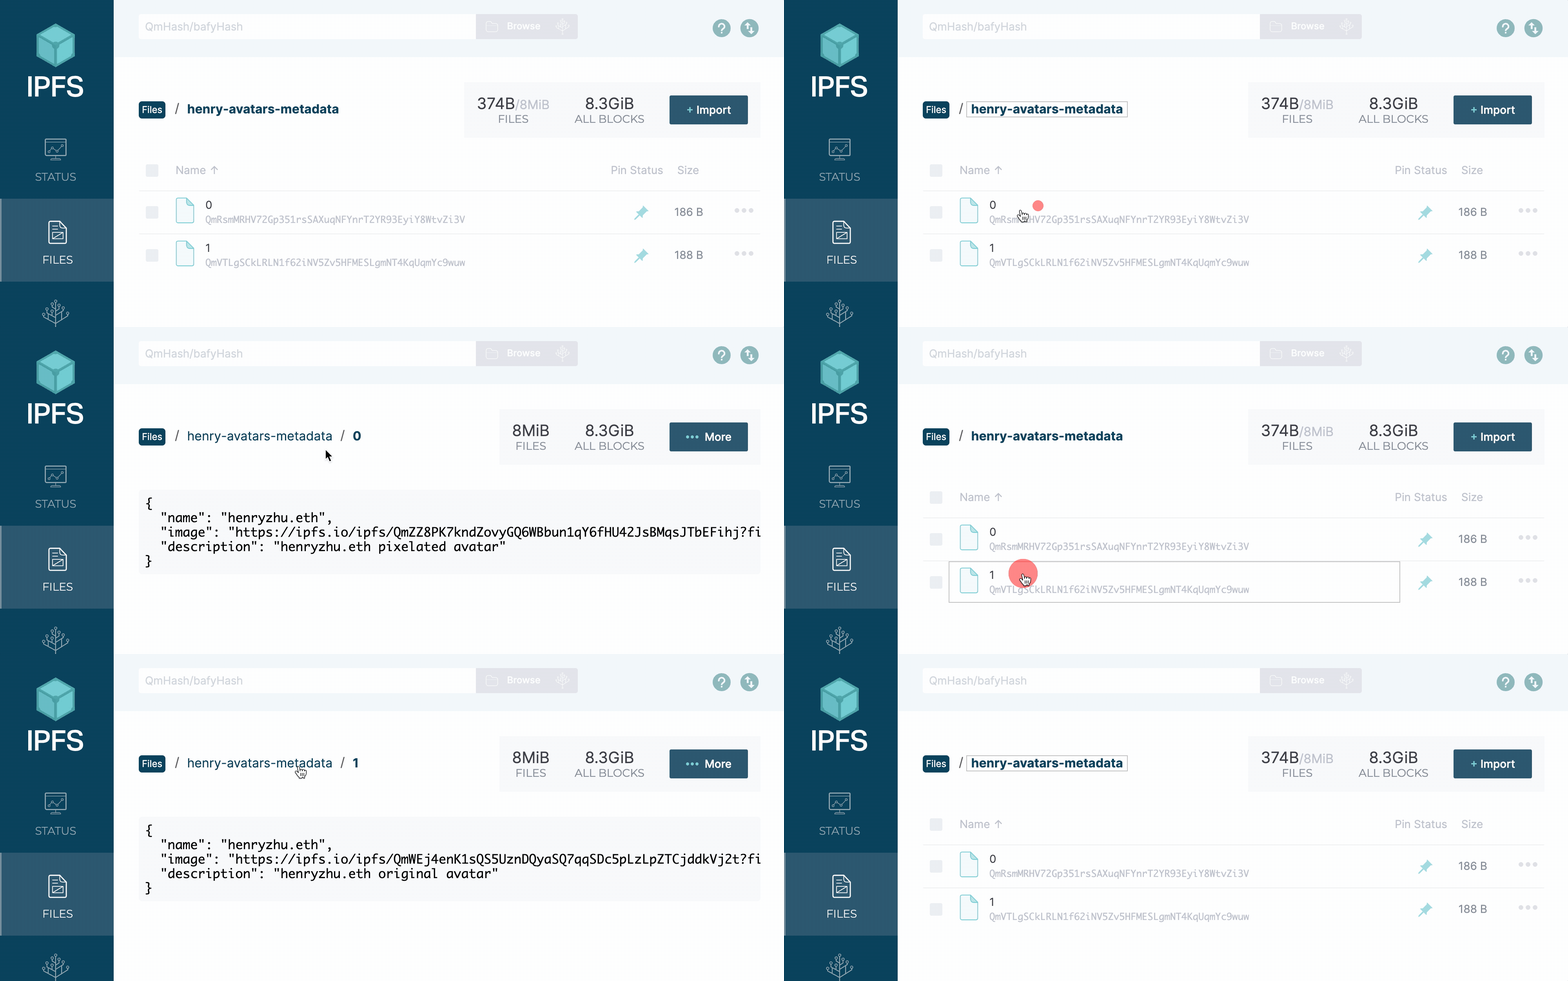
Folder with metadata for each NFT
Compile & Deploy Smart Contract
Setup the Hardhat project
- Create a new folder for the NFT project
- Run
npm initin the folder to initialize apackage.json - Install dependencies:
npm install --save-dev hardhat @nomicfoundation/hardhat-toolbox @openzeppelin/contracts - Setup hardhat by running the command
npx hardhat - Press Enter for all the prompts and be sure to select “Create an empty hardhat.config.js”
- Paste the following into the
hardhat.config.jsfile (insert your own private keys):
import "@nomicfoundation/hardhat-toolbox";

// Go to https://www.alchemyapi.io, sign up, create
// a new App in its dashboard, and replace "KEY" with its key
const ALCHEMY_API_KEY = "your-alchemy-api-key";

// Replace this private key with your Goerli account private key
// To export your private key from MetaMask, open MetaMask and
// go to Account Details > Export Private Key
// Beware: NEVER put real Ether into testing accounts
// While your at it, fund your account with some Goerli ETH (https://goerlifaucet.com/)
const GOERLI_PRIVATE_KEY = "your-goerli-private-key";

module.exports = {
  solidity: "0.8.9",
  networks: {
  goerli: {
      url: `https://eth-goerli.alchemyapi.io/v2/${ALCHEMY_API_KEY}`,
      accounts: [GOERLI_PRIVATE_KEY],
    }
  },
};
Setup ERC721 Smart Contract
- Navigate to https://docs.openzeppelin.com/contracts/4.x/wizard and click “ERC721” tab
- Enter a
Name,Symbol, andBase URI. For theBase URIenter an IPFS address with the CID (Content Identifier) of the metadata folder. For example, my project’sBase URIisipfs://QmdbqUDMtCgyKGTKTpJ7aVpRbMyxv5p1S2RpnHhAeAjiUn/ - Check the following features: Mintable, Auto Increment Ids, Burnable, and URI Storage
- Click “Copy to Clipboard”
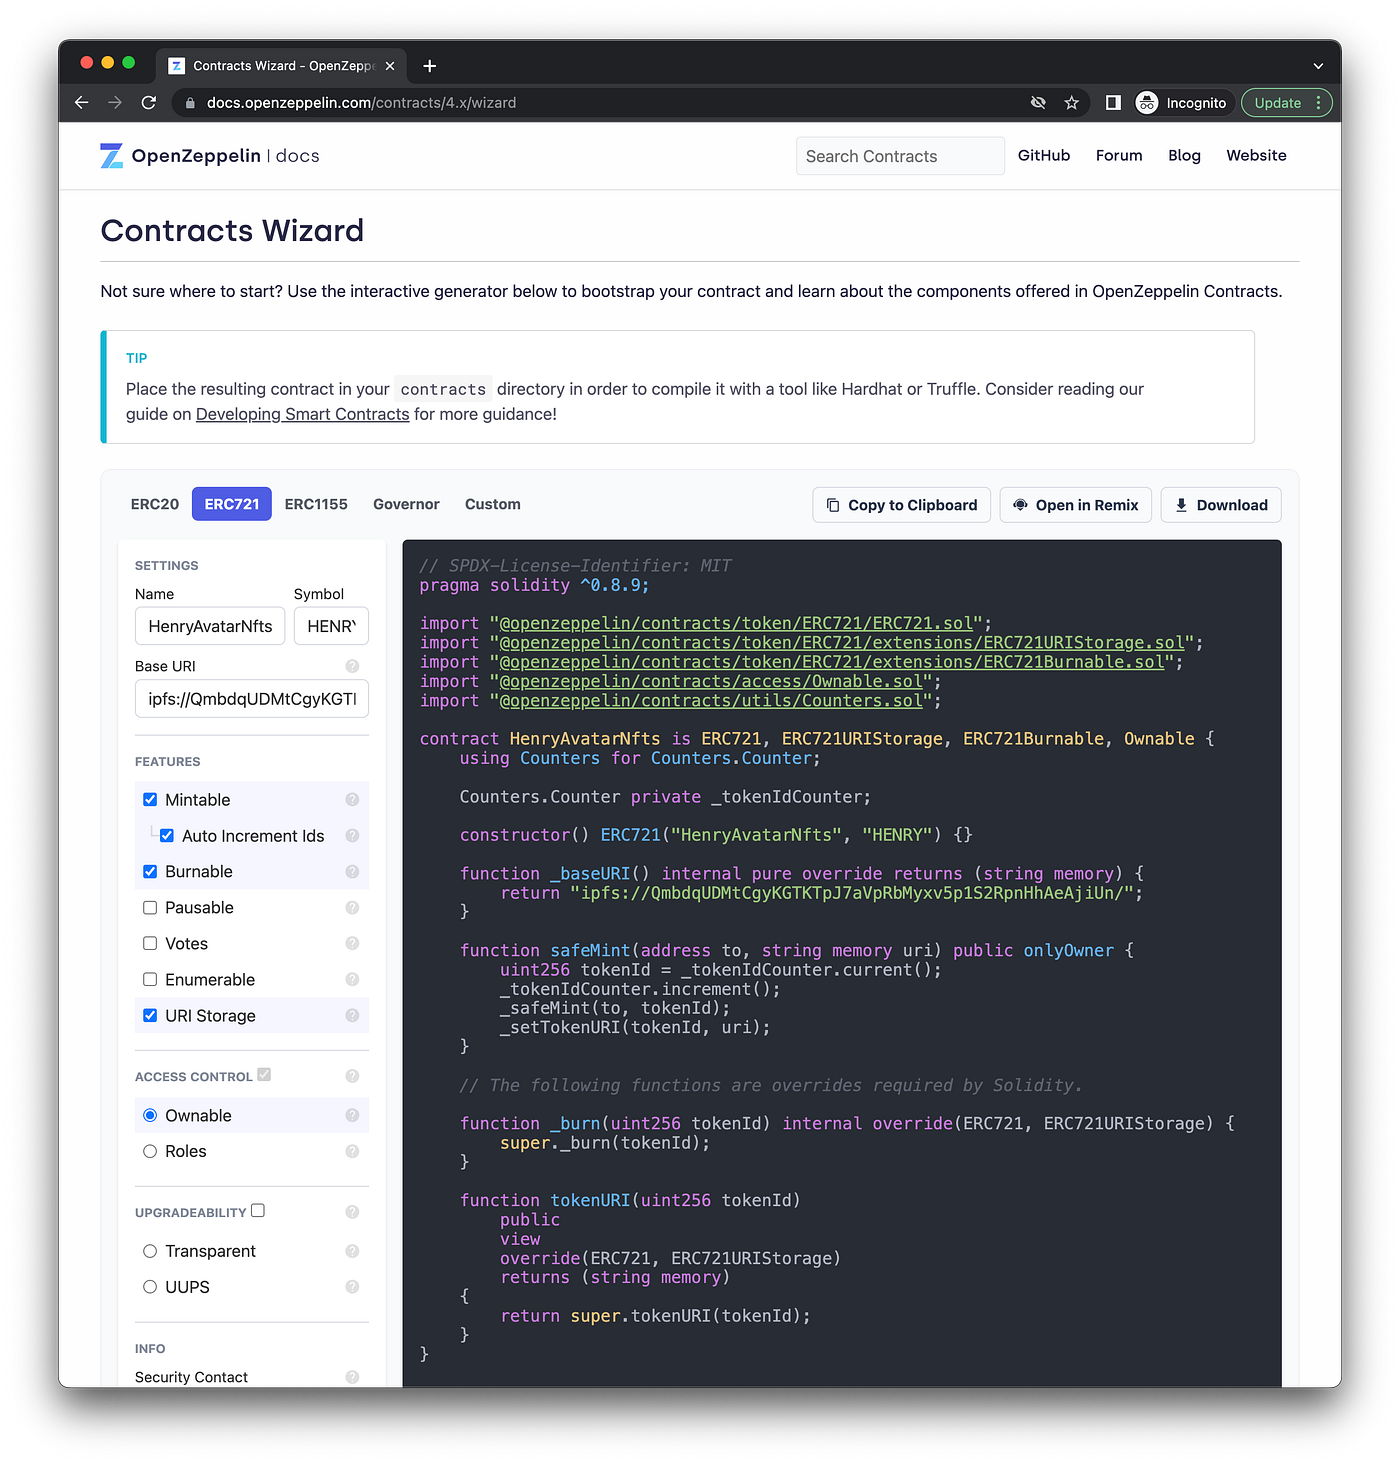
ERC721 Contract Wizard
Create a new folder called /contracts in the root of the project if it doesn’t already exist. Inside, create a Solidity file (e.g. HenryAvatarNfts.sol) and paste in the contents of the clipboard:
// SPDX-License-Identifier: MIT
pragma solidity ^0.8.9;

import "@openzeppelin/contracts/token/ERC721/ERC721.sol";
import "@openzeppelin/contracts/token/ERC721/extensions/ERC721URIStorage.sol";
import "@openzeppelin/contracts/token/ERC721/extensions/ERC721Burnable.sol";
import "@openzeppelin/contracts/access/Ownable.sol";
import "@openzeppelin/contracts/utils/Counters.sol";

contract HenryAvatarNfts is ERC721, ERC721URIStorage, ERC721Burnable, Ownable {
    using Counters for Counters.Counter;

    Counters.Counter private _tokenIdCounter;

    constructor() ERC721("HenryAvatarNfts", "HENRY") {}

    function _baseURI() internal pure override returns (string memory) {
        return "ipfs://QmSZL9jGdaXp1MZyVdBVyCdvHZ5Eh8six9bGBvhewejTXW/";
    }

    function safeMint(address to, string memory uri) public onlyOwner {
        uint256 tokenId = _tokenIdCounter.current();
        _tokenIdCounter.increment();
        _safeMint(to, tokenId);
        _setTokenURI(tokenId, uri);
    }

    // The following functions are overrides required by Solidity.

    function _burn(uint256 tokenId) internal override(ERC721, ERC721URIStorage) {
        super._burn(tokenId);
    }

    function tokenURI(uint256 tokenId)
        public
        view
        override(ERC721, ERC721URIStorage)
        returns (string memory)
    {
        return super.tokenURI(tokenId);
    }
}
Setup Deploy Script
We’ll need to create a script to deploy the smart contract. Create a file in /scripts/deploy.ts:
import { ethers } from "hardhat";

async function main() {
  const [deployer] = await ethers.getSigners();

  console.log("Deploying contracts with the account:", deployer.address);
  console.log("Account balance:", (await deployer.getBalance()).toString());

  const contractFactory = await ethers.getContractFactory("HenryAvatarNfts");
  const contract = await contractFactory.deploy();

  await contract.deployed();

  console.log("Contract deployed to:", contract.address);
}

main().catch((error) => {
  console.error(error);
  process.exitCode = 1;
});
⚠️ Deploying a smart contract requires an account to have ETH. Use a faucet (https://goerlifaucet.com/) to fund the account.
Compile the smart contract by running npx hardhat compile:
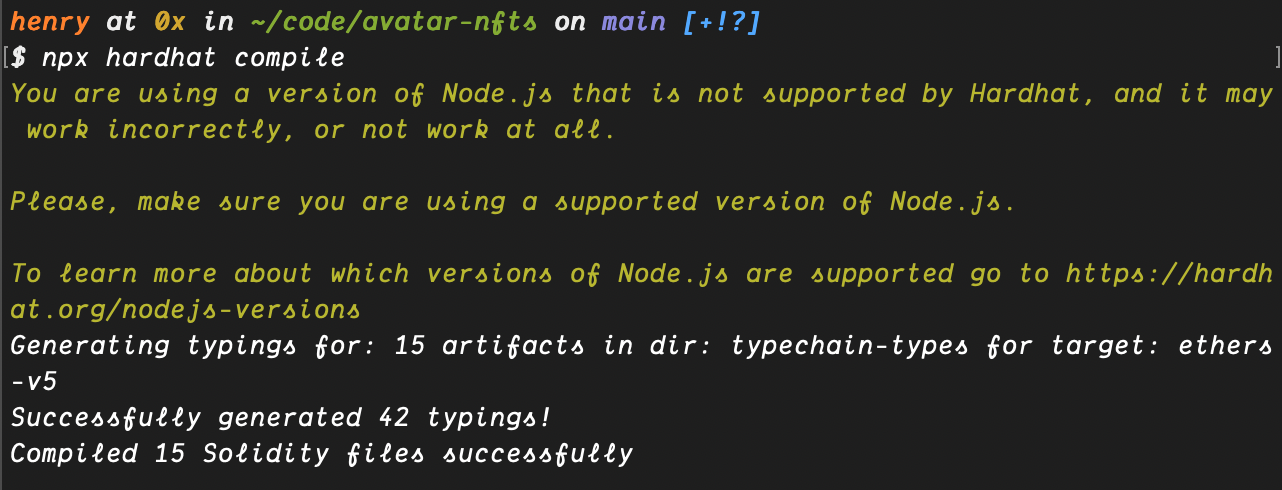
Compile smart contract
Then deploy it to the Goerli testnet with npx hardhat run scripts/deploy.ts --network goerli:
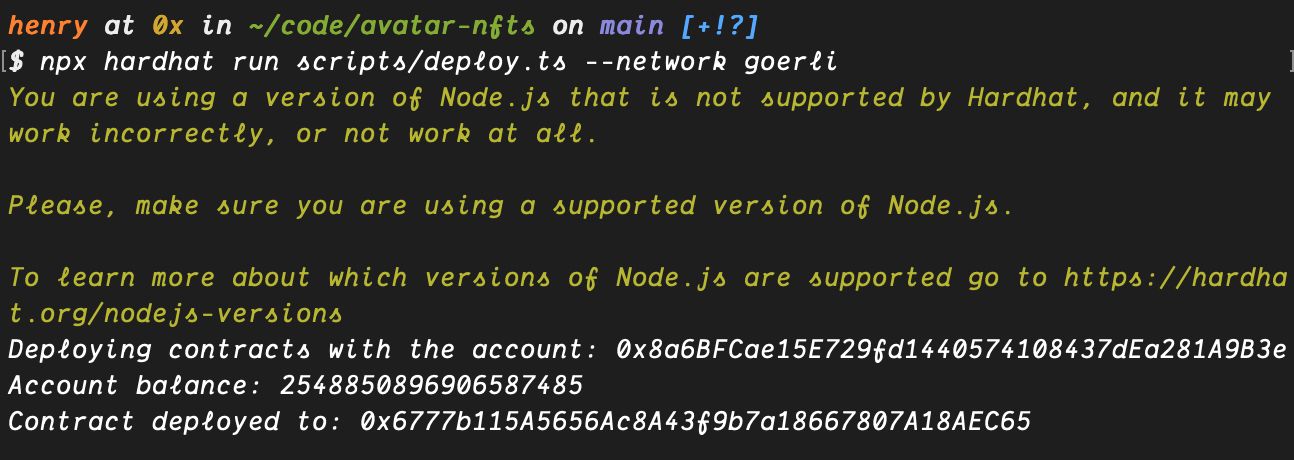
Deploy smart contract
Now that the contract has been deployed to Goerli, we can copy the deployed contract address and inspect it on Etherscan:
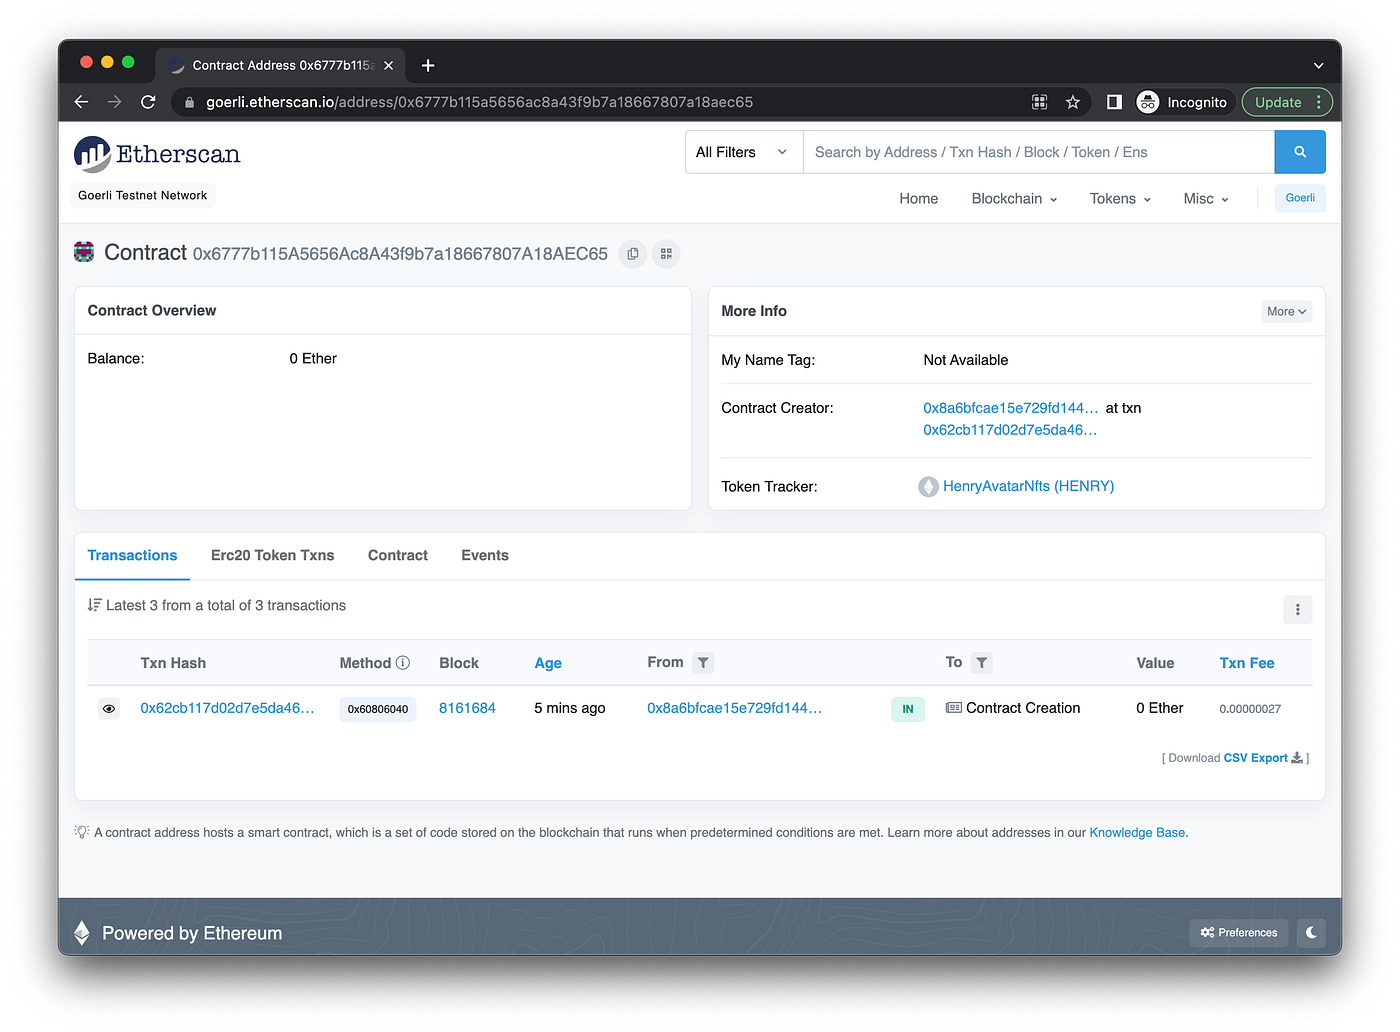
The deployed smart contract on Etherscan
Minting
For our project we’ll just self mint. Let’s create a new script in the project to self mint /scripts/mint.ts:
const { Wallet } = require("@ethersproject/wallet");
const { Contract } = require("@ethersproject/contracts");
const { StaticJsonRpcProvider } = require("@ethersproject/providers");
const ABI = require("./ABI.json");

const GOERLI_ALCHEMY_API_KEY = "alchemy-api-key-here";
const PRIVATE_KEY = "goerli-account-private-key";

const contractAddress = "0x6777b115A5656Ac8A43f9b7a18667807A18AEC65";
const RPC_URL = `https://eth-goerli.g.alchemy.com/v2/${GOERLI_ALCHEMY_API_KEY}`;
const provider = new StaticJsonRpcProvider(RPC_URL);
const wallet = new Wallet(PRIVATE_KEY);
const signer = wallet.connect(provider);
const contract = new Contract(contractAddress, ABI, signer);

const mint = async (tokenId: string) => {
  try {
    const transaction = await contract.functions.safeMint(
      "0x8C26f12FD8377c0d17C699BFb21df9a87962b119", // this account will receive the NFT
      tokenId
    );
    console.log(transaction);
  } catch (error) {
    console.error(error);
  }
};

// mint the NFT with an tokenId of
mint("0");
To mint we can run node scripts/mint.ts
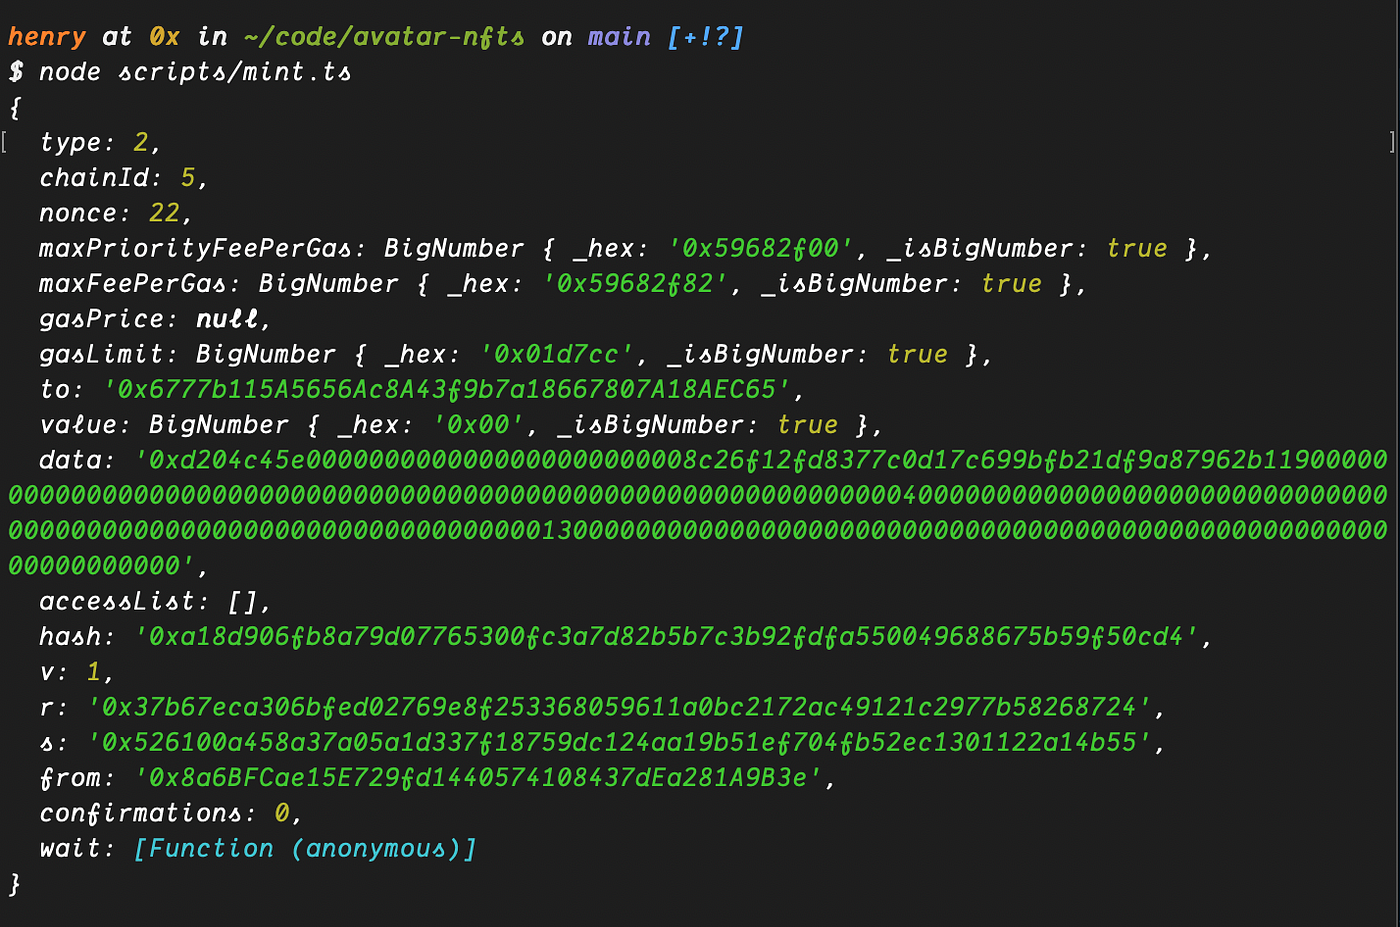
The transaction object
Now navigate to the transaction hash 0xa18…0cd4 on Etherscan to inspect the transaction:
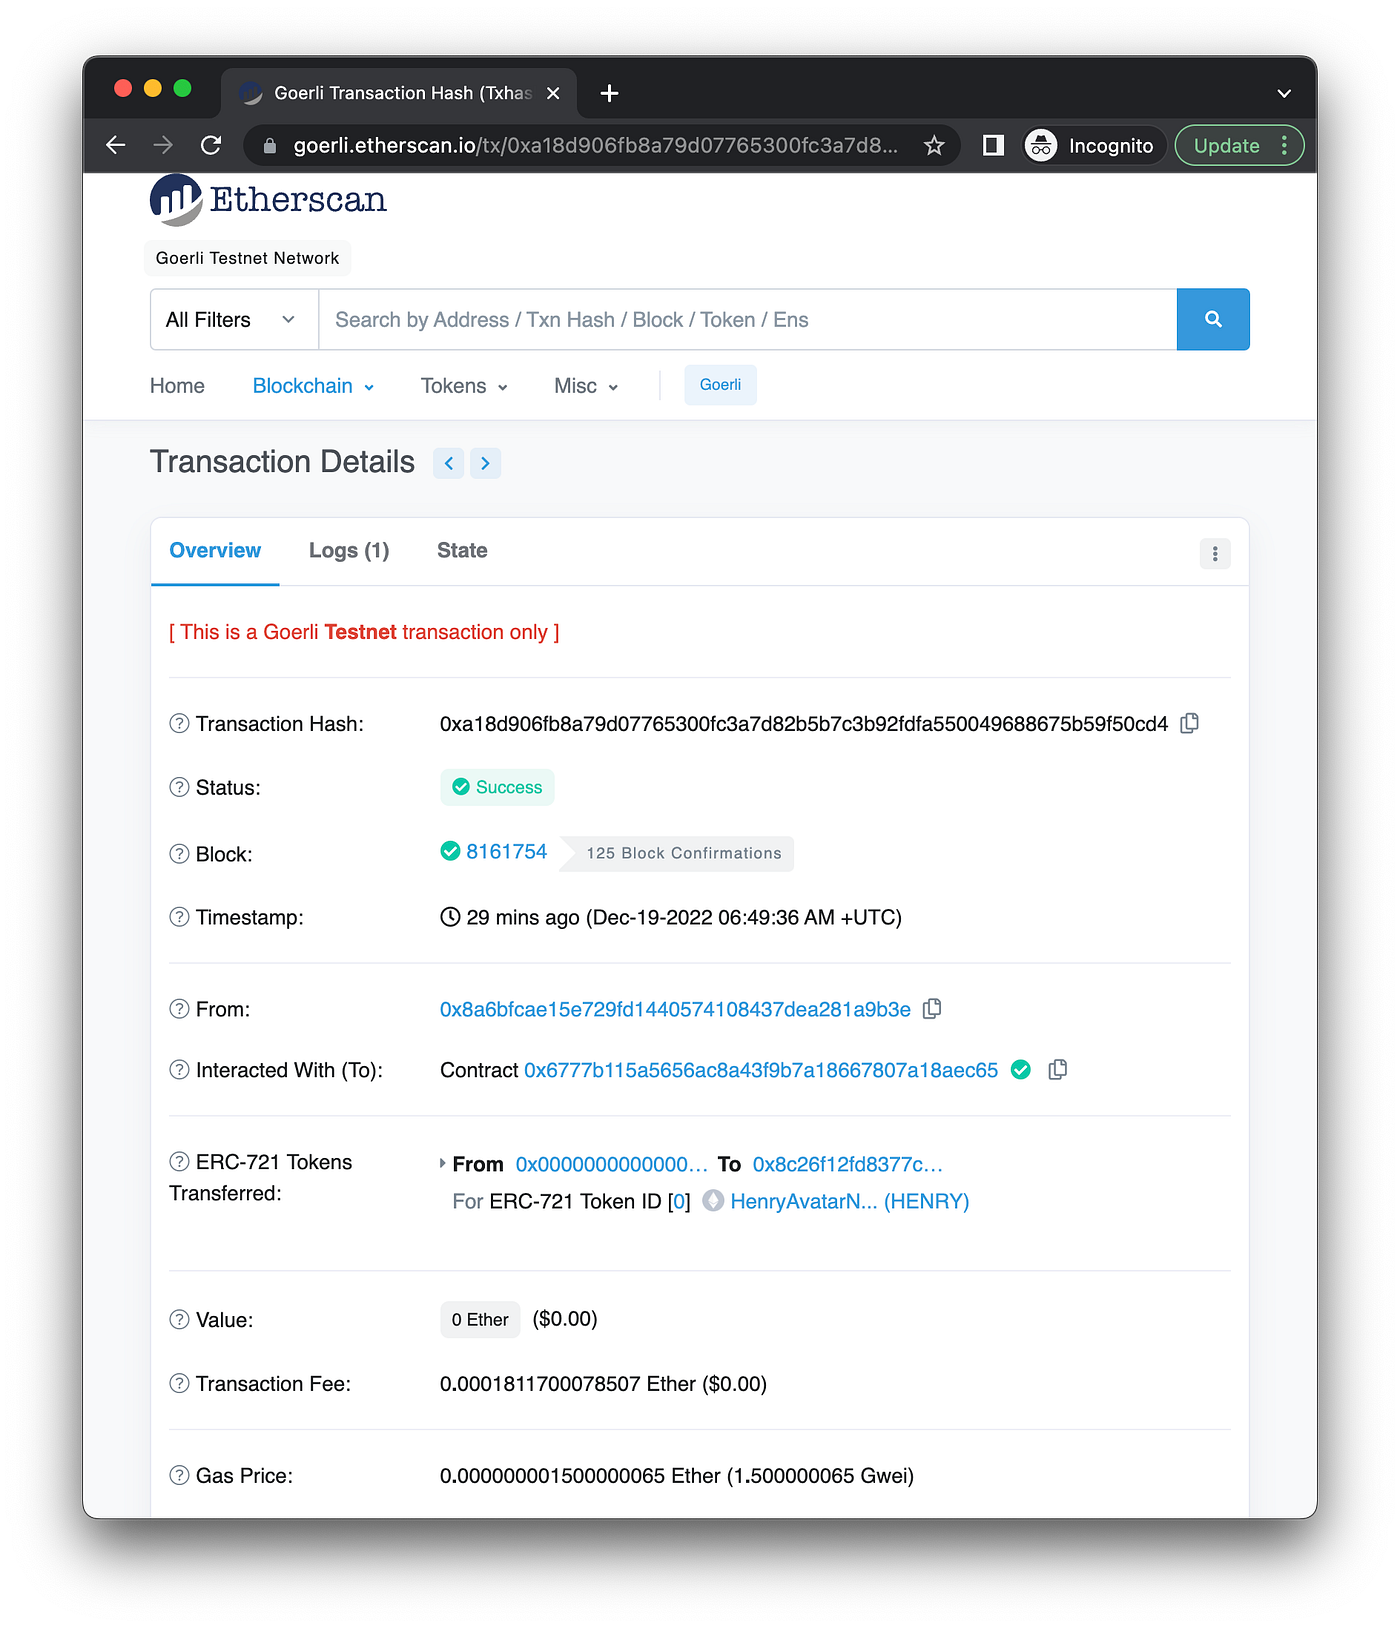
Notice Token ID 0 has been minted
I’ll also mint my second NFT by running the script again with the other token ID. Now, both NFTs are minted and visible on OpenSea Goerli 🎉:
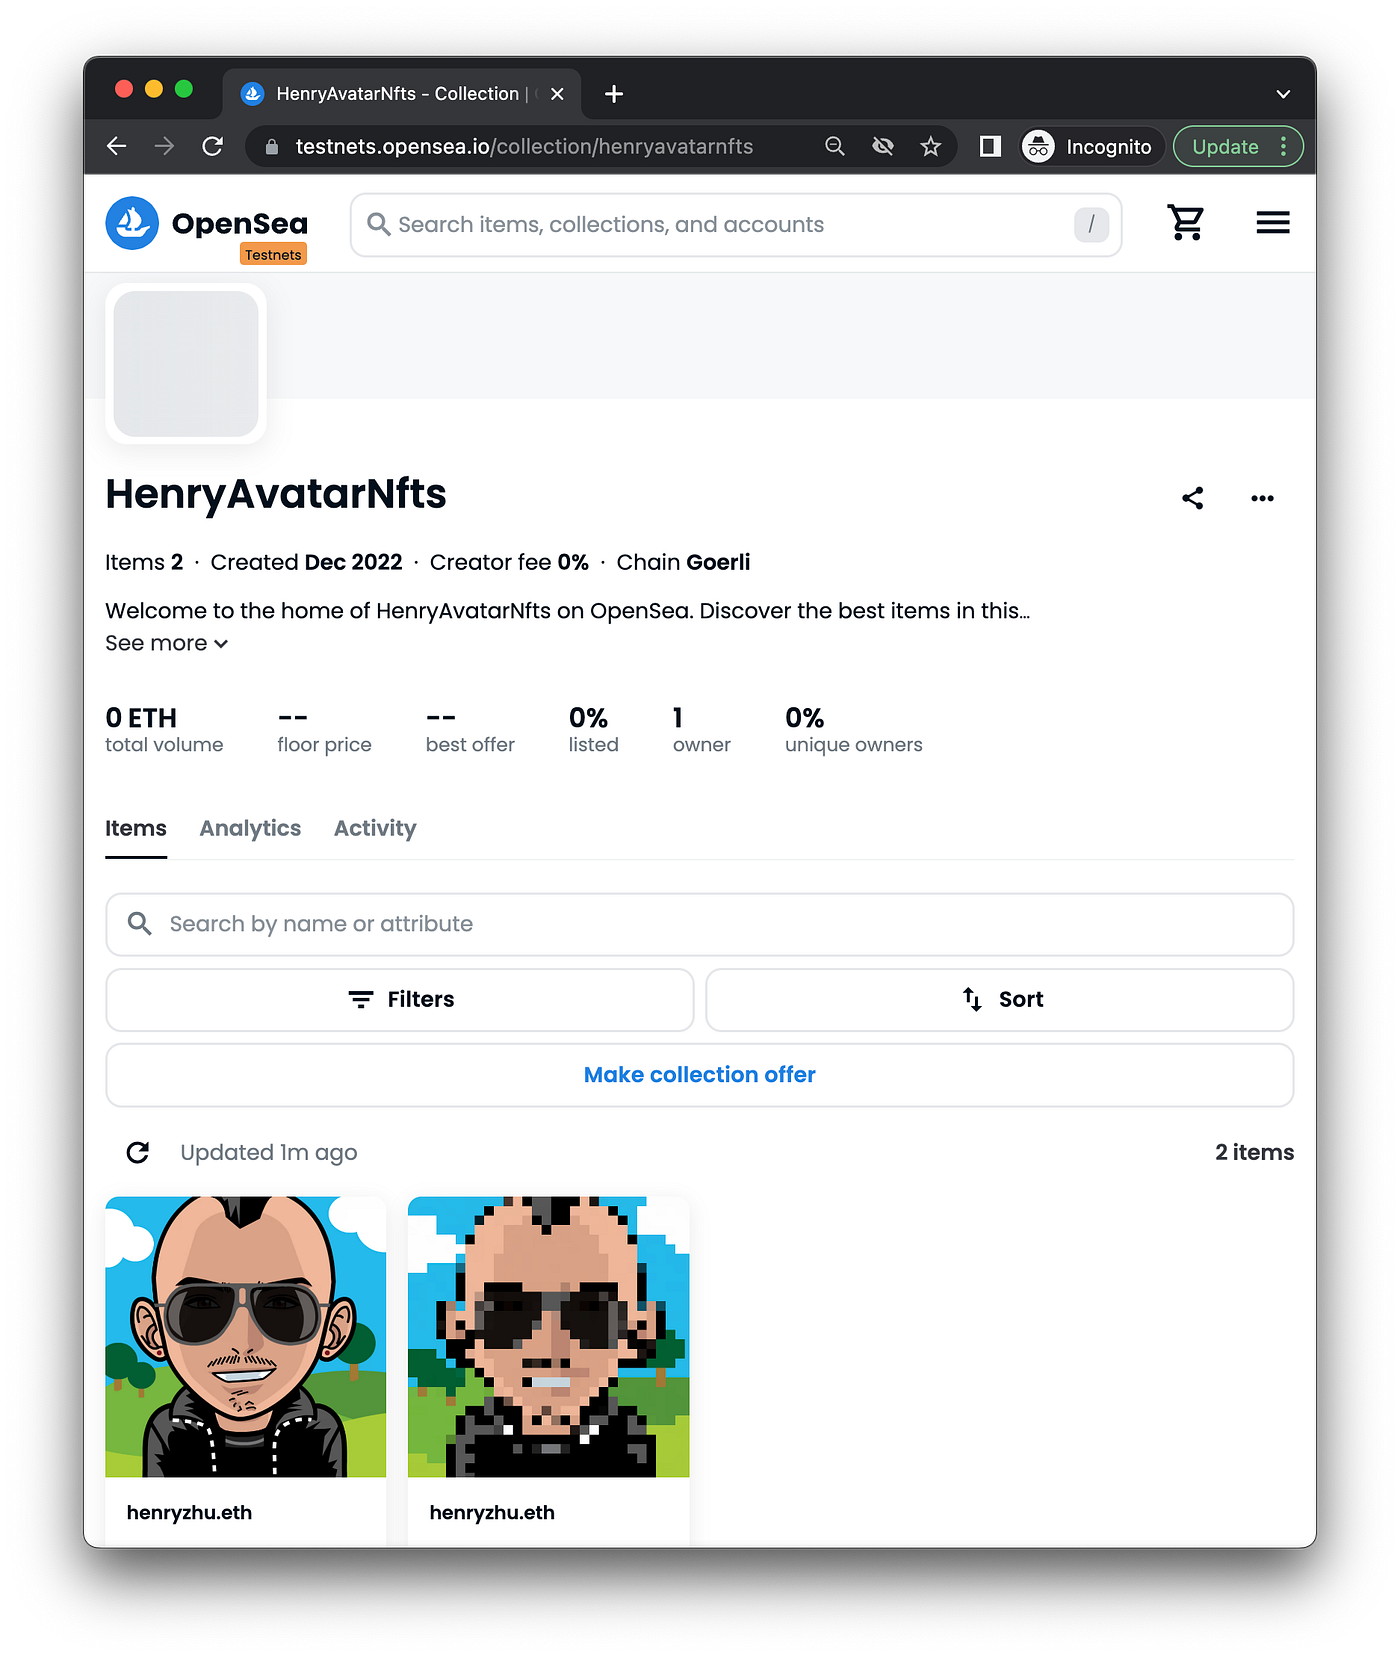
https://testnets.opensea.io/collection/henryavatarnfts
That’s it! The source code can be found here (https://github.com/hzhu/avatars-nfts).
메타데이터
- post_id
- 478fcc74014
- slug
- publish-a-nft-collection-478fcc74014
- url
- https://coinsbench.com/publish-a-nft-collection-478fcc74014
- canonical_url
- https://coinsbench.com/publish-a-nft-collection-478fcc74014
- author_url
- https://medium.com/@henballs
- status
- ok
- fetched_at
- 2026-06-29 22:44:20