How to Remove a Rack Label Safely: A Step-by-Step Guide
Warehouse and industrial environments rely on clear, durable rack labels to maintain organized storage, accurate inventory tracking, and…
How to Remove a Rack Label Safely: A Step-by-Step Guide
Warehouse and industrial environments rely on clear, durable rack labels to maintain organized storage, accurate inventory tracking, and smooth day-to-day operations. However, as warehouse layouts change, barcodes become outdated, or labels fade and wear, proper label removal becomes just as important as proper labeling. Knowing how to remove rack labels correctly helps prevent stubborn adhesive residue, protects rack surfaces from damage, and supports ongoing safety compliance — keeping your facility efficient, professional, and adaptable.
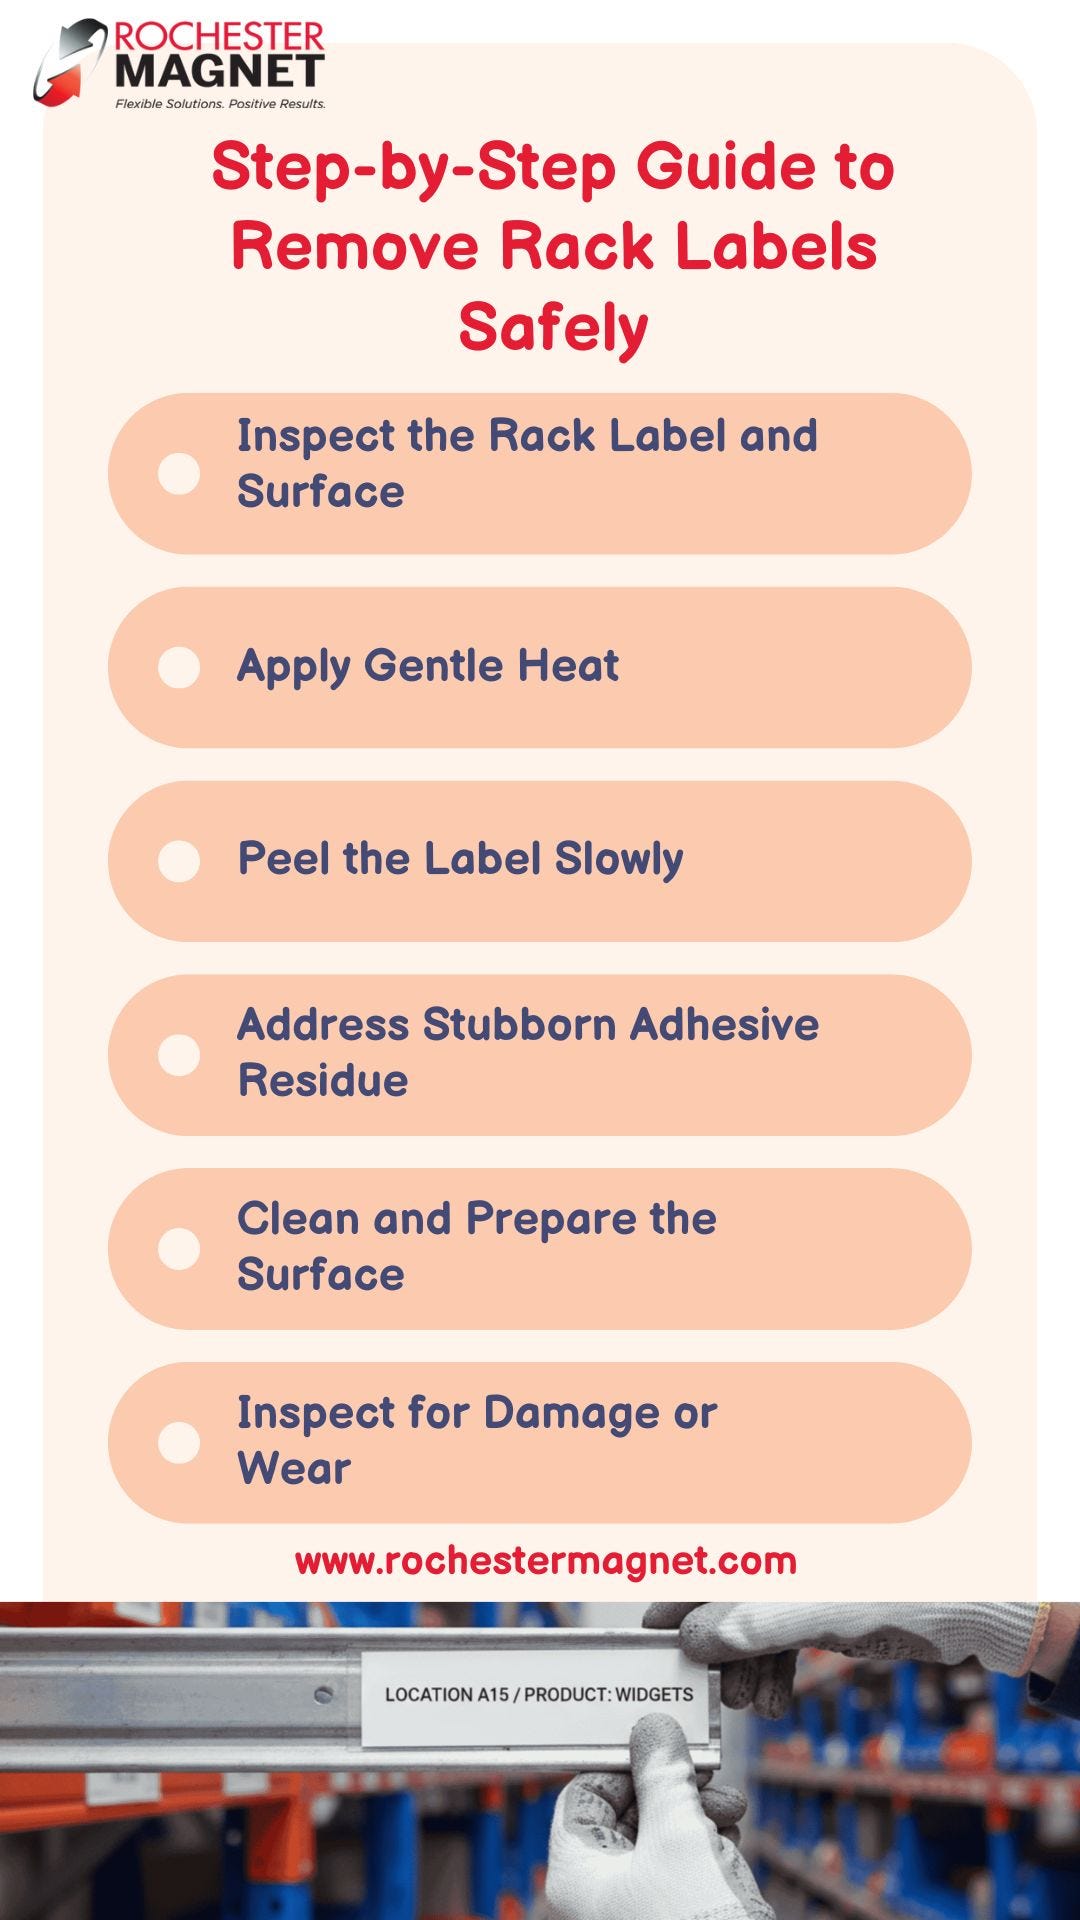
This guide outlines a safe, effective, and professional approach to rack label removal, helping you protect your racking system while maintaining warehouse efficiency.
Why Proper Rack Label Removal Matters
Rack labels are designed to withstand dust, moisture, and heavy wear in demanding warehouse environments. While this durability is essential during use, it can make label removal challenging. Improper removal techniques may scratch metal racks, damage protective coatings, or leave behind sticky residue that attracts dirt and debris.
A careful, methodical removal process ensures that:
- Rack surfaces remain undamaged
- New labels adhere properly
- Safety and compliance standards are maintained
Whether you manage a distribution center, manufacturing plant, or storage warehouse, safe rack label removal is a critical part of facility maintenance. When paired with a well-structured rack labeling strategy, proper removal helps improve accuracy, reduce errors, and streamline inventory management.
Tools You’ll Need Before You Begin
Preparation is key to efficient and damage-free label removal. Having the right tools on hand minimizes effort, reduces downtime, and protects rack surfaces.
Recommended tools include:
- Plastic scraper or squeegee (avoid metal blades)
- Heat source such as a hair dryer or heat gun on a low setting
- Adhesive remover or isopropyl alcohol
- Soft cloths or microfiber towels
- Protective gloves
Using the proper tools is especially important when performing warehouse rack label removal across large or high-density racking systems.
Step-by-Step Guide to Safely Remove Rack Labels
Step 1: Inspect the Label and Rack Surface
Begin by identifying the type of label and the rack material. Most warehouse racks are metal and coated for protection, so understanding the surface helps you choose the safest removal method. This initial inspection is essential for planning adhesive rack label removal without causing surface damage.
Step 2: Apply Gentle Heat
Heat softens adhesive, making labels easier to remove. Use a hair dryer or a heat gun set to low, applying even warmth across the label for 20–30 seconds.
This step is especially important when you need to remove rack labels safely, particularly in colder warehouse environments where adhesives tend to harden over time.
Step 3: Peel the Label Slowly
After heating, gently lift one corner of the label using a plastic scraper. Peel it back slowly at a low angle. Taking your time reduces the risk of tearing the label or leaving adhesive residue behind.
This method is ideal when removing labels from metal racks without damaging paint, coatings, or protective finishes.
Step 4: Remove Stubborn Adhesive Residue
If adhesive residue remains, apply a small amount of adhesive remover or isopropyl alcohol to a soft cloth and gently rub the area. Avoid harsh or abrasive chemicals that could corrode metal or strip protective coatings.
Proper residue removal is a critical part of effective industrial label removal, especially in high-use facilities where adhesives are designed for long-term durability.
Step 5: Clean and Prepare the Surface
Once residue is removed, clean the rack with a mild solution and dry it thoroughly. This step ensures the surface is ready for relabeling, inspection, or layout changes.
Thorough cleaning supports smooth shelving label removal and allows new labels to adhere securely without peeling or bubbling.
Step 6: Inspect for Damage or Wear
After label removal, inspect racks for scratches, rust, or coating damage. Addressing minor issues early helps preserve rack integrity and maintain warehouse safety standards.
This final inspection is often overlooked but is an essential step in professional rack label removal practices.
Common Mistakes to Avoid
Improper techniques can damage racks and complicate future labeling efforts. Avoid these common mistakes:
- Using metal blades or knives
- Applying excessive heat
- Scraping aggressively
- Using industrial solvents without testing
These errors can lead to costly repairs, surface damage, and compliance concerns.
When DIY Removal Isn’t Enough
While small-scale label removal can often be handled in-house, large warehouses and distribution centers typically require professional support. High-volume racking systems, aged labels, and industrial-grade adhesives demand specialized tools and experience.
Professional services ensure consistent results, faster turnaround, and minimal disruption to daily operations — especially when labels must be removed evenly across an entire facility.
Benefits of Professional Rack Label Removal
Partnering with experts for adhesive rack label removal offers clear advantages:
- Faster completion for large-scale projects
- Reduced risk of rack or coating damage
- Proper handling and disposal of removed labels
- Efficient preparation for relabeling or reconfiguration
Experienced teams understand how to manage complex shelving label removal safely and efficiently.
Safety and Compliance Considerations
Rack labeling plays a key role in warehouse safety and regulatory compliance. Improper removal can cause confusion, misidentification, or safety gaps. Accurate removal and replacement help maintain inventory accuracy and operational safety.
A systematic approach to remove rack labels safely also reduces workplace hazards caused by loose labels, sticky residue, or damaged rack surfaces.
Conclusion: Choose the Right Partner for Rack Label Removal
Understanding **how to remove rack labels correctly** protects your warehouse infrastructure, enhances efficiency, and keeps your facility organized and compliant. While small projects may be manageable internally, large-scale or complex warehouse rack label removal is best handled by professionals.
For reliable, efficient, and damage-free rack label removal, Rochester Magnet delivers proven expertise and tailored solutions — ensuring safe, precise, and professional results for your facility.
메타데이터
- post_id
- 4e976e1b3c6f
- slug
- how-to-remove-a-rack-label-safely-a-step-by-step-guide-4e976e1b3c6f
- url
- https://medium.com/@rochestermagnet/how-to-remove-a-rack-label-safely-a-step-by-step-guide-4e976e1b3c6f
- canonical_url
- https://medium.com/@rochestermagnet/how-to-remove-a-rack-label-safely-a-step-by-step-guide-4e976e1b3c6f
- author_url
- https://medium.com/@rochestermagnet
- status
- ok
- fetched_at
- 2026-07-13 18:54:59