Matrix: 1 Vulnhub Walkthrough
Challenge Summary
Matrix: 1 Vulnhub Walkthrough

Challenge Summary
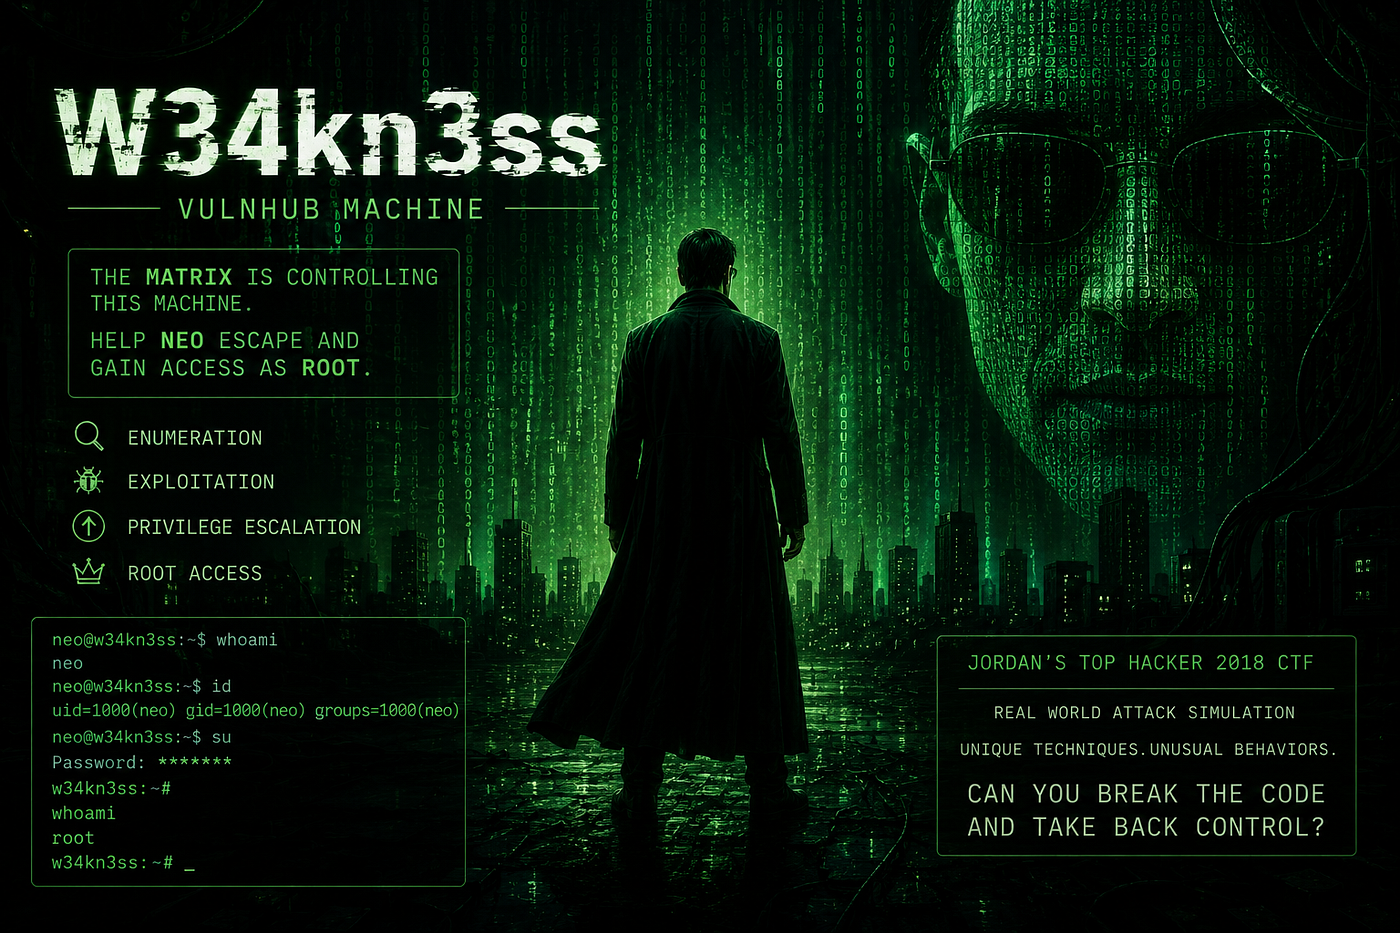
We are going to take another boot2root challenge known as ‘Matrix: 1’ on Vulnhub platform. This machine is based on very popular movie ‘**The Matrix’ **in which our goal is to get root access to complete the challenge. You can download this VM here.
Step 1 — Reconnaissance and Enumeration
Let’s start off with scanning the network to find our target IP Address.
netdiscoverUse nmap to perform a scan on the target IP to identify open ports and their associated services:
nmap -sV -sC 192.168.229.130
nmap scan result
The NMAP output shows us that there are 3ports open: 22(SSH), 80(HTTP), 31337(HTTP).
We find that port 80 is running http, so we open the IP in our browser.

We don’t find anything on the web service running on port 80. So we start enumerating the web service running on port 31337.

We take a look at the source code of the web service running on port 31337 and find a base64 encoded string.

Source code
Step 2 — Decode base64 Encoded String
echo “ZWNobyAiVGhlbiB5b3UnbGwgc2VlLCB0aGF0IGl0IGlzIG5vdCB0aGUgc3Bvb24gdGhhdCBiZW5kcywgaXQgaXMgb25seSB5b3Vyc2VsZi4gIiA+IEN5cGhlci5tYXRyaXg=” | base64d
We decode the base64 encoded string and find a hint to that is related “Cypher.matrix”.
Step 3 — Download and Analyze the BIN File
We open “Cypher.matrix” on the web service running on port 31337 and find that it starts downloading a BIN file.

We take a look at the content of the file and find “**brainfuck**” encoded string.
Step 4 — Decoding Brainfuck Encoded String
We decode the brainfuck encoded a string using this site ***here* and find an incomplete password for the user “guest**”.

Decode String
Step 5 — Creating a dictionary And Password Cracking
As the last 2 characters are missing we create a wordlist using crunch so that we can brute force SSH login.
crunch 8 8 -t k1ll0r%@ -o dict.txt
We use hydra to brute force ssh login using the dictionary we created earlier and find the password.
hydra -l guest -P dict.txt 192.168.229.130 ssh
Hydra result
Step 6 — Access The Target Via SSH
Now that we know the password we login through SSH using credentials “guest:k1ll0r7n”.
ssh guest@192.168.229.130After logging in we try to run the “ls” command but are unable to run it as we have a rbash shell.
lsStep 7 — Escaping a Restricted Shell Environment
We check the PATH environment variable and find the path to be “/home/guest/prog”.
$PATHNow as we cannot run “ls” command we try to find commands that can run. After trying a few commands we find that we can run “echo” command. We use the “echo” command to find the executables inside “/home/guest/prog” and find “vi” is available.
echo /home/guest/prog/*Now we check the SHELL environment variable and find we have an only rbash shell.
echo $SHELL
You will discover that vi is available. Use vi to spawn a /bin/bash shell. In vi, enter command mode by pressing :, then type !/bin/bash.
:!/bin/bash
Step 8 — Exporting Environment Variables
After escaping the restricted shell environment, we export /bin/bash to SHELL environment variable and “/usr/bin” directory to PATH environment variable so that we can run Linux command properly.
export SHELL=/bin/bash:$SHELL
export PATH=/usr/bin:$PATH
After exporting into the environment variables, we check the sudoers list and find we can directly get the root shell as we have all the rights.
sudo -l
sudo su
We are unable to execute “su” command as we haven’t exported “/bin” directory into PATH environment. We exported “/bin” directory into a PATH environment variable and again ran the command to login as root using the password we find earlier.
export PATH=/bin:$PATH
sudo su
Step 9 — Getting Root Access
After logging in we go to the root directory and find a file called flag.txt. We take a look at the content of the file and find the congratulatory message.
cd /root
ls
cat flag.txt
The flag.txt file contains the congratulatory message and confirms that you have completed the challenge.
메타데이터
- post_id
- 4ed149afffdb
- slug
- matrix-1-vulnhub-walkthrough-4ed149afffdb
- url
- https://medium.com/@utsavthakur448/matrix-1-vulnhub-walkthrough-4ed149afffdb
- canonical_url
- https://medium.com/@utsavthakur448/matrix-1-vulnhub-walkthrough-4ed149afffdb
- author_url
- https://medium.com/@utsavthakur448
- status
- ok
- fetched_at
- 2026-06-23 21:39:52