How to Use Unreal Engine’s Automotive Materials Pack on Imported Vehicles
Imported vehicles often look flat or unrealistic. Here’s how to give them professional automotive materials in just a few minutes.
How to Use Unreal Engine’s Automotive Materials Pack on Imported Vehicles
Imported vehicles often look flat or unrealistic. Here’s how to give them professional automotive materials in just a few minutes.
Imported vehicle models often come with their own materials, but that doesn’t mean you’re stuck using them.
You might want to change the paint color, replace missing textures, upgrade the interior, or simply give the vehicle a completely different look. Fortunately, Unreal Engine includes a free Automotive Materials Pack filled with ready-to-use automotive shaders.
In this guide, I’ll show you how to apply those materials to an imported vehicle and quickly customize its appearance.
If you haven’t imported a vehicle yet, check out my Sketchfab vehicle import guide first!
[embed]
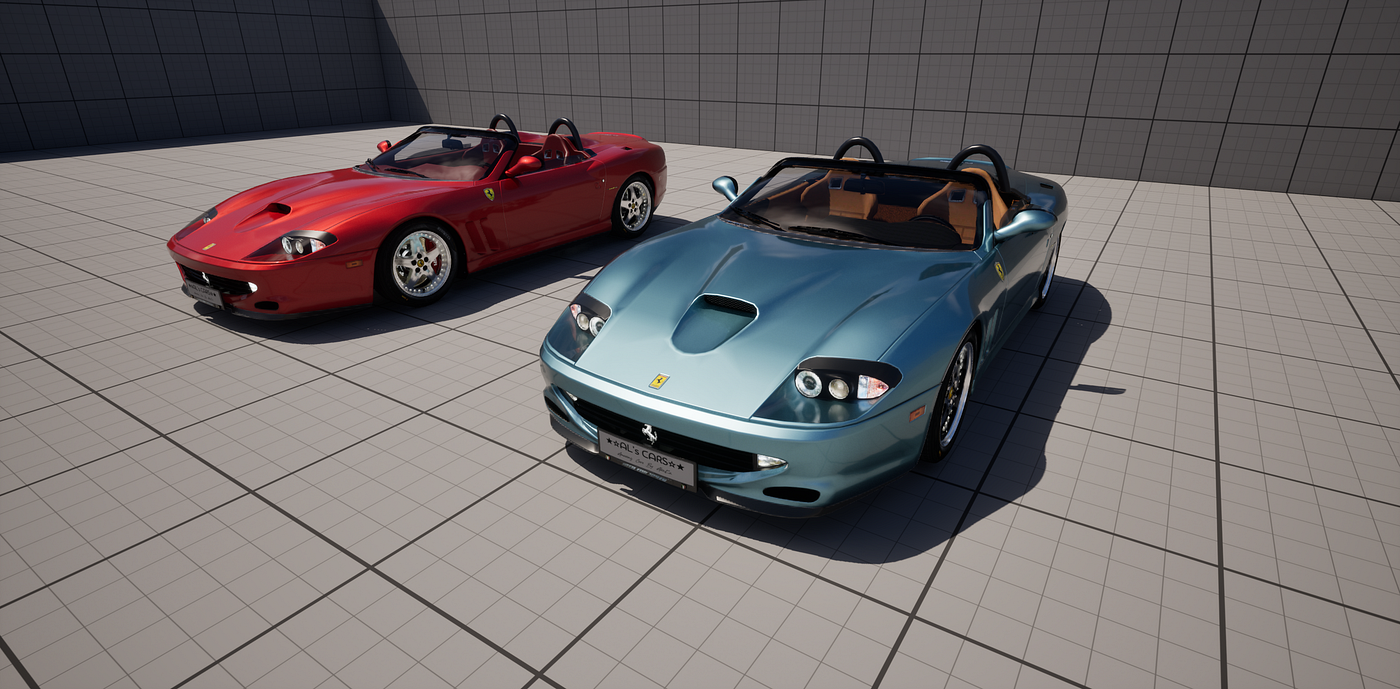
Go Straight to a Step! 🏁
Tap a step below to jump right to that section:
- Add the Automotive Materials Pack
- Customize the Exterior
- Customizing the Wheels and Lighting
- Customizing Exterior Plastics
- Customizing the Interior
Add the Automotive Materials Pack
I’m assuming you already have a vehicle imported and ready to use in your project. For this guide, I’m using a Ferrari 550 that I downloaded from Sketchfab.
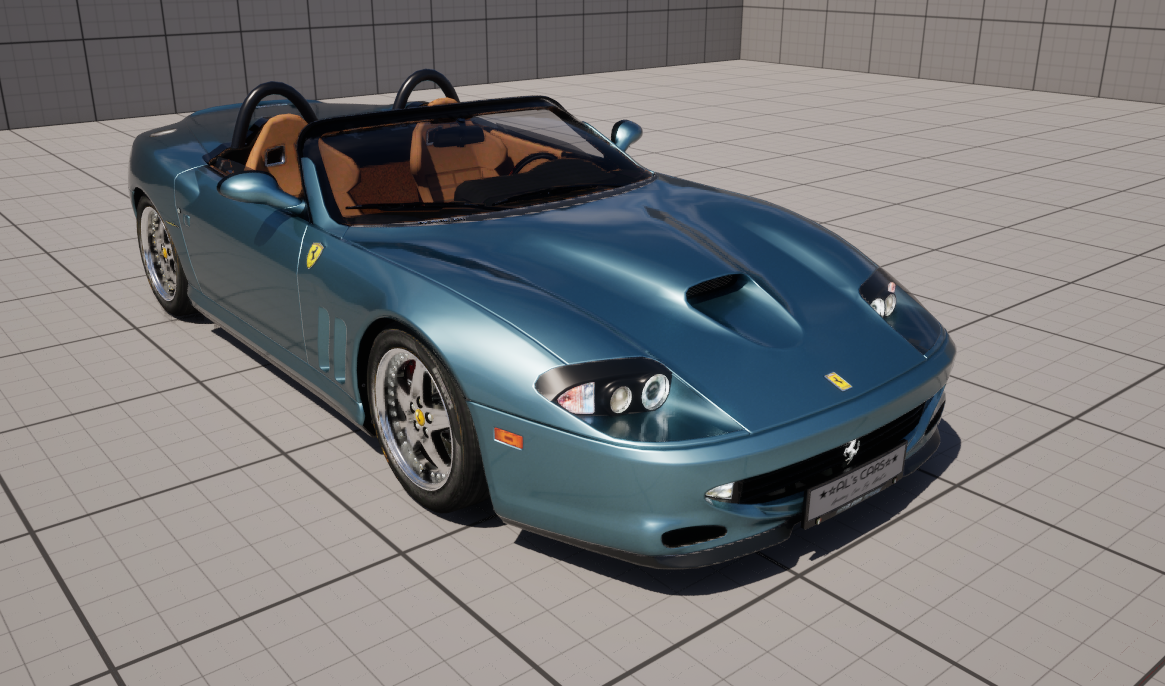
“Ferrari 550 Barchetta 2000 Azzurro Hyperion” (https://skfb.ly/pq6D8) by ᗩᒪE᙭. Kᗩ.🚗 is licensed under Creative Commons Attribution-NonCommercial (http://creativecommons.org/licenses/by-nc/4.0/).
While I really like the Azzurro California blue paint, I’d like to change things up a bit and customize both the exterior and interior materials!
- Before we can do that, we need to add Unreal Engine’s Automotive Materials Pack to the project. Open Fab, sign in to your account, and search for Automotive Materials by Epic Games. Once you find it, add it to your library and then add it to your project.
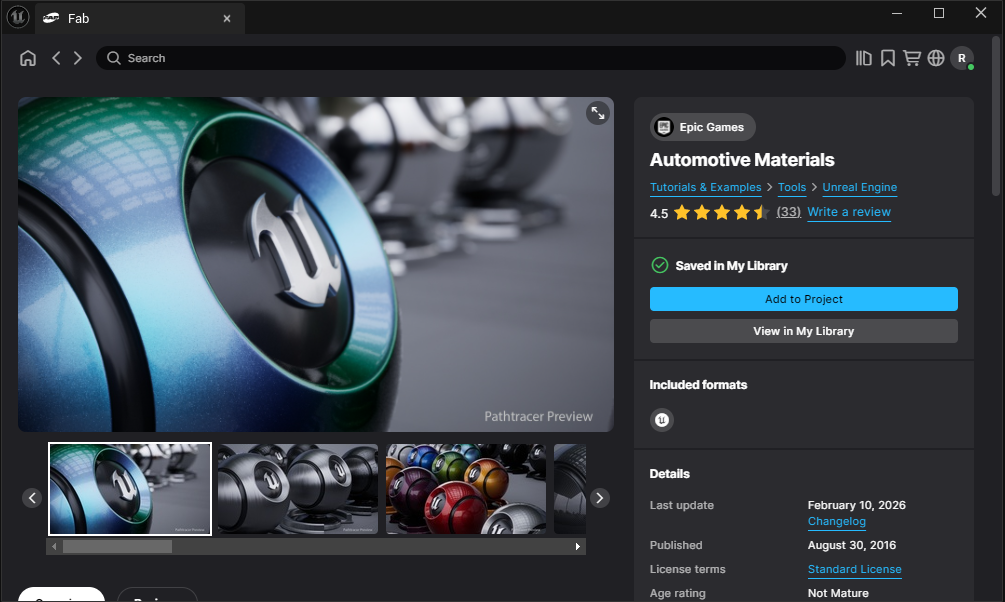
https://www.fab.com/listings/5dd132fe-ee32-4e8c-9cd3-7496547dfb29
The best part is that it’s completely free!

Customize the Exterior
In my previous Sketchfab vehicle guide, I showed two different import methods: combining everything into a single static mesh or keeping the individual parts separated. For this vehicle, I kept the parts separated so I can easily customize specific areas of the car.
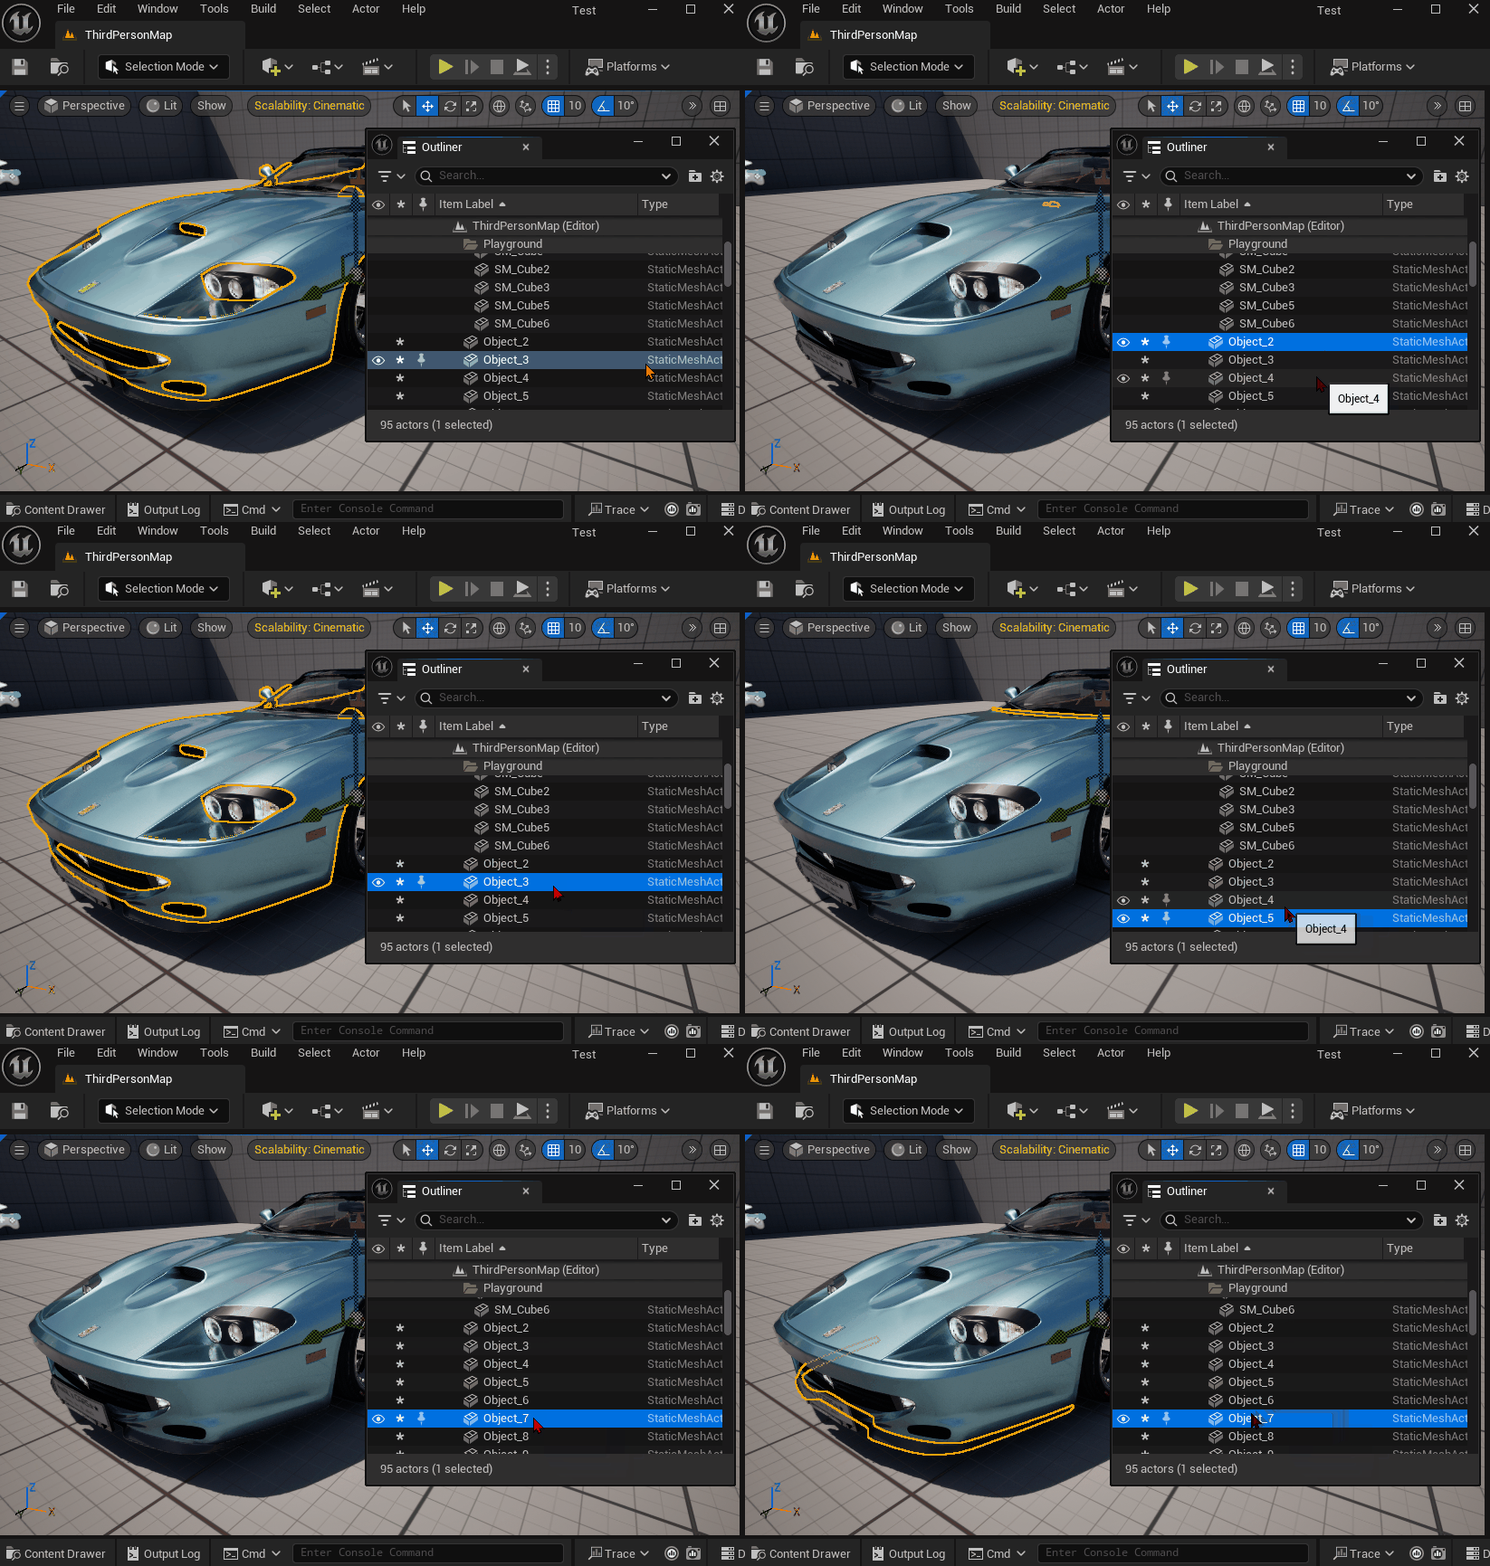
- Open the Automotive Materials Pack and navigate to the Materials folder. Inside, you’ll find several categories, including Exterior, Interior, and Textures.
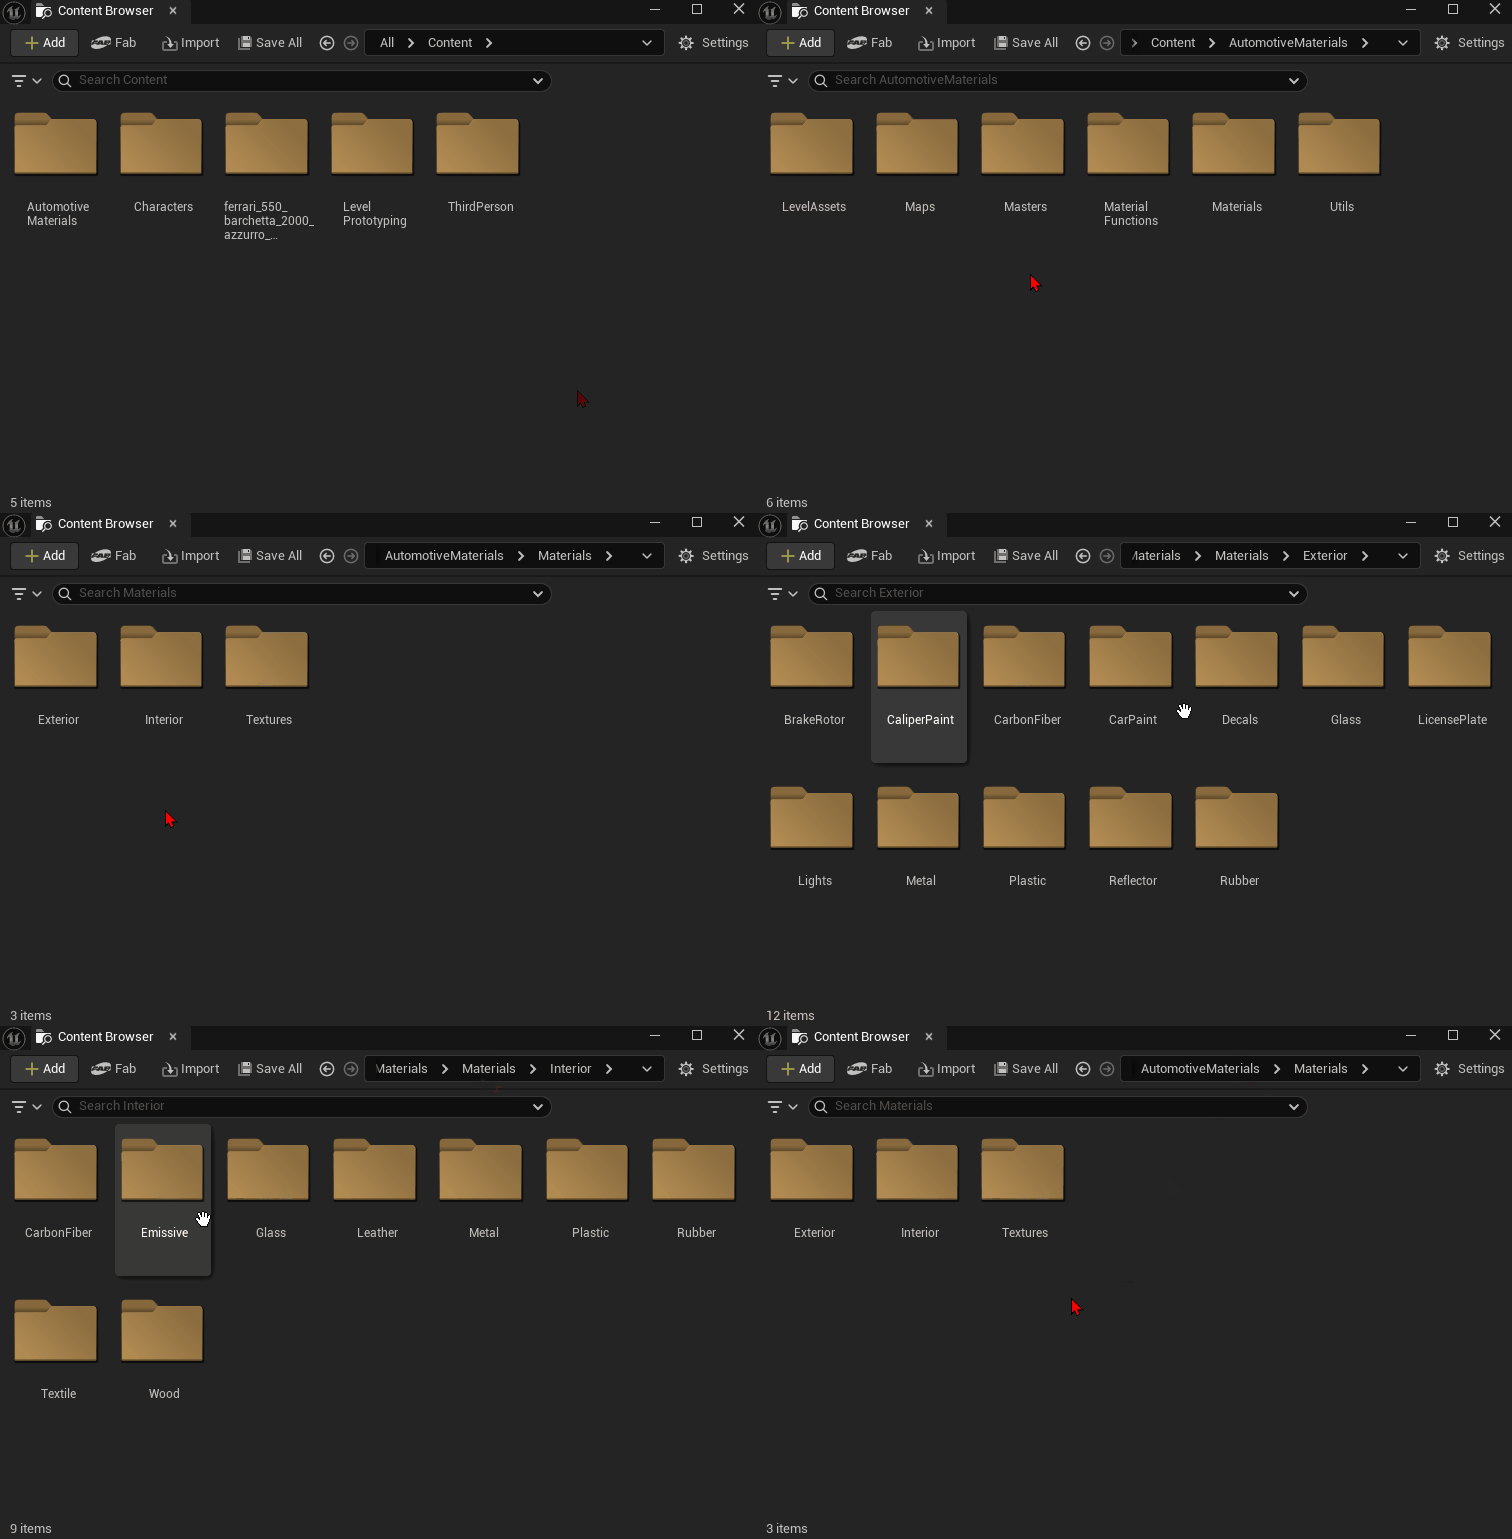
Let’s start with the exterior!
- The Exterior folder contains a variety of materials designed for different vehicle components, including automotive paint, plastics, lights, carbon fiber, and more. To change a material, simply drag it onto the corresponding mesh in your vehicle.
Since this is a Ferrari, I’m going with a classic red paint finish. In my case, the entire body is a single mesh, so applying the paint material changes all of the body panels at once. Depending on how your vehicle was imported, you may have separate meshes for doors, fenders, bumpers, and other components.
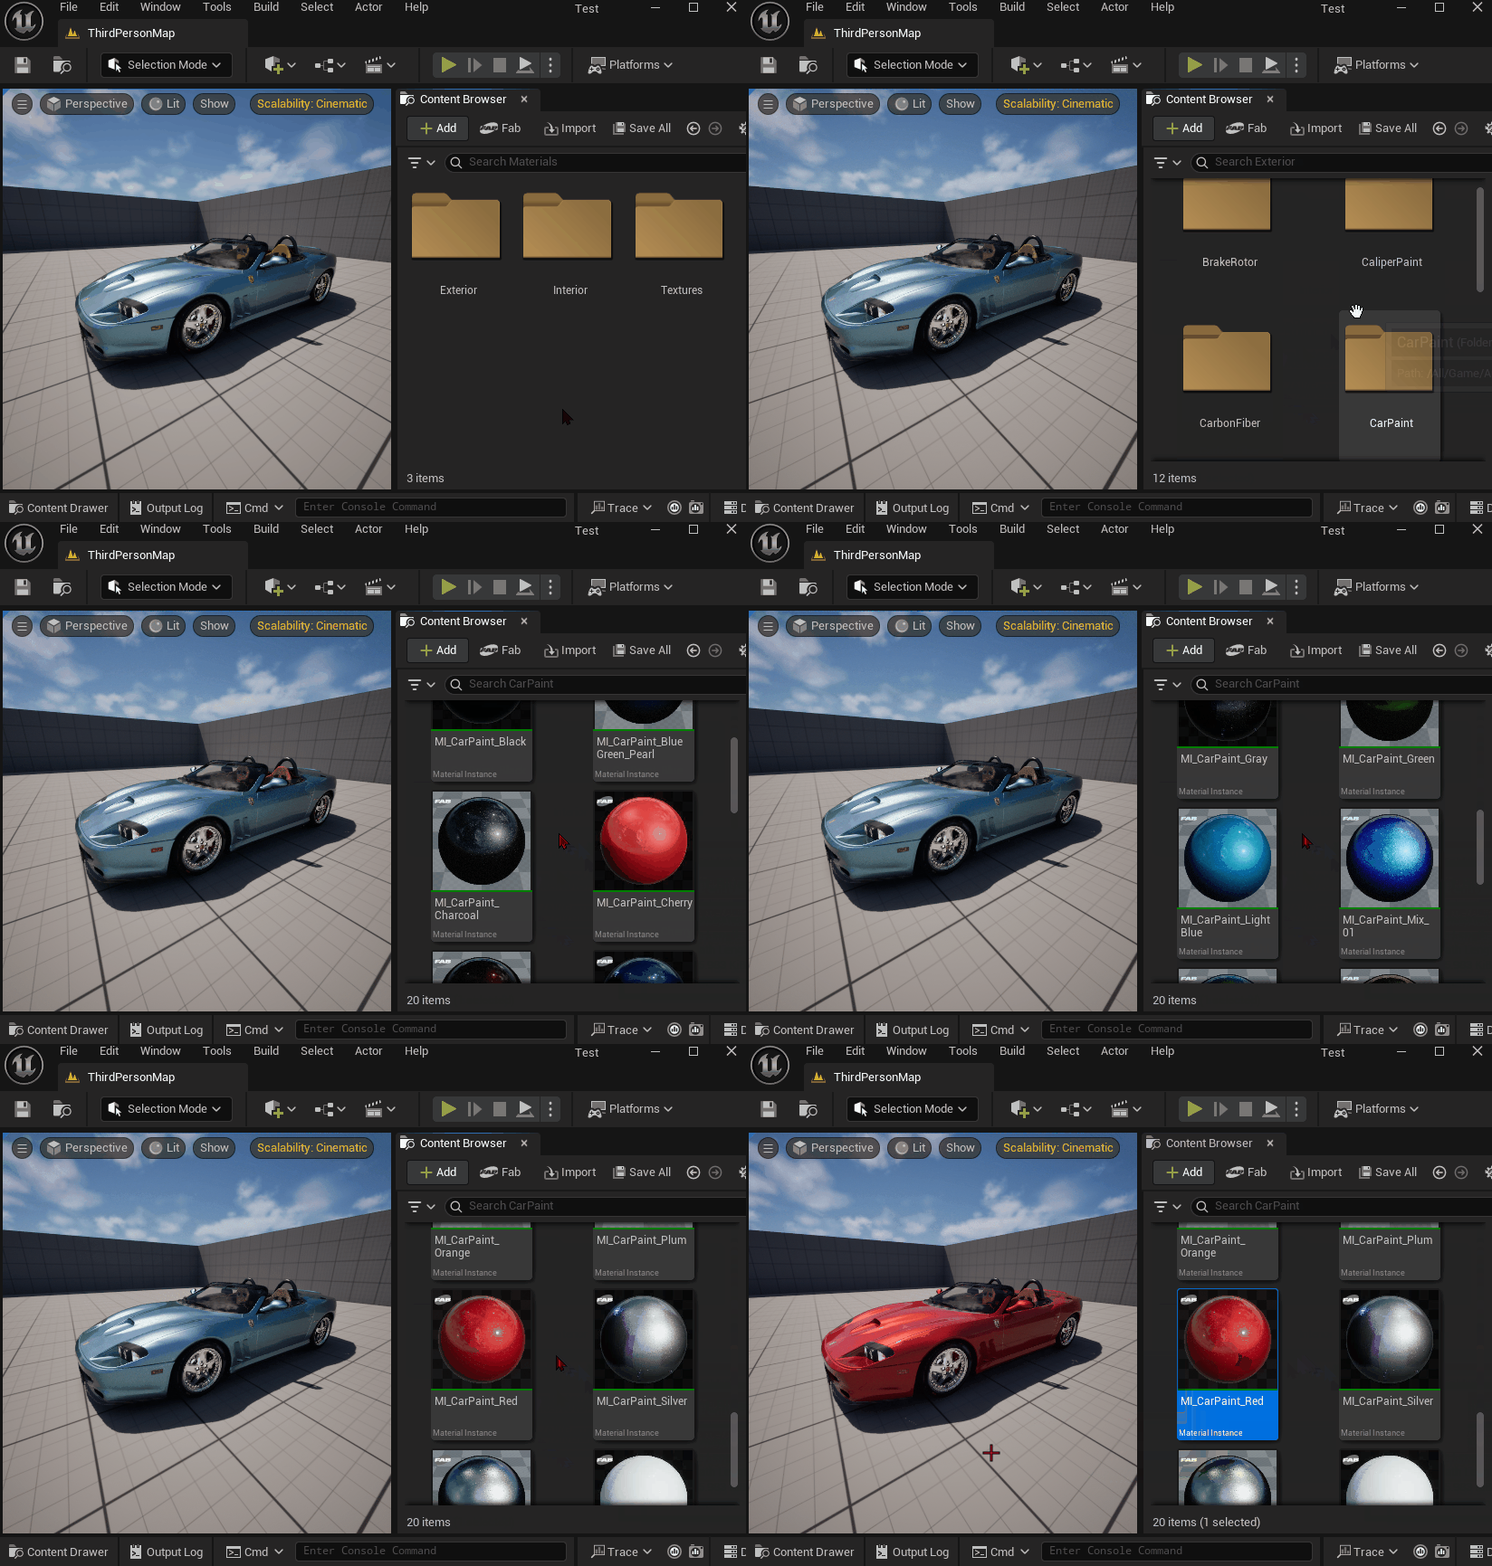
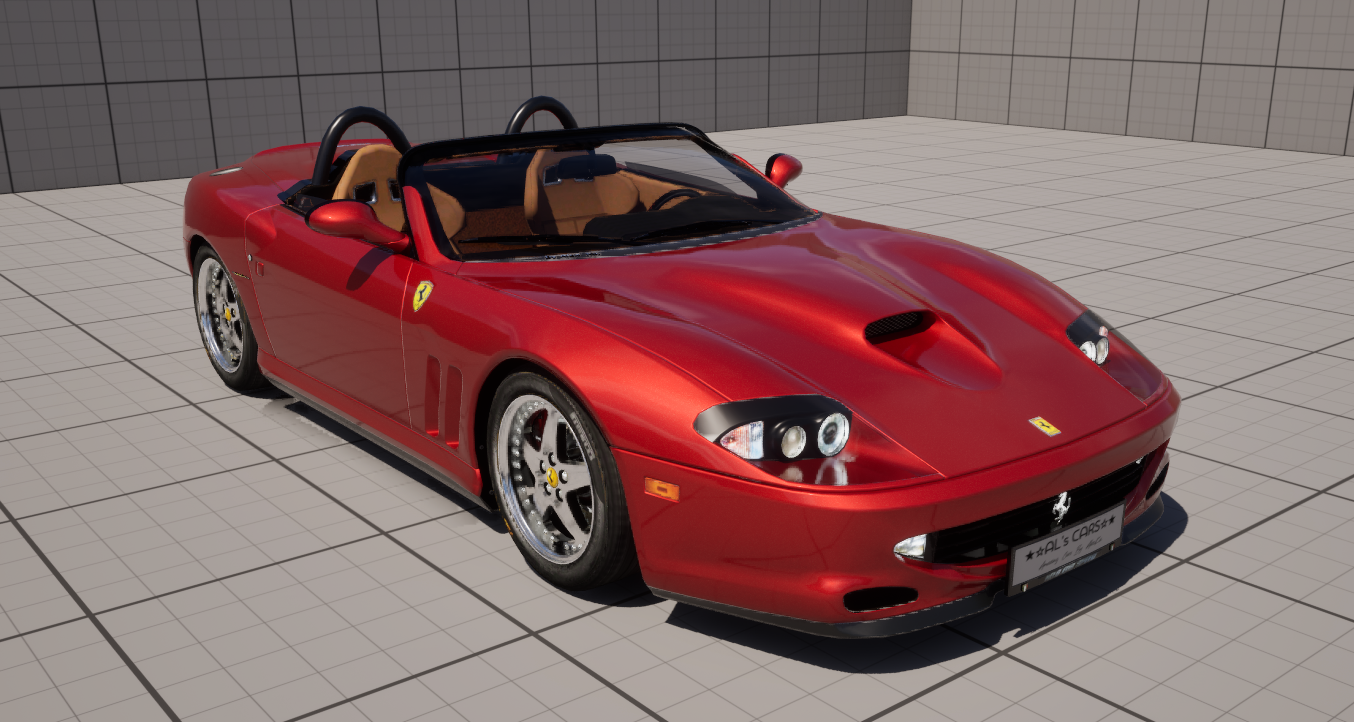
If you’d like even more control, you can open the material instance and customize settings such as color, roughness, flakes, and other properties. We’ll take a deeper look at material instances and customization in a future guide!
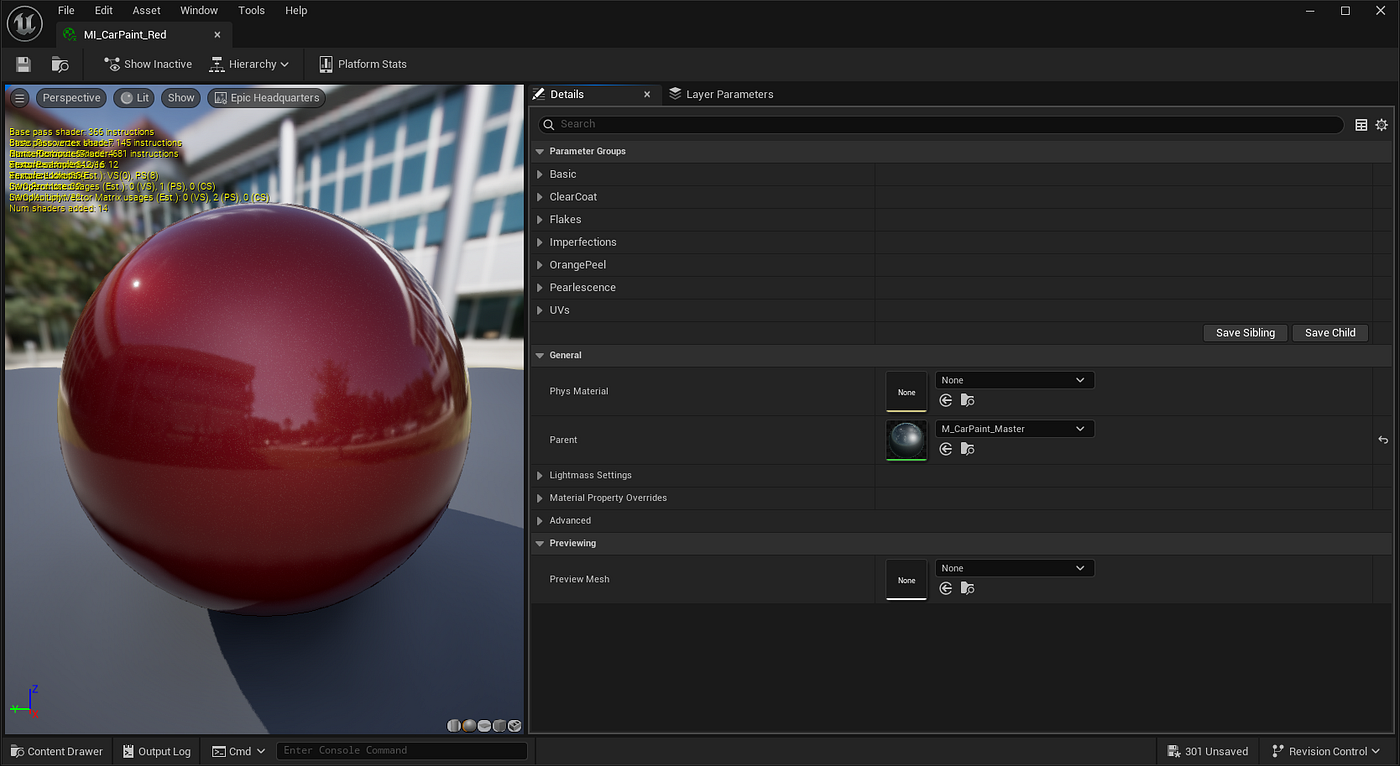
Customizing the Wheels and Lighting
The Automotive Materials pack also includes materials for the tires, wheels, brake components, and lighting.
Personally, I already like how this car is set up. The model comes with Pirelli tires, polished multi-piece wheels with exposed rivets, detailed brake rotors, and red Ferrari brake calipers. The artist did a great job, so I won’t be making many changes here!
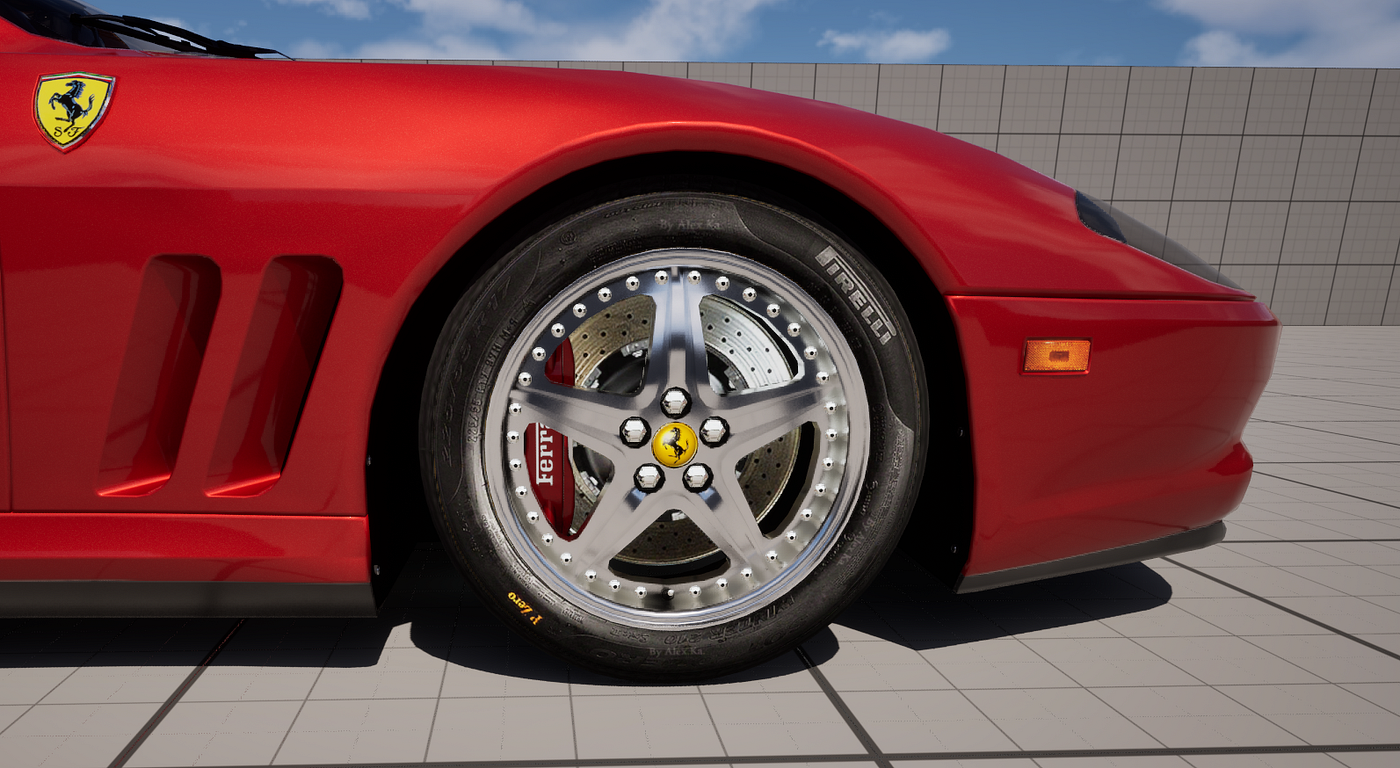
For demonstration purposes, however, you can customize these parts just like the bodywork.
If you wanted to change the tires, open the Rubber folder and drag one of the rubber materials onto the tire mesh. Depending on the model, the result may not always look perfect because some tire materials are designed for different UV layouts or texture setups. There are ways to improve this, but we’ll keep things simple and focus on applying materials.
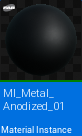
The wheels can be customized using materials from the Metal folder. This particular car uses multi-piece wheels, meaning different parts of the wheel are separate meshes. The wheel face, polished lip, rivets, and other metal components can all accept different materials. While that level of customization is great for creating unique wheel designs, I personally prefer keeping everything consistent on a classic Ferrari like this!
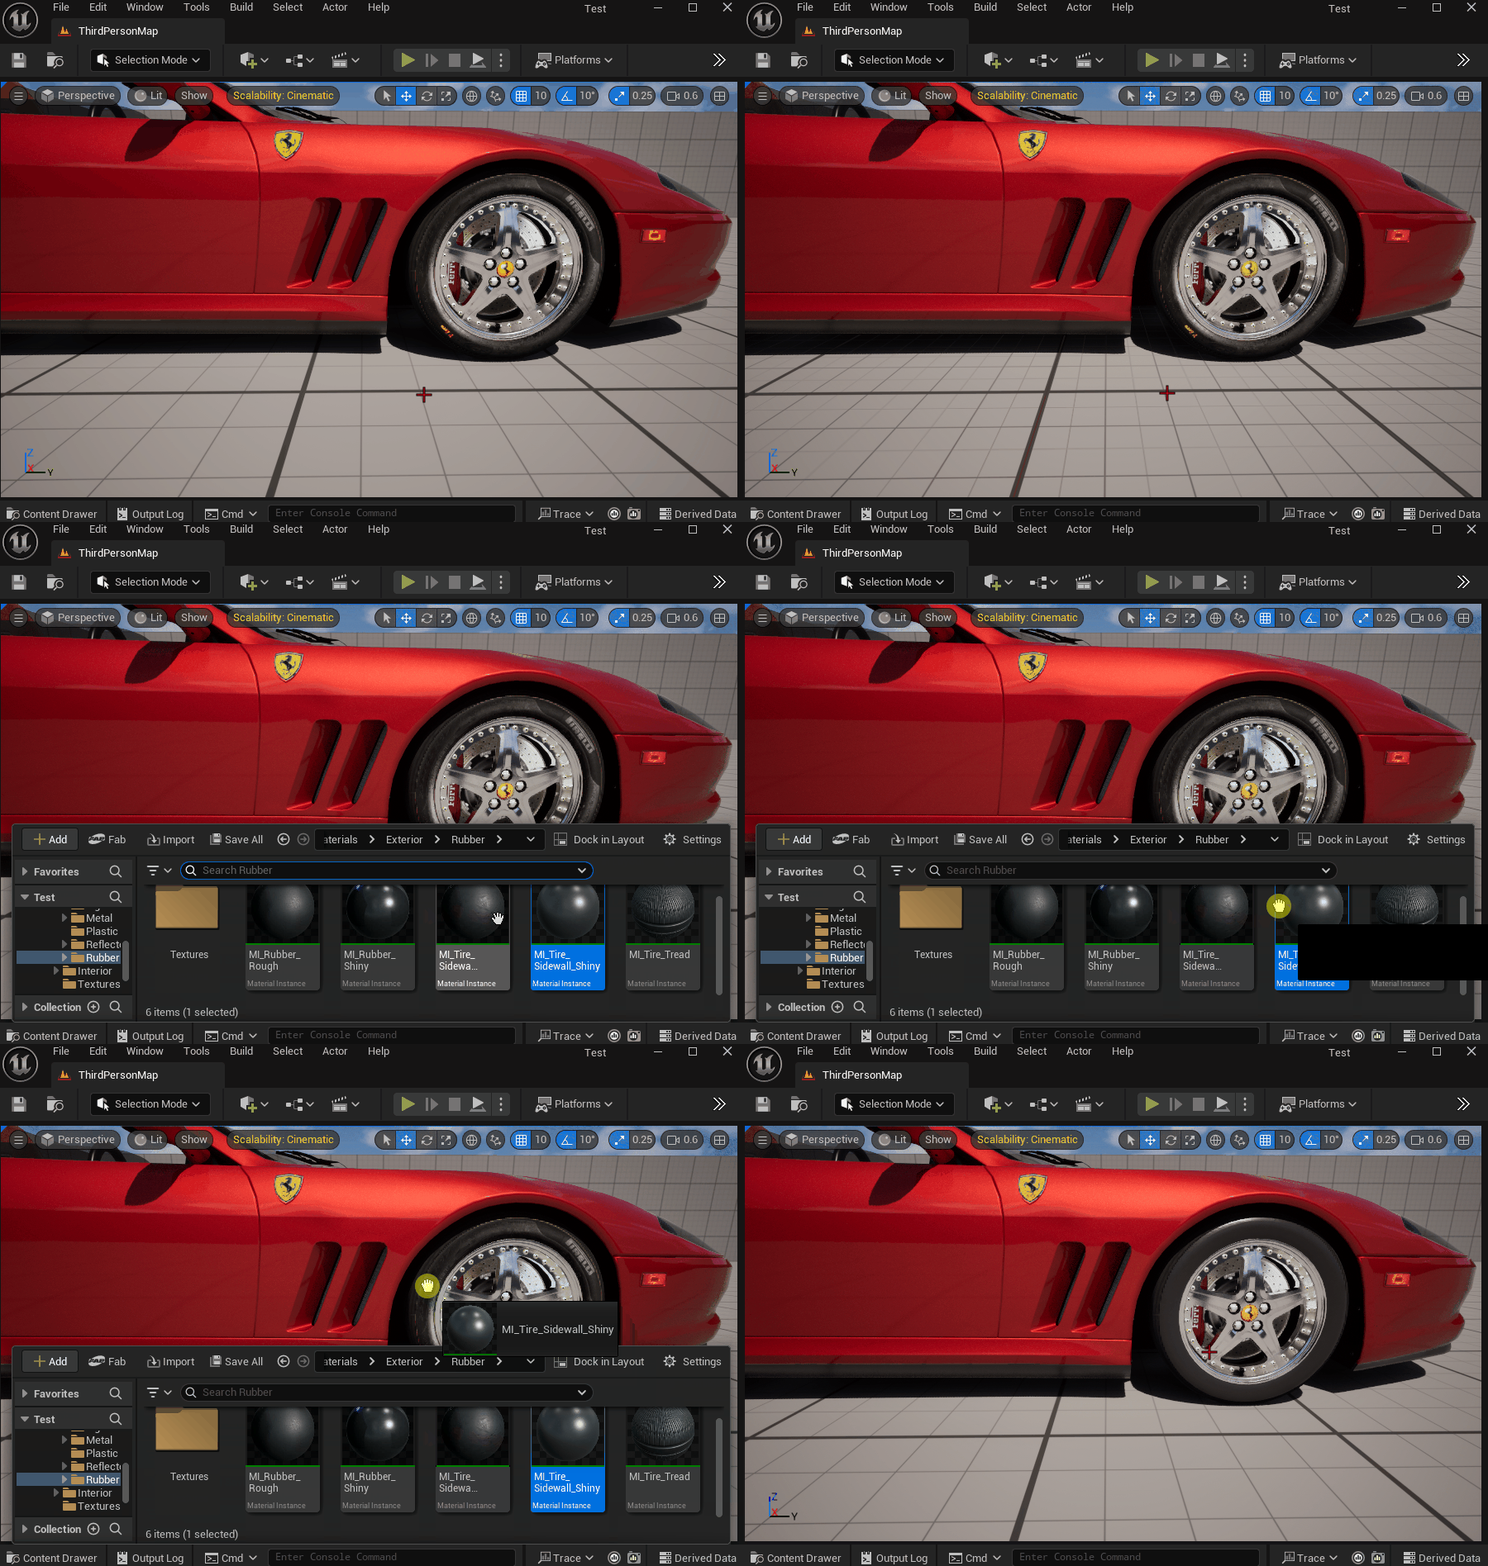
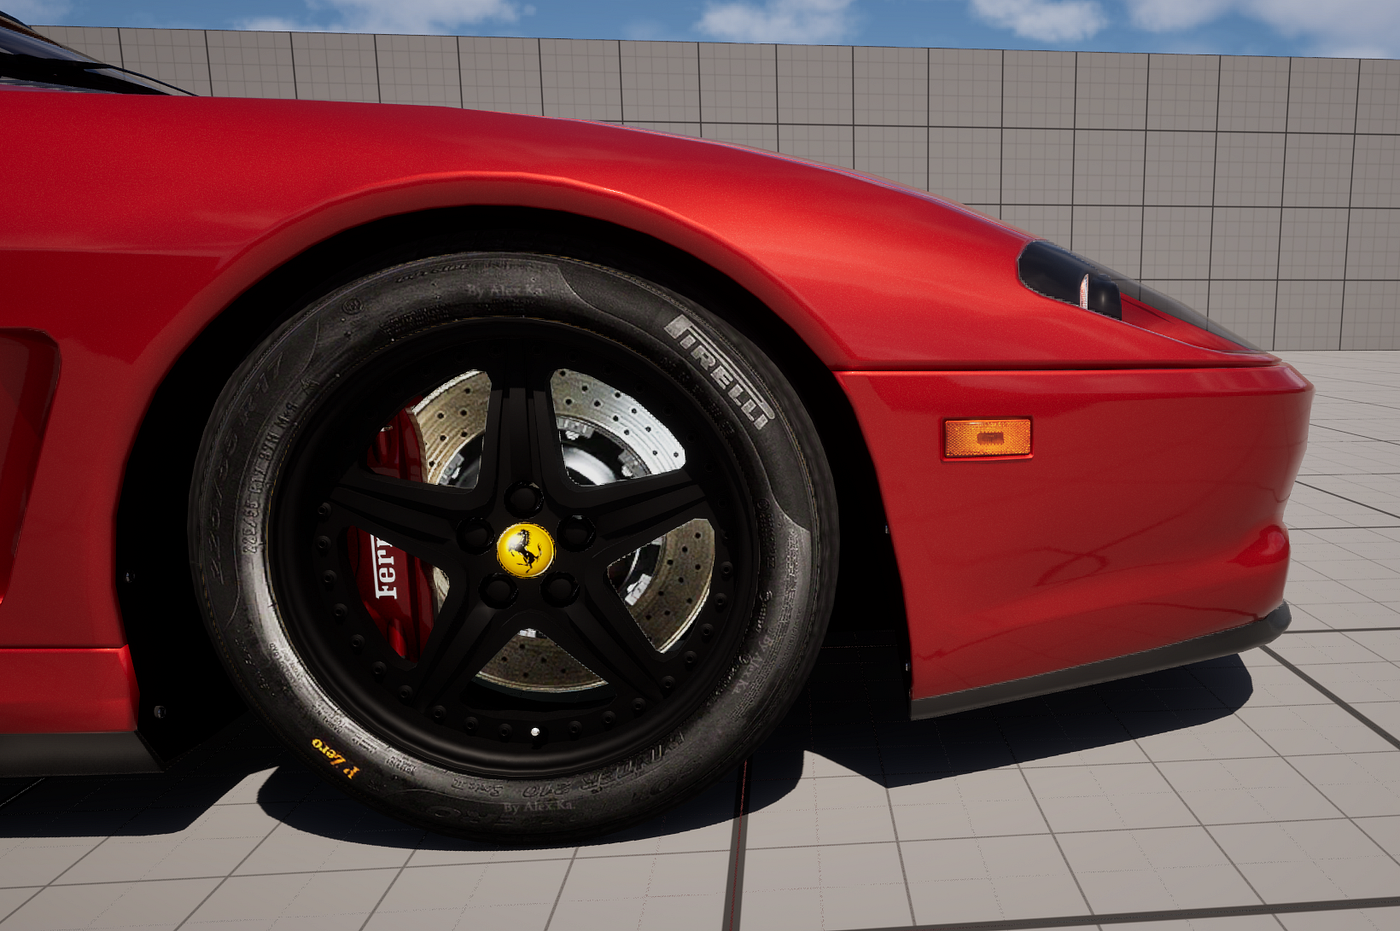
The center cap logo can also be changed if desired, but I like the Ferrari emblem and will leave it as is.
- For the lighting, I also like the materials that came with the model, but I’ll demonstrate the process using the front fog light. Open the Lights folder inside the Exterior materials and drag a light material onto the fog light mesh.
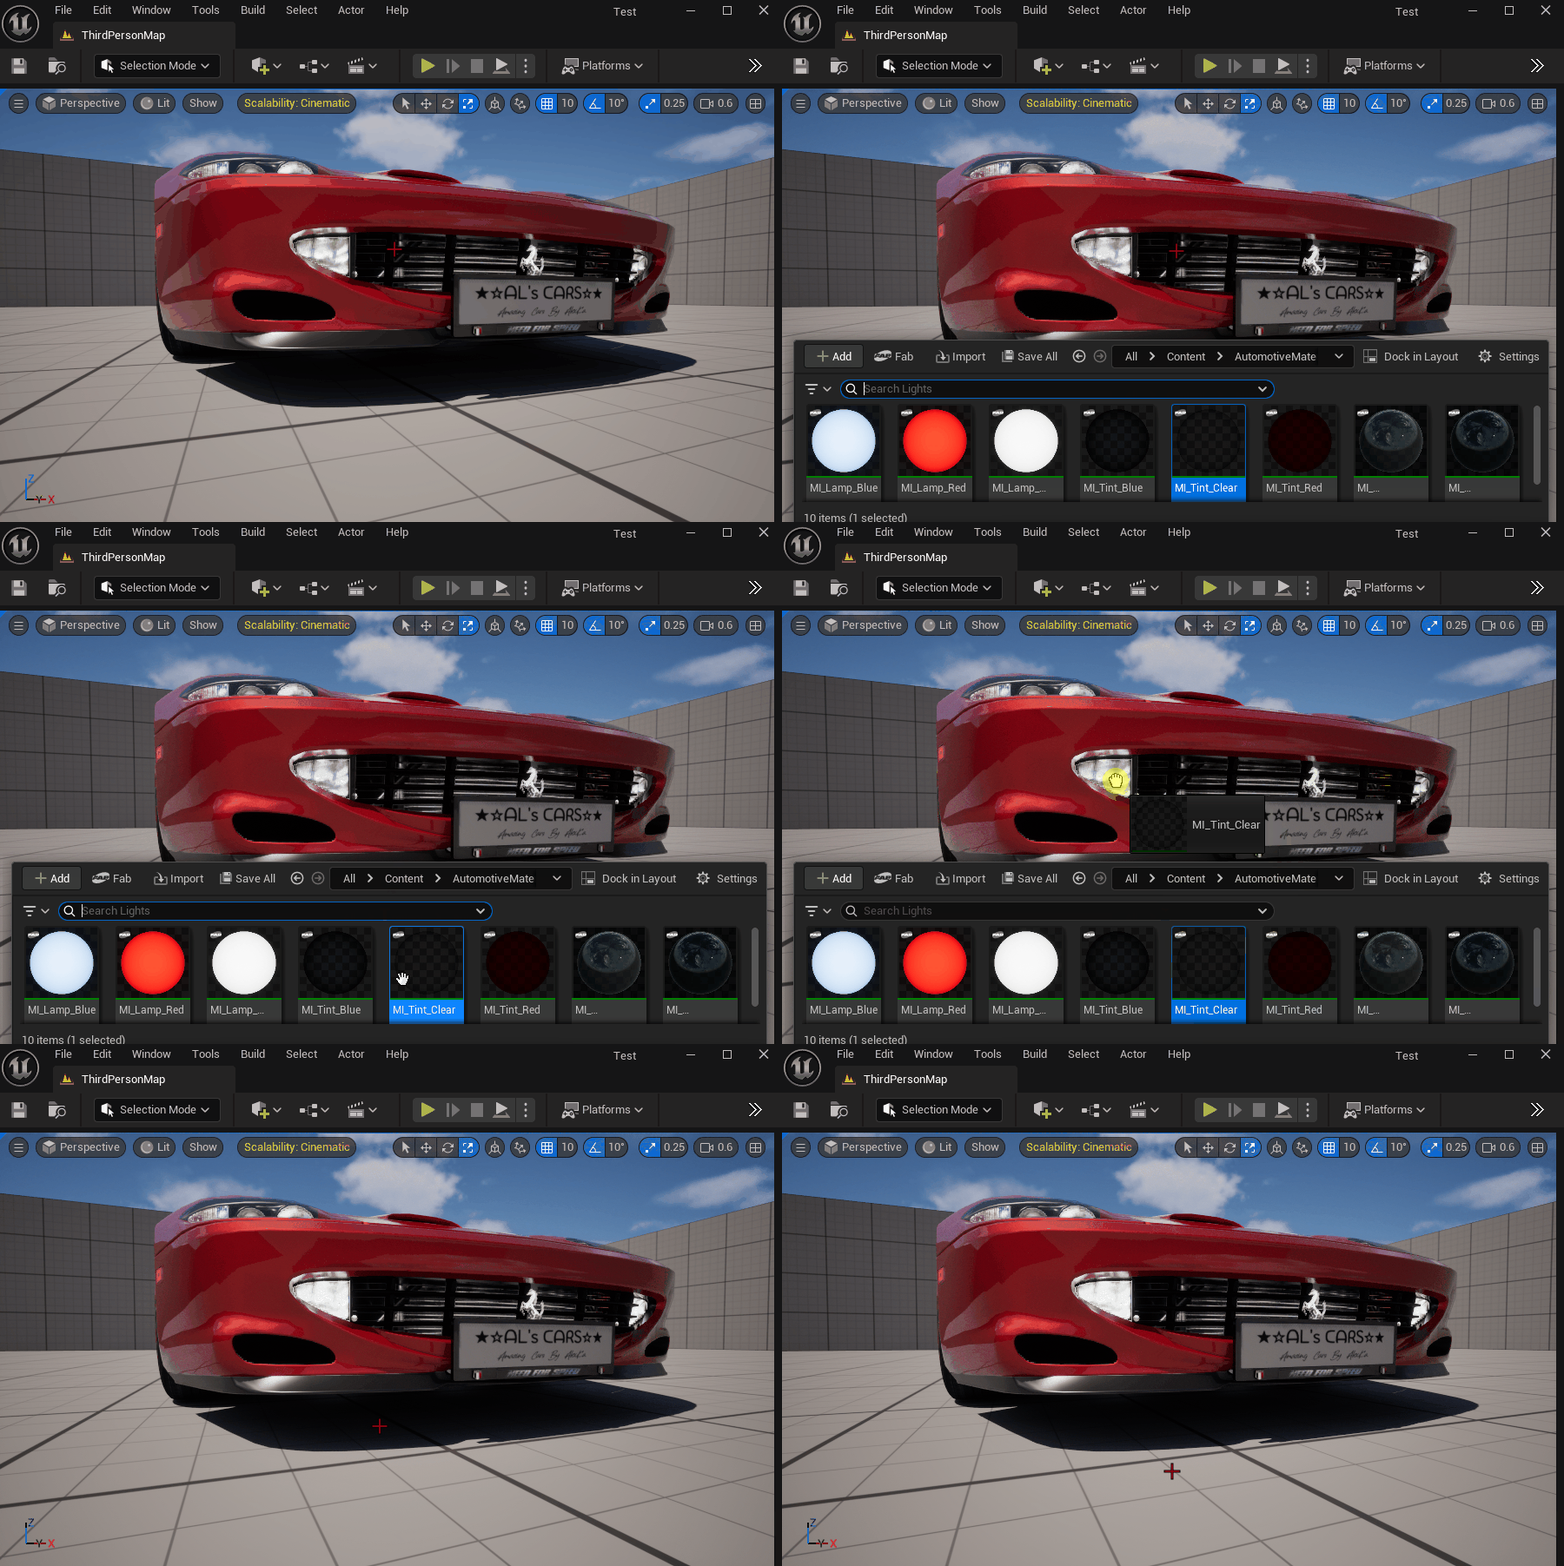
Unlike a real vehicle light, these materials do not actually cast light into the scene. Instead, they use emissive materials, which create the appearance of a glowing light source. This makes the light look illuminated and visible from a distance without the performance cost of using an actual Unreal Engine light component. It is a common technique used in games because it provides the visual effect of a lit vehicle while remaining efficient to render!
Customizing Exterior Plastics
The Automotive Materials pack also includes a Plastics folder containing materials designed for exterior trim pieces.
Many vehicles use plastic trim around grilles, vents, air intakes, splitters, and other exterior components. These parts are often left black from the factory, but they can still be customized to create a different look.
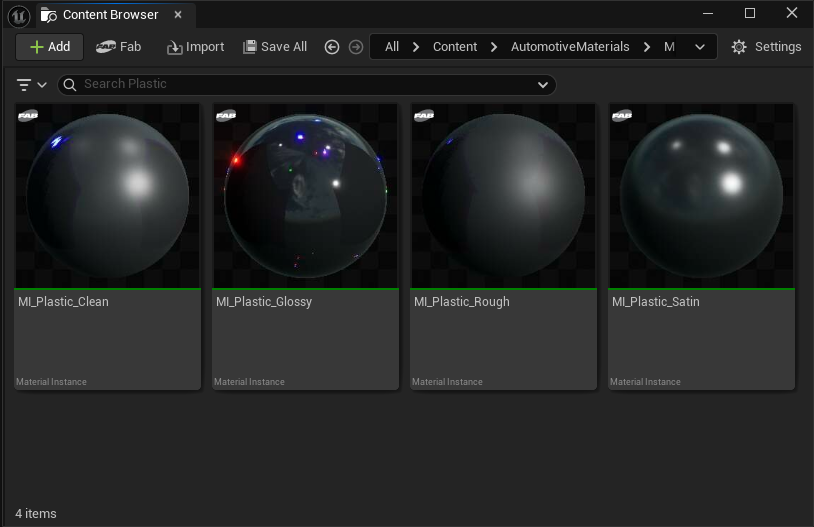
To change these components, simply drag a material from the Plastics folder onto the desired mesh. You’ll find options ranging from matte finishes to glossier plastics depending on the style you’re aiming for.
For this car, I prefer the original appearance and will leave the factory trim unchanged. The black plastic pieces help break up the red bodywork and maintain the classic styling of the car.
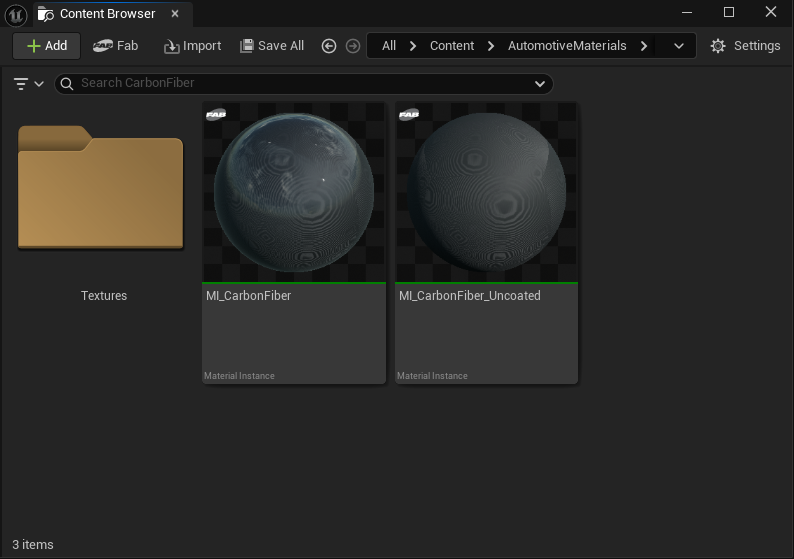
If you’re looking for a more aggressive or modern appearance, you can also experiment with the carbon fiber materials included in the pack. Carbon fiber is commonly used on high-performance vehicles for components such as splitters, diffusers, side skirts, mirror caps, and spoilers. Applying carbon fiber to select exterior pieces can completely change the character of the vehicle while still looking believable!
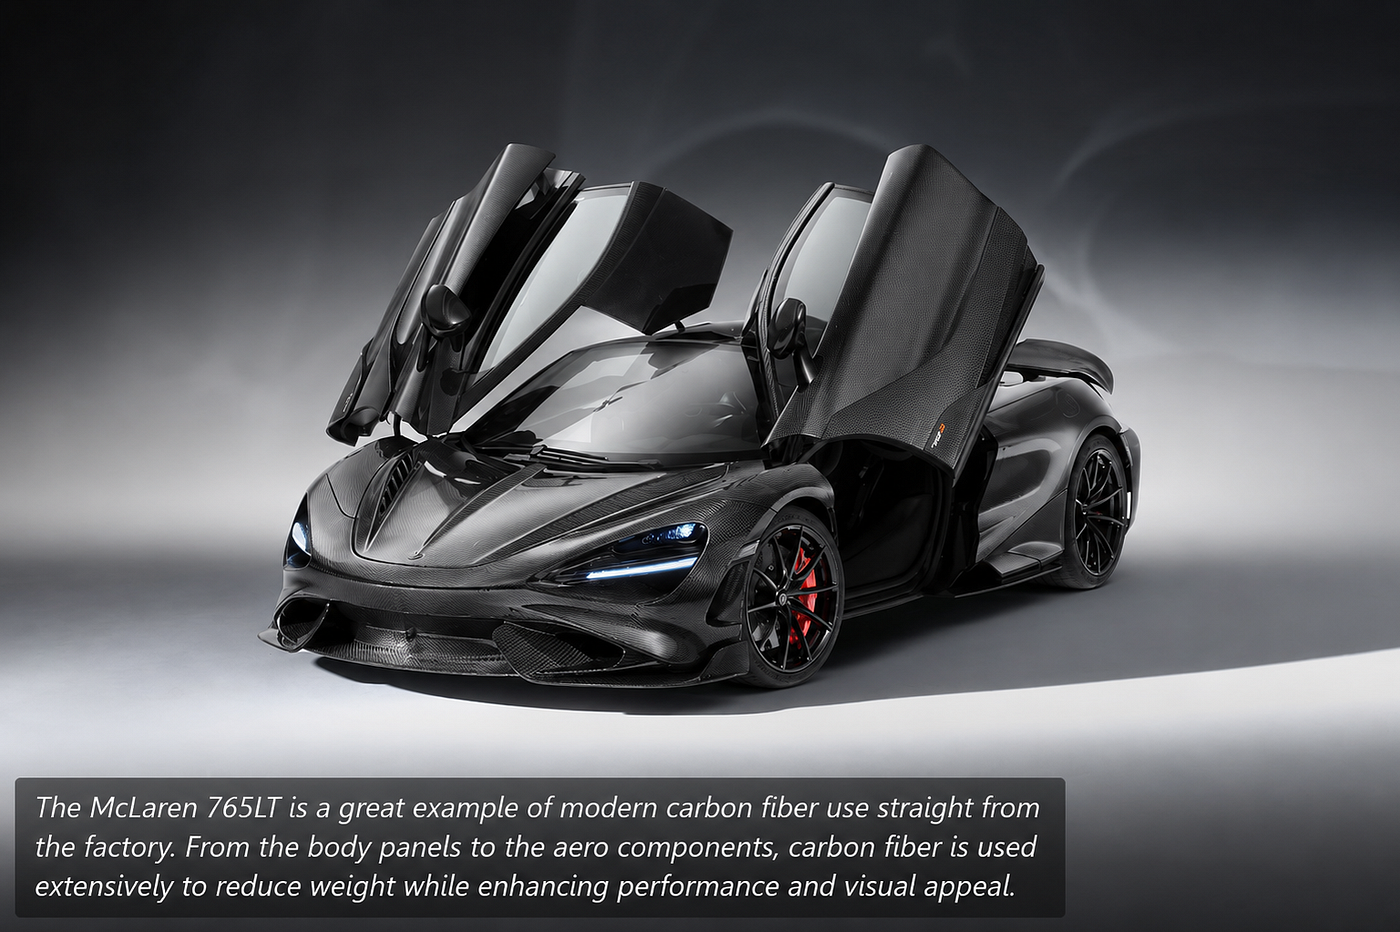
https://topcar-design.com/news/show/314
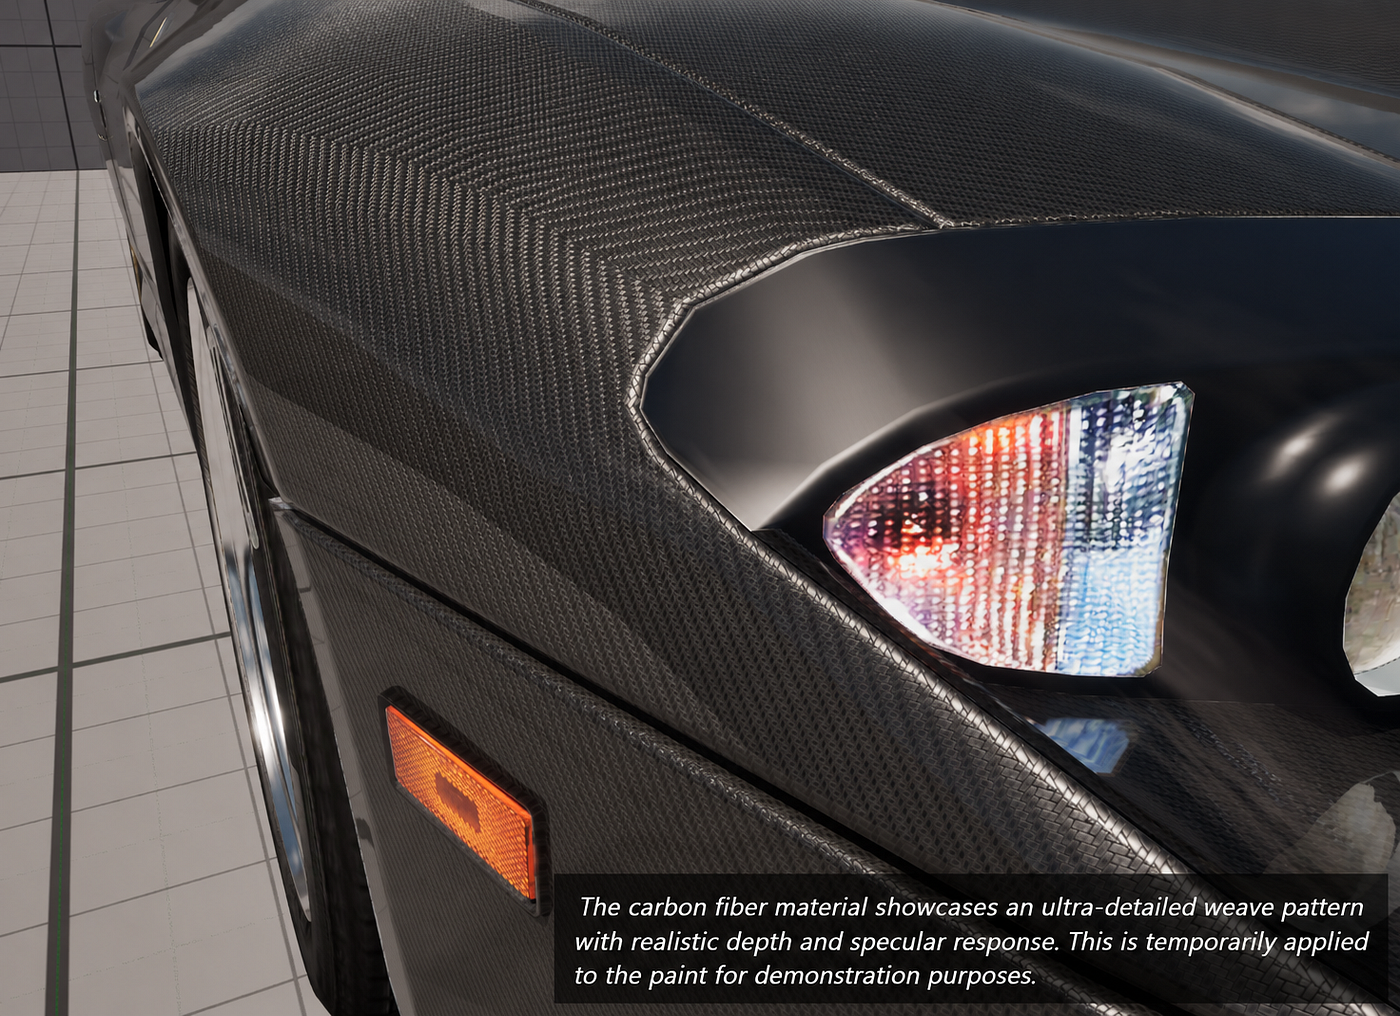
For this build, however, I’ll be keeping the original plastic trim to preserve the classic Ferrari aesthetic!
Customizing the Interior
Of course, there are countless possibilities when working with these materials, and you’ve just seen how I would approach customizing this particular vehicle. There are still a few components we didn’t cover, such as the glass, roll bar, and fuel cap, but the same process applies. Simply locate the appropriate material folder and experiment with different options.
I want to keep this guide focused on Unreal Engine rather than diving too deeply into vehicle history or the purpose of every individual component.
- The interior follows the exact same workflow as the exterior. Open the Interior folder, browse the available materials, and apply whichever ones fit your project. Some vehicle models include highly detailed interiors with separate materials for seats, dashboards, carpets, trim pieces, and more. This 550 keeps things fairly simple, but there is still plenty of room for customization.
For this example, I’ll swap the peanut butter-colored interior for a red interior to better match the exterior styling. You can also experiment with interior lighting materials if your model supports them, although this particular vehicle doesn’t provide many options in that area.
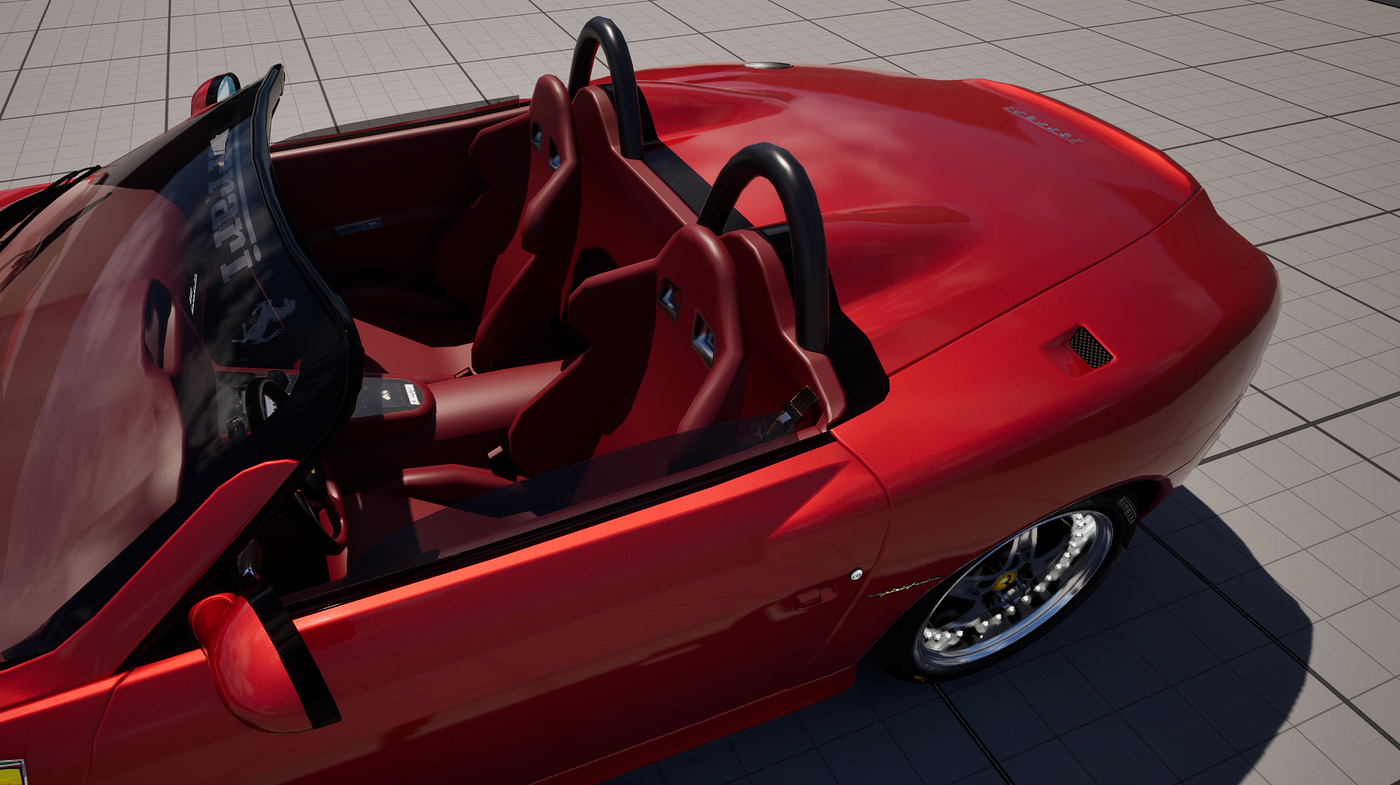
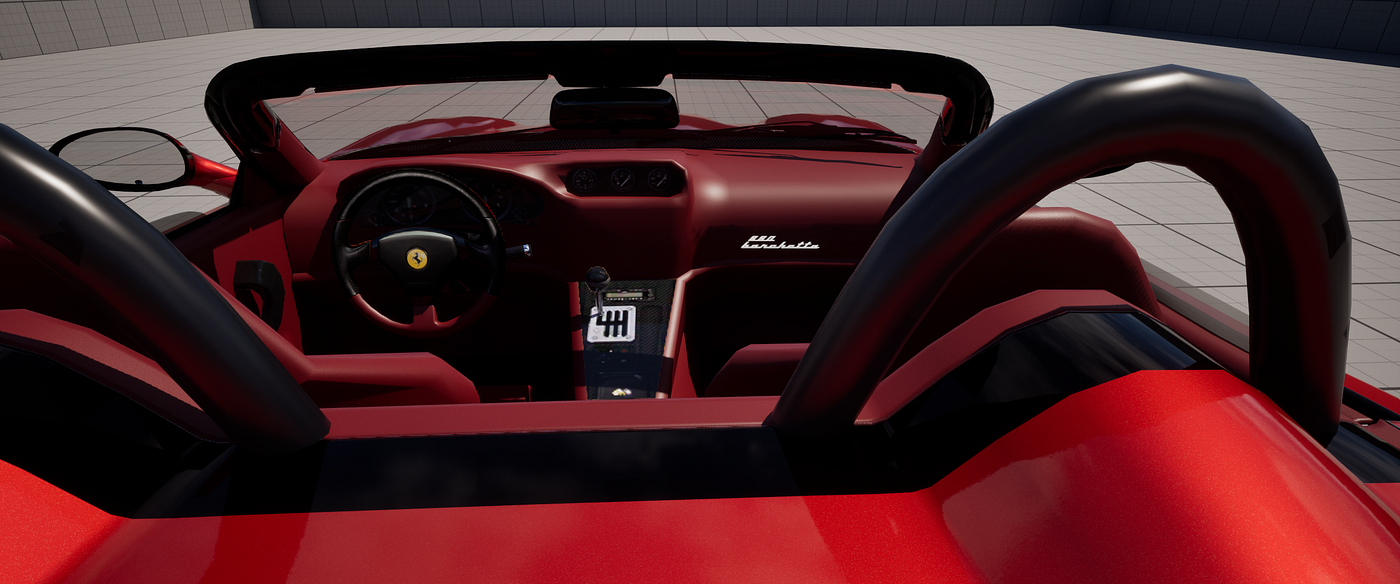
At the end of the day, every vehicle and project will be different. Use the materials that fit your vision, experiment with different combinations, and most importantly, have fun creating your own custom look!
Want more Unreal Engine 5 Vehicle content?
Explore the full collection here:
Want more Unreal Engine 5 Materials / Textures Content?
Explore the full collection here:
🎁 Bonus Unreal Tip
Before you go, here’s one more Unreal thing you might find useful or interesting:
[embed]
Before spending time customizing materials, it’s worth checking the model’s triangle count first. A great-looking vehicle isn’t much use if it’s far too heavy for your project, so this quick tip can save you from downloading assets that may cause performance issues later on!
메타데이터
- post_id
- 52f4ee2cb8a0
- slug
- how-to-use-unreal-engines-automotive-materials-pack-on-imported-vehicles-52f4ee2cb8a0
- url
- https://medium.com/@fulton_shaun/how-to-use-unreal-engines-automotive-materials-pack-on-imported-vehicles-52f4ee2cb8a0
- canonical_url
- https://medium.com/@fulton_shaun/how-to-use-unreal-engines-automotive-materials-pack-on-imported-vehicles-52f4ee2cb8a0
- author_url
- https://medium.com/@fulton_shaun
- status
- ok
- fetched_at
- 2026-06-15 20:49:13





