AI Image Extender vs Upscaler vs Enhancer: Which One Do You Actually Need?
You upload a photo, and it’s not quite right. Maybe it’s too small for the banner you need. Maybe it’s a little blurry. Maybe the framing…
AI Image Extender vs Upscaler vs Enhancer: Which One Do You Actually Need?
You upload a photo, and it’s not quite right. Maybe it’s too small for the banner you need. Maybe it’s a little blurry. Maybe the framing is just too tight and you wish the shot had captured more of the scene. The instinct is to search for “AI photo tool” and hope for the best, but that’s exactly where a lot of people waste time. Not every AI image tool solves the same problem, and picking the wrong one usually means a result that still doesn’t look right, no matter how many times you re-upload.
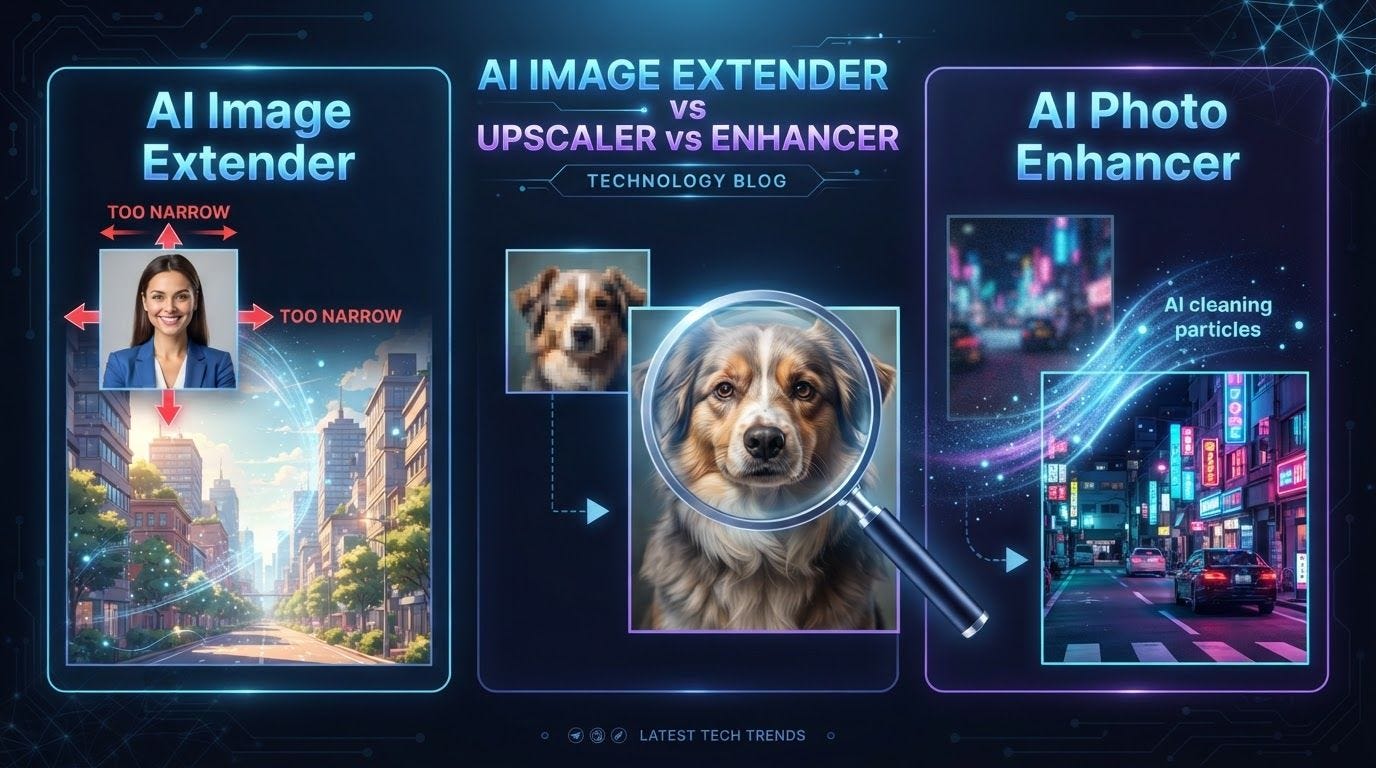
This is where it helps to understand that “fix my photo” actually breaks down into three distinct problems, each solved by a different kind of tool. If your photo’s shape or composition is wrong, you want **an AI image extender. If the resolution itself is too low, you’re looking at an [AI image upscaler](https://www.pixextender.com/image-upscaler). And if the photo is technically the right size but just looks dull, noisy, or soft, an [AI photo enhancer](https://www.pixextender.com/photo-enhancer)** is what actually fixes that. Confusing these three is the single most common reason people end up disappointed with AI photo tools, not because the tools don’t work, but because they were solving a different problem than the one being asked of them.
Three Tools, Three Different Jobs
It helps to think of these tools not as competitors, but as specialists. Each one is built around a narrow, well-defined task, and trying to make one do another’s job usually produces mediocre results.
Extending (also called outpainting or uncropping) changes the shape of an image. It adds new content around the existing borders, more sky above a landscape, more background beside a product, more room around a portrait, so the photo fits a different aspect ratio or shows more of the scene than was originally captured. The original pixels aren’t touched; new ones are generated around them.
Upscaling changes the resolution. If a photo is 800×600 pixels and you need it at 3200×2400 for a print or a large display, an upscaler analyzes the existing pixels and generates additional detail so the image holds up at a larger size instead of turning into a blurry, blocky mess.
Enhancing changes the quality, not the dimensions. A photo that’s slightly blurry, grainy, poorly lit, or has muddy colors gets cleaned up, sharper edges, reduced noise, better contrast, while staying the same size it started as.
The overlap in marketing language is where the confusion usually starts. Plenty of tools use “enhance” as a catch-all word for anything AI-related, which makes it sound like one button should fix everything. In practice, a tool built for resolution doesn’t fix noise particularly well, and a tool built for sharpening a blurry face won’t do anything useful if what you actually need is a wider canvas.
A Quick Way to Diagnose Your Photo
Instead of guessing which category your problem falls into, ask three questions in order:
- Is the composition or aspect ratio wrong? Too tight a crop, wrong shape for the platform you’re posting to, or you simply wish the frame showed more of the scene. This is an extending problem.
- Is the file just too small? The image looks fine at its current size but turns to mush the moment you make it bigger. This is a resolution problem.
- Is the image technically the right size and shape, but it just looks bad? Blurry, grainy, dull colors, harsh lighting. This is a quality problem.
Most real-world photos only have one of these three issues at a time. It’s less common than people expect to genuinely need all three — though it does happen, particularly with older or low-quality source photos, and in that case the tools are typically used in sequence rather than simultaneously.
Problem What’s Actually Wrong Tool Category What Changes “The photo doesn’t fit the frame I need” Aspect ratio / composition Extender (Outpainting) New content added around the edges “The photo is too small / pixelated when enlarged” Resolution Upscaler Image gets bigger while staying sharp “The photo looks blurry, noisy, or dull” Quality Enhancer Same size, cleaner and clearer
Why the Order Matters When You Need More Than One
If a photo has more than one issue — say, it’s both too tightly cropped and a bit blurry — the order you apply these tools in actually matters. Extending an image first, before fixing its quality, means any blur or noise in the original gets carried into the newly generated area too, since the AI is matching what it sees. Cleaning up quality issues before extending tends to give the new, generated content a cleaner reference to work from.
Similarly, if a photo needs both a shape change and a size increase — say, a small, tightly cropped image that needs to become both wider and print-resolution — extending first and upscaling second is usually the more predictable order. The AI is filling in new content based on the original image’s detail level, so working with the extended composition before pushing up the resolution tends to produce a more consistent result than doing it the other way around.
Common Mistakes People Make
Trying to fix a shape problem with an enhancer. An enhancer will make a poorly framed photo sharper and cleaner, but the framing itself won’t change — if half your subject is cut off, it’ll still be cut off, just in higher fidelity.
Upscaling a photo that actually just needs the composition changed. A tight, awkward crop enlarged to a bigger canvas is still a tight, awkward crop — just a bigger one. If the real problem is that you need to see more of the scene, upscaling alone doesn’t add anything new to the sides; it only makes what’s already there bigger and sharper.
Assuming “enhance” always means “everything.” Marketing copy across the industry uses these words loosely. Before uploading anything, it’s worth checking what a specific tool’s enhance or improve function actually changes — dimensions, resolution, or just visual cleanup — rather than assuming.
Skipping quality fixes because the photo “looks fine on a small screen.” Noise and softness that are invisible on a phone screen become obvious the moment an image is projected, printed, or viewed at full size. If a photo is heading toward print or a large banner, it’s worth checking quality issues before, not after, any resizing.
The Practical Takeaway
None of these three tools is “better” than the others — they’re just built for different symptoms. The fastest way to get a usable result is to correctly diagnose which problem you actually have before picking a tool: shape and framing issues call for extending, size and resolution issues call for upscaling, and blur, noise, or dullness call for enhancing. Get the diagnosis right, and the rest of the process is usually just a matter of a few clicks.
메타데이터
- post_id
- 53d710dcbc7c
- slug
- ai-image-extender-vs-upscaler-vs-enhancer-which-one-do-you-actually-need-53d710dcbc7c
- url
- https://medium.com/@WellsSu/ai-image-extender-vs-upscaler-vs-enhancer-which-one-do-you-actually-need-53d710dcbc7c
- canonical_url
- https://medium.com/@WellsSu/ai-image-extender-vs-upscaler-vs-enhancer-which-one-do-you-actually-need-53d710dcbc7c
- author_url
- https://medium.com/@WellsSu
- status
- ok
- fetched_at
- 2026-07-27 07:13:47




