How to Build a Shed From Scratch: My DIY Guide
Hello there! I’m excited to share my DIY guide on how to build a shed from scratch. Whether you need extra storage space or a workshop…
How to Build a Shed From Scratch: My DIY Guide
Hello there! I’m excited to share my DIY guide on how to build a shed from scratch. Whether you need extra storage space or a workshop, building your own shed can be a rewarding and cost-effective project. In this guide, I’ll provide you with step-by-step instructions, shed construction tips, and helpful resources to make the process a breeze.
If you’re ready to roll up your sleeves and get started, keep reading!
First, let’s talk about the basics. Before diving into the construction process, it’s essential to consider a few key factors. Think about the size and style of your shed, as well as the location where you want to build it. You’ll also want to check local regulations and obtain any necessary building permits. By planning ahead, you’ll ensure a smooth and hassle-free project.
Now, let’s explore the various sections of shed building. From planning and foundation to wall and roof framing, we’ll cover it all.

How to Build a Shed From Scratch
Planning a Shed — We’ll discuss shed design ideas, shed building materials, and tips for building a shed on a budget.
Build a Foundation — Learn how to prepare the ground, install deck piers, and create a solid foundation for your shed.
Frame the Walls — Discover the step-by-step process of assembling the walls, installing windows, and securing them to the floor frame.
Frame the Roof — Get ready to tackle roof framing using site-built roof trusses and plywood sheathing.
Install the Roofing — I’ll guide you on how to choose the right roofing material and properly install it for a weather-resistant and attractive shed.
Install the Door — Find out how to prepare the door opening, hang the door, and add the necessary hardware for a functional entrance.
Conclusion — We’ll wrap up the guide by summarizing the key points and emphasizing the satisfaction of building your own shed.
Throughout the guide, I’ll share valuable shed construction tips to help you avoid common pitfalls and ensure a successful project.
So, are you ready to embark on this exciting DIY journey? Let’s get started on building your dream shed from scratch!
Planning a Shed
When it comes to building a shed, careful planning is essential. The decisions you make during this stage will influence the overall design, functionality, and budget of your project. Here are some key factors to consider when planning your shed:
1. Choosing the Right Location
Begin by selecting a level area in your yard for the shed. Avoid locations prone to water collection or falling debris. A level foundation is crucial for proper stability and longevity of your shed.
2. Determining the Size, Style, and Door Type
Consider the purpose of your shed and the items you plan to store inside. This will help you determine the appropriate size and style. Additionally, decide on the type of roof and door that best suits your design preferences and functional requirements.
3. Adding Windows and a Ramp
Windows not only enhance the aesthetic appeal of your shed but also provide natural light and ventilation. A ramp can make it easier to move heavy equipment and wheelbarrows in and out of the shed.
4. Creating a Drawing or Purchasing Shed Plans
To bring your vision to life, consider creating a detailed drawing or investing in ready-made shed plans. This will help you visualize the layout and construction process.
5. Choosing the Right Materials
Building a shed on a budget doesn’t mean compromising on quality. Research shed building materials that fit your budget and design preferences. Look for materials that are durable, resistant to weather elements, and require minimal maintenance.
By carefully planning your shed, you can ensure that it meets your needs, fits your budget, and enhances the aesthetics of your outdoor space. Take the time to consider these factors, and you’ll be well on your way to building a beautiful and functional shed.
Build a Foundation
To ensure the stability and longevity of your shed, it’s crucial to start with a solid foundation. Follow these shed construction tips to create a sturdy base for your project.
1. Prepare the Ground
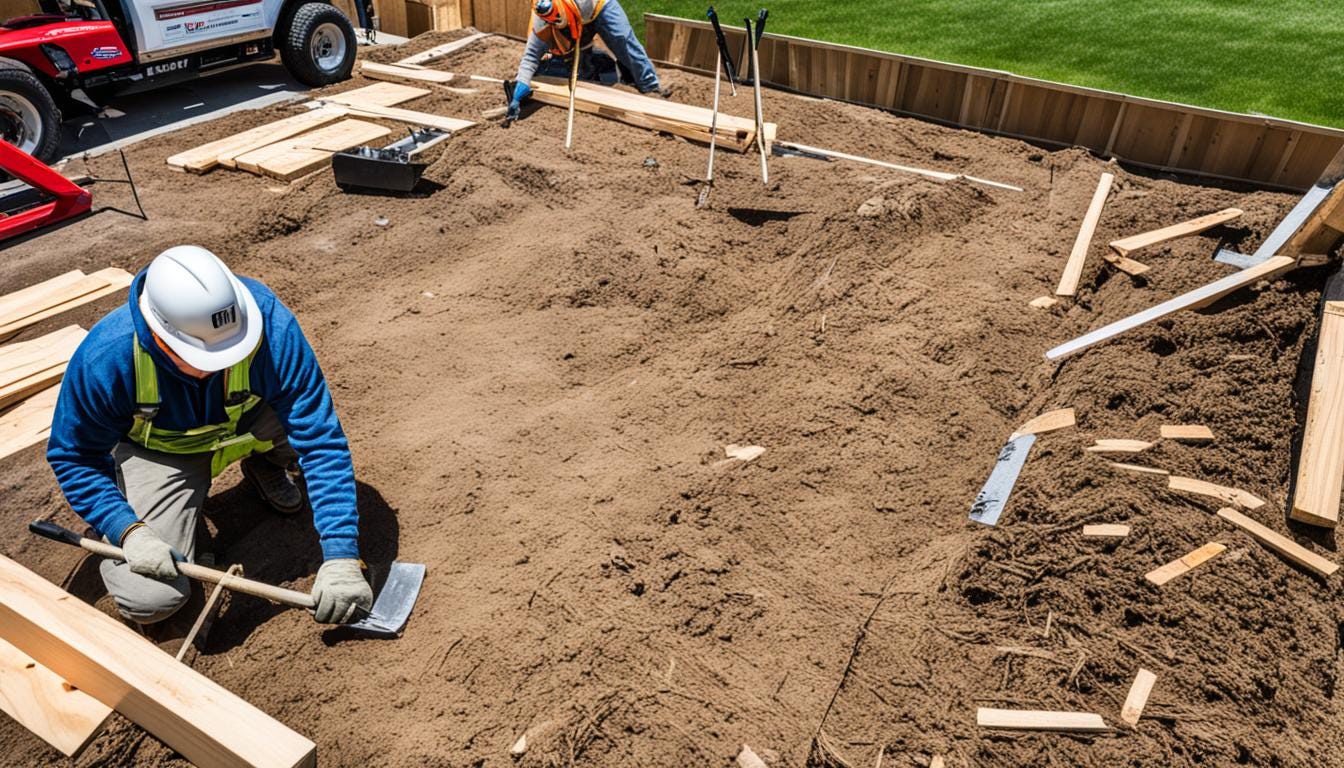
The first step in building a shed foundation is preparing the ground. Clear away any vegetation, rocks, or debris from the area. Use a shovel or a rake to level the ground, ensuring that it is even and free from any bumps or slopes.
2. Install Deck Piers or Concrete Piers
Once the ground is level, you can start installing the foundation supports. Depending on your preference, you can choose to use deck piers or concrete piers. These supports will help distribute the weight of the shed evenly and prevent it from sinking into the ground.
3. Build the Floor Frame
Next, you’ll need to construct the floor frame for your shed. Use pressure-treated 2x8s to build a sturdy perimeter for the floor. Ensure that the corners are square by using a carpenter’s square. Place concrete deck blocks in each corner of the foundation to provide additional stability.
4. Fill the Foundation Area
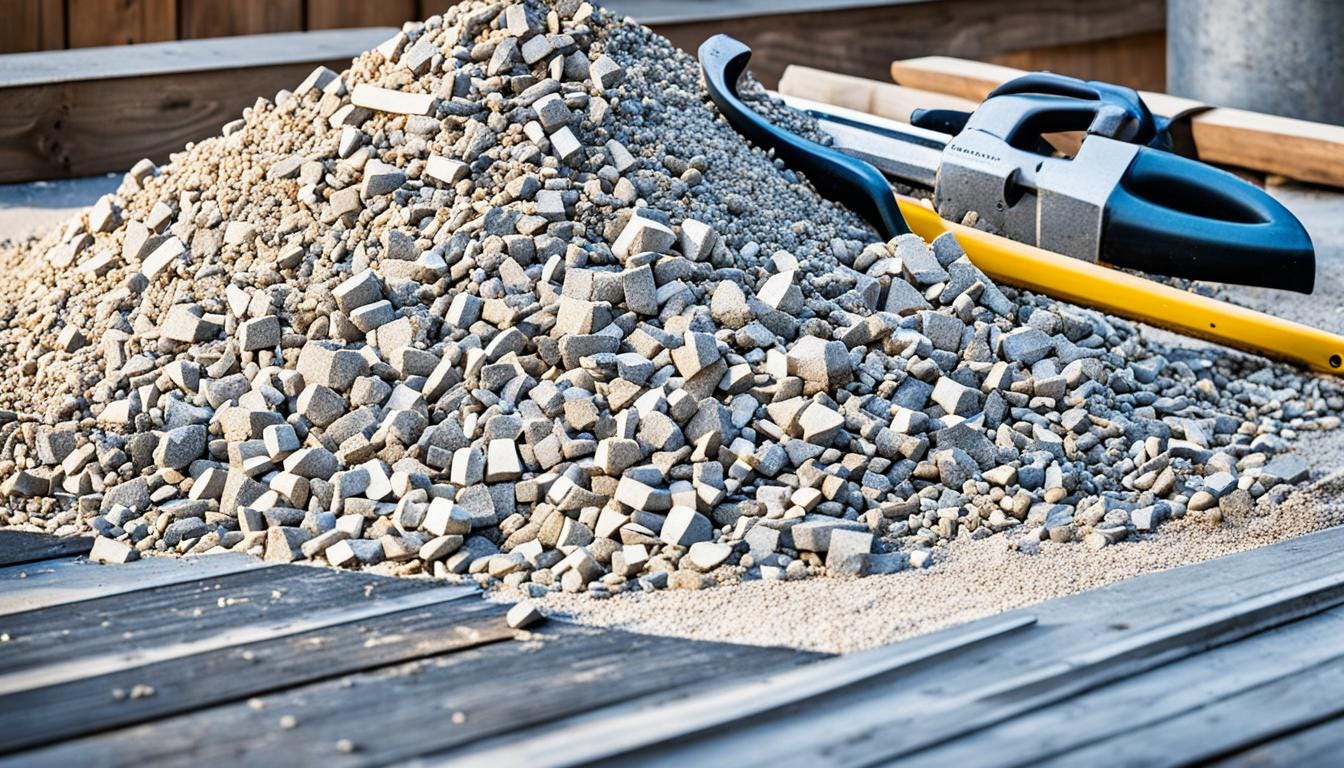
To improve drainage and prevent moisture buildup, fill the foundation area with crushed stone. This will help protect the wood from rotting and keep your shed’s floor dry. Once the crushed stone is spread evenly, set the concrete deck blocks on top of it.
5. Build the Floor Frame with Joists
Now it’s time to build the floor frame using joists and plywood sheathing. Ensure that the floor frame is square and level by measuring the diagonals and making adjustments as needed. Attach the joists to the perimeter using joist hangers and secure the plywood sheathing on top, creating a solid and level surface for your shed.
By following these shed construction tips for building a solid foundation, you’ll lay the groundwork for a durable and long-lasting shed. With a stable foundation in place, you can move on to the next step of framing the walls.
Frame the Walls
Now that the foundation is ready, it’s time to frame the walls of your shed. This step is crucial for the stability and structure of your construction. I recommend assembling the walls on the ground before lifting and securing them to the floor frame.
To ensure durability, use pressure-treated 2x4s for the wall frames and sheathing. These materials are resistant to moisture and rot, making them ideal for outdoor structures like sheds.
During the framing process, you can also install windows to allow natural light into your shed. Choose the size and style that complements your shed design. Don’t forget to trim the windows for a finished look.
Once the walls are ready, align them with each other, making sure they are perfectly plumb. Nail them together securely at the corners to create a solid structure. It’s important to ensure that the walls are tightly attached to the floor frame to prevent any shifting or movement.
With the walls framed and in place, your shed is beginning to take shape. Next, we’ll move on to framing the roof, which is an essential step in protecting your shed from the elements.
Frame the Roof
Once the walls are framed and secured, it’s time to move on to one of the most critical components of your shed — the roof. Proper roof framing is essential for ensuring the structural integrity and longevity of your shed. Follow these shed construction tips to frame the roof:
- Start by measuring and cutting the rafters and bottom cords to the appropriate size. Always double-check your measurements to ensure accuracy.
- Using plywood gussets, assemble the roof trusses. These trusses consist of rafters and bottom cords joined together for added stability.
- For exterior trusses, don’t forget to add vertical supports for enhanced structural support.
- Raise the trusses onto the top plates of the walls and secure them firmly using appropriate fasteners.
- Next, it’s time to install the plywood sheathing to the roof. This sheathing provides a solid base for the roofing material and helps distribute the weight evenly.
- When installing the sheathing, make sure to stagger the seams for added strength and stability. This helps to prevent water leaks and ensures better overall performance.
Once the roof framing is complete, you are one step closer to finishing your shed construction project. The next section will guide you through the process of installing the roofing material, so stay tuned!

How to Build a Shed From Scratch
Install the Roofing
Now that the walls are up and the foundation is complete, it’s time to focus on the roof of your shed. The roof plays a vital role in protecting your shed from the elements, so it’s important to choose the right roofing material and install it properly.
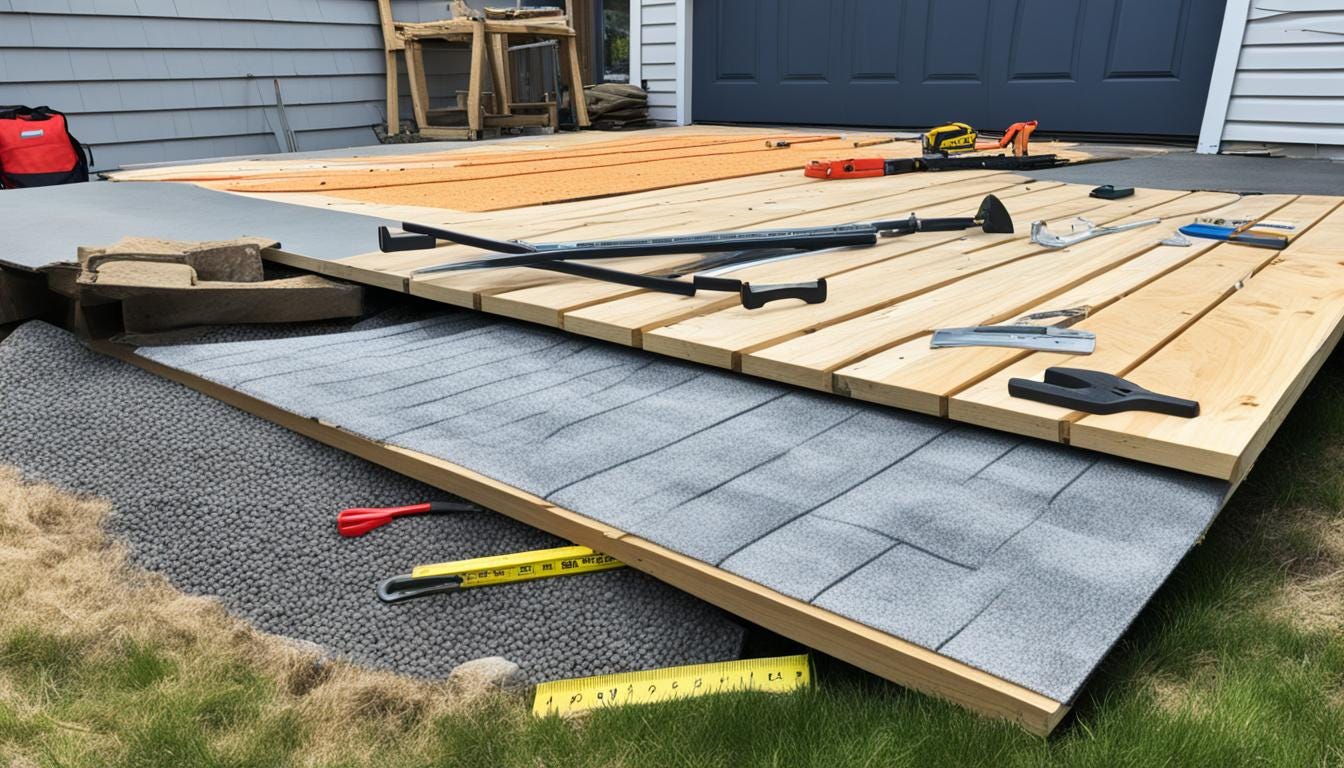
When selecting a roofing material for your shed, consider factors such as durability, cost, and visual appeal. Asphalt shingles are a popular choice due to their affordability and ease of installation. They come in a variety of colors to complement your shed’s design.
To ensure a clean and finished look, install fascia trim along the gable ends and eaves of your shed. This trim will not only enhance the aesthetic appeal but also protect the edges of the roof.
Attach a metal drip edge along the roof edges, creating a gap between the drip edge and the fascia board. This will help redirect water away from the shed, preventing damage to the walls and foundation.
To provide an additional layer of protection, install roofing paper or underlayment before laying the final roofing material. This will act as a barrier against moisture and extend the lifespan of your roof.
Follow the manufacturer’s instructions for installing shingles or your chosen roofing material. Pay attention to details such as the overlap and nailing pattern to ensure a secure and watertight roof.
By properly installing the roofing material, you can create a shed that not only looks great but also withstands the test of time. Take your time, follow the steps carefully, and enjoy the satisfaction of a well-constructed roof.
Install the Door
Now that the main structure of your shed is complete, it’s time to install the door. This step is crucial for ensuring easy access to your shed and enhancing its functionality. Follow these shed construction tips to properly install the door and complete your project.
1. Prepare the Door Opening
Start by preparing the opening for the door based on the size and type of door you have chosen. Measure the dimensions carefully to ensure a proper fit. Use a level and a square to mark the door opening accurately on the wall.
2. Install the Door Frame
Next, install the door frame in the opening. Securely attach it to the wall studs using screws or nails. Make sure the frame is plumb and level to ensure the door operates smoothly.
3. Hang the Door
Hang the door on its hinges. Use shims to adjust the door’s position and ensure proper alignment with the frame. Test the door to make sure it opens and closes smoothly without any obstructions.
4. Add Hardware
Add any necessary hardware to the door, such as door pulls, locks, and hinges. Make sure to choose hardware that complements the overall design of your shed and offers the desired level of security.
5. Adjust and Fine-Tune
Once the door is hung and the hardware is installed, take the time to adjust and fine-tune its alignment. Ensure proper clearance around the door and adjust any hinges or latches that may require further tweaking.
By following these shed construction tips for door installation, you’ll have a secure and functional entrance to your shed. Remember to consider factors like weather resistance, insulation, and ease of use when selecting the door materials and hardware. With the door in place, your shed is ready to serve its purpose.

How to Build a Shed From Scratch
Conclusion
Building a shed from scratch can be a fulfilling and cost-effective project. By following the steps outlined in this guide, you can create a functional and appealing shed that meets your specific needs and budget. The key to a successful DIY shed construction is careful planning, foundation preparation, precise framing, and proper installation of roofing and doors.
When embarking on this project, it’s important to consider local building codes and regulations, as well as consult professionals if needed. They can provide valuable guidance and ensure your shed meets all safety requirements. Remember, patience and basic construction skills are all you need to bring your shed-building dreams to life.
Whether you’re using your shed as a storage space for tools and equipment or as a workshop to pursue your hobbies, a well-built and thoughtfully designed shed can add both functionality and beauty to your backyard. So, grab your tools, gather your materials, and let’s get started on your DIY shed construction adventure!
Other Articles People Have Read:
메타데이터
- post_id
- 55a91ecb6fbe
- slug
- how-to-build-a-shed-from-scratch-my-diy-guide-55a91ecb6fbe
- url
- https://medium.com/@desks/how-to-build-a-shed-from-scratch-my-diy-guide-55a91ecb6fbe
- canonical_url
- https://medium.com/@desks/how-to-build-a-shed-from-scratch-my-diy-guide-55a91ecb6fbe
- author_url
- https://medium.com/@desks
- status
- ok
- fetched_at
- 2026-07-27 07:49:50