Building Your First Design System: A Beginner’s Guide for Solo Designers
How I created a scalable design system for my projects without a team or budget — practical lessons for designers working alone
Building Your First Design System: A Beginner’s Guide for Solo Designers
How I created a scalable design system for my projects without a team or budget — practical lessons for designers working alone

When Shane from Design Systems Collective invited me to contribute, I realized I had a story to share: how I built my first design system as a solo designer with zero budget.
This isn’t a story about enterprise-scale systems with hundreds of components. This is about practical, scrappy design systems that actually help you work faster and more consistently — even when you’re a team of one.
— -
WHY I NEEDED A DESIGN SYSTEM
The Problem I Faced
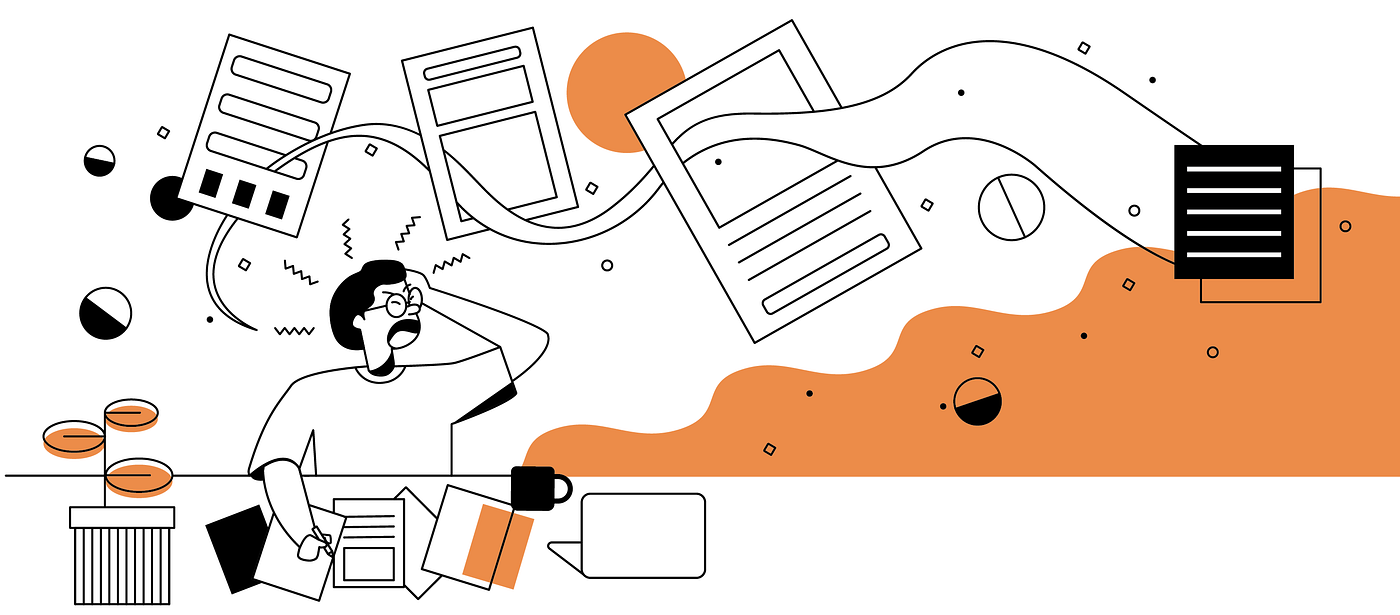
As a UI/UX design intern at Innoknowvex Edutech, I was designing a wellness app called BodyAware. Two weeks in, I realized I’d created:
- 7 different button styles
- 5 shades of green (none documented)
- Inconsistent spacing (sometimes 8px, sometimes 12px, sometimes 16px)
- 3 different card corner radius values
When my manager asked me to change the primary green color, I had to manually update 47 screens. It took me 3 hours.
That’s when I learned: Design systems aren’t for big teams. They’re for anyone who doesn’t want to waste time on repetitive decisions.
— -
WHAT IS A DESIGN SYSTEM (REALLY)?
The Simple Definition
A design system is:
- Reusable components (buttons, cards, inputs)
- Design tokens (colors, spacing, typography)
- Documentation (how and when to use things)
- Principles (why you made these choices)
Think of it like cooking:
- Components = Pre-chopped vegetables
- Tokens = Your spice rack (consistent ingredients)
- Documentation = The recipe
- Principles = “Always use fresh herbs”
You don’t reinvent the wheel every meal. You use what works.
— -
MY FIRST DESIGN SYSTEM: WHAT I BUILT
I started small. Here’s exactly what I created in 1 week:
- Color System (8 colors total)
Primary Colors:
- Primary Green: #26A69A (main actions)
- Primary Green Light: #80CBC4 (hover states)
- Primary Green Dark: #00897B (pressed states)
Neutral Colors:
- Text Black: #212121
- Text Gray: #757575
- Background Gray: #F5F5F5
- White: #FFFFFF
Semantic Colors:
- Success Green: #66BB6A
- Error Red: #EF5350
- Warning Orange: #FFA726
Why only 8? More colors = more decisions = slower design. Start minimal.
- Typography Scale (4 sizes)
Font: Inter (single font family keeps it simple)
Sizes:
- Heading: 24px, Bold, Line-height 1.3
- Subheading: 18px, Semibold, Line-height 1.4
- Body: 16px, Regular, Line-height 1.6
- Caption: 14px, Regular, Line-height 1.5
Why only 4? Covers 90% of use cases. Add more only if you actually need them.
- Spacing System (8px grid)
Base unit: 8px
Scale: 8, 16, 24, 32, 40, 48, 64
Usage:
- 8px: Tight spacing (inside buttons)
- 16px: Component spacing (padding)
- 24px: Section spacing
- 32–48px: Large gaps between major sections
Why 8px? Divisible by 2 and 4. Works perfectly for responsive design.
- Component Library (6 core components)
I started with just these:
-
Button (3 variants) • Primary (green background) • Secondary (green border, white background) • Text (no background, green text)
-
Input Field (2 states) • Default • Error (red border + error text)
-
Card (1 style) • White background • 12px corner radius • Subtle shadow • 16px padding
-
Icon (1 style) • Rounded line icons • 24x24px size • Consistent stroke width
-
Badge/Tag • Rounded pill shape • Used for status labels
-
Alert/Toast • Success (green) • Error (red) • Info (blue)
Why only 6? These cover most UI needs. Build only what you actually use.
— -
HOW I BUILT IT (STEP-BY-STEP)
Step 1: Audit Your Existing Designs (1 hour)
I opened all 47 screens and made a list:
- How many button styles do I have?
- How many colors?
- How many font sizes?
- How many spacing values?
This showed me the chaos. Write it down.
Step 2: Define Your Tokens (2 hours)
I created a new Figma file: “BodyAware Design System”
Page 1: Design Tokens
Created color swatches:
- Named each color clearly (Primary/Green/500)
- Documented hex codes
- Showed usage examples (“Use for primary actions”)
Created typography examples:
- Showed each text style with sample text
- Documented size, weight, line-height
Created spacing chart:
- Visual grid showing 8, 16, 24, 32px etc.
Pro tip: Use Figma styles feature. Name them clearly: “Color/Primary/Green” not “Green Button Color”
Step 3: Build Base Components (3 hours)
Started with buttons:
Button Component in Figma:
- Created master component
- Added variants: Primary, Secondary, Text
- Added size variants: Small, Medium, Large
- Added state variants: Default, Hover, Pressed, Disabled
Auto Layout is your friend:
- Set padding: 12px vertical, 24px horizontal
- Made width: “Hug contents”
- Set gap between icon + text: 8px
Repeated for other 5 components.
Step 4: Document Usage Rules (1 hour)
Created a “Documentation” page in Figma:
For each component, wrote:
- What it is: “Primary button for main actions”
- When to use: “Use for primary CTA on each screen (max 1 per screen)”
- When NOT to use: “Don’t use for destructive actions (use red instead)”
- Accessibility: “Minimum touch target 48x48px”
Example — Button Documentation:
PRIMARY BUTTON Use for: Main call-to-action Examples: “Save”, “Submit”, “Continue” Max per screen: 1 Color: Primary Green (#26A69A) Min height: 48px Corner radius: 8px
SECONDARY BUTTON Use for: Secondary actions Examples: “Cancel”, “Skip”, “Back” Color: White with green border
Step 5: Apply to Real Screens (1 hour)
Went back to my 47 screens:
- Swapped all buttons with component instances
- Updated all colors to use styles
- Fixed spacing to 8px grid
- Applied typography styles
Time saved: When manager asked to change green color, I updated the style once. All 47 screens updated instantly. 3 hours → 30 seconds.
— -
LESSONS I LEARNED THE HARD WAY
- Start With What You Actually Use
Mistake I made: I created 15 button variants in my first system. I only used 4.
Lesson: Build components as you need them. Don’t create “just in case” components.
- Name Things Clearly
Bad naming:
- “Button Green”
- “Card2”
- “Text Big”
Good naming:
- “Button/Primary/Medium”
- “Card/Default”
- “Typography/Heading/H1”
Why it matters: When you have 50 components, clear names save you time searching.
- Document As You Go
Mistake I made: I built all components first, then tried to document later. I forgot WHY I made certain decisions.
Lesson: Write one sentence documentation when you create each component. Future you will thank present you.
- Variants Are Powerful (Use Them!)
Figma’s variant feature changed everything for me.
Instead of:
- Button-Primary
- Button-Secondary
- Button-Small
- Button-Large
- Button-Disabled
I created ONE button component with:
- Variant 1: Type (Primary, Secondary, Text)
- Variant 2: Size (Small, Medium, Large)
- Variant 3: State (Default, Hover, Disabled)
Result: Easier to maintain, cleaner file structure.
- Your Design System Will Evolve
Version 1 (Week 1):
- 8 colors
- 4 text styles
- 6 components
Version 2 (Month 2):
- 12 colors (added warning/info states)
- 6 text styles (added label + overline)
- 15 components (added dropdown, modal, tooltip)
This is normal. Don’t try to build everything upfront.
— -
PRACTICAL TIPS FOR SOLO DESIGNERS
- Use a Single Figma File Structure
My structure: 📁 [Project Name] Design System 📄 Cover (intro + version) 📄 Design Tokens (colors, type, spacing) 📄 Components (all components) 📄 Documentation (usage guidelines) 📄 Examples (real screen examples)
- Create a Quick Reference Sheet
I made one artboard showing:
- All colors in a row
- All text styles
- All spacing values
- All component variants
I keep this visible while designing. One-glance reference.
- Version Your System
Every major change:
- Save a copy: “Design System v1.0”
- Update version number in cover page
- Write changelog: “v1.1 — Added error states to input fields”
Why? If you break something, you can revert.
- Test Components in Real Screens
Don’t just build components in isolation.
After creating button component:
- Drop it into 3 different screens
- Test with long text: “Submit Your Application Now”
- Test with short text: “OK”
- Test with icons
- Does it break? Fix the component.
- Share Early (Even If Imperfect)
I showed my v0.5 system to my team lead. He pointed out:
- “This green won’t pass accessibility contrast”
- “You need error states for inputs”
Lesson: Feedback makes your system better. Don’t hide it until it’s “perfect.”
— -
TOOLS I USED (ALL FREE)
Design:
- Figma (Free tier)
- Figma Community components for inspiration
Colors:
- Coolors.co (color palette generator)
- WebAIM Contrast Checker (accessibility)
Typography:
- Google Fonts (free, easy to implement)
- Type Scale calculator (typescale.com)
Documentation:
- Notion (for detailed docs)
- Figma itself (inline notes)
Total cost: ₹0
— -
WHEN TO BUILD A DESIGN SYSTEM
Build one if: ✓ You’re designing 10+ screens ✓ You’re repeating the same components ✓ Multiple people will design/develop ✓ You want consistency ✓ You value your time
Don’t build one if: ✗ You’re doing a quick 1-page mockup ✗ You’re just exploring ideas ✗ You’re in early discovery phase
Rule of thumb: If you’ve designed the same button 3 times, you need a design system.
— -
COMMON MISTAKES TO AVOID
- Over-Engineering
Don’t create atomic design with 5 levels of hierarchy if you have 20 components. Keep it simple.
- Design System Theater
Don’t spend weeks building a perfect system without using it in real work. Build → Use → Iterate.
- No Documentation
Components without usage guidelines = confusion. Write 2 sentences per component minimum.
- Ignoring Accessibility
Check color contrast (WCAG AA minimum: 4.5:1 for text) Ensure touch targets are 48x48px minimum Test with screen readers
- Building for Future, Not Present
Don’t create “Dark Mode” tokens if you don’t have dark mode yet. Build for what you need TODAY.
— -
DESIGN SYSTEMS FOR REAL PROJECTS
Here’s how my simple system helped in actual work:
Project 1: BodyAware (Wellness App)
- 60 screens designed in 3 weeks
- Consistent look across all flows
- Easy to update when brand color changed
Project 2: CivicEase (Government App)
- Reused button, card, input components
- Only had to design new components (document checklist, queue tracker)
- Saved ~10 hours of design time
Project 3: MemoryLane (Journal App)
- Different visual style, but same system structure
- Updated tokens (colors, fonts)
- Components adapted easily
- 2-hour setup vs. starting from scratch
The pattern: System saves time on project 2, 3, 4… Not on project 1.
— -
SCALING UP (WHEN YOU’RE READY)
Once you’re comfortable with basics:
Level 2: Add More Components
- Navigation bars
- Modals/dialogs
- Dropdowns/selects
- Tables
- Empty states
Level 3: Add Patterns
- Form layouts
- List layouts
- Dashboard layouts These are combinations of components
Level 4: Add Documentation Site Tools:
- Notion (free, easy)
- Storybook (for developers)
- Zeroheight (design system docs)
Level 5: Add Design Tokens as Code Export your tokens as JSON Developers can import directly Tools: Style Dictionary, Figma Tokens plugin
But start at Level 1. Don’t skip ahead.
— -
DESIGN SYSTEMS ≠ JUST FOR BIG COMPANIES
Common myth: “Design systems are for companies like Airbnb and Google.”
Reality: Design systems are for anyone who designs more than one screen.
You don’t need: ✗ A dedicated design systems team ✗ A 500-page documentation site ✗ Hundreds of components ✗ Developer handoff automation
You DO need: ✓ Consistent colors ✓ Reusable components ✓ Clear naming ✓ Basic documentation
That’s it.
— -
MEASURING SUCCESS
How do you know your design system is working?
For me, success looked like:
Before Design System:
- Time to design new screen: 3–4 hours
- Time to update brand color: 3 hours
- Consistency across screens: 60% (estimated)
- Questions from developers: “Which green is this?”
After Design System:
- Time to design new screen: 1–2 hours (40% faster)
- Time to update brand color: 30 seconds (99% faster)
- Consistency across screens: 95%
- Questions from developers: None (they just reference components)
The real win: Peace of mind. I stopped second-guessing every spacing and color decision.
— -
YOUR FIRST DESIGN SYSTEM CHECKLIST
Week 1: Foundation
- Audit existing designs
- Define 6–8 colors
- Define 4–5 text styles
- Define spacing scale (8px grid)
- Create buttons (primary, secondary)
Week 2: Core Components
- Build input fields
- Build cards
- Build icons/badges
- Add variants (states, sizes)
Week 3: Documentation
- Write usage guidelines (1–2 sentences per component)
- Create quick reference sheet
- Add accessibility notes
Week 4: Apply & Iterate
- Use system in real project
- Note what’s missing
- Add components as needed
- Update documentation
Total time investment: ~20 hours over 1 month
Time saved: Infinite (every project after)
— -
RESOURCES THAT HELPED ME
Articles:
- “Design Systems 101” by Nielsen Norman Group
- “Building a Visual Language” by Airbnb Design
- “Design Tokens” by Brad Frost
Books:
- “Atomic Design” by Brad Frost (free online)
- “Design Systems” by Alla Kholmatova
Figma Resources:
- Material Design 3 (Figma Community)
- IBM Carbon Design System (Figma Community) Study these, don’t copy blindly
Communities:
- Design Systems Slack
- r/designsystems on Reddit
- Design Systems Collective (you’re here!)
— -
FINAL THOUGHTS
I built my first design system because I was tired of wasting time on repetitive decisions.
I didn’t build it because I wanted to “level up” or add a buzzword to my resume.
Good design systems are boring.
They’re not flashy. They’re not revolutionary. They’re just:
- Colors that work
- Components that are consistent
- Documentation that’s clear
And that’s exactly why they’re powerful.
If you’re a solo designer drowning in inconsistency, start small:
- Pick 8 colors
- Build 1 button component
- Document it in 2 sentences
- Use it in your next screen
That’s your design system. It doesn’t need to be more complicated than that.
— -
What’s stopping you from starting your design system today?
I’d love to hear your challenges or questions in the comments!
Connect with me: 📧 uxbydamini@gmail.com
If this was helpful, please clap 👏 and share with other solo designers!
DesignSystems #Figma #UIDesign #DesignTokens #ComponentLibrary
메타데이터
- post_id
- 5c8f0304798a
- slug
- building-your-first-design-system-a-beginners-guide-for-solo-designers-5c8f0304798a
- url
- https://www.designsystemscollective.com/building-your-first-design-system-a-beginners-guide-for-solo-designers-5c8f0304798a
- canonical_url
- https://www.designsystemscollective.com/building-your-first-design-system-a-beginners-guide-for-solo-designers-5c8f0304798a
- author_url
- https://medium.com/@daminip514
- status
- ok
- fetched_at
- 2026-06-09 15:37:30