MQTT-to-HTTPS router via ThingsBoard — Watmonitor
If you use ready-made hardware for monitoring water levels or bulk materials, which you would like to connect to the Watmonitor web…
MQTT-to-HTTPS router via ThingsBoard — Watmonitor
If you use ready-made hardware for monitoring water levels or bulk materials, which you would like to connect to the Watmonitor web application for data visualization, you may encounter limitations that prevent direct integration.
This may be due, for example, to the lack of support for the HTTPS protocol, which is the only communication protocol of Watmonitor, since it is a server application on a client-server communication architecture.
The lack of support itself may not mean that the hardware itself does not allow it to be implemented, but often the device has a closed firmware and as a user you can only access the configuration interface, where you select one of the supported options that are tested and practically only change the variables that the program works with.
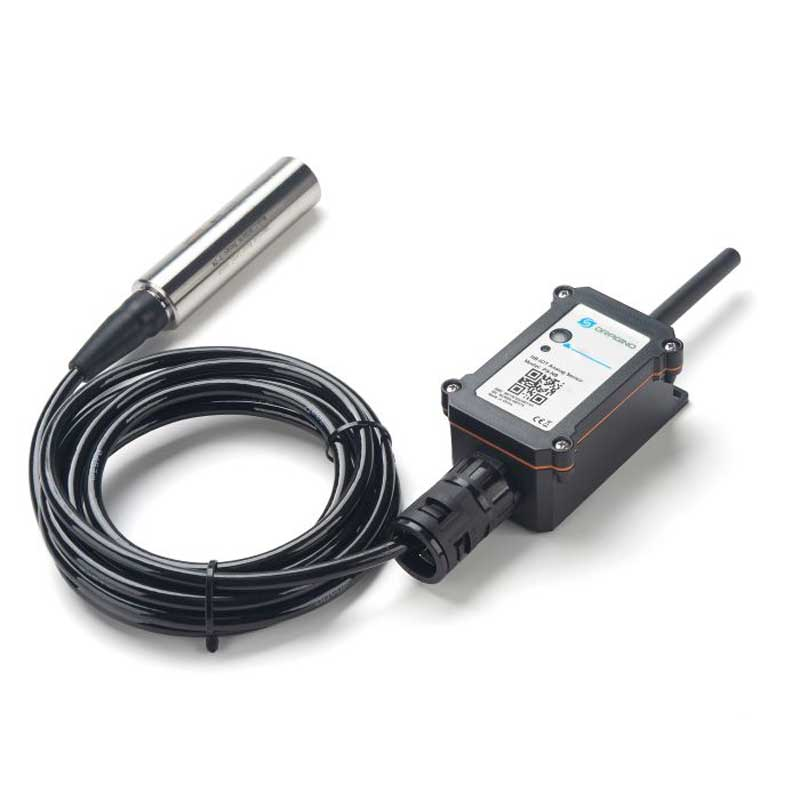
Dragino PS-NB with pressure sensor for liquids, air
A typical example is many NB-IoT devices, for example from Dragin (DDS75-NB — ultrasonic water level sensor, LDS25-NB — LiDAR ToF sensor, PS-NB — pressure sensor, MDS200-NB — microwave radar), which support MQTT, MQTTS, UDP, TCP, COAP protocols, which HTTP / HTTPS does not fall under and so it is not possible to send data directly for the Watmonitor web interface to process.
The same applies to other devices, for example from Ellenex (PTX2, DUX2 series — X indicates wide models of the series), which support UDP, LwM2M, MQTT, NIDD. Therefore, we need to add an intermediary to the communication, which will forward the data to the Watmonitor interface after receiving it via a supported interface.

Ellenex DUS2-N — ultrasonic distance sensor
The most universally supported protocol among these devices is MQTT. We will need an MQTT Broker, along with a backend that will operate 24/7 and reliably process and push data to the Watmonitor interface. The ThingsBoard platform comes as a suitable candidate, which will allow us to implement this logic through a Rule Chain, has a non-stop available MQTT Broker, which is directly connected to the platform. ThingsBoard is also suitable for devices that do not support encrypted connections with the Broker and it is also available on the standard MQTT protocol 1883, but is also fully supported with TLS on port 8883.

Block diagram — direct communication is not possible via MQTT. Need to use MQTT router to push data via HTTPS POST
Implementing an MQTT router on ThingsBoard In the menu, select Rule Chains, create a new Rule Chain. We will name it MQTT_router as an example. Before creating the actual flow of concatenated logic blocks, we must fully understand how it works, or rather what data we receive.
The input block itself, which is automatically found in each Rule Chain, has an output that we will use. This output will display the data that arrives at the MQTT Broker from the end device — the client. In addition to the data, it also contains other meta information that determines which valid client the data is from.
When pushing data to the Thingsboard MQTT Broker, the client uses a token by default to authorize the push. We cannot use the node REST API call directly because we must also add a token to the value, which is required by the Watmonitor platform.
Watmonitor expects by default:
URL: https://hladinomer.eu/data.php (or other depending on the instance) Request type: POST POST parameter: level POST parameter: token (default 123456789, if no other is set in the instance)
Therefore, we will have to use a node script from Transformation, which will prepare the payload data, including the keys (POST parameters) and the values that belong to them. We will design the Rule Chain so that it expects the JSON key “value” in which the differential or total water level height recorded by the sensor will be stored, i.e. an integer.
Script node — settings In the body of the script (TBEL — ThingsBoard Environment Language), we will insert the following short code:
var token = 123456789; var value = msg.value; msg = “value=” + value + “&token=” + token; return {msg: msg, metadata: metadata, msgType: msgType};
This script creates a variable msg, assigning to it the value obtained from the value JSON key, which contained the water level value that we want to get into Watmonitor. This script basically outputs the following to the JSON key msg (for the 123 value from the JSON payload assigned to value): “msg”: “value=123&token=123456789”

Script in Rule Chain — transformation of payload
REST API Call — settings
Endpoint URL pattern: https://hladinomer.eu/data.php Request method: POST Parse to plain text — CHECK OFF In Headers: Content-Type — application/x-www-form-urlencoded

REST API CALL node settings

Content type selection
Checking the Parse to plain text option is practically the most critical setting, without which JSON keys with values will not be correctly converted into POST attributes of the request, which the REST API Call will execute directly to the Watmonitor instance.
Even if you had all other settings correct, the payload would not be in the correct format without Parse to plain text. Also make sure that you have the script and REST API CALL nodes connected via the Success label for successful data forwarding and functioning automation.

Working Rule Chain that works as a MQTT router to push data to Watmonitor via HTTPS POST
Creating a device profile, device In the next step, we will create a new device profile in the Profiles → Device Profiles section, we named it MQTT_profile_router. We will set the already created and saved Rule Chain MQTT_router to this new profile. In the Entities → Devices section, we will create new devices, which we will name device and set the Device Profile MQTT_profile_router to, thus ensuring that data coming from this authorized device will trigger the corresponding Rule Chain named MQTT_router, which will push the data directly to Watmonitor via an HTTPS POST request.

Device profile assigned to Rule Chain

Device assigned to Device Profile
Testing in a nutshell After successfully saving the Rule Chain, profile and the device itself, we can proceed to the first test, which will verify whether ThingsBoard will process the data, but especially whether Watmonitor will receive it and we will see it directly in its dashboard. For the first test, we can use the Windows application MQTTX Client.
Setting up MQTT data for ThingsBoard:
Server: mqtt.thingsboard.cloud Topic: v1/devices/me/telemetry Client-ID: any Username: Access token from ThingsBoard (in the device details) Password: empty Payload (JSON): {value: 123}
Connection settings (in MQTTX Client) — In Username, we put the Access token, which we can find in the device details. We can choose anything for Client-ID (but be careful, this is a public MQTT Broker). If you choose the same Client-ID as another user, you will be disconnected from the Broker alternately. We also enter the MQTT Broker URL (be careful, there is actually mqtt in the URL. So it’s not mqtt://, the URL is basically mqtt://mqtt.thingsboard-cloud.
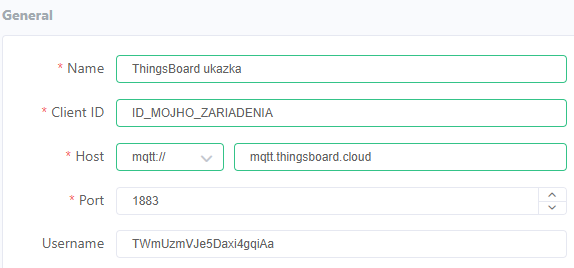
MQTTX Client — connection settings
After establishing a connection with the automatically inserted Client-ID and username from the saved Connection, we can connect to the Broker and send data to the preset topic — v1/devices/me/telemetry with a JSON payload, for example {value:123}.

Published data on ThingsBoard topic
You will also see the successful connection (even before publishing data to the topic) on ThingsBoard, where you will see an active device in Entities → Devices, since we connected to the Broker directly via the token of this device.

Device labelled as Active (Online) on connection established
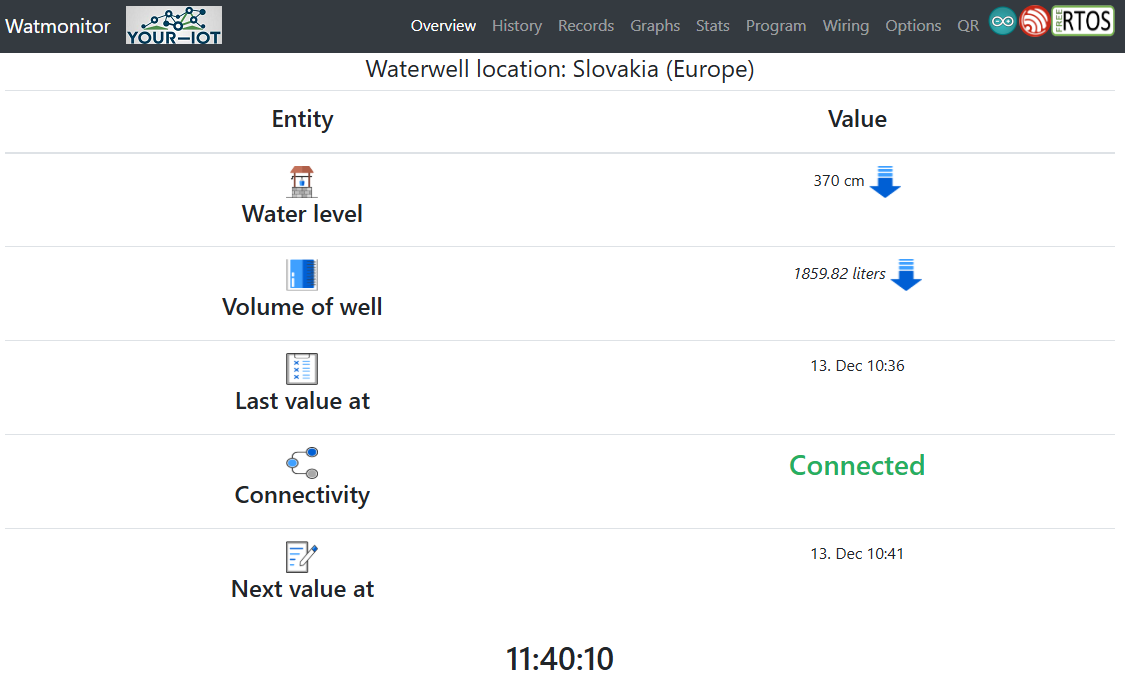
Since we had the payload transformation script and API CALL node set up correctly, the data was successfully sent to Watmonitor in the format it expected. The Watmonitor backend processed the data, stored it in a MySQL database, and then visualized it in its web application or in AR visualization.

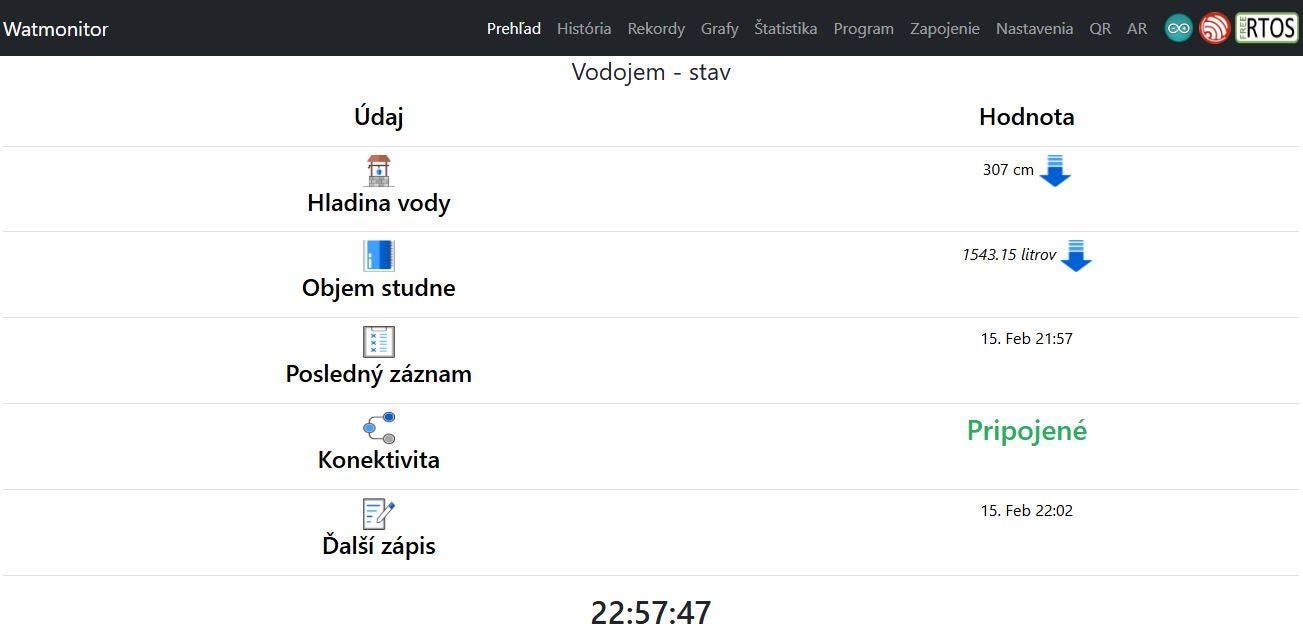
Watmonitor web interface — received data from ThingsBoard MQTT Router that pushed data via HTTPS POST
JSON files for quick import and use of device profile and Rule Chain in ThingsBoard can be found at: https://github.com/martinius96/hladinomer-studna-scripty/tree/master/examples/Tools_Integrations/ThingsBoard
Since other integrations with ThingsBoard are also included here, choose the correct JSON files. Rule_Chain_mqtt_router.json for Rule Chain and mqtt_profile_router.json for device profile. The device itself does not have a .json file, nor an export option, you have to create it manually.
No matter what name you set, Rule Chain is run based on the profile assigned to the device. When sending data, you are limited by Watmonitor, which receives data max. once every 200 seconds (but by default up to once every 5 minutes).
In all imported entities, you can also edit the Watmonitor instance to yours without having to use the public test Watmonitor web interface, which was used in the example.
메타데이터
- post_id
- 5f193d6ea2ad
- slug
- mqtt-router-via-thingsboard-watmonitor-5f193d6ea2ad
- url
- https://medium.com/@your-iot/mqtt-router-via-thingsboard-watmonitor-5f193d6ea2ad
- canonical_url
- https://medium.com/@your-iot/mqtt-router-via-thingsboard-watmonitor-5f193d6ea2ad
- author_url
- https://medium.com/@your-iot
- status
- ok
- fetched_at
- 2026-07-11 13:32:36