How to Set Up a Tool Tracking System
Missing tools cost more than the price tag. They slow down jobs, create duplicate purchases, and turn a simple workday into a scavenger…
How to Set Up a Tool Tracking System
Missing tools cost more than the price tag. They slow down jobs, create duplicate purchases, and turn a simple workday into a scavenger hunt. If you are wondering how to set up tool tracking system processes that actually stick, the good news is you do not need fancy software or a warehouse-sized operation to get started. You need a clear method, durable identification, and a routine your household, classroom, shop, or crew will actually use.
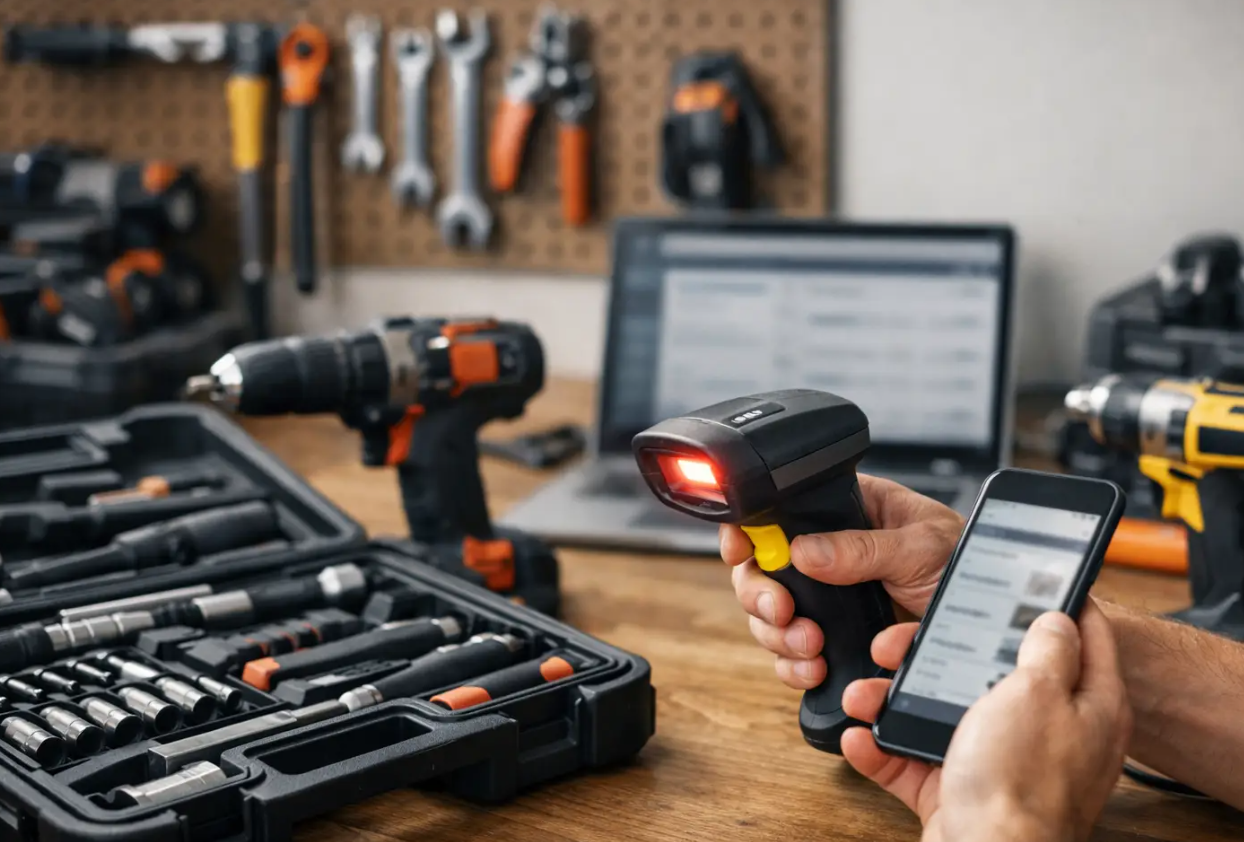
engraved asset tracking
For many people, tool tracking sounds like something only large contractors or industrial teams need. In real life, it helps anyone who shares tools, lends them out, stores them in multiple places, or wants to protect an investment. That could mean a homeowner with a growing garage setup, a teacher managing classroom tools, a maker with specialty equipment, or a business keeping high-use items organized across a team.
[embed]
Why a tool tracking system matters
A good tracking system does three jobs at once. First, it tells you what you own. Second, it tells you where it belongs. Third, it makes it obvious when something is missing, borrowed, or mixed in with someone else’s gear.
That matters because tool loss is not always dramatic. More often, it happens one screwdriver, charger, case, or measuring tool at a time. A label fades. A toolbox gets swapped. A borrowed item never makes it back. Over a few months, the cost adds up.
There is also a practical side that people often overlook. Clearly marked tools are easier to return, easier to sort, and easier to keep professional-looking. For families, classrooms, and work crews, permanent custom marking adds a level of ownership that stickers and tape usually cannot match.
Start with the tools you actually need to track
Before you buy tags or build a spreadsheet, decide which tools deserve a spot in the system. Not every item needs the same level of attention.
High-value tools should always be included. That covers power tools, specialty measuring tools, branded gear, and anything expensive to replace. Shared tools belong on the list too, because shared items are the first to wander. Frequently borrowed tools also deserve tracking, even if they are not costly, simply because they create the most day-to-day friction.
You can skip tiny disposable items at first. If your tracking plan becomes too detailed too quickly, people stop using it. Start with the equipment that causes the biggest headaches when it goes missing.
Choose the right level of tracking
The best system is the one you will maintain. For some people, a simple log and permanent name marking are enough. For others, especially small businesses or busy workspaces, a more structured setup makes sense.
A basic system works well for home garages, crafters, and personal collections. You assign each tool an ID, mark it clearly, and keep a simple inventory list with the item name, storage location, and owner. This gives you visibility without creating much admin work.
A mid-level system is better for shared shops, school programs, and small teams. In this setup, each item gets an ID and a marked owner name or brand name, and the inventory includes checkout details, condition notes, and purchase dates.
A more advanced system uses barcodes, QR codes, or scanning tools, but that only pays off if multiple people are moving equipment every day. If your tools live in one space and only a few people use them, keep it simpler.
How to set up tool tracking system steps that work
The easiest way to set this up is to build it in layers. Do not try to solve everything in one afternoon.
First, gather the tools you want to track in one place. This gives you a clean starting point and makes duplicates easier to spot. You may find three tape measures and no working utility knife, which is useful information before you build your inventory.
Next, assign each tool a unique identifier. That can be a number like T-001, T-002, and so on. Keep it simple and consistent. If you want categories, use short prefixes such as DR for drills, MT for measuring tools, or WD for woodworking tools.
Then create your master inventory. A spreadsheet is enough for most people. Include the tool name, ID number, brand, storage location, condition, and who uses it. If the item is often loaned out, add a checkout field. If it is valuable, add the purchase date and replacement cost.
After that, mark each tool physically. This is where many systems succeed or fail. If the tool itself is not clearly identified, your spreadsheet will not help much when items get mixed together on a bench, in a classroom, or at a job site.
Finally, set storage rules. Every tracked tool should have a home location, even if that home is as simple as “top drawer” or “blue case shelf.” Tracking works better when location is part of the habit, not an afterthought.
Permanent marking is the part people remember
If you want tools to come back to the right person or place, visible and durable marking matters. Tape peels. Marker fades. Cheap labels smudge, especially on metal, plastic, and hard-use surfaces.
That is why engraved identification is such a practical upgrade. A permanently marked name, business name, or asset ID gives the tool a clear identity that holds up to regular handling. For personal tools, that can mean a name or initials. For team use, it may be a company name plus an inventory number. For gifts, it adds something even better: function with personality.
This is especially useful for items that travel, get shared, or tend to blend together, such as flashlights, pocket tools, multi-tools, measuring devices, and tool accessories. A personalized mark does not replace your inventory sheet, but it makes the system easier to use in the real world.
Pick a tracking method your group will follow
The biggest mistake is building a system for perfect behavior instead of normal behavior. People are busy. They put things down in the wrong spot. They borrow something quickly and forget to mention it. Your tracking method has to account for that.
For a family or solo user, a storage map and inventory list may be enough. For a classroom, shared maker space, or small crew, a checkout routine helps. That can be as simple as writing down the tool ID, who took it, and when it is due back.
If you manage tools across multiple users, keep the check-in process fast. The more steps it takes, the less often it happens. One sheet on a clipboard can outperform a complicated app that nobody opens.
Common mistakes that make tool tracking fail
Most failed systems collapse for boring reasons, not technical ones. The inventory gets created once and never updated. Labels wear off. Storage locations are inconsistent. New purchases never make it into the list.
Another common issue is trying to track too much detail. If every screwdriver bit gets its own record, the system becomes work instead of help. Focus on the items that cost time, money, or frustration when they disappear.
There is also the identity problem. If tools are not clearly marked, people cannot tell at a glance what belongs where. That is why visible personalization and asset marking pull more weight than many people expect.
A simple setup for home, hobby, or small business use
If you want a practical starting point, use this model. Track your high-value and shared tools first. Give each one a short ID. Record them in a spreadsheet. Add a permanent engraved name or number to the tool or accessory where possible. Assign a home location. Then do a quick review once a month.
That monthly review does not need to be a big event. You are just confirming what is present, what is missing, what is damaged, and what needs replacing. Done regularly, it takes minutes instead of hours.
For gift buyers and practical shoppers, this is also a smart reason to choose personalized tools in the first place. A custom-engraved tool is not only thoughtful. It is easier to identify, harder to mix up, and more likely to stay with its owner over time. That mix of usefulness and personal identity is exactly why engraved items have such staying power.
When to upgrade your system
If your tools move between vehicles, job sites, classrooms, or multiple users every week, you may outgrow a basic spreadsheet. That is the point where barcode labels, QR codes, or dedicated inventory software can help. But even then, permanent physical identification still matters.
Digital records tell you what should be happening. Clear engraved marking helps with what is happening right now, on the workbench, in the toolbox, or in someone else’s hand.
If you are building a setup that is meant to last, start with clarity, not complexity. Know what you own, mark it well, give it a home, and keep the routine simple enough to repeat. That is how a tool tracking system stops being another project and starts saving you time every single week.
메타데이터
- post_id
- 5f1fc0be2271
- slug
- how-to-set-up-a-tool-tracking-system-5f1fc0be2271
- url
- https://medium.com/@3655phillips/how-to-set-up-a-tool-tracking-system-5f1fc0be2271
- canonical_url
- https://medium.com/@3655phillips/how-to-set-up-a-tool-tracking-system-5f1fc0be2271
- author_url
- https://medium.com/@3655phillips
- status
- ok
- fetched_at
- 2026-06-09 15:37:30




