3 Ways to Maintain PixAI Character Consistency in Your AI Art
Does your anime character look different in every image you generate? Learn how to ensure PixAI character consistency.
3 Ways to Maintain PixAI Character Consistency in Your AI Art
Anime characters depend on a handful of distinct details to stay recognizable, and that’s exactly why maintaining character consistency in AI art can be so tricky. Put Sieg Hart from Rave Master next to Jellal Fernandes from Fairy Tail, and you’d swear they were long-lost twins.
They have the same blue hair, the same sharp features, and the same red facial marking. There’s only one key detail that actually sets them apart. It’s the exact shape and placement of a facial tattoo. Change it, and Jellal stops looking like Jellal.

Sieg Hart (Rave Master) and Jellal Fernandes (Fairy Tail) Recreated Side by Side Using PixAI.
That distinction is everything when you’re creating a consistent anime character with AI. A character isn’t just a blue-haired guy; they’re a specific combination of traits that makes them instantly recognizable, like a precise eye color, a signature accessory, and a marking that’s always in the same spot. Those details are the character’s identity.
Most AI image generators struggle to hold onto those details and end up redrawing them every time you hit “Generate,” and gradually your character drifts into a stranger. The fix for AI character consistency isn’t a single magic prompt. It’s using the right tools.
For instance, PixAI, an anime-focused AI art generator, gives you features built specifically for character consistency, keeping your character on-model across dozens of generations.
Let’s walk through 3 practical ways to achieve PixAI character consistency.
What Causes Character Inconsistency in AI Art?
Maintaining character consistency in AI art is complex because of the way image generation works. When you prompt a generative AI model, it isn’t recalling a saved picture of your character. It starts from random visual noise and shapes it into an image that matches your prompt.
The words in your prompt guide that process, but don’t fully control it, so a vague description like “pink twin-tails, green eyes, sailor uniform” can turn out to be millions of different faces. That randomness is the core issue.
Here are a few other reasons your character keeps changing from one image to the next:
- Prompt variation: Even small changes to your wording can change the result. Rewriting “pink twin-tails” as “rose-colored pigtails,” or just reordering your tags, can turn the character into someone new.
- Different compositions: A new pose or angle leaves more up to chance, so a calm portrait and an action shot can look like two different people.
- Facial feature drift: Details like eye shape, nose, and jawline are the hardest things to pin down in a prompt, so they tend to wander between images.
- Outfit and style shifts: The model often reinvents collars, ribbons, and color accents instead of carrying them over, and switching base models changes how faces are drawn entirely, so a character rarely stays on-model across scenes.
So what’s the solution? It comes down to one key idea. Relying on prompts for character consistency gives the model too much freedom, so you need to anchor it to something more solid, like a reference image to guide each generation, or a trained model that locks in your character’s design.
Exploring PixAI Features That Simplify AI Character Consistency
PixAI, an AI art generator focused on high-quality anime and ACG-style art, makes it easy to apply those anchors.
Backed by its own anime-tuned models and a large library of PixAI LoRAs (small add-on files that teach the model a specific character or style) that you can use or train yourself, PixAI gives you everything you need to build and reuse a character.
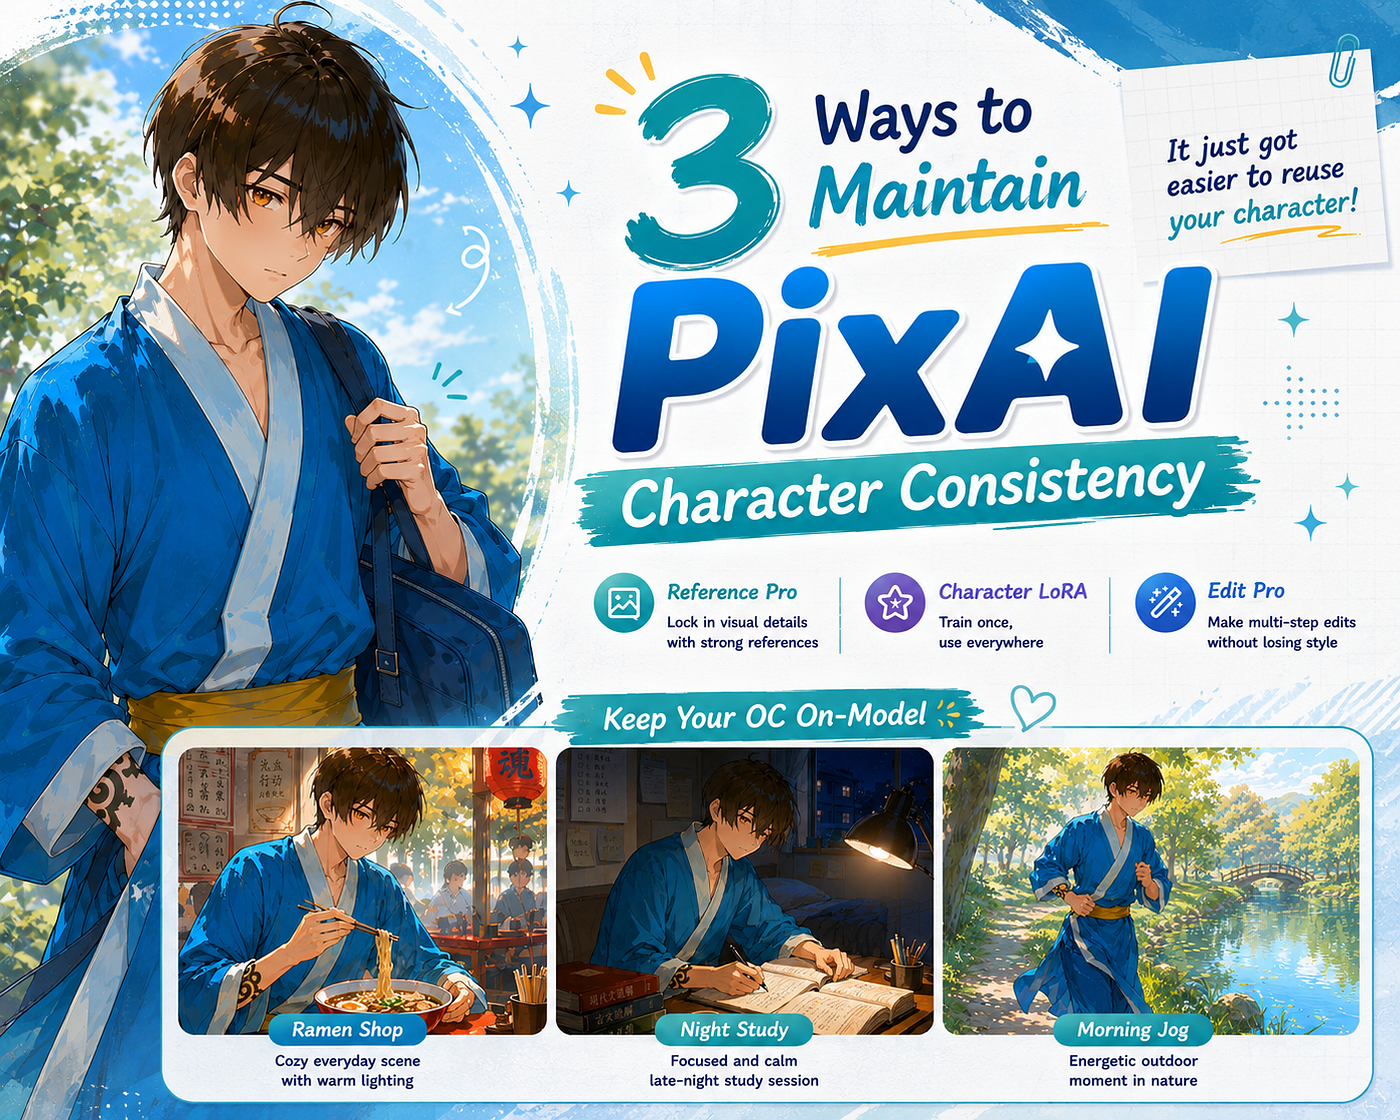
Three key features, PixAI Reference Pro, Character LoRA, and PixAI Edit Pro, drive PixAI character consistency, and each works differently. Here’s a closer look at each one:
- PixAI Reference Pro: This model is the fastest way to reuse a face. You upload a clear picture, choose what to lock (face, outfit, or both) through prompts, and it carries those traits into new generations while the pose, background, and lighting change. No training or setup is required, which makes it a natural starting point.
- Training a Character LoRA: It’s the most consistent option of the three. You train your character into a small reusable model file by uploading a dataset of images (10 minimum, though 15 to 25 gives the best results). Once it’s trained, you just toggle it on, and every generation already knows your character, with no reference or description needed.
- PixAI Edit Pro: You can think of it as a refinement and composition model. You can upload up to four reference images, work with multi-character scenes, and fix details after the fact, like correcting a drifted feature or swapping an outfit, all through plain natural-language edits.
Whether you’re generating a quick one-off illustration or building a long-running comic or VTuber project, these PixAI character consistency features have you covered; you just need to pick the one that fits your task. The best part is that you can try out these features in a few clicks.
You can create a free PixAI account and start generating with daily free credits, no payment required. Next, let’s see how each feature works in detail.
1. Using PixAI Reference Pro to Keep Your Character Consistent
If you only have one good image of your character, PixAI Reference Pro is the best place to start for PixAI character consistency. It’s PixAI’s character reference AI, a multi-image reference model. You can upload one or more reference images, describe what you want in plain text, and it will read the character, pose, outfit, and style from your images to generate new results.
Basically, you show it what your character looks like, and it keeps them looking that way. It’s a quick fix for when you have a previously generated image you loved, or a commissioned piece, and now want more images of the same person.
For example, the image below was generated using PixAI. Let’s say we want to create more images with this character.

A Character Made With PixAI’s Anime Character Generator That We Want to Recreate
The process takes about thirty seconds. You can open the Generate tab and select PixAI Reference Pro as your model.
Upload your character image under Reference Images (you can add up to ten, but one clean shot is enough to start). Then write a short prompt describing only what should change, like the pose, scene, or expression, and hit Generate. There’s nothing to train and nothing to configure beyond the upload and prompt, which is exactly why it’s a natural first stop for most creators.

PixAI Reference Pro can turn one PixAI character reference image into a new scene.
In the example above, the only instruction was “the boy is standing outside of a school in the same outfit,” and that was enough. PixAI kept the character’s hair, face, robe, and even the small arm tattoo, then rebuilt everything around them in a new pose and setting.

PixAI Reference Pro turned one reference image (left) into a brand-new scene (right), keeping the character’s hair, face, robe, and arm tattoo intact.
You’ll notice the prompt only describes the change, not the character, which is crucial when it comes to PixAI Reference Pro. The reference already handles the character, so re-describing the face in your prompt just fights the anchor and pulls the result toward a generic version.
Also, Reference Pro works best when you have a clean, well-lit reference and you want to change the action or setting. Generating a character in several poses for a profile sheet, dropping them into new backgrounds, or running off a few variations to pick the best one are all ideal jobs for it.
It’s also the fastest on-ramp to bigger projects, since the images you create here can become the training set for a LoRA later. Just remember, this PixAI character consistency tool is only as good as your reference images. A blurry or back-of-the-head shot gives it little to anchor on. In contrast, one solid original image keeps your character tighter for longer.
2. Training a Character LoRA for Maximum PixAI Character Consistency
PixAI Reference Pro is perfect for a handful of images, but in scenarios where you’re drawing the same character dozens or hundreds of times, for a comic, a VTuber persona, or a recurring OC, you’ll want something more permanent like a Character LoRA. It bakes your character directly into a reusable model, so every generation is consistent without a reference image.
So, how does this work? LoRA stands for Low-Rank Adaptation. It’s a small add-on file (usually tens of megabytes) that adjusts how a base model behaves, without retraining the entire model. The base model already knows how to draw anime characters in general; a PixAI LoRA layers your specific character on top of that knowledge.
You train it on a set of images, it learns your character’s signature traits (hair, eyes, facial structure), and bakes them into the file. From then on, you can load the LoRA, trigger it with a keyword, and your character appears on demand, with much tighter consistency than reference methods, since the character now lives inside the model itself.
Let’s use the anime boy in the blue robes from earlier. Under Models, you can click “Train Your Own LoRA” and pull images from previous generations or upload your own. Reference Pro pays off here, since those poses become your training set. Aim for 10 to 25 images from varied angles and scenes.

An Example of a LoRA Training Set Built from the Same Character in Varied Poses and Scenes.
From there, fill in a name, a trigger word to activate it later (pick something unique the model won’t already know), and a category, which is Character here. You’ll also choose the base model architecture, which should match the model you generate with.
Confirm and start training, and the job drops into the queue. In this case, it took about seven minutes, though times vary with the base model and server load. When it’s done, your LoRA appears in your model list, ready to toggle on.

The Trained LoRA in Action. With just the trigger word and a scene description, the character stays on model in a brand-new setting that was never in the training data.
To test the LoRA of the anime boy, the prompt was just the trigger word plus “walking through a busy night market, holding a paper lantern, looking back over his shoulder.” Notice there’s not a single word about his hair, face, or robe; the PixAI LoRA handles all of that.
Even in a festival setting that never appeared in the training images, he comes out unmistakably the same person every time. Ensure to use one character LoRA at a time, since stacking two makes them fight for the face and blend into someone new.
3. Refining Character Details With PixAI Edit Pro
Even with a strong reference or a trained LoRA, you’ll occasionally land on an image that’s almost right. The pose is great, but an earring went missing. The face is perfect, but the outfit color shifted. Regenerating from scratch risks losing what you liked, and this is exactly where PixAI Edit Pro can be used.
Edit Pro is PixAI’s advanced editing model, built for making precise, targeted changes to an existing image instead of generating a new one. You describe the edit in plain language, and it adjusts only what you asked for while preserving the rest of the image — the character’s features, the composition, and the overall style stay intact. There’s no masking, no layers, no technical setup; you just tell it what to change.
For PixAI character consistency, this feature is crucial. First, it fixes drift after the fact. If a generation comes out with the right character but a wrong detail, a different eye color, a missing accessory, or an altered collar, you can correct that one thing without touching the rest of the image.
Second, it handles multi-image work. Edit Pro accepts up to four reference images at once, so you can combine elements from different sources or place two characters in the same scene, something single-image tools struggle with.
For example, say we want the anime boy in blue robes holding a specific paper lantern from another image. We can upload the night-market result from our LoRA along with a second image of the lantern we have in mind, then simply tell the PixAI Edit Pro model to “have the boy hold this lantern.”
It reads both images, keeps the character exactly as he is, and merges in the new element, no manual editing required. The same approach works for placing two characters together, swapping a background, or pulling an outfit from one image onto a character in another.

A lantern was swapped in with Edit Pro, combining the character’s image with a reference lantern while keeping everything else unchanged.
Edit Pro is a finishing tool, not the starting point. You can reach for it once you already have a good image and need to perfect it, fixing a stray detail, merging references, or adjusting a scene. Used alongside Reference Pro and a Character LoRA, it closes the gap between “close enough” and exactly what you pictured.
Tips for Keeping Your Character Consistent Over Time
Keeping a character consistent for one session is easy. Keeping them consistent across a whole comic or series takes a little more experience working with AI art.
Here are a few tips to help you keep PixAI character consistency for the long haul:
- Start with a character sheet: PixAI has a dedicated Character Sheet Generator that turns a finished character image into a clean reference page, laying out front, side, and back views, expressions, and outfit details automatically. Generating one early gives you (and the model) a consistent guide to match against, and it doubles as a visual record of your character’s permanent traits, the hair, eyes, markings, and accessories that should never change between images.
- Combine the tools: Don’t treat the three features we discussed as either-or. The strongest anime AI workflow runs them in sequence: Reference Pro to create clean starter images, a Character LoRA trained on those images for lasting consistency, and Edit Pro to fix stray details afterward.
- Keep your style steady: Switching base models mid-project is one of the fastest ways to break consistency, since every model draws faces differently. Pick one and stay with it.
- Make it repeatable: When you find a model-and-LoRA combination or an anime AI workflow that works, save it and reuse it. A consistent character is the result of a consistent process.
PixAI Character Consistency Is a Process, Not a Lucky Roll
Your character doesn’t have to become a stranger every time you hit Generate. PixAI Reference Pro keeps them consistent from one good image, a Character LoRA makes them permanent, and PixAI Edit Pro perfects the details.
Use them in that order, and PixAI character consistency stops being a problem you fight and becomes a step you’ve already handled. PixAI is an easy anime character generator to get started with, so there’s no reason to wait. Pick a character you care about, put these anime AI workflows to work, and bring them to life across every scene you can imagine.
메타데이터
- post_id
- 643ef5edcb10
- slug
- 3-ways-to-maintain-pixai-character-consistency-in-your-ai-art-643ef5edcb10
- url
- https://medium.com/@abirami.vina/3-ways-to-maintain-pixai-character-consistency-in-your-ai-art-643ef5edcb10
- canonical_url
- https://medium.com/@abirami.vina/3-ways-to-maintain-pixai-character-consistency-in-your-ai-art-643ef5edcb10
- author_url
- https://medium.com/@abirami.vina
- status
- ok
- fetched_at
- 2026-06-26 06:47:43




