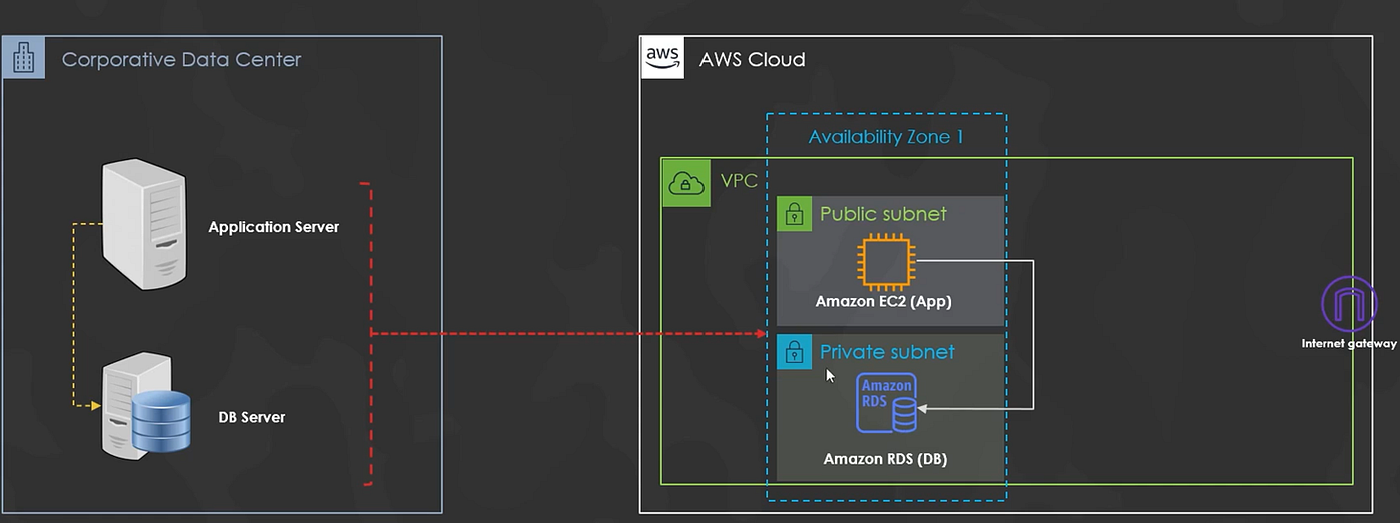
Migrating Storage (app & db) from one GCP region to other
In this implemented project, I showcase as a Cloud Specialist, how to migrate an application and database Storage into an intercontinental…
Migrating Storage (app & db) from one GCP region to other
In this implemented project, I showcase as a Cloud Specialist, how to migrate an application and database Storage into an intercontinental (US → Australia Region) and in fully private way using Google Cloud infrastructure.
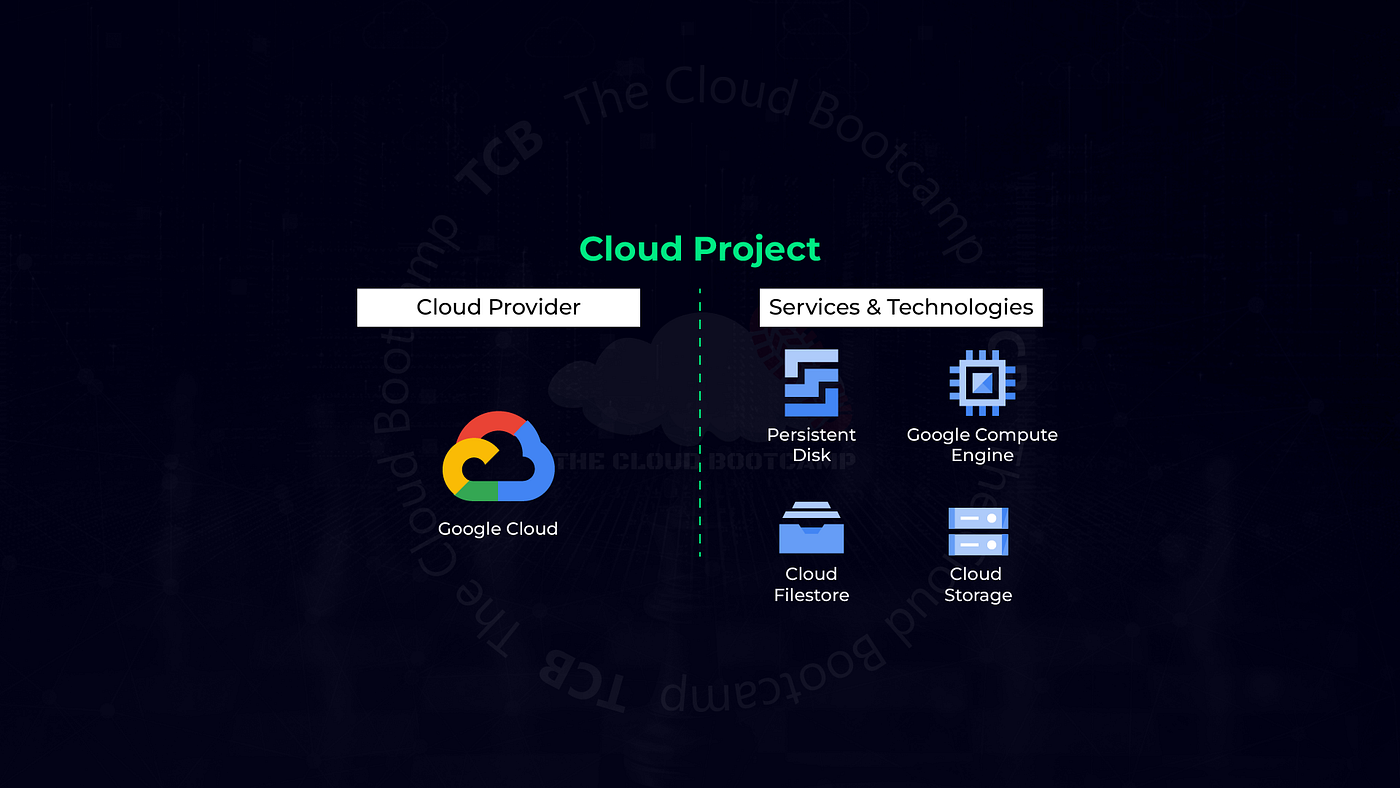
It was defined that after implementing the services focused on MySQL database and Registration Application of a large US clinic, Google Cloud Storage Snapshots would be used to migrate all data (on Cloud storage) from the (google Compute Engine) VMs Persistent Disks from one regio to the other.
The objective was to create disk snapshots, create new disks in Australia region, provision new instances, and achieve a successful migration in a secure and fast manner. First, have a close look at the architecture below:

I worked with a client to migrate an application and database in an intercontinental environment (US Region to A ustralia). I accomplished this in a complete private way, using the Google cloud (GCP) Infrastructure. Once the application and database are properly working in the US region, based on the knowledge of GCP’s Storage services, We decided to deploy this migration to Australia using the Storage Snapshots feature to migrate both data and settings of the VMs, safely and quickly.
Let’s work on the implementation step by step:
Step 1) Create 2 instances : enable Compute engine AP and setup APP01 and DB01
A: — GCE — Application (APP) Name: can-app01 Region: northamerica-northeast2 (Toronto) Zone: northamerica-northeast2-b Size: e2-micro OS: Debian GNU/Linux 12 (bookworm)
B: — GCE — Database (db) Name: can-db01 Region: northamerica-northeast2 (Toronto) Zone: northamerica-northeast2-b Size: e2-micro OS: Debian GNU/Linux 11 (bullseye)

Step 2) DB: Installing, Setting up and Creating
SSH into the DB instance: Authorize the instance. NOTE: **we are using bullseye debian OS. Debian 10 is not available. sudo apt update sudo apt-get -y install wget wget http://repo.mysql.com/mysql-apt-config_0.8.13-1_all.deb sudo dpkg -i mysql-apt-config_0.8.13–1_all.deb

Select OK and go forward. sudo apt update
**Run the command below to correct the keyserver issue: **sudo apt-key adv — keyserver keyserver.ubuntu.com — recv-keys B7B3B788A8D3785C

mysql server to be installed
ensure the steps are done correctly: Installing MySQL Server
*sudo apt update sudo apt install mysql-server -y
- Insert and repeat the password: ** Click on Ok. Select default authentication plugin Select Use Legacy Authentication Method (Retain MySQL 5.x Compatibility)

**Restarting the MySQL service: **sudo systemctl restart mysql.service
**Setting up the MySQL: **sudo mysql_secure_installation
*Inform the password: *** • Answer N for all questions

- Downloading the file .sql wget https://storage.googleapis.com/bootcamp-gcp-en/bootcamp-gcp-storage-db-en.sql*
- Connecting to DB mysql -u root –p type the password: ***
- Creating the ‘db’ and ‘tables’ *source bootcamp-gcp-storage-db-en.sql Note: the source command is going to run the instructions specified in the .sql


The DB will be created below. NEXT
· Creating a user and changing the privileges
CREATE USER app@’%’ IDENTIFIED BY ‘welcome1’; GRANT ALL PRIVILEGES ON clinic.* TO app@’%’; FLUSH PRIVILEGES; (…. mysql can persist the privileges for us) exit

We are done with the prep work for the Database. Let’s move on to the Application server and prep it with NPM.
Step 3) Setting up the VM for the Application (can-app01)
Go to your Google console and SSH into the APP01 vm. Authorize in Updating the OS and the NPM, zip and wget packages
Give that the app frontend is going to be a node.js application, we need to install the NPM package.
sudo apt-get update sudo apt-get install -y npm ( patience, NPM install takes a while — approx 5 to 6 mins)
sudo apt-get install -y zip sudo apt-get install -y wget ( ensure we can download the file we need from an outside source)
Creating and accessing the folder to download application files (Node.js)
wget https://tcb-bootcamps.s3.amazonaws.com/bootcamp-gcp/mod5/bootcamp-gcp-storage-clinic-mib-app.zip unzip bootcamp-gcp-storage-clinic-mib-app.zip cd bootcamp-gcp-storage-clinic-mib-app
From the folder bootcamp-gcp-storage-clinic-mib-app, run the following command to edit the file index.js and save the file after you are done making the below changes to grab the db internal IP.**
**nano src/index.js

From bootcamp-gcp-storage-clinic-mib-app folder run the command below to install the NPM package: npm install
Start the Node.js application and notice the listening port 3000
node src/index.js

We grab the external ip of the app01, and add :3000 and you will see it is not going to work. No firewall rule has been set. So let’s go ahead and work through it.
Creating a firewall rule to allow the TCP access on 3000 port
From Firewall services, click on Create Firewall Rule:
- Name: allow-app-port-3000
- Targets: All instances in the network
- Source IP ranges: 0.0.0.0/0
- Select TCP and the port 3000
- Click on Create

Firewall rule is setup. now it should work.
Copy the public IP of the instance can-app01 and paste in the browser!

After you successfully access to the application, we can stop the VMs can-db01 and can-app01. We need to prepare them for migration.
Migrating the VMs using the Storage Snapshot

Step 1) Checking the disks “in use” by VMs can-app01 and can-db01 Stopped.
Step 2) Creating snapshot from the persistent disks of the VMs can-app01 and can-db01
We are going to use google cloushell for this: gcloud compute disks snapshot can-db01 — snapshot-names can-db01-snapshot — zone northamerica-northeast2-b
gcloud compute disks snapshot can-app01 — snapshot-names can-app01-snapshot — zone northamerica-northeast2-b

snapshots created
Step 3) Creating persistent disks in the australia-southeast1 (Sydney) region, using as source the snapshots created in the northamerica-northeast2 (Toronto) region.
gcloud compute disks create aus-db01 — source-snapshot can-db01-snapshot — zone australia-southeast1-a
gcloud compute disks create aus-app01 — source-snapshot can-app01-snapshot — zone australia-southeast1-a

Step 4) Creating instances in the Sydney region, using the source as the disks created in the previous step.
*gcloud compute instances create aus-app01 — machine-type e2-micro — zone australia-southeast1-a — disk name=aus-app01,boot=yes,mode=rw
gcloud compute instances create aus-db01 — machine-type e2-micro — zone australia-southeast1-a — disk name=aus-db01,boot=yes,mode=rw*

Step 5) Accessing the instance aus-app01 via ssh

Step 6) Accessing the folder bootcamp-gcp-storage-clinic-mib-app
Step 7) Editing the file src/index.js as above
vi src/index.js
Step 8) In the Middlewares section, replace: host: to the private IP private of the VM aus-db01.

Step 9 ) Start the Application: node src/index.js

see content
Step 10) Accessing the application on port 3000 in the browser:
http://<external-ip-from-aus-app01:3000

the application is accessible in new region: Australia
Done. We have successfully migrated our application from The Toronto (CAN) Region to Sydney (AUS) region using persistent disks and by taking snapshots.

If you liked this migration technique with a combination of GUI and command line using cloudshell — give a thumbs up.
Thank you.
메타데이터
- post_id
- 66c3bca2df5e
- slug
- migrating-storage-app-db-from-one-gcp-region-to-other-66c3bca2df5e
- url
- https://medium.com/@peterpereira/migrating-storage-app-db-from-one-gcp-region-to-other-66c3bca2df5e
- canonical_url
- https://medium.com/@peterpereira/migrating-storage-app-db-from-one-gcp-region-to-other-66c3bca2df5e
- author_url
- https://medium.com/@peterpereira
- status
- ok
- fetched_at
- 2026-08-01 03:37:46