Building and Deploying an AWS S3 Static Website with Pulumi and TypeScript
Introduction
Building and Deploying an AWS S3 Static Website with Pulumi and TypeScript
Introduction
In this project, I learned how to provision AWS infrastructure using Pulumi and TypeScript by creating an Amazon S3 bucket and deploying a static HTML website.
Instead of manually creating AWS resources through the AWS Console, everything was defined as code. This approach follows Infrastructure as Code (IaC) principles, making deployments repeatable, version-controlled, and easier to maintain.
By the end of this project, I was able to:
- Create AWS resources using Pulumi
- Provision an S3 bucket
- Configure bucket permissions
- Enable bucket versioning
- Upload a static website
- Generate a public URL for access
- Understand resource dependencies in cloud infrastructure

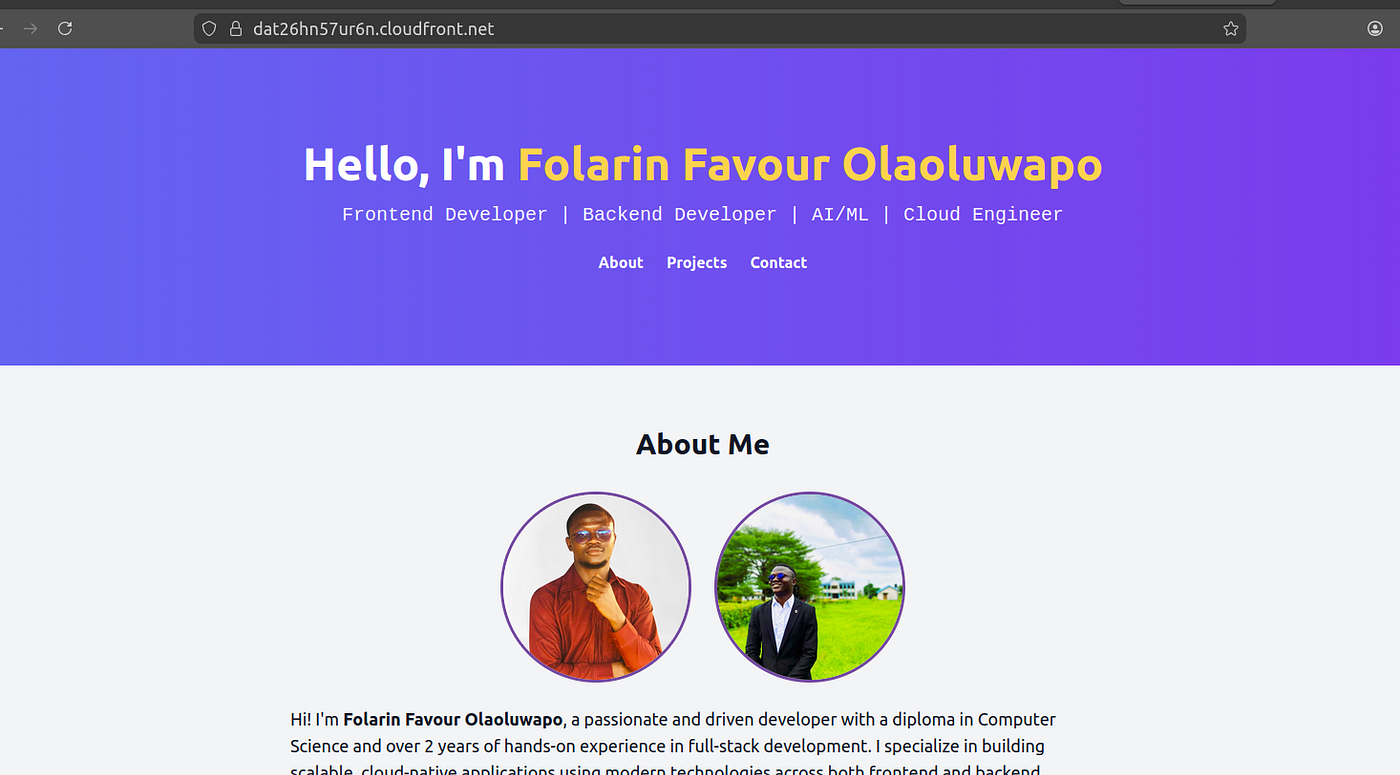
final scree
Prerequisites
Before starting, ensure the following are installed:
AWS Account
Create an AWS account and configure programmatic access.
AWS CLI
Install the AWS CLI and verify installation:
aws --versionConfigure AWS credentials:
aws configureProvide:
- AWS Access Key ID
- AWS Secret Access Key
- Region (e.g., us-east-1)
- Output format (json)
Verify access:
aws sts get-caller-identityNode.js
Verify installation:
node -v
npm -v
Pulumi
Install Pulumi:
Linux/macOS:
curl -fsSL https://get.pulumi.com | sh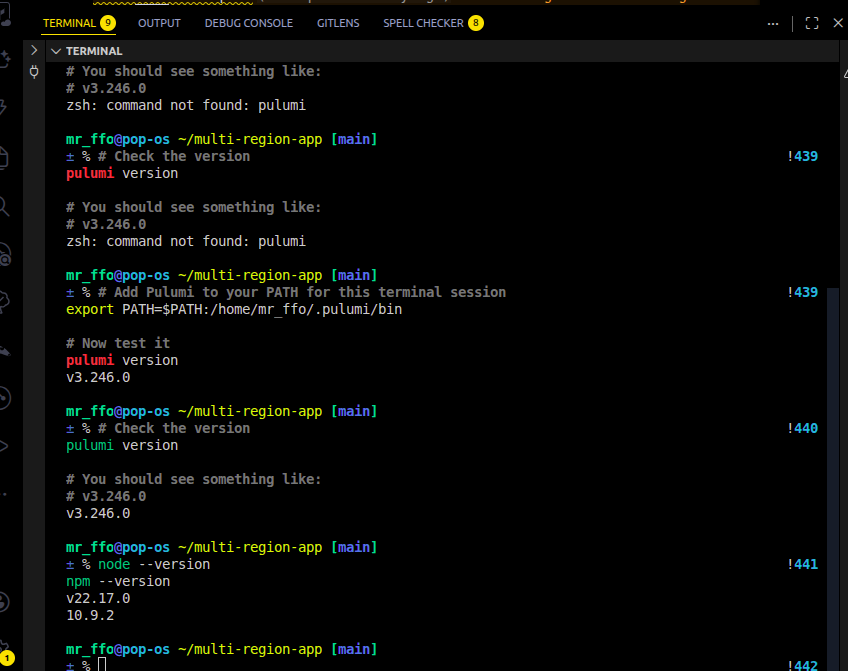
Verify installation:
pulumi versionLogin to Pulumi:
pulumi login
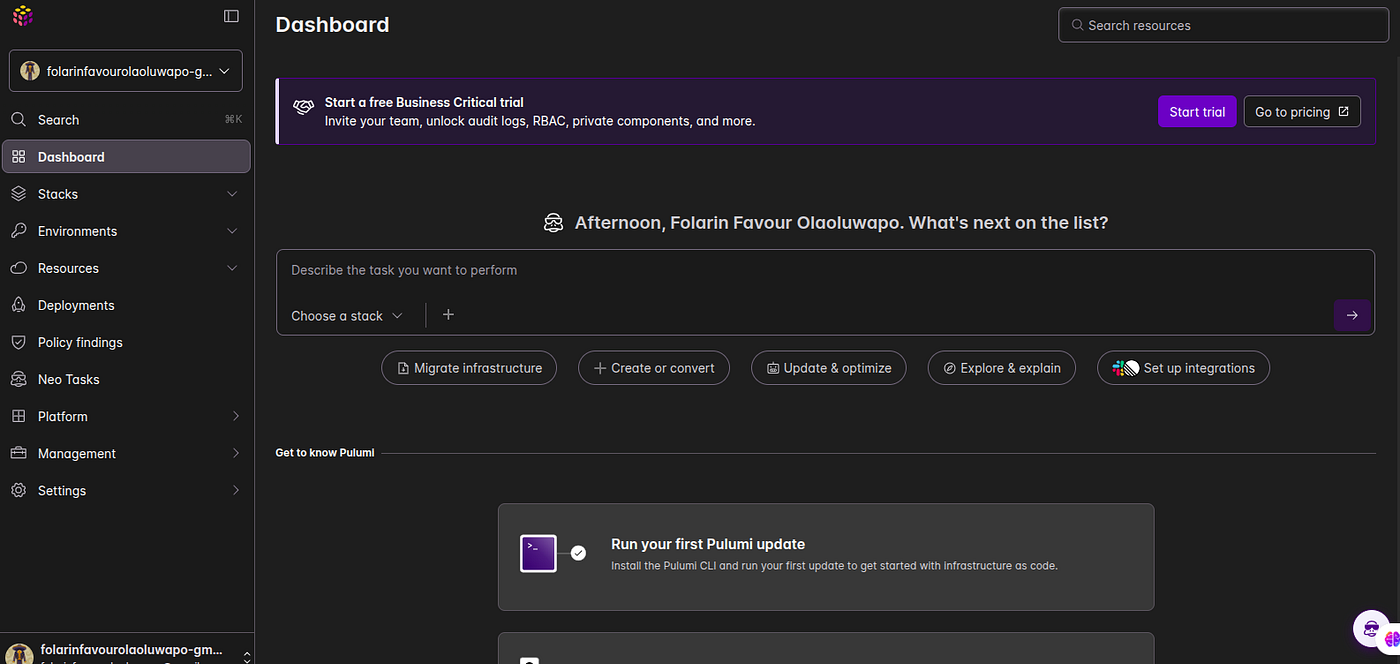
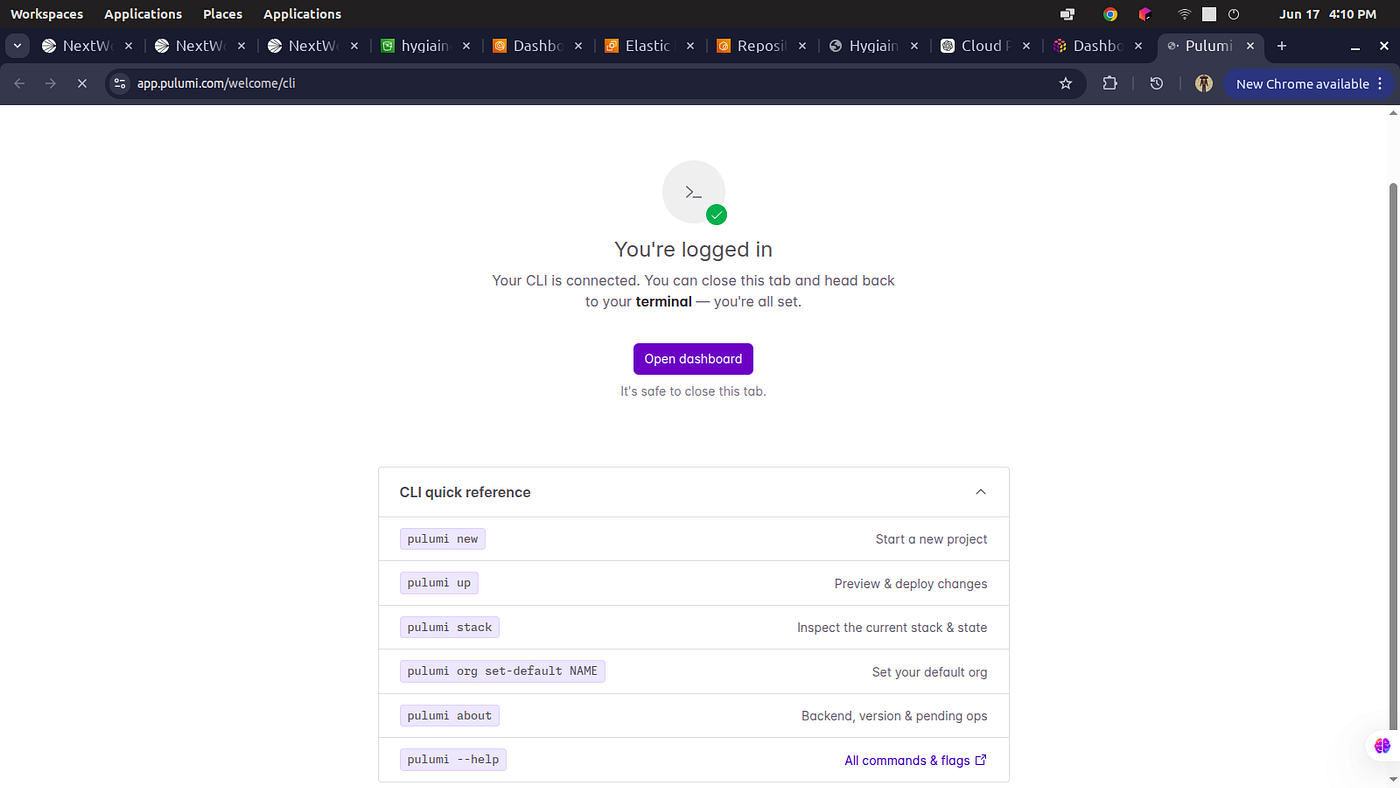
pulumi login

Project Architecture
The project uses a modular structure:
pulumi-s3-demo/
├── website/
│   └── index.html
├── config.ts
├── s3-bucket.ts
├── s3-file.ts
├── outputs.ts
├── index.ts
├── Pulumi.yaml
└── package.json
Each file has a single responsibility.
Step 1: Create a New Pulumi Project
Create a project folder:
mkdir pulumi-s3-demo
cd pulumi-s3-demo
Initialize Pulumi:
pulumi new aws-typescriptProvide:
- Project Name
- Stack Name (dev)
- AWS Region
Pulumi generates the initial project files.
Step 2: Install Dependencies
Install the AWS provider:
npm install @pulumi/awsInstall project dependencies:
npm install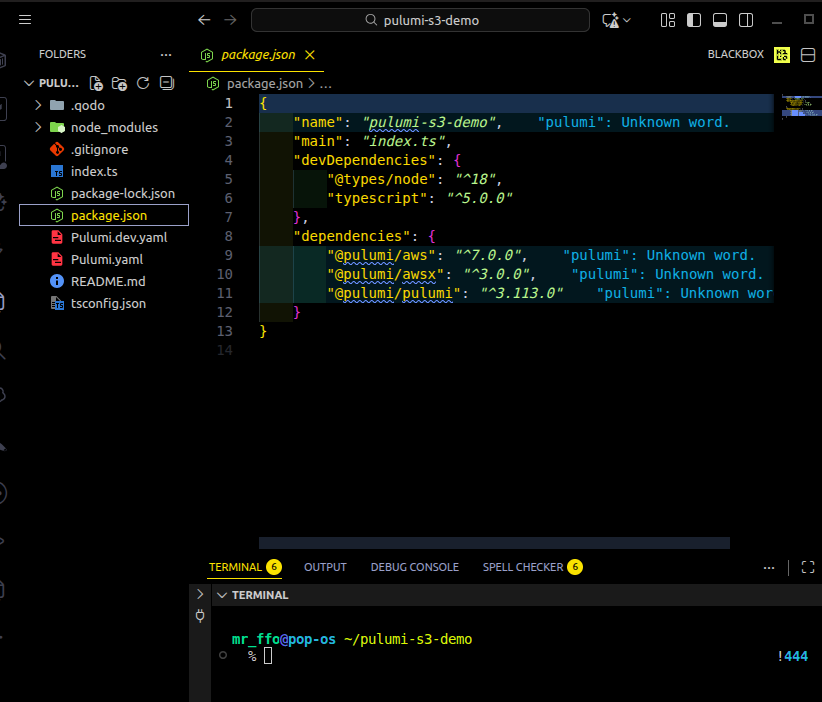
Step 3: Create the Website
Create a website directory:
mkdir websiteCreate:
website/index.htmlExample:
<!DOCTYPE html>
<html>
<head>
    <title>Pulumi Demo</title>
</head>
<body>
    <h1>Hello from Pulumi 🚀</h1>
    <p>This page was deployed to Amazon S3.</p>
</body>
</html>
This file will later be uploaded into the S3 bucket.
Step 4: Create Configuration
Create:
config.tsPurpose:
- Centralized configuration
- Avoid hardcoded values
- Easier maintenance
Store:
- Bucket name
- File name
- File path
- Resource tags
Example values:
bucketName
fileKey
filePath
tags
Step 5: Create the S3 Bucket Module
Create:
s3-bucket.tsResponsibilities:
- Create the bucket
- Enable versioning
- Configure public access settings
- Configure ownership controls
- Configure permissions
Resources created:
- Bucket
- BucketVersioning
- BucketPublicAccessBlock
- BucketOwnershipControls
- BucketAcl
Why this matters:
Versioning protects against accidental overwrites and deletions.
Ownership controls ensure proper management of uploaded objects.
Public access settings allow the website to be accessible via a browser.
Step 6: Create the File Upload Module
Create:
s3-file.tsResponsibilities:
- Upload local files to S3
- Define content type
- Store files as S3 objects
Instead of hardcoding content:
content: "Hello World"we upload an actual file:
source: new pulumi.asset.FileAsset(...)Benefits:
- More realistic deployment workflow
- Supports HTML, CSS, JavaScript, images, and build artifacts
- Similar to production environments
Step 7: Create Output Helpers
Create:
outputs.tsPurpose:
Generate reusable output values.
Example:
Generate the public S3 URL:
https://bucket-name.s3.amazonaws.com/index.htmlThis separates URL generation from deployment logic.
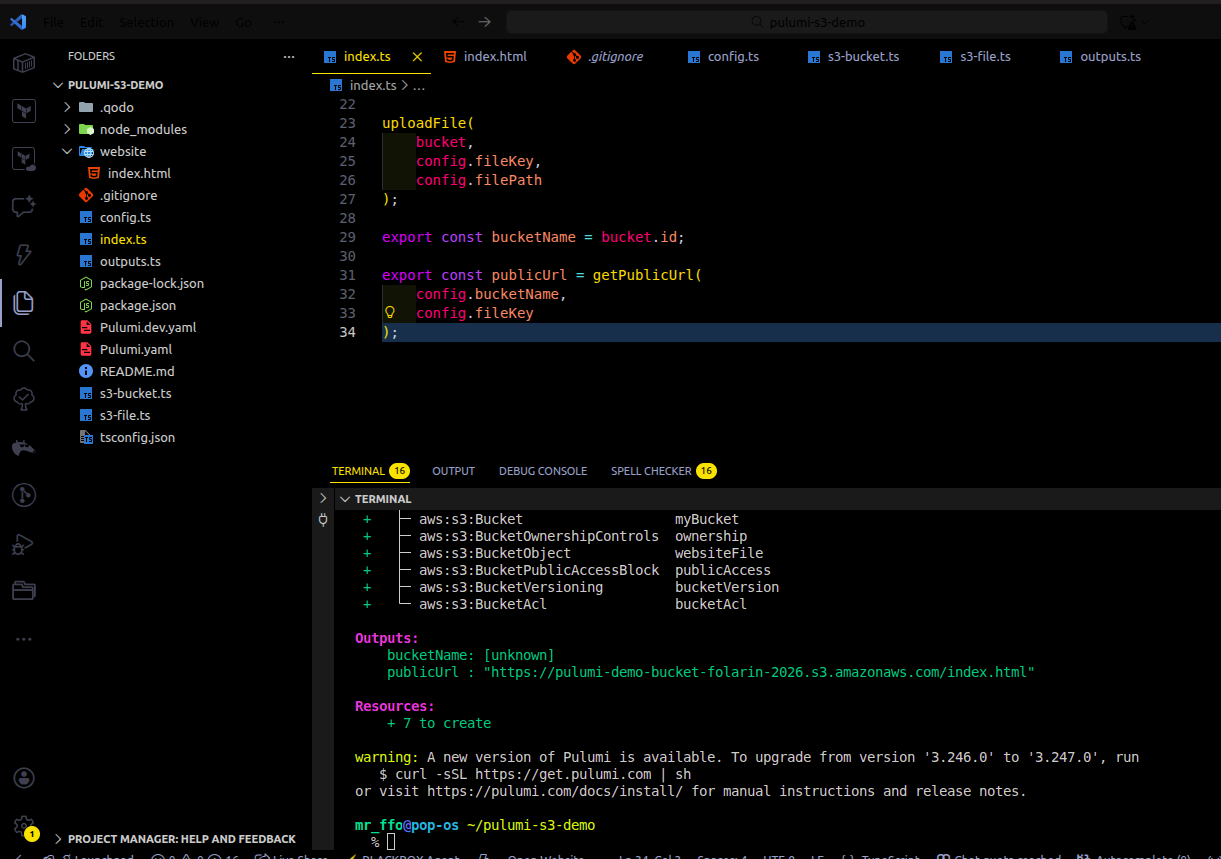
Step 8: Connect Everything in index.ts
Create:
index.tsResponsibilities:
- Load configuration
- Create the bucket
- Upload the website
- Generate outputs
- Export useful deployment information
Workflow:
config.ts
    ↓
s3-bucket.ts
    ↓
s3-file.ts
    ↓
outputs.ts
    ↓
index.ts
This file acts as the orchestrator of the project.
Step 9: Preview Infrastructure Changes
Before creating resources:
pulumi previewPurpose:
- Validate configuration
- Review planned resources
- Detect errors before deployment
Example output:
+ aws:s3:Bucket
+ aws:s3:BucketVersioning
+ aws:s3:BucketObject
Important:
At this stage, AWS resources have NOT been created.
Pulumi is only showing the execution plan.
Step 10: Deploy Infrastructure
Deploy:
pulumi upConfirm:
yesPulumi will:
- Create the bucket
- Configure permissions
- Enable versioning
- Upload the website
- Export outputs
Step 11: Verify Deployment
Display outputs:
pulumi stack outputExample:
bucketName
publicUrl
Open the generated URL:
https://your-bucket.s3.amazonaws.com/index.html
The website should load successfully.
Understanding the Deployment Flow
The complete flow is:
Local HTML File
        ↓
Pulumi
        ↓
AWS S3 Bucket
        ↓
S3 Object
        ↓
Public URL
        ↓
Browser
Benefits of Using Pulumi
Infrastructure as Code
Infrastructure is defined in code and stored in version control.
Repeatable Deployments
The same infrastructure can be recreated consistently.
Change Tracking
Infrastructure changes can be reviewed through Git commits.
Automation
Reduces manual AWS Console operations.
TypeScript Support
Developers can use familiar programming languages instead of learning a separate configuration language.
Modular Design
Infrastructure can be organized into reusable components.
Lessons Learned
Through this project, I learned:
- Fundamentals of Infrastructure as Code
- How Pulumi interacts with AWS
- S3 bucket creation and configuration
- Resource dependencies
- Static website deployment
- Modular project architecture
- Exporting deployment outputs
- Cloud automation principles
see the full code here — **github**
메타데이터
- post_id
- 6cec319a0b63
- slug
- building-and-deploying-an-aws-s3-static-website-with-pulumi-and-typescript-6cec319a0b63
- url
- https://medium.com/@folarinfavourolaoluwapo/building-and-deploying-an-aws-s3-static-website-with-pulumi-and-typescript-6cec319a0b63
- canonical_url
- https://medium.com/@folarinfavourolaoluwapo/building-and-deploying-an-aws-s3-static-website-with-pulumi-and-typescript-6cec319a0b63
- author_url
- https://medium.com/@folarinfavourolaoluwapo
- status
- ok
- fetched_at
- 2026-06-20 20:29:01