🚀 Mastering ROS 2 Navigation: From SLAM Mapping to Autonomous Obstacle Avoidance
Hey everyone — today we’re diving into something every robotics nerd (myself included) eventually has to figure out: how to get your robot…
🚀 Mastering ROS 2 Navigation: From SLAM Mapping to Autonomous Obstacle Avoidance
Hey everyone — today we’re diving into something every robotics nerd (myself included) eventually has to figure out: how to get your robot to map the world, localize itself, and navigate safely around obstacles. We’ll be using ROS 2’s SLAM Toolbox and Nav2 stack to build an end-to-end workflow that makes your robot smarter and more autonomous.
If you’re scratching your head wondering why your map isn’t loading, how to save your progress, or why your robot acts like it’s lost in space, this guide is for you.
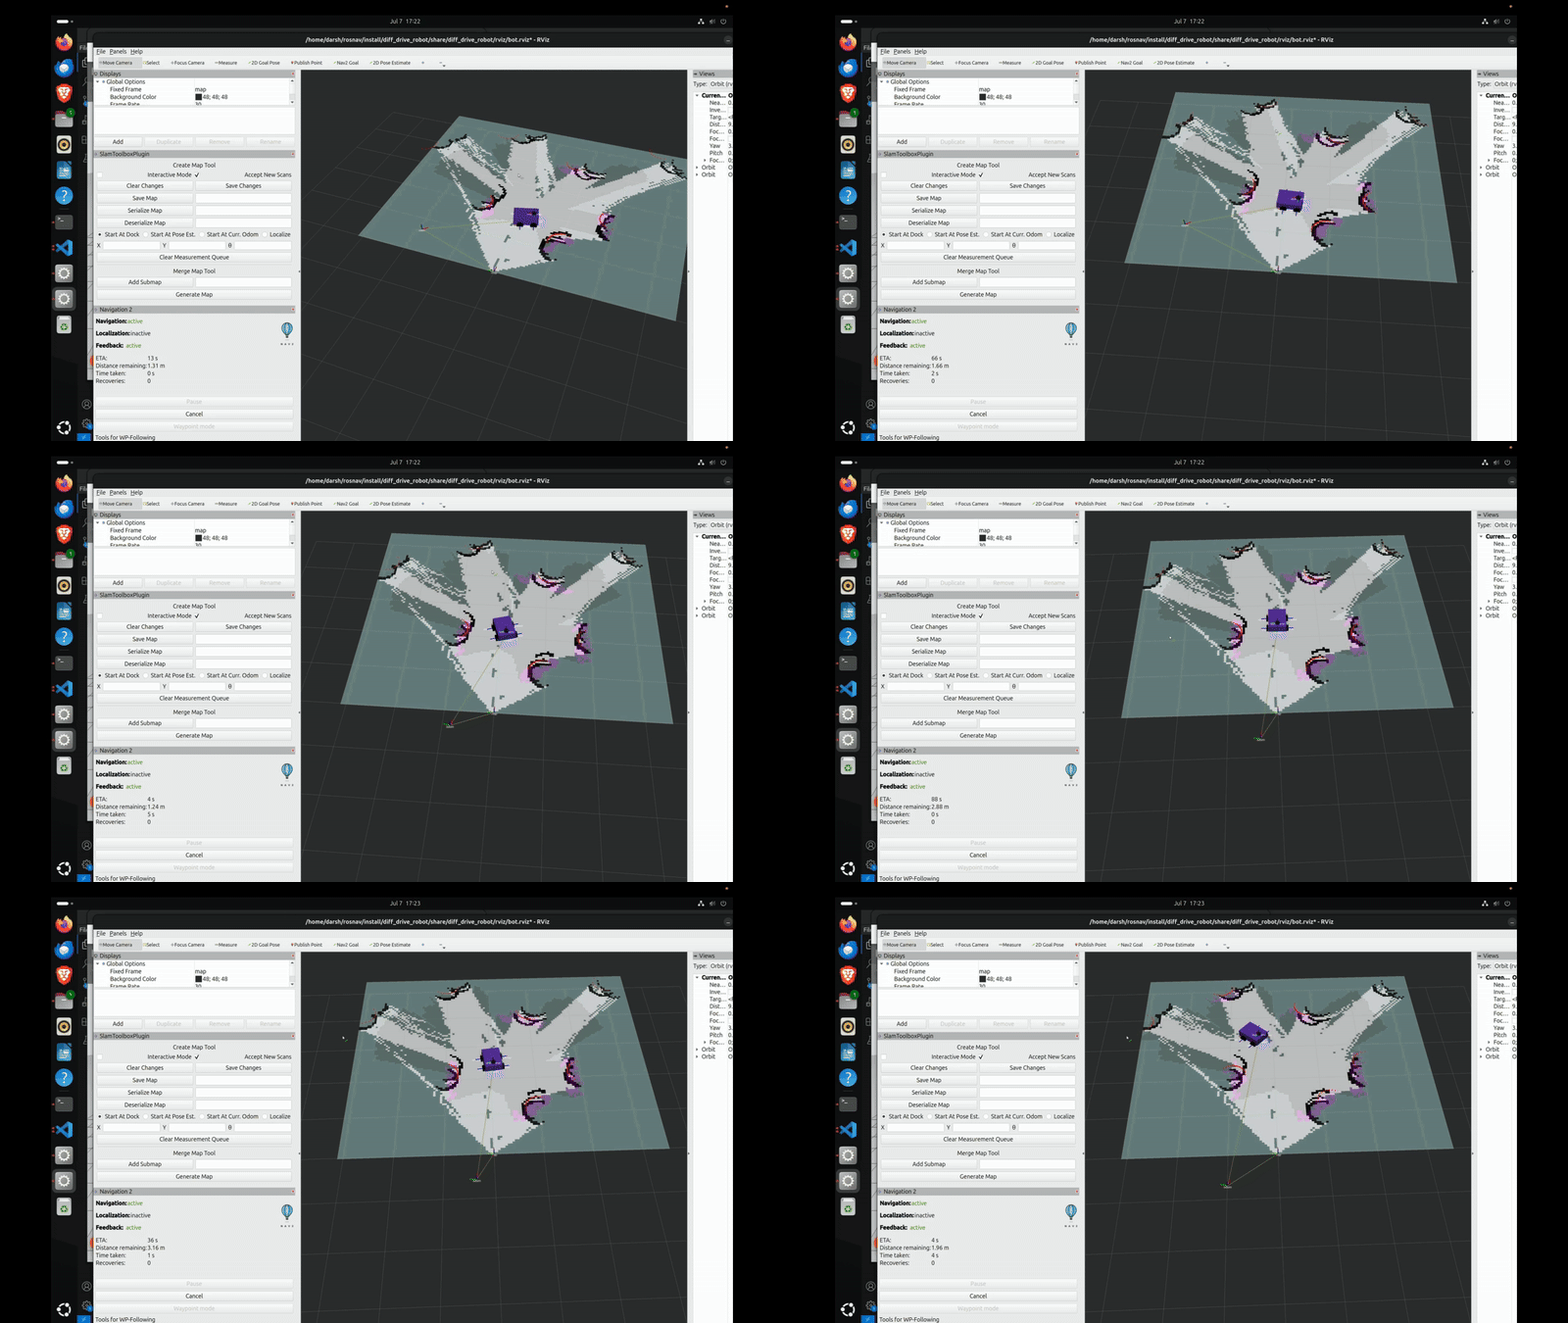
I’m going to walk you step by step through: ✅ Launching SLAM Toolbox ✅ Editing your YAML configs ✅ Actually understanding what “mapping” and “localization” mean in plain English
Let’s get rolling.
🛠️ Step 1: Set Up Your Workspace
First up — create a workspace if you don’t already have one. Open up a terminal and run:
mkdir -p ~/rosnav_ws/src
cd ~/rosnav_ws
colcon build --symlink-install
Every time you build, you need to source it so ROS knows where to find your stuff:
source ~/rosnav_ws/install/setup.bashPro tip: Add that line to your .bashrc so you don’t forget.
📦 Step 2: Install the Packages
Next, let’s grab everything we need:
sudo apt update
sudo apt install -y \
    ros-jazzy-slam-toolbox \
    ros-jazzy-navigation2 \
    ros-jazzy-teleop-twist-keyboard
Boom — done.
🚀 Step 3: Create a Launch File
You’ll want a launch file to fire up SLAM Toolbox. Here’s a no-nonsense example you can drop into your package:
**slam.launch.py**
import os
from launch import LaunchDescription
from launch.actions import IncludeLaunchDescription
from launch.launch_description_sources import PythonLaunchDescriptionSource
from ament_index_python.packages import get_package_share_directory
def generate_launch_description():
pkg_share = get_package_share_directory('your_robot_package') slam_launch = IncludeLaunchDescription(
PythonLaunchDescriptionSource([
os.path.join(
get_package_share_directory('slam_toolbox'),
'launch',
'online_async_launch.py'
)
]),
launch_arguments=[
('slam_params_file', os.path.join(pkg_share, 'config', 'mapper_params_online_async.yaml')),
('use_sim_time', 'true')
],
) return LaunchDescription([
slam_launch
])✏️ Step 4: Edit Your YAML File
This is where people mess up the most. Your YAML config controls how SLAM Toolbox behaves.
Let’s break it down:
🟢 Mapping Mode (build or keep building your map)
If you want your robot to create a new map — or continue an old one — this is what you want:
slam_toolbox:
  ros__parameters:
    mode: mapping
    map_file_name: /home/darsh/rosnav/my_map_serial
    map_start_pose: [0.0, 0.0, 0.0]
odom_frame: odom
map_frame: map
base_frame: base_link
scan_topic: /scan
use_map_saver: trueHeads up:
mode: mappingmeans build or keep building.map_file_nameloads your previous progress.- This mode does localization and mapping at the same time.
🔵 Localization Mode (just localize, don’t build)
Already got your perfect map and just want to localize? Cool — do this:
1️⃣ Change mode:
mode: localization2️⃣ Swap the launch file to use localization_launch.py:
PythonLaunchDescriptionSource([
    os.path.join(
        get_package_share_directory('slam_toolbox'),
        'launch',
        'localization_launch.py'
    )
])
This will:
- Load your saved map.
- Localize your robot.
- Not modify the map.
🧭 Step 5: Launch It!
Time for the fun part. Start up your launch file:
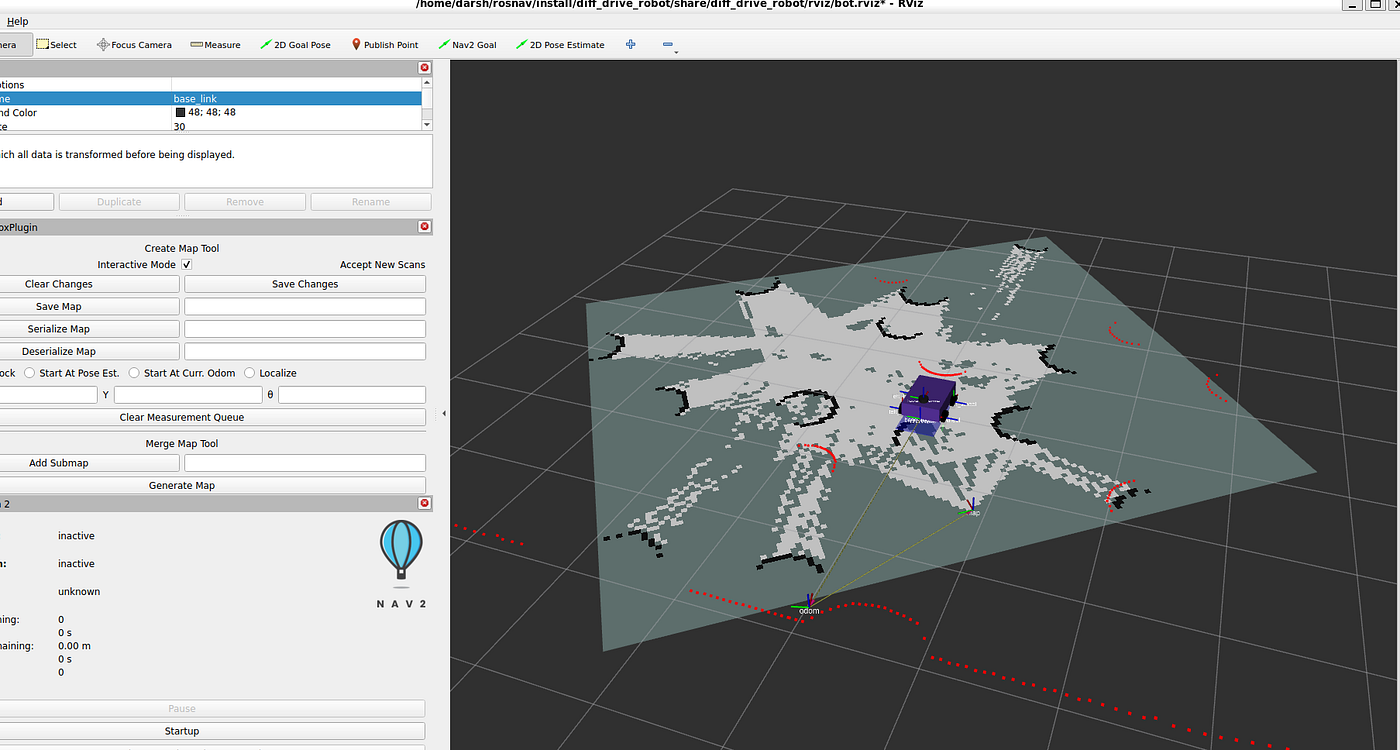
ros2 launch your_robot_package slam.launch.pyIn RViz, you’ll see:
- The occupancy grid (your map).
- TF transforms (
map -> odom -> base_link). - Your robot’s laser scans overlaying the map.
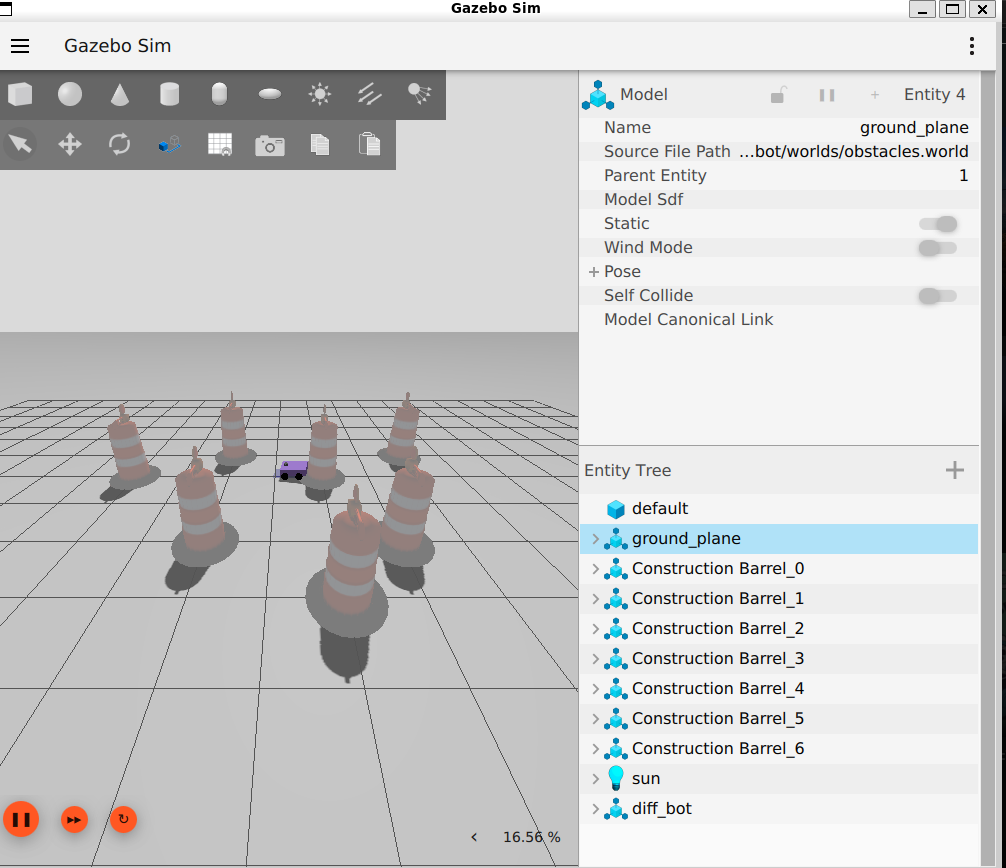
If you drive your robot around (or simulate it), you’ll see it either:
- Building the map (mapping mode), or
- Tracking its position (localization mode).
💾 Step 6: Saving Your Map
After mapping, you’ll want to save your hard work. Use this:
ros2 run slam_toolbox save_map -f ~/rosnav_ws/my_map_serialThis will spit out:
- A
.pgmand.yaml(for Nav2 navigation). - A
.dataand.posegraph(serialized so you can reload it later).
🎯 Recap
Here’s the cheat sheet:
Goal Mode Launch File Start fresh map mapping online_async_launch.py Continue mapping mapping online_async_launch.py Only localize in saved map localization localization_launch.py
If you only remember one thing, it’s this: Your mode + your launch file must match.
🏁 Wrapping Up
That’s it! You’re ready to rock SLAM Toolbox in ROS 2. Whether you’re mapping your living room or simulating a warehouse robot, now you’ve got the tools — and the understanding — to make it work.
If this helped you out, feel free to leave a comment or give my GitHub repo a star. You can also check out my **portfolio** for more projects and updates. Happy mapping!
메타데이터
- post_id
- 7446e4ff049a
- slug
- mastering-ros-2-navigation-from-slam-mapping-to-autonomous-obstacle-avoidance-7446e4ff049a
- url
- https://medium.com/@darshmenon02/mastering-ros-2-navigation-from-slam-mapping-to-autonomous-obstacle-avoidance-7446e4ff049a
- canonical_url
- https://medium.com/@darshmenon02/mastering-ros-2-navigation-from-slam-mapping-to-autonomous-obstacle-avoidance-7446e4ff049a
- author_url
- https://medium.com/@darshmenon02
- status
- ok
- fetched_at
- 2026-07-31 23:06:20



