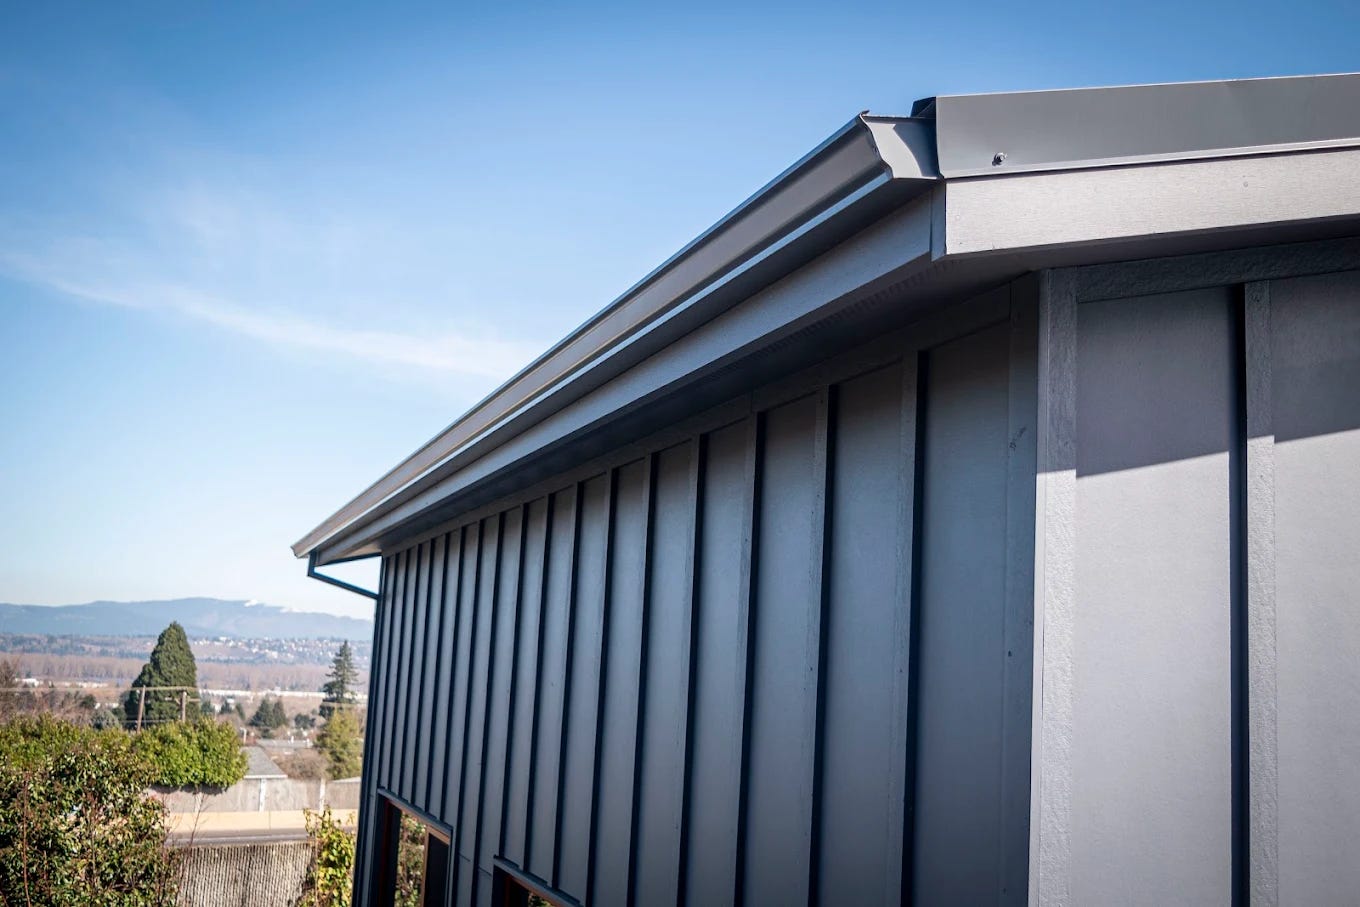
Complete Siding Installation Checklist for Homeowners
A complete siding installation checklist includes choosing the right exterior siding, hiring qualified siding contractors, preparing the…
Complete Siding Installation Checklist for Homeowners
A complete **siding installation** checklist includes choosing the right exterior siding, hiring qualified siding contractors, preparing the home, inspecting materials, ensuring proper installation steps, and doing a final quality check. Following this checklist helps homeowners avoid costly mistakes and ensures durable, weather-resistant siding.
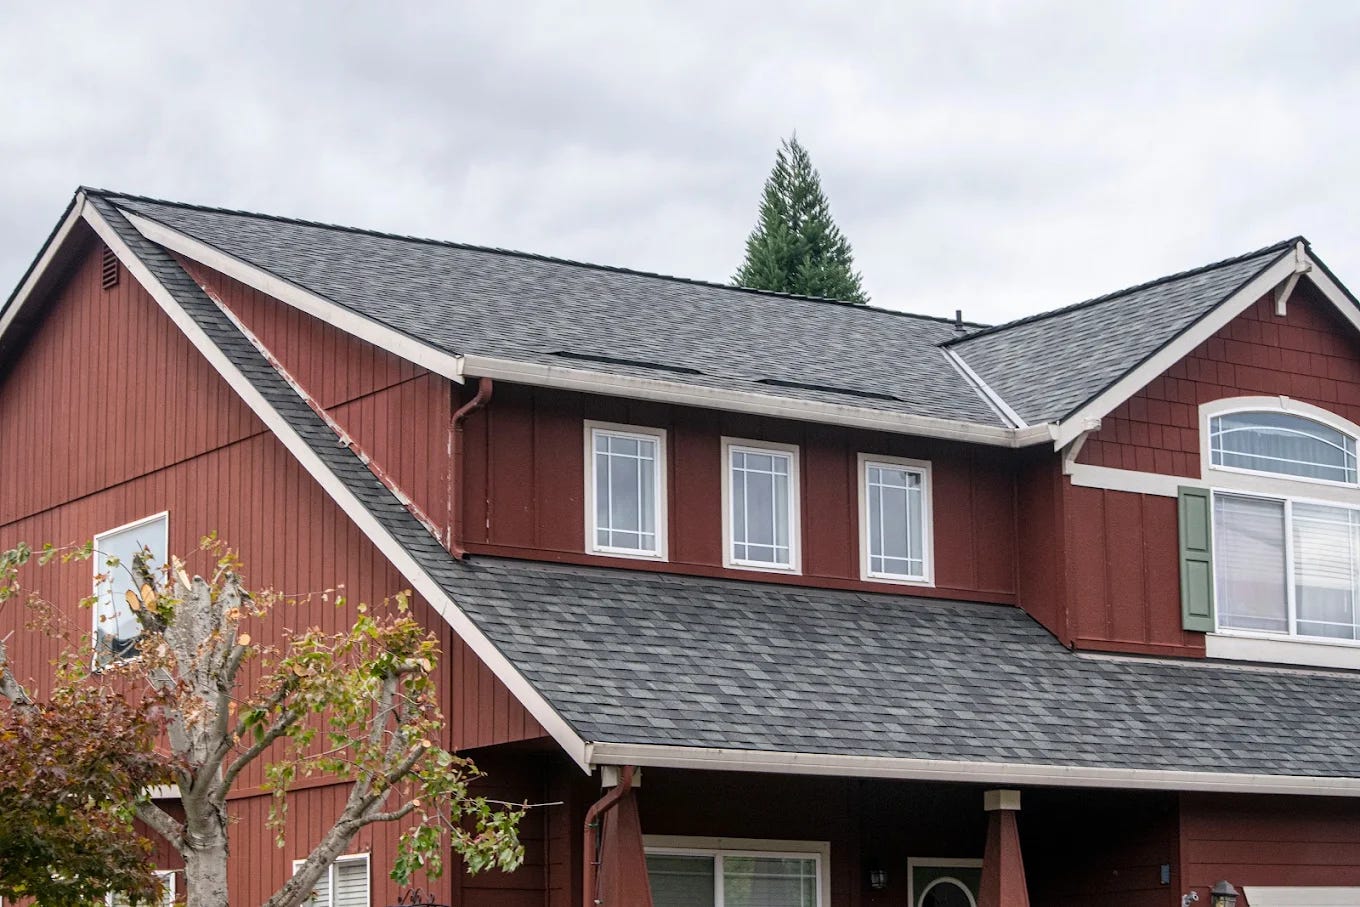
Why You Need a Siding Installation Checklist
Siding installation is not just about improving how your home looks. It protects your house from weather, moisture, and structural damage.
Without a clear checklist, homeowners often face issues like:
- Poor insulation and energy loss
- Water leaks behind exterior siding
- Uneven panels or loose boards
- Higher maintenance costs later
A structured checklist helps you stay in control, even if you are working with professional siding contractors.
Pre-Installation Checklist for Homeowners
Choose the Right Exterior Siding Material
Before calling siding contractors, decide what type of exterior siding fits your home and climate.
Common options include:
- Vinyl siding
- Fiber cement siding
- Wood siding
- Metal siding
- Engineered wood siding
Things to consider:
- Weather resistance
- Budget
- Maintenance needs
- Style and color
Practical example: If you live in a rainy climate, fiber cement or vinyl siding often performs better than untreated wood.
Research and Shortlist Siding Contractors
Hiring the right siding contractors is one of the most important steps.
Checklist:
- Verify licenses and insurance
- Check reviews and references
- Ask for past project photos
- Compare at least 3 quotes
- Confirm warranty terms
If you’re searching locally, look for experienced professionals like **siding contractors Vancouver WA** who understand regional weather and building codes.
Inspect Your Home Before Installation
Before siding installation begins, inspect your home’s exterior.
Look for:
- Rotting wood or damaged walls
- Mold or moisture issues
- Cracks in walls
- Old siding damage
Fixing these issues early prevents future problems.
Material and Planning Checklist
Confirm Siding Materials and Accessories
Make sure all materials are ready before work starts.
Include:
- Siding panels
- Trim pieces
- Flashing
- Insulation
- Fasteners
- Weather barriers
Tip: Ask your siding contractors for a detailed materials list. This helps avoid delays and hidden costs.
Understand the Siding Installation Plan
Before installation day, clarify the process.
Ask your contractor:
- Timeline of the project
- Daily work schedule
- Areas to be covered first
- Cleanup plan
- Safety measures
Knowing the plan helps you track progress and avoid misunderstandings.
Siding Installation Checklist (During the Project)
Proper Surface Preparation
A strong base is essential for durable exterior siding.
Ensure:
- Old siding is removed properly
- Walls are clean and dry
- Damaged sheathing is replaced
- House wrap or moisture barrier is installed
If this step is skipped, even the best siding materials can fail.
Correct Installation Techniques
During siding installation, watch for key quality signs.
Checklist:
- Panels aligned straight and evenly spaced
- Proper gaps for expansion and contraction
- Secure fastening without over-tightening
- Flashing installed around windows and doors
- Corners and trims fitted neatly
Practical example: If vinyl siding is nailed too tightly, it can warp in hot weather. Good siding contractors avoid this mistake.
Insulation and Ventilation Checks
Modern siding installation often includes insulation upgrades.
Confirm:
- Insulation boards or foam installed correctly
- Ventilation openings are not blocked
- Attic and wall airflow maintained
This improves energy efficiency and indoor comfort.
Post-Installation Quality Checklist
Visual and Structural Inspection
After installation, inspect the exterior siding carefully.
Look for:
- Uneven panels
- Gaps or loose sections
- Poorly sealed joints
- Scratches or dents
Walk around the house with your siding contractors and note any issues.
Water and Weather Protection Test
Exterior siding should protect your home from moisture.
Check:
- Caulking around windows and doors
- Flashing in roofline and corners
- Drainage paths for rainwater
If possible, observe how water flows during rainfall.
Warranty and Documentation
Before final payment, collect all documents.
Include:
- Written warranty
- Final invoice
- Maintenance guidelines
- Contractor contact details
Keep these records safe for future repairs or resale.
Location-Based Checklist — Vancouver, WA
Homes in Vancouver, Washington face frequent rain, humidity, and temperature changes. That means siding installation must meet higher durability standards.
Key points for Vancouver homeowners:
- Choose moisture-resistant exterior siding like fiber cement or vinyl
- Ensure advanced water barriers and flashing
- Work with experienced siding contractors Vancouver WA
- Check local building codes and permits
- Prioritize insulation to improve energy efficiency
Example: In Vancouver’s climate, poor sealing around windows can quickly lead to mold behind siding. Local contractors usually focus heavily on waterproofing details.
Common Mistakes Homeowners Should Avoid
Many homeowners rely fully on contractors without understanding basics.
Avoid these mistakes:
- Choosing the cheapest quote without checking quality
- Skipping home inspection before siding installation
- Ignoring ventilation and insulation
- Not reviewing the final work carefully
A simple checklist can save thousands of rupees or dollars in future repairs.
Quick Siding Installation Checklist (Summary)
Here’s a simple version you can save:
Before installation:
- Choose siding type
- Hire verified siding contractors
- Inspect home exterior
- Confirm materials and plan
During installation:
- Check surface preparation
- Monitor alignment and fastening
- Ensure insulation and flashing
After installation:
- Inspect final finish
- Test weather protection
- Collect warranty documents
FAQs
How long does siding installation usually take? Most siding installation projects take 3 to 10 days, depending on home size and materials.
How do I know if I need new exterior siding? Signs include cracks, warping, fading, moisture damage, and rising energy bills.
Are professional siding contractors necessary? Yes. Improper installation can lead to leaks, structural damage, and voided warranties.
What siding material is best for rainy climates? Fiber cement and vinyl siding are popular choices for wet climates like Vancouver, WA.
How often should siding be inspected? Inspect exterior siding at least once a year or after major storms.
Conclusion: Next Steps for Homeowners
A siding installation checklist helps you make smarter decisions, work confidently with siding contractors, and protect your home long-term.
Your next steps:
- Evaluate your current exterior siding
- Shortlist reliable siding contractors
- Use this checklist during planning and installation
메타데이터
- post_id
- 7b6f4f3c94de
- slug
- complete-siding-installation-checklist-for-homeowners-7b6f4f3c94de
- url
- https://medium.com/@leftcoastexterior/complete-siding-installation-checklist-for-homeowners-7b6f4f3c94de
- canonical_url
- https://medium.com/@leftcoastexterior/complete-siding-installation-checklist-for-homeowners-7b6f4f3c94de
- author_url
- https://medium.com/@leftcoastexterior
- status
- ok
- fetched_at
- 2026-07-13 11:24:01